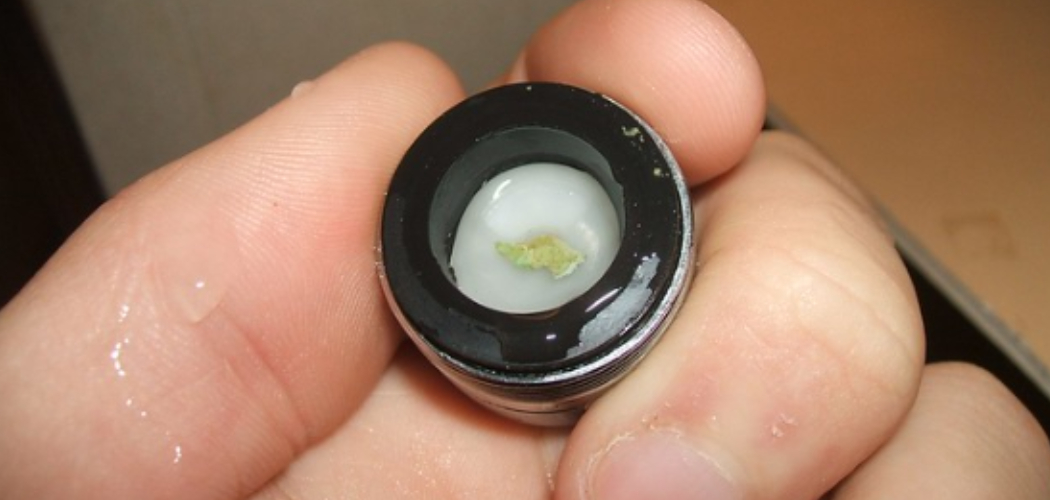
Are you experiencing a decrease in water pressure from your Delta faucet? The culprit could be a clogged aerator. The aerator is a small device attached to the end of the faucet that controls the flow and dispersal of water.
How to remove a delta faucet aerator is a straightforward task that can help improve water flow and maintain the efficiency of your faucet. Over time, aerators can become clogged with mineral deposits or debris, leading to reduced water pressure. Whether you’re looking to clean your aerator, replace it, or inspect it for damage, knowing the proper steps to remove it is essential.
This guide will walk you through the process, ensuring you can tackle the task confidently and with ease. Let’s get started!
What Are the Causes of a Clogged Aerator?
Before we jump into the steps for removing a Delta faucet aerator, it’s helpful to know what causes them to become clogged in the first place. Here are some common reasons:
- Mineral Deposits: Minerals like calcium and magnesium can build up inside your faucet aerator over time, reducing water flow. This is especially common in areas with hard water.
- Debris: Small pieces of debris, such as dirt or san,d can get trapped inside the aerator and block the water flow. This is more likely to happen if you don’t have a filter on your faucet.
- Damage: If your aerator becomes cracked or damaged, it can also cause problems with water flow. This could be due to wear and tear or accidental damage.
Knowing the potential causes of a clogged aerator can help you take preventative measures in the future and maintain the efficiency of your faucet.
What Will You Need?
Before you begin the process of removing your Delta faucet aerator, make sure to gather all necessary materials. Here’s what you’ll need:
- Adjustable Wrench: This will be used to unscrew the aerator from the faucet. Make sure it is big enough to fit over the aerator without slipping.
- Cleaning Supplies (optional): If you’re planning on cleaning your aerator, gather some vinegar or a mild soap and a toothbrush for scrubbing away any buildup.
- Replacement Aerator (optional): If your current aerator is damaged beyond repair, you should have a replacement before starting the removal process. You can purchase one from a hardware store or directly from Delta.
Once you have these items, you can remove your Delta faucet aerator.
10 Easy Steps on How to Remove a Delta Faucet Aerator
Step 1: Turn Off the Water Supply
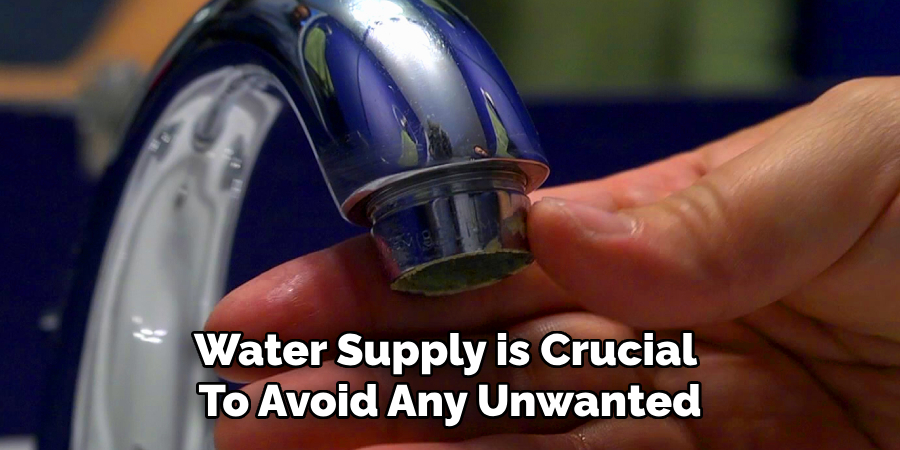
Before removing the aerator, turning off the water supply is crucial to avoid any unwanted splashing or leaks. Locate the shut-off valves under the sink, usually on hot and cold water supply lines. Turn the valves clockwise to close them completely. If your sink doesn’t have localized shut-off valves, you might need to shut off the main water supply to your home. After turning off the water, double-check by opening the faucet to ensure no water flows out. This step provides a clean and hassle-free process during aerator removal.
Step 2: Plug the Drain
Before proceeding to remove the aerator, it’s crucial to plug the drain to prevent any small parts from accidentally falling into it. Aerators often contain tiny components, such as screens or washers, which can easily slip into the drain and be challenging to retrieve. Use a standard sink stopper to seal the drain opening completely. A damp cloth or sponge can be an effective alternative if a stopper is unavailable. Taking a few moments to secure the drain will save time and frustration later, ensuring that all parts remain accessible throughout the process. A well-prepared workspace makes the overall task more efficient and stress-free.
Step 3: Unscrew the Aerator
Using your hand, try to unscrew the aerator by turning it counterclockwise. Use adjustable pliers or a wrench for better grip if the aerator is too tight to remove by hand. Wrap a cloth or some tape around the aerator to protect it from scratches before using the tool. Apply gentle but firm pressure to avoid damaging the aerator or faucet threads. Once loosened, carefully remove the aerator and set it aside.
Step 4: Inspect and Clean the Aerator
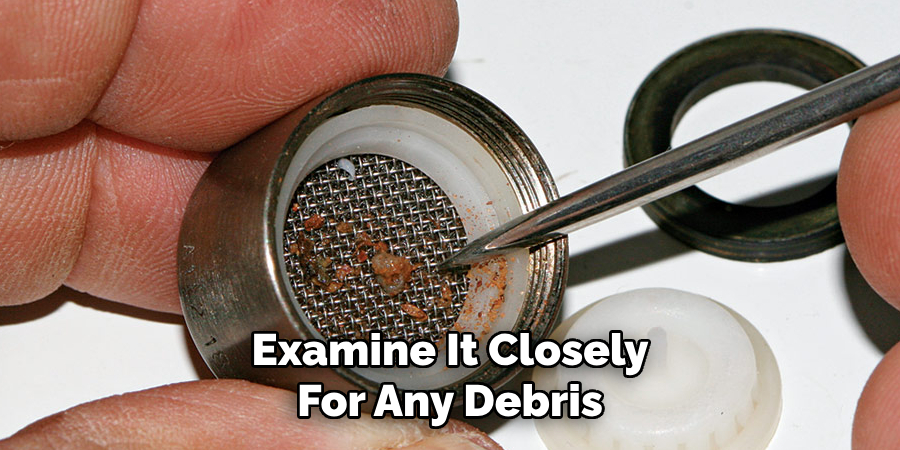
Once the aerator is removed, examine it closely for any debris, mineral buildup, or damage. If you notice clogs or residue, soak the aerator in vinegar and water for 15–30 minutes to dissolve the buildup. Use a small brush or a toothpick to clean the openings and threads gently. Rinse the aerator thoroughly with water to ensure it’s free of any cleaning solution before reinstallation.
Step 5: Reinstall the Aerator
After cleaning and inspecting the aerator, carefully reattach it to the faucet. Align the threads of the aerator with those of the faucet and turn it clockwise by hand to secure it in place. Avoid cross-threading, as this can damage the threads and make future removal difficult. Use adjustable pliers or a wrench to tighten the aerator slightly, but do not overtighten, as this may cause damage. Run the faucet to ensure the aerator is functioning properly and there are no leaks.
Step 6: Test the Water Flow
Once the aerator is reinstalled, turn on the faucet to test the water flow. Ensure the water pressure is consistent and there are no irregular sprays or blockages. If the flow is smooth and even, your aerator maintenance was successful. If issues persist, double-check the installation or consider replacing the aerator if it appears damaged or excessively worn. Regular maintenance will help ensure your faucet performs efficiently over time.
Step 7: Schedule Regular Maintenance
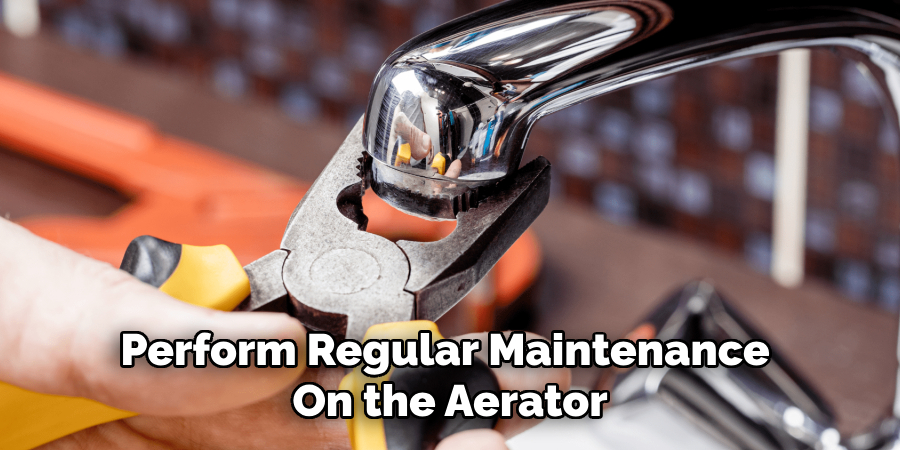
To keep your faucet operating efficiently, make it a habit to perform regular maintenance on the aerator. Depending on your water quality, cleaning the aerator every three to six months can help prevent blockages caused by mineral deposits or debris. Add a reminder to your calendar or set a periodic schedule to inspect and clean the aerator to ensure optimal water flow and longevity of your faucet.
Step 8: Replace the Aerator When Necessary
Over time, even with regular maintenance, aerators can become too worn or damaged to function effectively. If cleaning and reinstalling the aerator does not resolve issues like uneven water flow or low pressure, it may be time to replace it. When purchasing a new aerator, ensure it matches your faucet’s size and thread type. Installing a new aerator is a simple and cost-effective way to restore your faucet’s performance and maintain efficient water usage.
Step 9: Consult a Professional if Problems Persist
If you’ve tried cleaning and replacing the aerator but continue experiencing issues such as persistent leaks, irregular water flow, or unusual noises, it may be time to consult a professional plumber. Some problems could be linked to underlying issues in the faucet or plumbing system that require expert diagnosis and repair. Reaching out to a professional ensures that these issues are correctly addressed, preventing potential damage and maintaining the overall efficiency of your faucet.
Step 10: Regular Maintenance
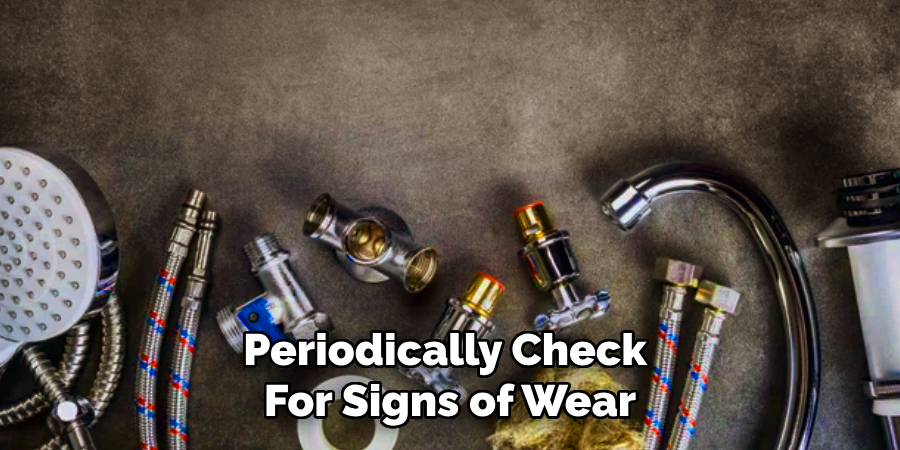
To keep your faucet in optimal condition and prevent future problems, it’s essential to perform regular maintenance. Periodically check for signs of wear, such as leaks, rust, or mineral buildup, and address these issues promptly. Clean the faucet exterior with mild soap and water to prevent corrosion and preserve its finish. Additionally, inspect components like the aerator and gaskets to ensure they function correctly. Consistent maintenance extends the lifespan of your faucet and ensures it continues to operate efficiently.
By following these simple steps, you can easily remove and maintain your faucet’s aerator, promoting efficient water usage and prolonging the lifespan of your faucet.
5 Things You Should Avoid
1. Forcing the Aerator Off: Using excessive force to remove the aerator can cause damage to the faucet and the aerator itself. Always use the proper tools and apply steady, gentle pressure.
2. Using the Wrong Tools: Avoid using tools like pliers without proper protection, as they can scratch or dent the faucet. Use designated tools like an aerator key or wrap the area with a cloth to prevent damage.
3. Ignoring Mineral Buildup: Removing an aerator without addressing mineral buildup can make the process more difficult. Use a descaling solution to loosen the buildup before attempting removal.
4. Skipping the Instruction Manual: Disregarding the manufacturer’s instructions can lead to mistakes or accidental damage. Refer to the manual specific to your Delta faucet model for proper guidance.
5. Leaving Parts Unsecured: Don’t forget to secure small components like washers or seals when removing the aerator. Losing these parts can make reassembly frustrating and may affect the faucet’s functionality.
Conclusion
How to remove a delta faucet aerator may seem challenging at first, but following the proper steps can make the process smooth and hassle-free.
You can ensure the task is completed safely and effectively by avoiding common mistakes such as using the wrong tools, ignoring buildup, or neglecting small components. Always consult the manufacturer’s instructions for your specific faucet model and take the time to prepare the right tools and cleaning solutions.
With patience and attention to detail, you can successfully remove and maintain your faucet’s aerator, keeping your faucet in optimal working condition.

