Are you tired of dealing with mold on your shower mat? Don’t worry, you’re not alone. Many people struggle with this issue, but fortunately, you can take some simple steps to prevent mold from growing on your shower mat.
Mold on a shower mat is not only unsightly but can also lead to unpleasant odors and potential health concerns. Shower mats are constantly exposed to moisture and warmth, creating the perfect environment for mold and mildew to thrive if not properly maintained. How to prevent mold on a shower mat requires a combination of regular cleaning, proper drying techniques, and choosing the right materials.
By implementing a few simple steps, you can keep your shower mat fresh, clean, and free of mold.
What are the Causes of Mold Growth on Shower Mats?
Mold is a type of fungus that grows in warm, damp environments. Therefore, shower mats are the perfect breeding ground for mold and mildew. The constant exposure to moisture from daily showers provides the ideal conditions for mold spores to grow and spread.
Furthermore, if your bathroom has poor ventilation, it can exacerbate the problem as there is no way for the excess moisture to escape. Additionally, if your shower mat is made of not quick-drying or absorbent materials, it can also contribute to mold growth.
What Will You Need?
- Shower cleaner or white vinegar
- Baking soda
- Scrub brush or sponge
- Anti-mold spray (optional)
- Towel or bath mat that dries quickly
Once you have gathered all the necessary supplies, follow these steps to prevent mold on your shower mat.
10 Easy Steps on How to Prevent Mold on a Shower Mat
Step 1. Remove the Shower Mat
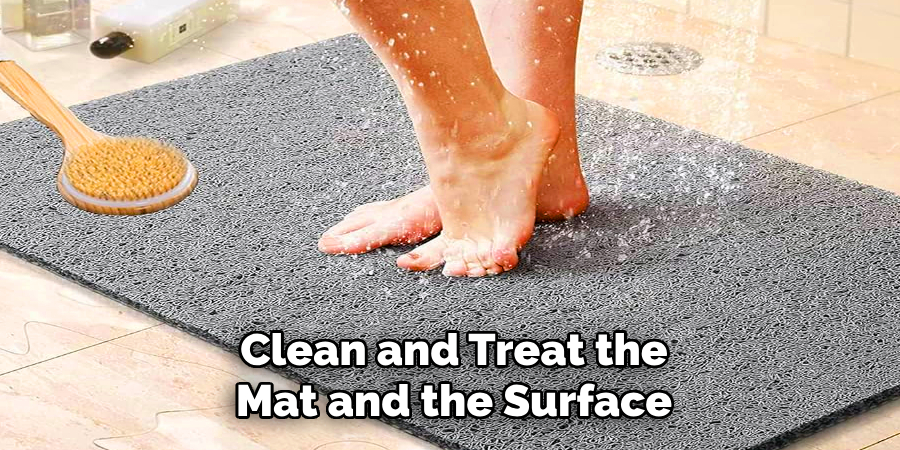
Start by carefully lifting the shower mat from the bathtub or shower floor. Shake off any excess water and inspect the mat for signs of mold, mildew, or soap scum buildup. Removing the mat ensures easier access to clean and treat the mat and the surface underneath it.
Step 2. Rinse the Shower Mat Thoroughly
Before cleaning, rinse the shower mat thoroughly with warm water. This helps wash away any loose dirt, soap residue, or debris on the surface. Rinsing also makes it easier to focus on the more stubborn stains or areas where mold may have started to grow. If your shower mat has suction cups on the bottom, be sure to pay attention to those areas, as water often gets trapped there, creating an optimal environment for mold.
Step 3. Apply the Cleaning Solution
Use a shower cleaner, diluted white vinegar, or a combination of baking soda and water to create a natural cleaning solution. For vinegar, mix equal parts water and vinegar in a spray bottle. For baking soda, sprinkle it generously over the mat, especially on visible moldy spots. Vinegar not only cleans but also helps to kill mold spores, while baking soda is excellent for scrubbing tough stains. Both are eco-friendly solutions that reduce exposure to harsh chemicals.
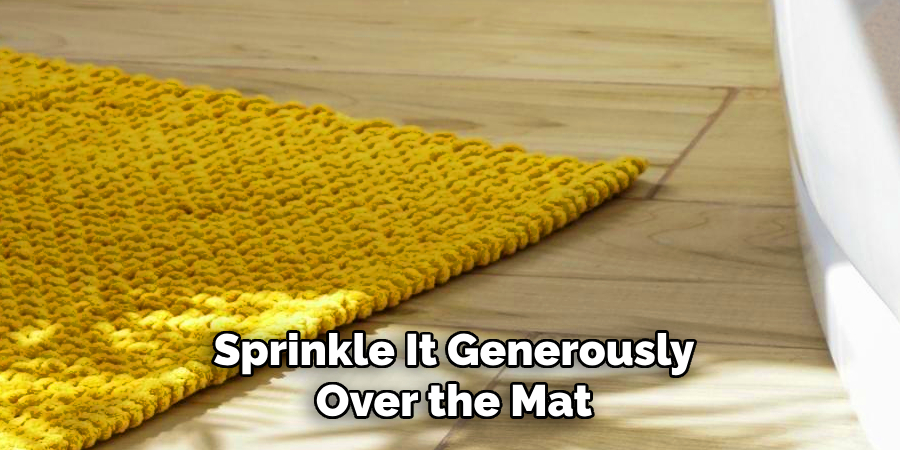
Applying the cleaning agent thoroughly ensures you tackle all areas prone to mold growth, ensuring a more hygienic shower mat.
Step 4. Scrub the Mat Thoroughly
Using a scrub brush or sponge, gently scrub the entire surface of the shower mat. Pay extra attention to areas with visible stains or mold. If you’re using baking soda, the abrasive texture will help lift stubborn dirt, while the vinegar solution will work to disinfect and remove odors. Flip the mat over and scrub the underside, especially around the suction cups where grime can accumulate.
Continue scrubbing until the mat looks clean and free of any residue. Using warm water, rinse off the cleaning solution and any remaining residue. Be sure to rinse well so no traces of the cleaning agent are left behind. If using vinegar, you may need to do an extra rinse to get rid of the strong smell.
Step 5. Dry the Shower Mat Properly
Proper drying is essential to prevent mold and mildew from returning and to prolong the lifespan of your shower mat. After rinsing the mat thoroughly, shake off any excess water to speed up the drying process. Lay the shower mat flat in a well-ventilated area or hang it over a towel bar, shower rod, or drying rack.
Ensuring it gets adequate airflow on both sides is key to thorough drying. Place the mat in direct sunlight if possible, as the UV rays act as a natural disinfectant and help eliminate any lingering bacteria. Avoid leaving the mat in a damp or poorly ventilated space, as this can encourage mold growth. Ensure that all grooves and suction cups are fully dry before placing the mat back into the shower to ensure long-lasting cleanliness and hygiene.
Step 6. Regular Maintenance
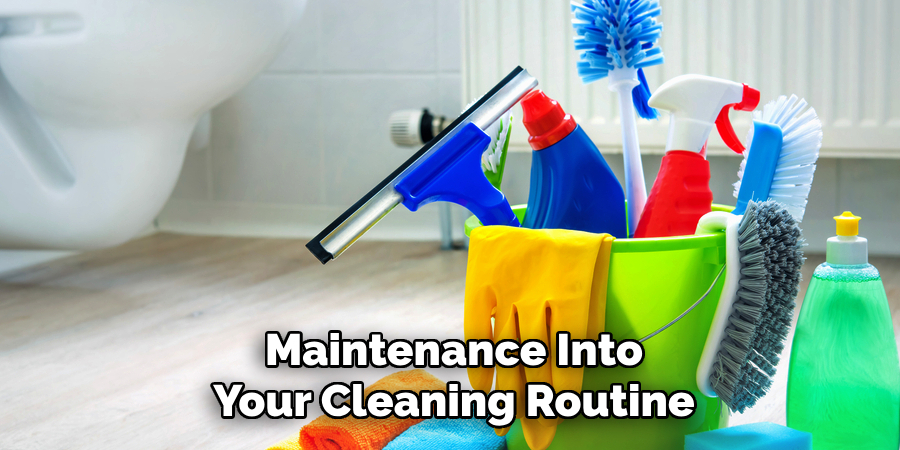
To keep your shower mat pristine and prevent the build-up of grime or mold, it’s important to incorporate regular maintenance into your cleaning routine. Rinse the mat thoroughly to remove soap residue and excess moisture after each use. Periodically inspect the mat for any signs of wear or deterioration, replacing it if necessary.
Additionally, clean the shower mat thoroughly at least once a week, especially in households with high humidity or frequent use. Regular maintenance keeps your shower mat clean and hygienic but also helps to extend its life, ensuring a safe and comfortable showering experience.
Step 7. Deep Cleaning
Occasionally, your shower mat may require a thorough cleaning to remove stubborn stains or deeply embedded grime. Soak the mat in warm water and mild detergent or white vinegar for about 30 minutes to deep clean. For tougher stains, you can use a soft-bristle brush to scrub the surface and grooves gently. Rinse the mat thoroughly with clean water afterward and allow it to air dry in a well-ventilated area, removing all moisture before reuse. Deep cleaning helps maintain the integrity of the mat and ensures maximum hygiene over time.
Step 8. Storing the Shower Mat
When the shower mat is not in use for an extended period, proper storage can help preserve its condition. Ensure the mat is completely dry to prevent mold or mildew growth before storing it. Roll or fold the mat gently and place it in a dry, cool area away from direct sunlight, which can cause the material to degrade over time. Proper storage practices will help prolong the mat’s life and keep it ready for future use.
Step 9. Replacing the Shower Mat
Over time, even with proper care and maintenance, shower mats can wear out or become less effective. Signs that it may be time to replace your mat include persistent odors, visible cracks, stains that cannot be removed, or a loss of grip, causing it to slide more easily. Regularly inspect your mat for these signs and replace it as necessary to ensure safety, hygiene, and functionality in your bathroom. Selecting a high-quality replacement mat that fits your needs will enhance your shower experience.
Step 10. Disposing of the Old Shower Mat
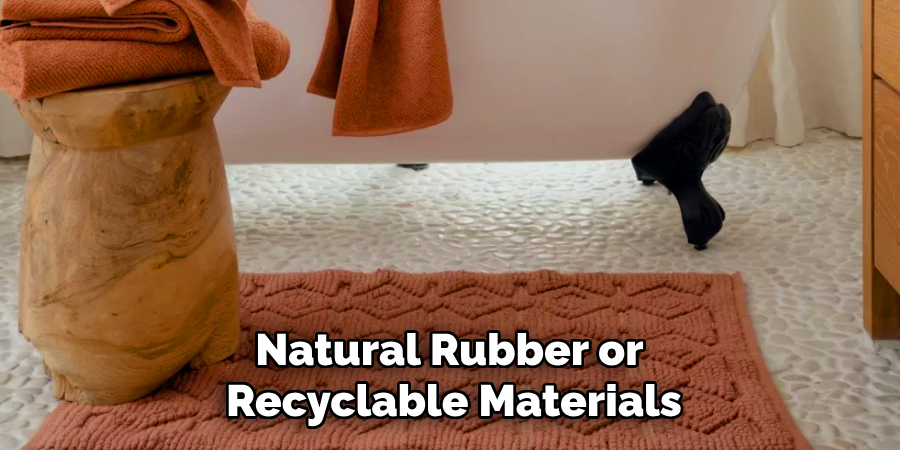
Consider environmentally friendly disposal methods when it’s time to part with your old shower mat. Some shower mats, especially those made of natural rubber or recyclable materials, can be taken to recycling facilities where they are repurposed into new products. If recycling is not an option, check with local waste management services for proper disposal guidelines. Avoid discarding the mat in general trash if it can harm the environment, and look for creative ways to reuse it—for instance, as a non-slip mat for gardening or workshop tasks.
By following these simple steps, you can effectively clean and maintain your shower mat for a safe, hygienic, and comfortable bathing experience.
5 Things You Should Avoid
- Leaving the Mat Permanently Wet: Avoid soaking your shower mat wet after use. A consistently damp environment encourages mold growth, so always dry it thoroughly.
- Ignoring Proper Ventilation: Poor ventilation in your bathroom can create a humid atmosphere ideal for mold. Avoid neglecting to use fans or open windows to allow moisture to escape.
- Failing to Clean the Mat Regularly: Don’t postpone cleaning your shower mat. Regular cleaning with warm, soapy water or a suitable disinfectant helps prevent mold from developing and ensures a hygienic surface.
- Keeping the Mat on the Shower Floor Constantly: Avoid leaving the mat on the shower floor when not in use. Hang or dry it outside the bathroom to allow both the mat and the shower surface to dry completely.
- Using Harsh Chemicals without Care: While cleaning agents are essential, over-reliance on harsh chemicals can damage your mat and make it less effective at repelling moisture. Opt for gentle and eco-friendly alternatives when possible.
Conclusion
How to prevent mold on a shower mat requires a combination of regular maintenance, proper ventilation, and mindful care.
By ensuring the mat is dried thoroughly after each use and cleaning it regularly, you can avoid the buildup of moisture that promotes mold growth. Also, maintaining good bathroom ventilation will help reduce overall humidity levels. Avoid common mistakes such as leaving the mat on the shower floor or relying excessively on harsh cleaning chemicals.
With these steps, you can keep your shower mat mold-free and create a healthier bathroom environment.

