Are you looking to add a touch of charm and functionality to your bathroom without breaking the bank? Look no further than creating your own DIY towel bar!
How to make a DIY towel bar with minimal tools is an easy and rewarding project that can elevate the functionality and style of your bathroom. You can craft a customized towel bar that suits your space with minimal tools and some basic materials. This guide will walk you through step-by-step instructions to help you design and assemble a practical and aesthetically pleasing towel bar.
Whether you’re updating your bathroom on a budget or simply enjoy tackling creative home improvement projects, this simple DIY task is perfect for beginners and seasoned crafters alike. Let’s get started!
What Are the Benefits of a DIY Towel Bar?
Before we dive into the steps of making your own towel bar, it’s important to understand the potential benefits of creating one yourself. Here are a few reasons why DIY towel bars might be a great option for you:
- Cost-effective: Purchasing pre-made towel bars from home improvement stores can be expensive. By making your own, you can save money and still achieve a stylish and functional addition to your bathroom.
- Customization: With DIY projects, you can customize the design and materials according to your preference and style. This allows for a unique and personalized touch in your bathroom.
- Sense of Accomplishment: There’s something satisfying about creating something with your own two hands. Making a towel bar can give you a sense of accomplishment and pride in your craftsmanship.
- Availability of Materials: With minimal tools and materials, you can easily find everything you need to create a DIY towel bar at most hardware or craft stores. This makes the project accessible for anyone to try.
What Will You Need?
Here is a list of the basic materials and tools required to make your DIY towel bar:
- Wooden Dowel or Metal Pipe: This will serve as the main structure of your towel bar. You can choose from different sizes and materials depending on your preference.
- Saw: To cut the dowel or pipe to your desired length.
- Sandpaper: To smooth out any rough edges on the dowel or pipe.
- Drill and Drill Bits: To create holes for mounting and attaching hardware.
- Mounting Hardware: This includes brackets, screws, and anchors to attach the towel bar to your bathroom wall securely.
- Paint or Stain: If you want to add color or finish to your towel bar, you can use paint or stain of your choice.
10 Easy Steps on How to Make a DIY Towel Bar With Minimal Tools
Step 1: Measure and Cut the Dowel or Pipe
Begin by deciding the length of your towel bar. Consider the space on your wall and how many towels you want it to hold. Use a measuring tape to mark the desired length on the wooden dowel or metal pipe with a pencil. Once marked, use a saw to cut the dowel or pipe along the marked line carefully. Make sure to cut straight and even for a neat and professional look.
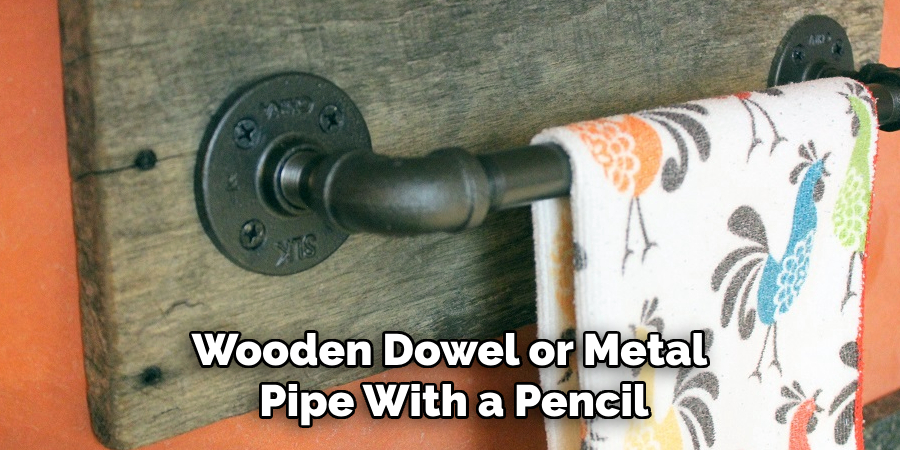
After cutting, take a sheet of sandpaper and smooth the edges of the dowel or pipe to remove any splinters or rough spots. This step ensures the safety and aesthetic appeal of your towel bar. Take your time to create a clean finish that will contribute to the overall quality of your project.
Step 2: Choose and Attach the Brackets
Select a pair of brackets that will securely hold the towel bar in place. Consider designs that match your bathroom’s decor, such as metallic, wooden, or minimalistic styles. Position the brackets on the wall where you plan to install the towel bar, ensuring they are level and evenly spaced. Use a pencil to mark the placement of the screw holes. Once marked, drill pilot holes into the wall to make it easier to insert the screws.
Finally, attach the brackets to the wall using screws and a screwdriver, ensuring they are firmly secured to support the weight of the towel bar and the towels it will hold. Double-check the alignment to guarantee a balanced and professional installation.
Step 3: Install the Towel Bar
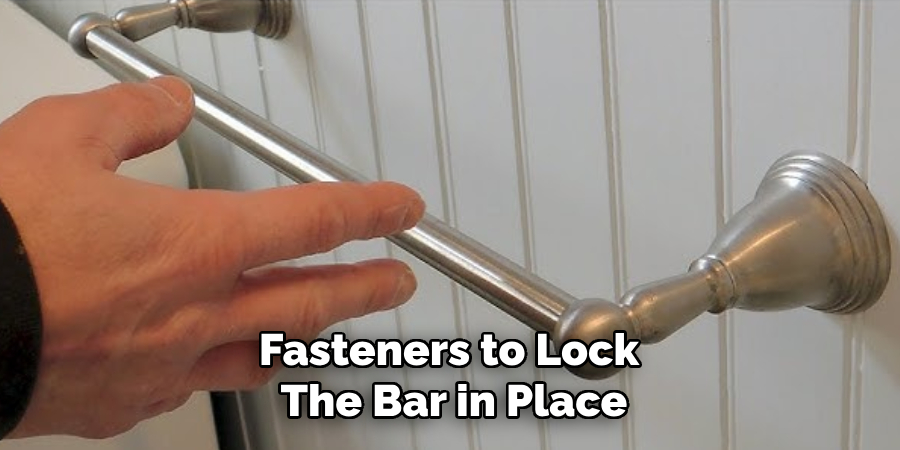
Once the brackets are securely in place, it is time to install the towel bar. Slide the bar into the brackets, ensuring it fits snugly and is appropriately aligned. If the brackets have screws or fasteners to lock the bar in place, tighten them carefully to prevent the bar from shifting or wobbling. Test the towel bar by gently pulling or pressing to ensure it is stable and secure. This step finalizes the installation, leaving you with a functional and stylish addition to your bathroom.
Step 4: Final Touches and Maintenance
With the towel bar installed, take a moment to clean the area and ensure the entire setup looks neat and professional. Wipe down the towel bar and brackets with a soft cloth to remove any fingerprints or dust from the installation process. Over time, periodically check the screws and fasteners to ensure they remain tight and secure. Regular maintenance will keep the towel bar in excellent condition and prevent it from loosening or sagging. Add your towels to the bar and enjoy your newly enhanced bathroom!
Step 5: Troubleshooting Common Issues
If you encounter any issues with your towel bar after installation, there are simple solutions to address them. For a loose towel bar, check the screws and fasteners to ensure they are tightened properly. If the wall anchors fail, consider replacing them with heavier-duty anchors suitable for your wall type.
For uneven alignment, loosen the brackets slightly, adjust the bar, and then re-tighten. Address minor scratches on the towel bar’s surface using a metal polish or touch-up paint designed for its material. Regular troubleshooting and quick fixes will help maintain the towel bar’s functionality and appearance over time.
Step 6: Cleaning and Care
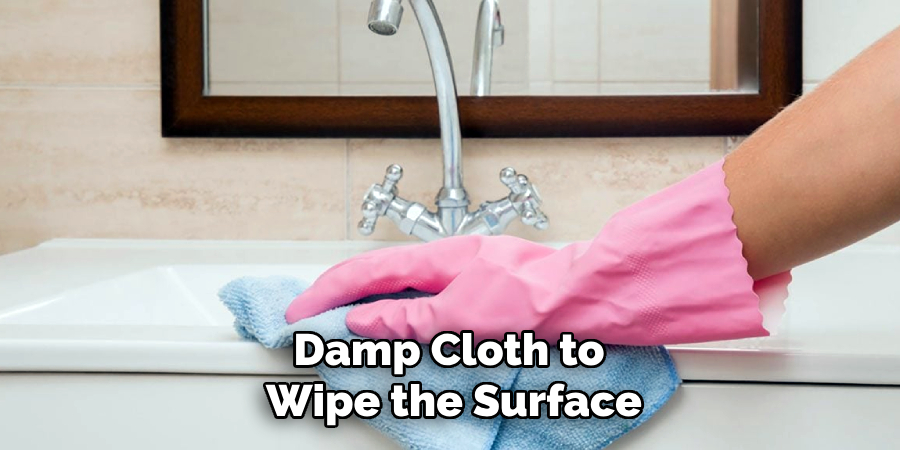
To keep your towel bar looking its best, it’s essential to clean and care for it regularly. Use a soft, damp cloth to wipe the surface and remove dust, fingerprints, or water spots. Avoid using harsh chemicals or abrasive cleaners, as they can damage the finish or cause discoloration. For stubborn stains, a mild soap solution should suffice. Once cleaned, dry the towel bar thoroughly with a soft, dry cloth to prevent moisture buildup and potential rust, especially for metal towel bars. Regular cleaning will ensure the functionality and aesthetic appeal of your towel bar for years to come.
Step 7: Inspecting for Long-Term Stability
Periodically inspect your towel bar to ensure it remains securely mounted and functional. Check the screws, brackets, and any adhesive components for signs of loosening or wear over time. Tighten any loose screws or fittings as needed to prevent the bar from becoming unstable. If you notice any structural damage, consider replacing worn-out parts or the entire towel bar if necessary. Regular inspections will help prolong the lifespan of the towel bar and maintain its stability and safety for everyday use.
Step 8: Addressing Repairs Promptly
If you encounter any issues, such as a loose towel bar, chipped finish, or damaged brackets, it is important to address them promptly. For a loose bar, tighten the screws or reapply adhesive if necessary. Minor chips in the finish can often be touched up with matching paint to maintain the bar’s appearance. However, consider replacing it entirely for significant damage that affects the towel bar’s functionality or safety. Timely repairs will ensure the towel bar remains both practical and visually appealing in your space.
Step 9: Cleaning and Maintenance
Incorporate regular cleaning and maintenance into your routine to keep your towel bar looking its best and functioning correctly. Use a soft, damp cloth and a mild cleaning solution to wipe down the bar, removing dirt, grime, or moisture buildup. Avoid harsh chemicals or abrasive pads, as they can damage the finish. Dry the bar thoroughly after cleaning to prevent rust or corrosion, especially if installed in a high-hurty bathroom. Consistent care will preserve the towel bar’s appearance and functionality for years.
Step 10: Inspecting Mounting Hardware
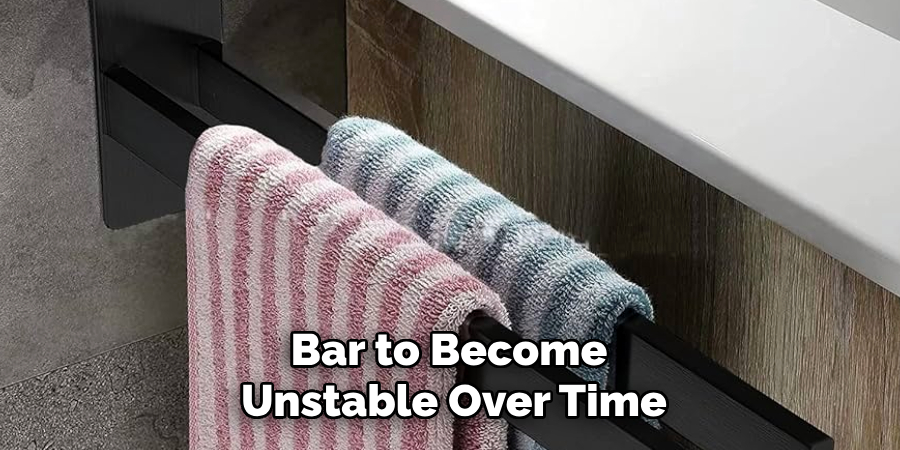
Periodically check the mounting hardware of your towel bar to ensure it remains secure. Loose screws or brackets can cause the bar to become unstable over time. Use a screwdriver to tighten any loose components and inspect for signs of wear or damage, such as cracks in the brackets or weakened anchors. Replacing faulty parts promptly will prevent further issues and maintain the towel bar’s stability and safety. Regular inspections will extend the installation’s lifespan and keep it functioning as intended.
By following these simple steps, you can easily install a towel bar and maintain it for long-term use in your bathroom.
Conclusion
How to make a DIY towel bar with minimal tools is a straightforward and rewarding project that enhances the functionality and aesthetic of your bathroom.
You can ensure a durable and visually appealing result by carefully selecting materials, following each step methodically, and performing regular maintenance. This project demonstrates that with a bit of planning and effort, you can achieve professional results without the need for advanced tools or extensive experience.
Whether you’re looking to upgrade your space or tackle a simple home improvement project, making a towel bar yourself is a practical and satisfying endeavor.

