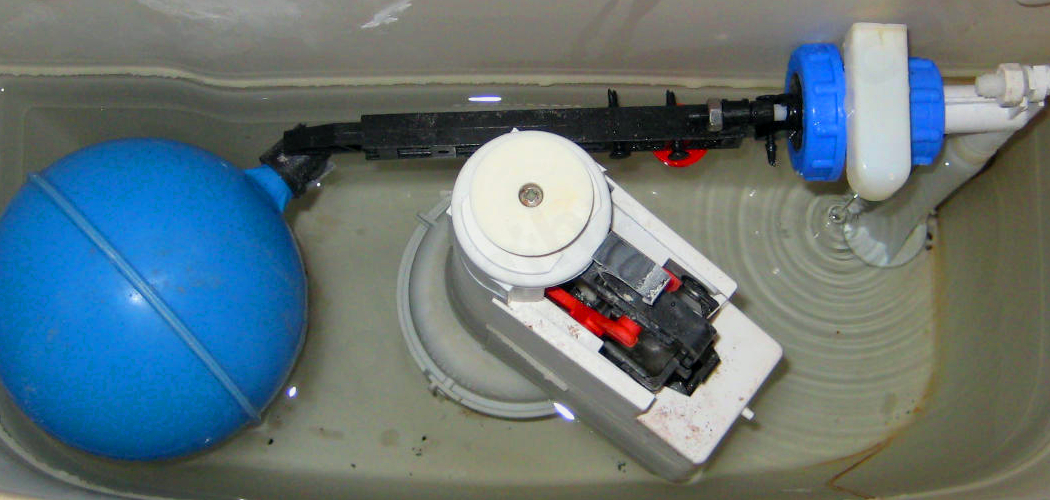
A leaking toilet tank can waste a significant amount of water and lead to higher utility bills. One common cause of leaks is a worn-out tank seal, which connects the tank to the bowl and ensures a watertight seal. Fortunately, replacing a toilet tank seal is a straightforward task that homeowners can often handle on their own with just a few basic tools.
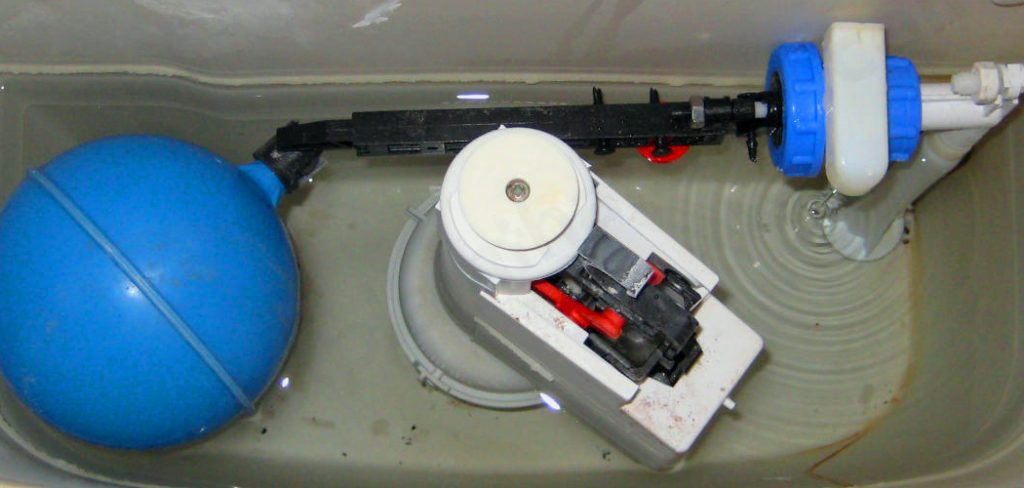
This guide on how to change toilet tank seal will provide you with step-by-step instructions to help you replace the seal efficiently and restore your toilet to proper working condition.
Why Change the Toilet Tank Seal?
Before we dive into the process of replacing a toilet tank seal, let’s first understand why it is necessary. The tank seal, also known as the spud gasket or spud washer, plays a crucial role in keeping your toilet functioning properly. It seals off the connection between the tank and the bowl, preventing water from leaking out. Over time, this seal can wear out due to constant exposure to water and cleaning products, leading to leaks.
Replacing the seal will not only stop any leaks but also prevent potential damage to your bathroom floor and reduce your water bills. It is an essential maintenance task that should be done promptly when you notice a leaky toilet.
Tools Needed
Adjustable Wrench:
An adjustable wrench is a versatile tool that can be adjusted to fit various sizes of nuts and bolts. It will come in handy for loosening and tightening the tank bolts.
Screwdriver:
A screwdriver is needed to remove the screws that hold the toilet tank onto the bowl.
Sponge:
A sponge or cloth is needed to soak up any remaining water in the tank before removing it from the bowl.
New Tank Seal:
Make sure to purchase a new tank seal of the correct size for your toilet model. Most hardware stores carry standard-sized seals that should fit most toilets. If you are unsure, consult with a professional or bring your old seal with you to ensure an exact match.
8 Step-by-step Guides on How to Change Toilet Tank Seal
Step 1: Turn off the Water Supply
The first step in replacing the toilet tank seal is to turn off the water supply to the toilet. Locate the shut-off valve, usually found near the base of the toilet on the wall or floor. Turn the valve clockwise to shut off the water flow completely.
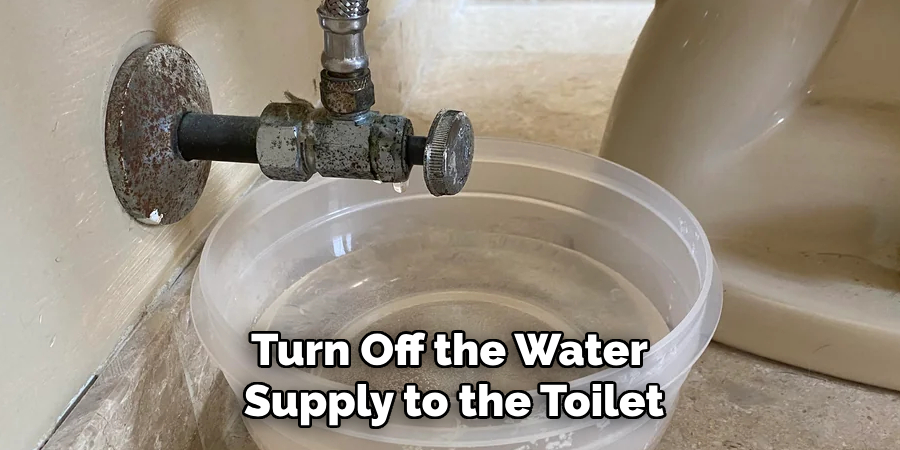
Once the water is off, flush the toilet to drain most of the water from the tank. Use a sponge or cloth to soak up any remaining water in the tank to ensure it is completely dry before proceeding to the next step. This will prevent spills and make the process easier to manage.
Step 2: Remove the Tank Lid
Carefully remove the tank lid and set it aside in a safe location to avoid accidental damage. The tank lid is typically made of porcelain and can easily break if dropped. Place it on a flat, stable surface, such as a soft towel or padded area, to protect it while you work on the tank. Removing the lid will give you access to the inner components of the tank, allowing you to proceed with the replacement process.
You may also want to take this opportunity to clean the tank and remove any built-up deposits or debris that may be affecting its performance.
Step 3: Disconnect the Water Supply Line
Next, disconnect the water supply line from the bottom of the toilet tank. Locate the nut that attaches the supply line to the tank’s fill valve, typically found on the underside of the tank. Use an adjustable wrench to gently loosen the nut by turning it counterclockwise. Once the nut is loose, you can finish unscrewing it by hand.
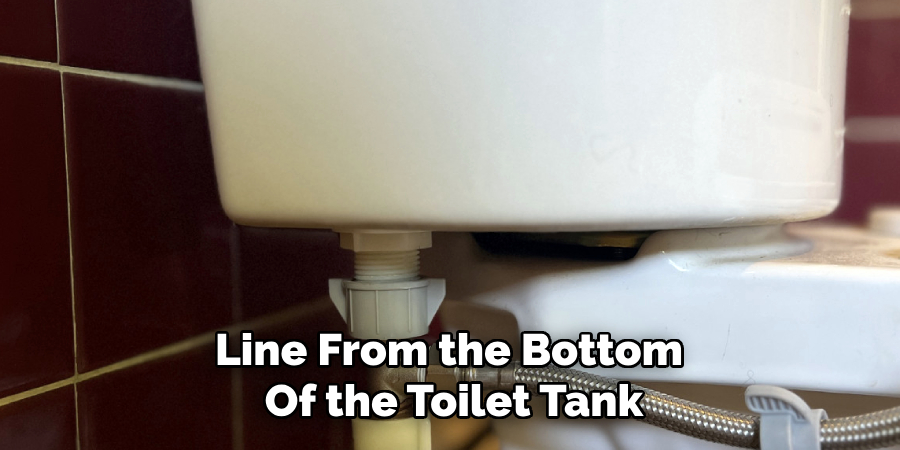
Be prepared for a small amount of water to drip out, so have a towel or bucket handy to catch any spills. This step ensures that the water supply is fully disconnected, allowing you to safely remove the tank in the later steps without interference.
Step 4: Remove the Tank from the Bowl
With the water supply line disconnected, you can now remove the tank from the bowl. Locate and unscrew the nuts that hold the tank to the bowl using an adjustable wrench or pliers. You may need to hold onto the bolt with one hand while you loosen and remove each nut with your other hand. Once all bolts are removed, carefully lift and remove the tank from the bowl and set it aside in a safe location.
It may be helpful to have someone assist you in this step, especially if the tank is heavy or difficult to maneuver.
Step 5: Remove the Old Tank Seal
With the tank removed, you can now access the old tank seal. It will most likely be stuck onto the bottom of the tank. Use a flathead screwdriver or scraper to carefully pry off and remove any remnants of the old seal from both the bottom of the tank and around the opening on top of the bowl.
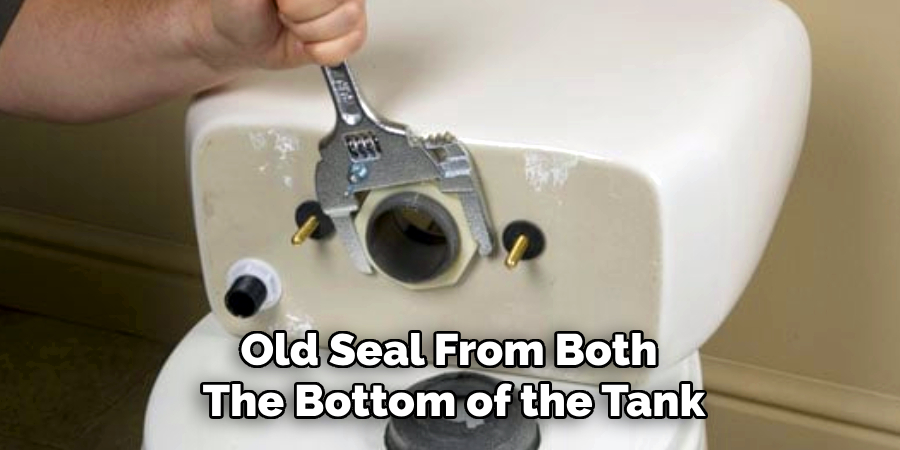
It is crucial to completely clean and dry these areas before installing the new seal. Any leftover debris or moisture can affect the effectiveness of your new seal.
Step 6: Install New Tank Seal
Place the new tank seal onto the bottom of the tank, making sure it is centered and aligned with the opening on top of the bowl. Press down firmly to secure it in place.
As an extra precaution, you can also use a small amount of plumber’s putty or silicone caulk around the base of the seal for added sealing power.
Step 7: Reattach the Tank to the Bowl
With the new seal in place, you can now reattach the tank to the bowl. Carefully lift and position the tank back onto its original spot on top of the bowl. Make sure that all bolts are correctly aligned with their corresponding holes on both pieces.
Once in place, thread each nut back onto its bolt and tighten them using an adjustable wrench or pliers. Be cautious not to over-tighten as it can cause damage to the toilet.
Step 8: Reconnect the Water Supply Line and Test
Finally, reattach the water supply line by screwing on the nut and tightening it securely. Turn on the water supply valve and check for any leaks around the tank seal and supply line connections.
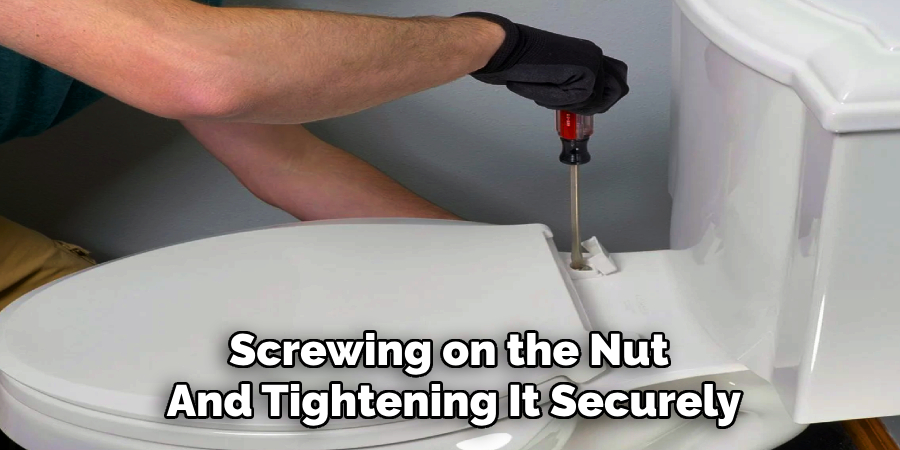
If no leaks are present, flush the toilet a few times to ensure proper functioning and that everything is securely in place. Congratulations, you have successfully replaced your toilet tank seal!
Regular maintenance checks every few years can help prolong the life of your new seal and prevent future leaks or problems with your toilet. Remember to always turn off the water supply and use caution when handling porcelain fixtures to prevent any damage. With these simple steps on how to change toilet tank seal, you can save yourself time and money by replacing a worn out or faulty tank seal on your own. Keep these instructions handy for future reference and happy DIY-ing!
Additional Tips
- While most tank seals are standard-sized, it is always best to double-check and purchase the correct size for your toilet model to avoid any inconvenience.
- It is recommended that the tank bolts be replaced with a seal, as they can become corroded or damaged over time.
- If you notice any cracks or damage on your tank while performing this task, it may be a sign of more significant plumbing issues and should be addressed by a professional.
- Consider wearing protective gloves when handling any tools or parts during this process to prevent injury or irritation from chemicals and debris. Always follow safety precautions when working with plumbing fixtures.
- In case of any doubts or difficulties during the replacement process, do not hesitate to consult a professional plumber for assistance. They have the expertise and tools to ensure a successful and safe replacement.
- Regularly check for any signs of leaks or damage on your toilet tank and address them promptly to prevent further issues. Proper maintenance can save you time, money, and hassle in the long run.
- Consider using eco-friendly or low-flow toilet tank seals to conserve water and reduce your household’s environmental impact.
Frequently Asked Questions
Q: How Often Do I Need to Replace My Toilet Tank Seal?
A: It is recommended to inspect and potentially replace your tank seal every 3-5 years or if you notice any signs of wear or leaks.
Q: Can I Use Plumber’s Putty or Silicone Caulk Instead of a Tank Seal?
A: While these products can provide additional sealing power, it is always best to use a designated tank seal for proper fit and effectiveness.
Q: How Do I Know If My Tank Seal Needs Replacing?
A: Signs of a faulty or worn-out tank seal include leaks around the base of the tank, water constantly running into the bowl, or difficulty flushing properly.
Q: Do I Need to Turn off My Water Supply When Replacing a Tank Seal?
A: Yes, it is crucial to turn off your water supply before beginning any work on your toilet to prevent accidents and ensure a successful replacement. Always follow safety precautions when working with plumbing fixtures.
Q: Can I Replace the Tank Seal Without Removing the Tank from the Bowl?
A: While it may be possible in some cases, it is typically recommended to remove the tank for easier access and proper installation of the new seal.
Conclusion
Replacing a toilet tank seal may seem like a daunting task, but with proper guidance, it can be easily done at home.
By following these steps and additional tips on how to change toilet tank seal, you can confidently tackle this DIY project and keep your bathroom fixtures in top shape. Remember to always prioritize safety, double-check measurements, and seek professional help if needed. Happy fixing!

