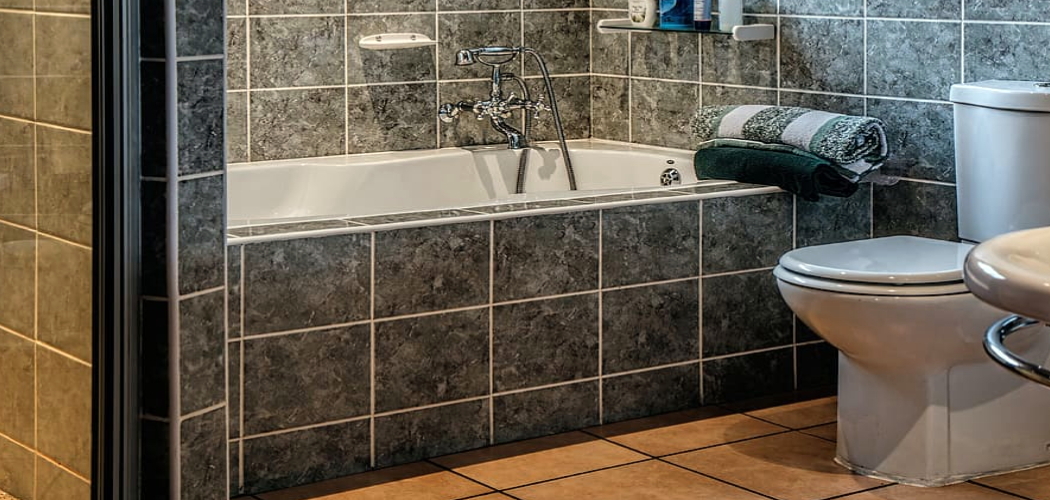
Installing flooring around a toilet can seem like a challenging task, but with the right tools and a clear process, it can be completed smoothly. Whether you’re replacing old flooring or installing new material, it’s essential to ensure a precise fit around the toilet for both aesthetic appeal and functionality. This guide on how to install flooring around a toilet will walk you through the steps to achieve a professional-looking result, even if you’re a beginner at home improvement projects.
What is the Best Type of Flooring to Use Around a Toilet?
The best type of flooring to use around a toilet is one that is water-resistant and easy to clean. This includes materials such as vinyl, laminate, or even tile. It’s important to choose a material that can withstand potential moisture from occasional splashes or spills in the bathroom. Hardwood flooring may not be the best choice for this area as it can warp or swell when exposed to moisture.
But if you prefer the look of hardwood, opt for engineered wood flooring, which is more resistant to moisture and can be installed as a floating floor without the need for glue or nails. Alternatively, you can also use waterproof laminate flooring that mimics the appearance of hardwood.
Tools and Materials You Will Need
- Measuring Tape
- Chalk Line
- Straight Edge or Ruler
- Utility Knife
- Flooring Material of Your Choice (Vinyl, Laminate, Tile)
- Underlayment (if Necessary)
- Spacers (if Necessary)
- Hammer or Rubber Mallet
- Pry Bar (for Removing Old Flooring)
- Caulk and Caulk Gun (Optional)
8 Step-by-step Instructions on How to Install Flooring Around a Toilet
Step 1: Measure the Area
Begin by carefully measuring the area around the toilet. Use a measuring tape to determine the dimensions of the space, including the distance from the base of the toilet to the nearest walls or bathroom fixtures. Mark these measurements on your flooring material or a piece of paper to ensure accuracy.
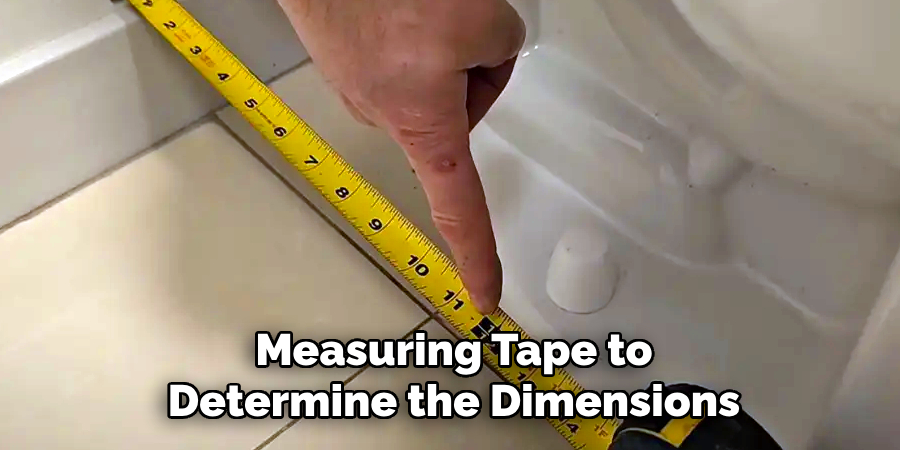
This step is crucial for achieving a clean and precise fit, especially around the curved edges of the toilet base. For added precision, consider using a straight edge or a template to map out the exact shape of the toilet base onto the flooring material.
Step 2: Prepare the Subfloor
Before installing any new flooring, it’s essential to have a clean and level subfloor. Remove any old flooring if necessary using a pry bar and repair any damaged areas. Make sure that the subfloor is free of debris and dust before proceeding.
It’s also a good idea to install an underlayment if you’re using laminate or vinyl flooring. This will provide a smooth and stable surface for the new flooring and help reduce noise.
Step 3: Cut the Flooring Material
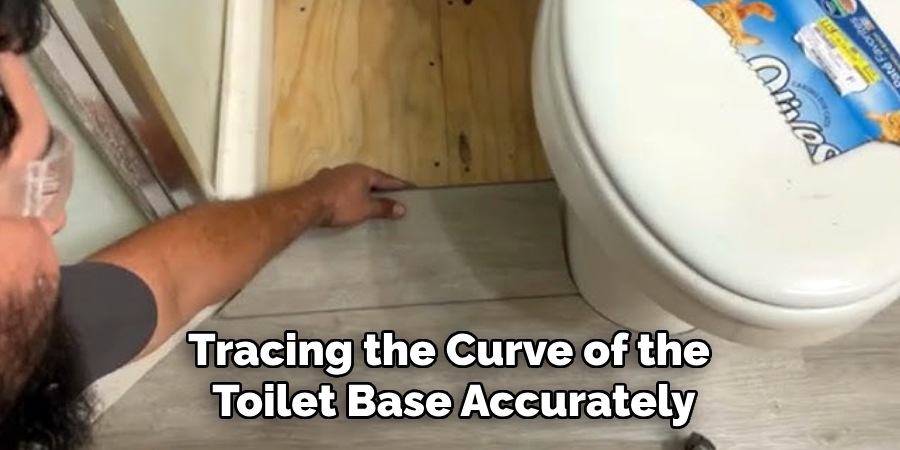
Once you’ve measured the area and prepared the subfloor, it’s time to cut the flooring material to fit around the toilet. Use the measurements taken earlier to outline the shape of the toilet base onto the flooring. A template can be especially helpful for tracing the curve of the toilet base accurately.
Using a utility knife or appropriate cutting tool for your chosen flooring material, carefully cut along your marked lines. Take your time to ensure precision, as an exact fit will prevent gaps and create a clean, professional appearance. If you’re working with tile, you may need a tile cutter or wet saw for this step. Double-check the fit by placing the cut piece around the toilet before proceeding to the installation phase. Trim any excess as needed to perfect the fit.
Step 4: Install the Flooring Around the Toilet
With your flooring material cut and ready, it’s time to install it around the toilet. Begin by placing the flooring piece right up against the base of the toilet, leaving a small gap between the edge of the flooring and the toilet base. This will allow for any necessary adjustments during installation.
If you’re using vinyl or laminate flooring, you may need to use spacers along the edges to create an expansion gap. Make sure to follow manufacturer instructions for this step. Using a rubber mallet or hammer, gently tap the flooring into place while making necessary cuts or adjustments as you go.
Step 5: Adhere to Any Loose Edges
If you’re working with vinyl or laminate flooring, there may be some loose edges around the toilet base. To secure these edges, apply a small amount of adhesive caulking along the perimeter and smooth it down with your finger. This will provide a waterproof seal and prevent any movement or gaps between the flooring and the toilet base.
The use of caulk is optional, but it can add a polished finishing touch to your installation.
Step 6: Continue Installing the Rest of the Flooring
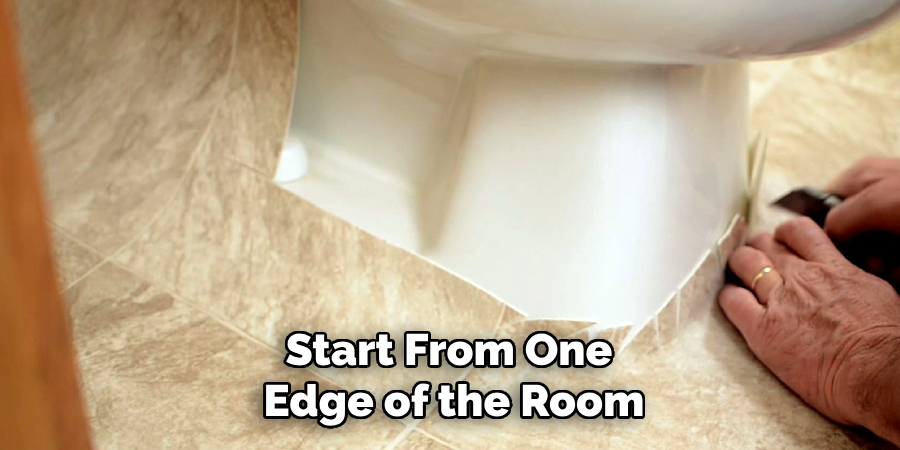
With the area around the toilet complete, proceed to install the remaining flooring across the rest of the bathroom. Start from one edge of the room and work your way toward the other side, ensuring that each piece of flooring aligns properly with the adjacent ones. If you’re using materials like vinyl or laminate, follow the recommended installation method, such as snapping pieces together or adhering them with adhesive.
Use spacers if necessary to maintain even gaps along the walls for expansion. Cut pieces to fit around other fixtures, like sinks or bathtubs, using the same careful measurement and cutting techniques employed around the toilet. Regularly check that the flooring is level and securely in place as you progress. This systematic approach will ensure a seamless and professional finish for your bathroom flooring.
Step 7: Clean and Inspect
Once all the flooring is installed, it’s time to clean up any debris or dust that may have accumulated during the installation process. Use a vacuum or broom to thoroughly remove any remaining particles from the new floor. Then, inspect the entire area for any gaps, loose edges, or imperfections that may need touch-ups. Make any necessary adjustments before proceeding to the final step.
Otherwise, you can also hire a professional to do the installation for you. They have the expertise and tools necessary to ensure a flawless finish.
Step 8: Reinstall the Toilet
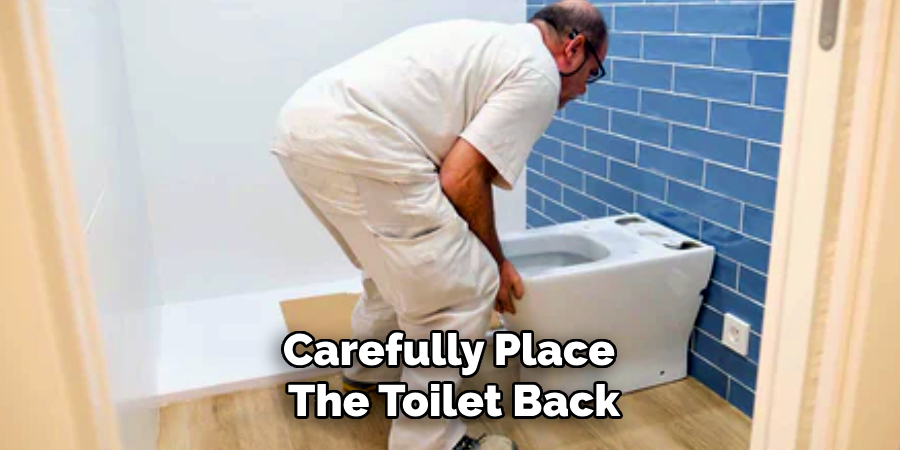
With the flooring complete, it’s time to reinstall the toilet. Carefully place the toilet back on top of the flange and secure it with new bolts and nuts if needed. Adjust as necessary to make sure that it sits evenly on the floor. Finally, reconnect the water supply lines and turn them back on.
Congratulations! You have successfully installed new flooring around your toilet. With proper maintenance and care, your bathroom will now have a fresh, updated look while providing functional benefits such as increased durability and moisture resistance in this high-traffic area. Remember to regularly clean and inspect the flooring to maintain its pristine condition for years to come.
Additional Tips for Maintaining Your Bathroom Flooring
- Regularly sweep or vacuum your bathroom floor to remove dirt, dust, and debris that can cause scratches over time.
- Use a damp mop and mild cleaner, as recommended by the manufacturer, to clean any spills or stains promptly. Avoid using harsh chemicals or abrasive cleaners that can damage the flooring.
- Place mats or rugs in high-traffic areas, such as in front of the sink or shower, to protect the flooring from excessive wear and tear.
- Check for any signs of water damage around the toilet base regularly and address them immediately to prevent further issues.
- Consider adding a sealant over your new flooring for additional protection against moisture and spills. Consult with a professional for recommendations on suitable products for your specific type of flooring.
By following these tips on how to install flooring around a toilet and properly maintain your bathroom flooring, you can extend its lifespan and keep it looking brand new for years to come. Remember, when in doubt, always consult with a professional for guidance and assistance to ensure the best results. Enjoy your newly updated bathroom!
Frequently Asked Questions
Q1: Can I Install Any Type of Flooring Around a Toilet?
A: Most types of flooring can be installed around a toilet, but it’s important to consider the level of moisture and potential for water damage in your bathroom. Materials like vinyl, laminate, and ceramic tile are commonly used due to their durability and moisture resistance.
Q2: Do I Need Any Special Tools to Install Flooring Around a Toilet?
A: You may need basic tools like a measuring tape, utility knife, and hammer. However, if you’re using materials that require adhesive or spacers, you should also have the necessary application tools on hand. Make sure to consult the manufacturer’s instructions for any specific tools needed for your chosen flooring material.
Q3: How Long Will It Take to Install Flooring Around a Toilet?
A: The installation time will depend on various factors such as the type of flooring, size of the bathroom, and level of experience. Generally, it can take anywhere from a few hours to a full day to complete the installation. It’s important to take your time and follow proper techniques for a successful result.
Q4: Can I Reinstall My Old Toilet After Installing New Flooring?
A: Yes, you can reinstall your old toilet as long as it is still in good condition. However, if you notice any issues with the toilet, it’s a good idea to replace it with a new one to prevent future problems.
Conclusion
Installing new flooring around a toilet may seem like a challenging task, but with the right tools, careful planning, and attention to detail, it is a project that can be completed successfully by most DIY enthusiasts.
Following the step-by-step process on how to install flooring around a toilet outlined above ensures a neat, professional-looking finish that enhances the overall appeal and functionality of your bathroom. Remember to choose durable, moisture-resistant flooring materials suitable for the space, and take the time to properly maintain your new flooring to keep it in excellent condition for years to come.

