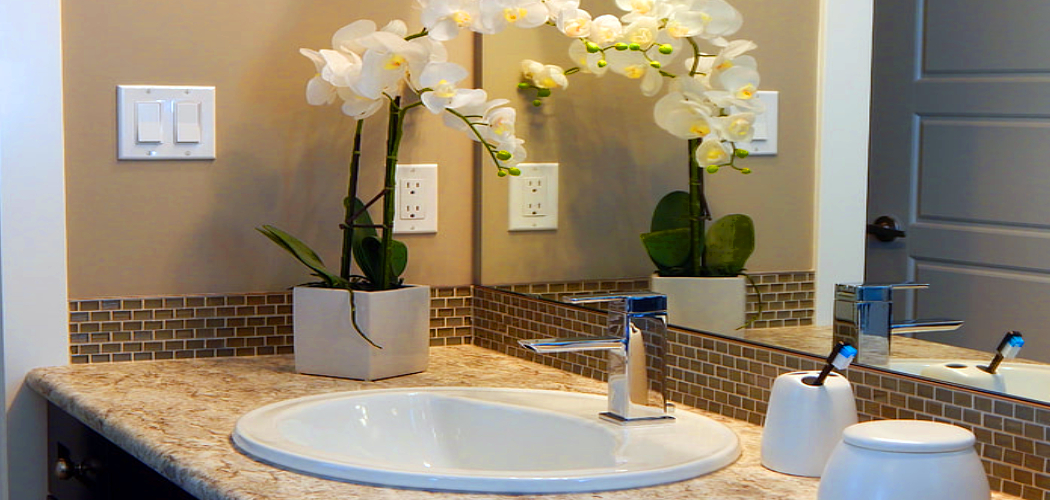
Sealing a bathroom counter is an essential step in maintaining its durability and appearance. Over time, moisture, soap, and other substances can seep into the countertop surface, causing stains, damage, or mold growth. Applying a proper sealant protects the surface from these issues, prolonging its lifespan and keeping it looking fresh. Whether your bathroom counter is made of natural stone, tile, or another material, sealing it is a straightforward process that can save you time and money on repairs in the long run.
In this blog post on How to seal a bathroom counter, we will discuss the steps to properly seal a bathroom counter, the benefits of sealing, and tips for maintenance.
Needed Materials
Before you start sealing your bathroom counter, gather the following materials:
Sealant:
Choose a product specifically designed for your type of countertop material. For example, if you have natural stone counters, opt for a sealant that is suitable for use on marble, granite, or other types of stone.
Cleaning Supplies:
You will need to thoroughly clean the counter before sealing it. Gather mild soap or countertop cleaner, water, and a soft cloth or sponge.
Protective Gear:
Sealants can be strong-smelling and may contain chemicals that can irritate skin or eyes. It is essential to wear gloves and eye protection when working with them.
Sealing Tools:
Depending on the type of sealant you are using, you may need a paintbrush, foam brush, or cloth for application. Check the product’s instructions for the tools needed.
8 Steps on How to Seal a Bathroom Counter
Step 1: Clean the Surface
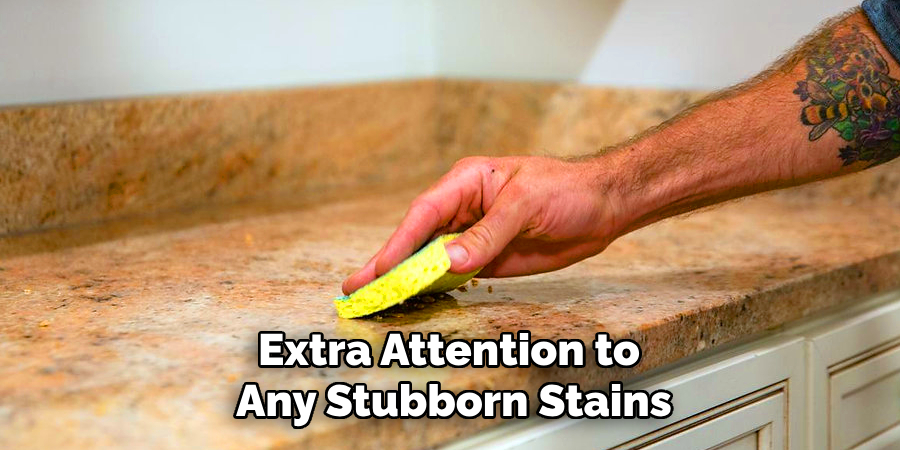
Begin by thoroughly cleaning your bathroom counter to remove any dirt, grime, or residue. Use a mild soap or countertop cleaner with water and a soft cloth or sponge. Gently scrub the surface, paying extra attention to any stubborn stains. Rinse with clean water to ensure no soap or cleaner remains on the counter.
Finally, dry the surface completely with a clean, dry cloth before proceeding to the next step. A clean surface allows the sealant to adhere properly and ensures the best results.
Step 2: Check the Weather
Before you start sealing, check the weather forecast. Avoid sealing your counter on rainy or humid days, as this can affect the sealant’s performance. Ideally, choose a day with mild temperatures and low humidity for the best results.
The ideal temperature for sealing varies depending on the product used, but most sealants work best when applied in temperatures between 50-80 degrees Fahrenheit.
Step 3: Prepare the Sealant
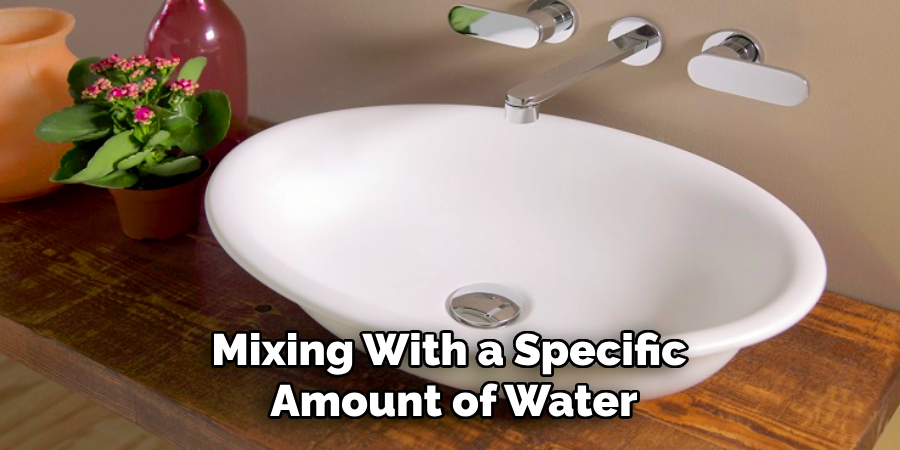
Follow the instructions on your chosen sealant to prepare it for use. Some products come ready to use, while others may require dilution or mixing with a specific amount of water. Be sure to read and follow all directions carefully to ensure proper application.
It is also essential to note the expiration date of your sealant. Using an expired product can affect its effectiveness and compromise the sealing process.
Step 4: Apply the Sealant
Using a paintbrush, foam brush, or cloth, apply the sealant evenly across the entire surface of your bathroom counter. Work in small sections to ensure thorough coverage and avoid missing any spots. Some sealants may require multiple coats, so be sure to follow the product’s instructions for application and drying times between coats.
You may also need to seal the sides and edges of your counter, depending on the type of material and its level of exposure to moisture.
Step 5: Let it Dry
After applying the sealant, allow it to dry completely as per the manufacturer’s recommended drying time. This step is critical to ensure that the sealant adheres properly and creates an effective barrier against moisture and stains. Avoid touching the surface or placing any objects on it during this period.
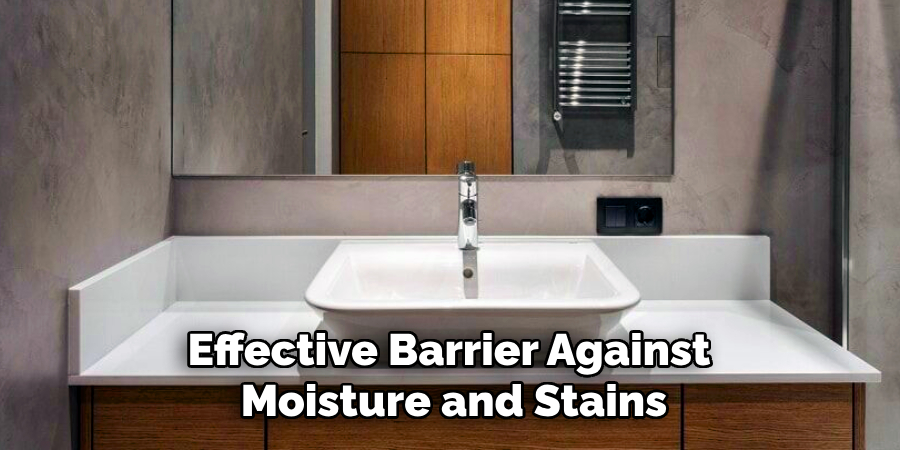
Depending on the type of sealant used, drying time can range from a few hours to 24 hours or more. Be sure to check the product instructions for specific timing, and ensure proper ventilation in the room to speed up the drying process. Patience during this step will ensure a long-lasting, durable finish.
Step 6: Apply a Second Coat
If recommended by the sealant’s instructions, apply a second coat of sealant after the first one has dried completely. This will provide an extra layer of protection and enhance the longevity of your bathroom counter’s seal.
It is crucial to follow the same application process as the first coat and allow the second coat to dry fully before proceeding to the next step.
Step 7: Wipe off Excess Sealant
After the final coat has dried, use a clean, dry cloth or sponge to remove any excess sealant from the surface of your bathroom counter. Wipe gently in circular motions, being careful not to disrupt or remove any of the applied layers.
Removing excess sealant will create a smooth and even finish, ensuring that your countertop looks its best.
Step 8: Maintain Your Sealed Bathroom Counter
Proper maintenance is essential for prolonging your bathroom counter’s sealed finish. Always use mild soap and water for cleaning, and avoid using harsh chemicals or abrasive cleaners that can damage the sealant.
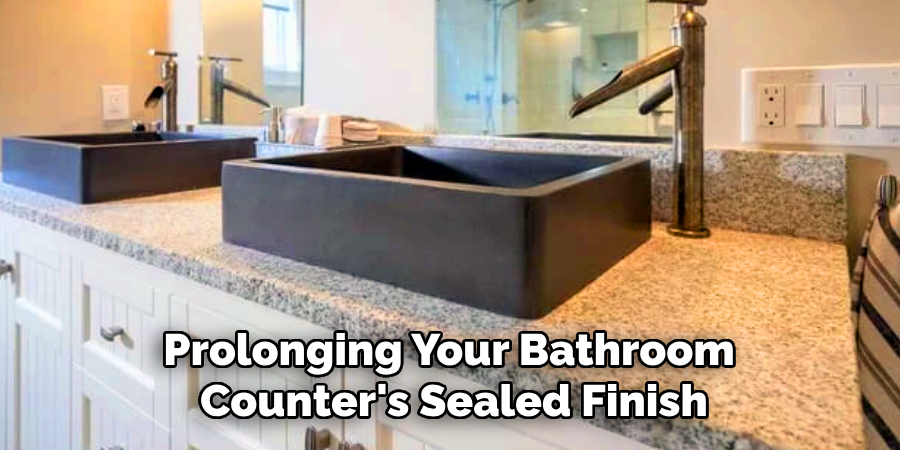
You may need to reseal your bathroom counter every 1-3 years, depending on its level of use and exposure to moisture. Regularly checking and repairing any cracks or chips in the sealant will also help maintain its effectiveness.
Following these steps on How to seal a bathroom counter and properly maintain your sealed bathroom counter will save you time and money on repairs in the long run. Plus, your bathroom counter will continue to look beautiful for years to come!
Benefits of Sealing a Bathroom Counter
Sealing your bathroom counter offers multiple benefits, including:
- Protection against stains from soap, toothpaste, makeup, etc.
- Preventing mold growth from moisture seeping into the surface
- Enhancing the appearance of your countertop by giving it a fresh, polished look
- Prolonging the lifespan of your bathroom counter by protecting it from scratches, cracks, and other damage
- Adding value to your home by maintaining well-maintained and aesthetically pleasing surfaces.
- Saving time and money on repairs and replacements in the future.
- Make cleaning easier by creating a non-porous surface that resists dirt and grime buildup.
- Increasing the overall hygiene of your bathroom by creating a barrier against bacteria and germs.
- Improving the longevity and durability of your bathroom countertop, especially in high-traffic areas.
Additional Tips
- Always choose a high-quality sealant that is specifically designed for bathroom countertops.
- Be sure to read and follow all instructions on the sealant’s label and use appropriate safety gear, such as gloves and goggles.
- It is recommended to test the chosen sealant on a small, inconspicuous area of the countertop before applying it to the entire surface.
- Regularly check and repair any cracks or chips in the sealant to maintain its effectiveness.
- Avoid placing hot objects directly on a sealed bathroom counter as this can damage the sealant and leave permanent marks.
- Consider sealing other surfaces in your bathroom, such as shower walls and floors, for maximum protection against moisture and stains.
- Seek professional help if you are unsure about properly sealing your bathroom counter or if the countertop requires extensive repairs before sealing.
By following these steps and tips on how to seal a bathroom counter, you can effectively seal it and enjoy its benefits for years to come. Remember to always prioritize proper maintenance to keep your countertop looking beautiful and functioning well.
Frequently Asked Questions
Q: How Often Should a Bathroom Counter Be Sealed?
A: It is recommended to reseal a bathroom counter every 1-3 years, depending on its level of use and exposure to moisture. It is also essential to regularly check for any cracks or chips in the sealant and repair them promptly.
Q: Can I Use Any Sealant on My Bathroom Counter?
A: It is best to use a sealant specifically designed for bathroom counters, as these are more resistant to moisture and stains. Consult with a professional or read product labels for guidance on the best sealant for your specific counter material.
Q: Is Sealing My Bathroom Counter Necessary?
A: While it may not be necessary, sealing your bathroom counter offers multiple benefits and can save you time and money on repairs in the long run. Plus, it enhances the appearance of your countertop and adds value to your home. So, it is highly recommended that your bathroom counter is sealed for its protection and longevity.
Q: Can I Seal My Bathroom Counter on My Own?
A: Yes, you can seal your bathroom counter on your own by following the steps mentioned above. However, it is essential to read and follow all product instructions carefully for proper application and maintenance. If you are unsure or have any concerns, consult with a professional for guidance.
Conclusion
Sealing your bathroom counter is a simple yet essential step in maintaining its beauty and functionality. By protecting the surface against moisture, stains, and everyday wear, you can ensure its durability and longevity for years to come.
Whether your counter is made of natural stone, wood, or other materials, following the proper sealing process will enhance its appearance and safeguard it from potential damage. With regular maintenance and care, your sealed bathroom counter will remain a shining centerpiece in your home, combining both practicality and aesthetic appeal. Thanks for reading the article on How to seal a bathroom counter.

