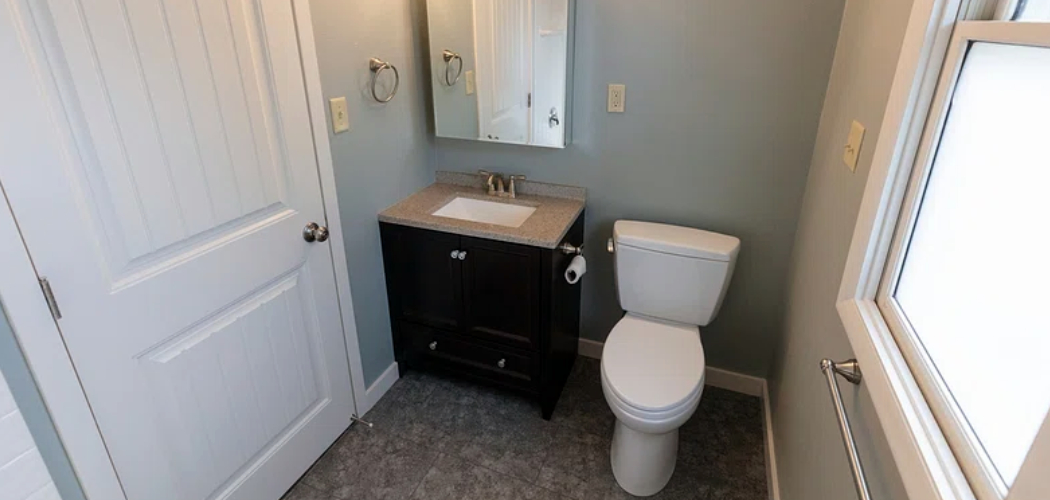
Insulating a garage bathroom is a crucial step in ensuring comfort and efficiency, especially if you live in an area with extreme temperatures. Proper insulation helps maintain a consistent temperature, prevents pipes from freezing during cold weather, and reduces energy consumption. Whether you’re renovating an existing space or building a new bathroom, understanding the insulation process will help you create a functional and welcoming environment.
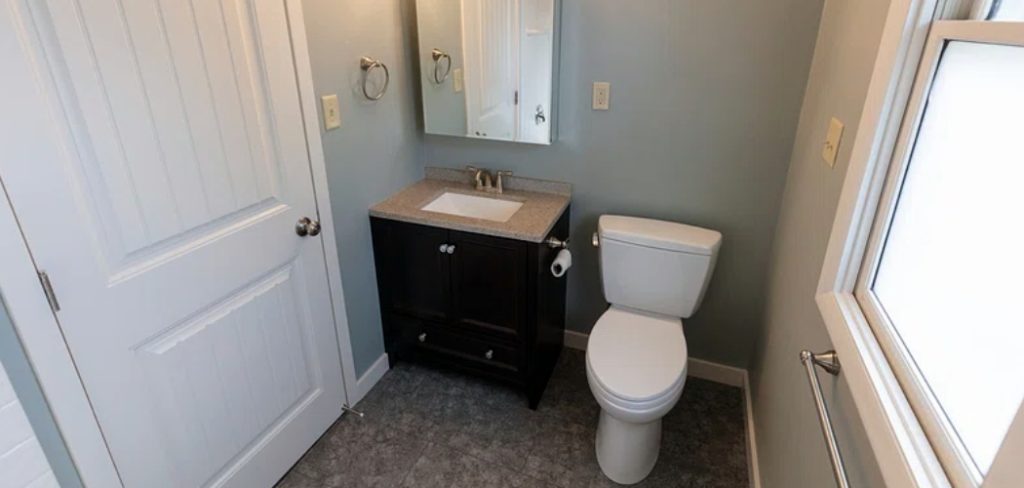
This guide on How to insulate a garage bathroom will walk you through the necessary steps and materials to effectively insulate your garage bathroom.
Why Insulate a Garage Bathroom?
Insulating a garage bathroom is essential for multiple reasons, including:
Temperature Regulation:
A well-insulated bathroom will maintain a comfortable temperature regardless of the outside weather. This is especially important if you live in an area with extreme temperatures. Insulation acts as a barrier against heat transfer, keeping the temperature inside regulated and preventing it from being affected by the outdoor climate.
Protection Against Freezing Pipes:
Pipes in an uninsulated bathroom can freeze during cold weather, leading to costly repairs. Insulating your garage bathroom will prevent this from happening and also protect your plumbing system.
Energy Efficiency:
Insulation helps reduce energy consumption by minimizing heat loss through walls, floors, and ceilings. This means you’ll spend less on heating or cooling your bathroom, resulting in lower utility bills.
Needed Materials
Before diving into the insulation process, make sure you have all the necessary materials. The following are some of the materials you’ll need:
- Insulation (Fiberglass, Spray Foam, or Rigid Foam)
- Vapor Barrier
- Caulk or Expanding Foam Sealant
- Protective Gear (Gloves, Goggles, Mask)
- Utility Knife
- Tape Measure
- Staple Gun and Staples
8 Step-by-step Guides on How to Insulate a Garage Bathroom
Step 1: Identify the Areas
The first step in insulating a garage bathroom is to identify all the areas that require insulation. Focus on walls, ceilings, floors, and any exposed pipes that could be affected by temperature changes. Pay close attention to exterior walls and areas where air leaks might occur, such as window frames, door edges, and around plumbing penetrations.
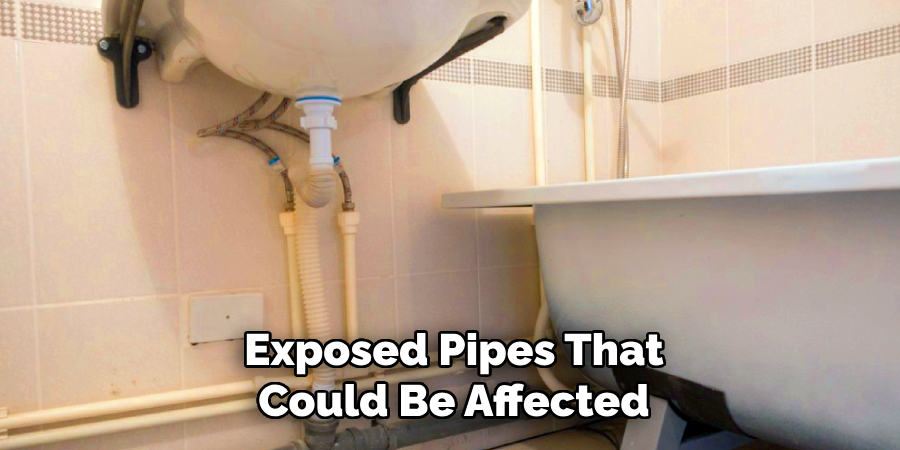
Identifying these areas ensures you don’t miss any critical spots, allowing for comprehensive insulation that maximizes efficiency and comfort. Use your tape measure to assess the dimensions of each section to determine how much insulation material you’ll need.
Step 2: Choose Your Insulation Material
Selecting the right insulation material is a vital step in the process. Consider the characteristics of your garage bathroom and your local climate when making a choice. Fiberglass insulation is a popular and cost-effective option, providing excellent thermal resistance and ease of installation. Spray foam insulation, though more expensive, offers superior coverage and is especially effective for filling small gaps and hard-to-reach areas. Rigid foam boards are another option, known for their high R-value and moisture resistance, making them ideal for bathrooms in humid or damp environments.
Assess the pros and cons of each material to determine which one suits your needs best. Keep in mind factors such as durability, ease of application, and how well the material will fit the specific areas of your garage bathroom. Once you have selected the right insulation, ensure you have enough material to fully insulate all the identified areas from Step 1.
Step 3: Prepare the Space for Insulation
Before starting the insulation process, it’s essential to prepare the space properly. This involves clearing any debris or clutter that could interfere with the insulation process and ensuring a clean surface for installation. If there are any cracks or holes in the walls or floors, use caulk or expanding foam sealant to fill them. This will prevent air leaks and ensure more effective insulation.

It’s also crucial to put on protective gear, including gloves, goggles, and a mask, before handling the insulation material. This will protect you from any potential irritants or harmful chemicals in the materials.
Step 4: Put on Protective Gear
Insulation materials can cause skin irritation, so it’s important to wear protective gear before handling them. Wear gloves, goggles, and a mask to protect your hands, eyes, and respiratory system from potential irritants. This is especially important if you’re using spray foam insulation, as the chemicals in it can be harmful if not handled with care.
You should also wear long-sleeved clothing and pants to cover exposed skin thoroughly. This will prevent any irritation or allergic reactions from coming into direct contact with the insulation material.
Step 5: Install Vapor Barrier
A vapor barrier helps prevent moisture from entering and damaging your garage bathroom’s walls or floors. It also prevents warm air from escaping through small gaps, reducing energy efficiency. Before installing the vapor barrier, ensure that all holes and cracks are sealed to maximize its effectiveness.
Measure and cut the vapor barrier to fit your walls and floors, leaving a little extra on each side for overlap. Use a staple gun or adhesive to secure the barrier in place.
Step 6: Install Insulation
With the vapor barrier in place, it’s time to start installing the insulation material. If using fiberglass or rigid foam, measure and cut it to fit the designated areas of your garage bathroom. Make sure you leave enough room around any electrical outlets or plumbing penetrations so that they are not covered by insulation.
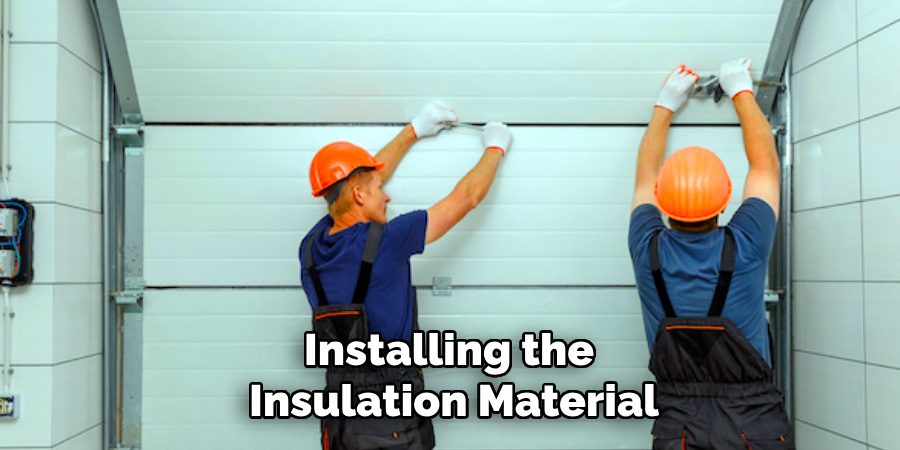
If using spray foam insulation, follow the manufacturer’s instructions carefully for proper application. It is recommended to start from the top down and use even strokes while spraying to ensure thorough coverage.
Step 7: Secure Insulation in Place
Once the insulation is installed, use a staple gun or adhesive to secure it. This will prevent any shifting or movement that could compromise its effectiveness. Make sure there are no gaps or areas left uninsulated to maximize the overall energy efficiency of your garage bathroom.
But be careful not to damage the vapor barrier or compress the insulation too much, as this can also reduce its effectiveness.
Step 8: Double Check and Clean Up
After completing the insulation process, it’s essential to double-check all areas to make sure everything is adequately insulated and secured. Take note of any areas that may require additional attention and make necessary adjustments.
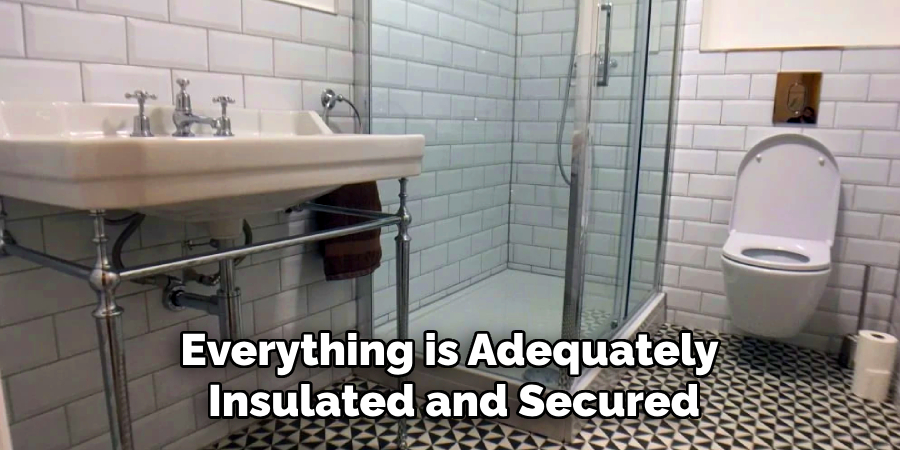
Finally, clean up any debris or leftover materials from the insulation process. Dispose of them properly according to environmental regulations.
Following these step-by-step guides on How to insulate a garage bathroom will ensure that your garage bathroom is properly insulated, providing you with a comfortable and energy-efficient space. Don’t overlook the importance of proper insulation, as it can make a significant difference in your daily comfort and long-term cost savings.
Additional Tips:
- Consider installing a ventilation fan in your garage bathroom to help regulate temperature and humidity levels. This can further improve energy efficiency and prevent potential mold or mildew growth.
- Regularly check and maintain the insulation in your garage bathroom to ensure it remains effective over time.
- Consult with a professional if you are unsure about the insulation process or have specific concerns regarding your garage bathroom’s unique features.
- Installing proper insulation can also add value to your home and make it more attractive to potential buyers in the future. So, it’s a worthwhile investment in the long run.
- Properly insulating your garage bathroom can also have a positive impact on the environment by reducing energy consumption and greenhouse gas emissions.
- Don’t forget to check for any local building code requirements for insulation in garage bathrooms before starting the project. Following these codes will ensure your safety and compliance with regulations.
- Consider using eco-friendly insulation materials, such as recycled denim or cellulose, to reduce your carbon footprint and promote sustainability.
- If you plan on using your garage bathroom for storage, make sure to insulate the walls and ceiling to prevent any damage to your belongings from extreme temperatures.
Frequently Asked Questions
Q: How Long Does It Take to Insulate a Garage Bathroom?
A: The time it takes to insulate a garage bathroom can vary depending on the size of the space and the type of insulation material used. On average, it can take anywhere from 1-2 days for fiberglass or rigid foam insulation and 2-3 days for spray foam insulation.
Q: Can I Install Insulation in a Garage Bathroom Myself?
A: Yes, you can install insulation in your garage bathroom yourself. However, some knowledge and skill are required to ensure proper installation and effectiveness of the insulation. If you are unsure or uncomfortable with the process, it’s best to consult a professional for assistance.
Q: How Do I Know if My Garage Bathroom Needs Insulation?
A: There are a few signs that indicate your garage bathroom may need insulation. These include fluctuations in temperature, drafts or air leaks, and high energy bills. Additionally, if your garage bathroom is located in an unconditioned space such as an attic or basement, it is more likely to require insulation.
Conclusion
Properly insulating your garage bathroom is a worthwhile investment that can improve the comfort, energy efficiency, and longevity of the space. By following the step-by-step process on How to insulate a garage bathroom outlined above, you can ensure that your garage bathroom remains a functional and comfortable area regardless of the season.
Remember to choose the right insulation material for your needs, prepare the space thoroughly, and take safety precautions during installation. With careful planning and execution, you’ll enjoy the benefits of a well-insulated garage bathroom for years to come.

