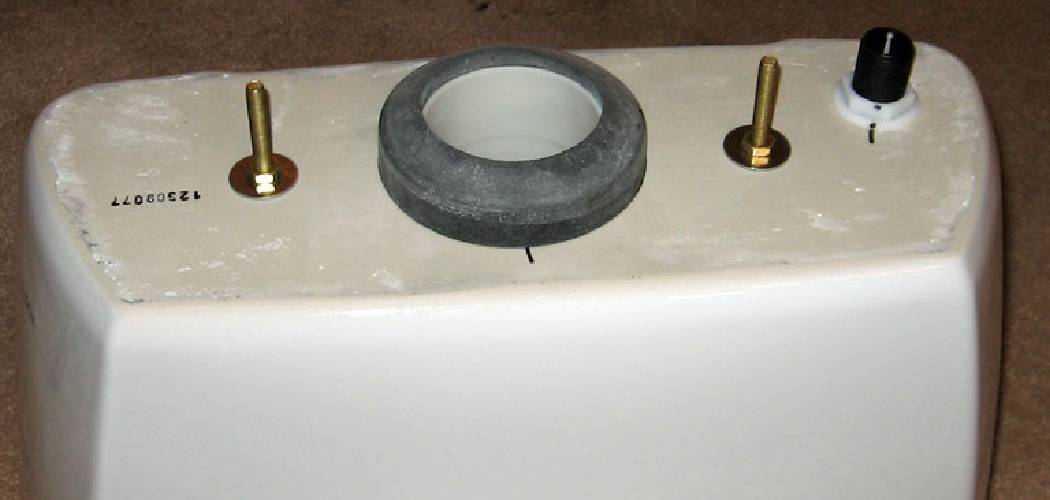
Replacing tank bolts on a toilet is a common maintenance task that can help prevent leaks and ensure your toilet functions properly.
Over time, the bolts that secure the tank to the bowl can rust, corrode, or loosen, leading to water seepage or instability. Fortunately, with a few tools and some basic steps, this is a repair that most homeowners can handle on their own.
This guide on how to replace tank bolts on a toilet will walk you through the process, making it simple and straightforward.
Why Replace Tank Bolts?
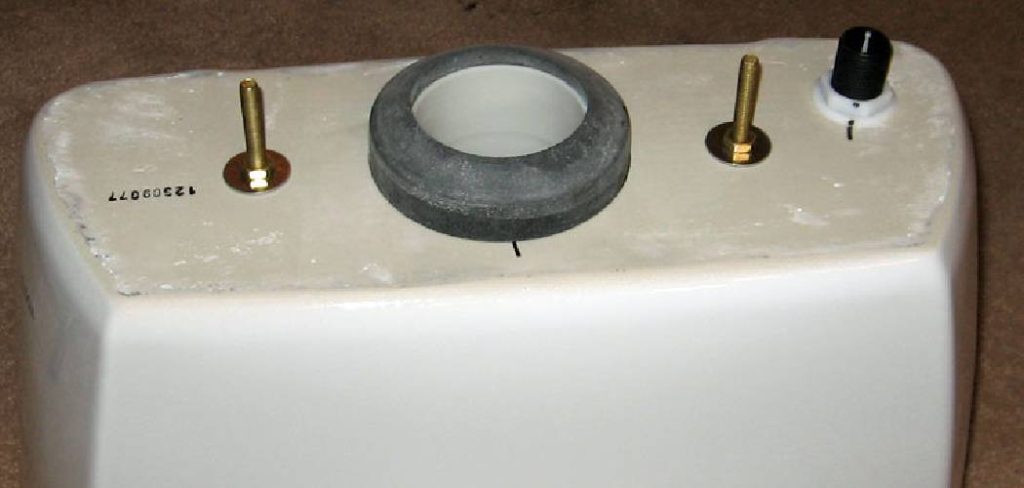
Before we dive into the steps of replacing tank bolts, let’s discuss why it’s necessary. As mentioned before, tank bolts can rust, corrode or loosen over time due to constant exposure to water and cleaning products. This can weaken the bond between the tank and bowl, causing leaks or even a wobbly toilet.
Leaks from the toilet tank can waste a significant amount of water and lead to higher water bills. It can also cause damage to your bathroom floor if left untreated for an extended period. Replacing worn-out tank bolts is crucial in preventing these issues and maintaining the proper functioning of your toilet.
What You Will Need
To replace tank bolts on a toilet, you will need the following tools and materials:
- Adjustable Wrench
- Screwdriver (Flathead or Phillips, Depending on Your Toilet Model)
- New Tank Bolts and Gaskets
- Towel or Rag
8 Step-by-step Guidelines on How to Replace Tank Bolts on a Toilet
Step 1: Shut off the Water Supply
Before starting the repair, locate the water supply valve near the base of the toilet. Turn the valve clockwise to shut off the water supply to the tank. This step is essential to prevent water from spilling during the replacement process.
Once the water is turned off, flush the toilet to drain as much water as possible from the tank. Use a towel or rag to soak up any remaining water in the tank to ensure a dry working area.
Step 2: Remove the Tank Lid and Drain the Tank
Carefully remove the tank lid and set it aside on a flat, secure surface to prevent it from breaking. With the lid removed, check the inside of the tank and ensure it is mostly empty.
If there is any remaining water after flushing, use a towel, sponge, or small container to soak up and remove as much of it as possible. A completely drained tank will make the replacement process cleaner and easier to manage.
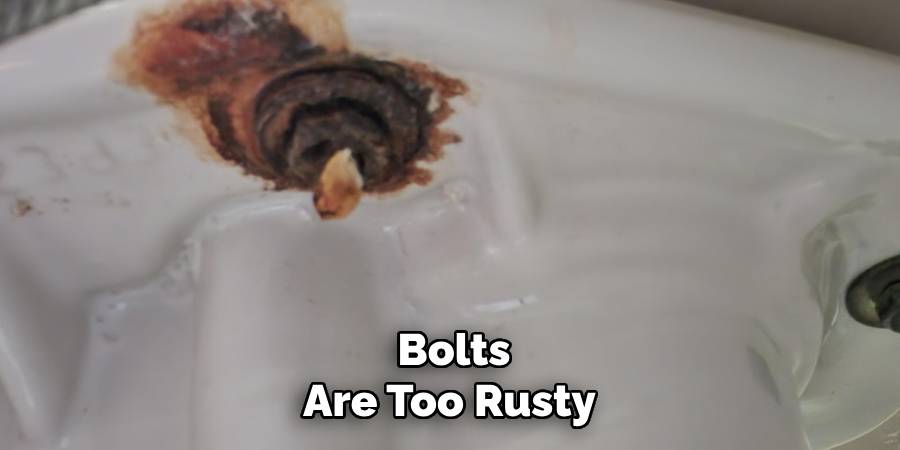
If the bolts are too rusty or difficult to remove, use a penetrating oil spray and let it sit for a few minutes before attempting to loosen them again.
Step 3: Loosen the Tank Bolts
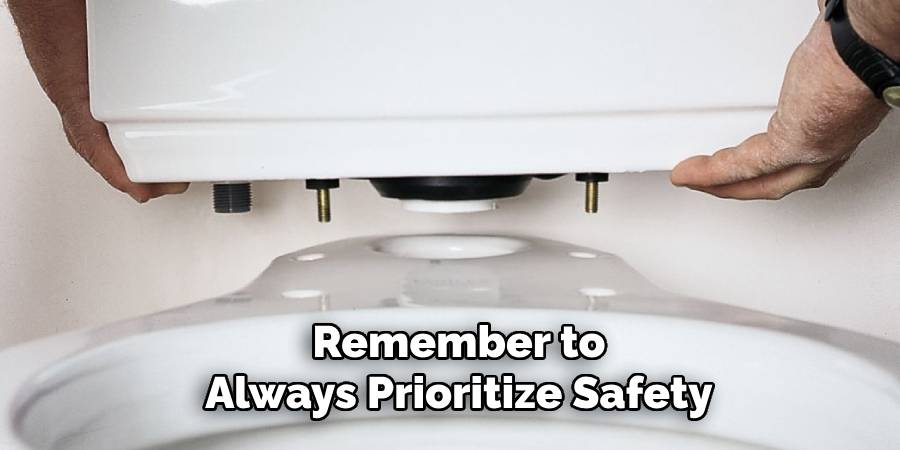
Locate the bolts at the bottom of the toilet tank that secures it to the toilet bowl. These bolts are typically accessible from underneath the tank or through the tank’s interior. An adjustable wrench is used to hold the nut on the underside of each bolt, and a screwdriver is used to turn the bolt from inside the tank. Slowly loosen each bolt by turning it counterclockwise.
If the bolts are corroded or difficult to move, apply a penetrating oil to the threads and allow them to sit for a few minutes to loosen the rust. Be cautious not to use excessive force, as this could crack the porcelain of the tank. Work patiently until the bolts are completely loosened and ready to be removed.
Step 4: Remove the Old Bolts and Gaskets
Once the bolts are fully loosened, carefully remove them from the tank. Be sure to keep track of any washers or nuts that were part of the assembly. With the bolts removed, inspect the gaskets that sit between the tank and bowl, as these are also likely to be worn or damaged.
Remove the old gaskets and discard them. Take a moment to clean the areas where the bolts and gaskets were installed, ensuring there is no buildup or debris. This will help create a tight seal when you install the new bolts and gaskets.
Step 5: Install the New Bolts and Gaskets
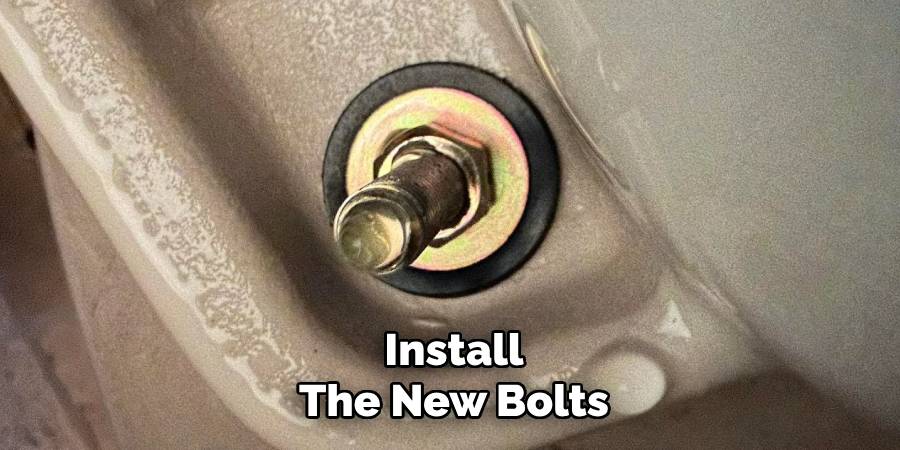
Begin by placing the new rubber gaskets onto the bolts. These gaskets will create a watertight seal between the tank and the bowl. Insert the bolts through the designated holes at the bottom of the tank, ensuring the rubber gaskets are positioned on the inside of the tank to prevent leaks.
With the bolts in place and protruding through the tank holes, attach washers and nuts to the bolts from underneath the tank. Hand-tighten the nuts to secure the bolts before using an adjustable wrench to tighten them further.
Be sure to tighten the bolts evenly on both sides to avoid tilting or cracking the porcelain. Tighten the nuts until the tank is firmly attached to the bowl, but do not overtighten, as excessive force could damage the tank or gasket.
Step 6: Reattach the Tank Lid and Turn on the Water
With the tank bolts securely in place, reattach the tank lid and ensure it sits evenly on top of the tank. With everything back in its proper position, turn on the water supply valve to refill the tank.
Once full, flush the toilet a few times to check for any leaks or wobbles. If everything looks good, congratulations! You have successfully replaced your toilet’s tank bolts.
You can also use a leak detector dye tablet to test for any hidden leaks that may not be visible to the naked eye. Simply drop the tablet into the tank and wait for a few minutes. If there is any color change in the water in the bowl, it indicates a leak that needs to be addressed.
Step 7: Adjust the Water Level (Optional)
If you notice that the water level in the tank is too high or too low after replacing the bolts, you may need to adjust it. Locate the float inside the tank, which controls the water level. Depending on the type of float, you can make adjustments by either turning the float’s adjustment screw (for screw-type floats) or bending the float arm slightly (for older ballcock mechanisms).
For modern toilets with a vertical float, simply slide the float up or down along the fill valve shaft to the desired position. The water level should generally be about 1 inch below the overflow tube.
Once the adjustment is made, flush the toilet a couple of times to ensure the water fills to the correct level. Proper water level ensures optimal flushing performance and can help prevent overflows or inefficiencies.
Step 8:Clean-Upp and Maintenance Tips
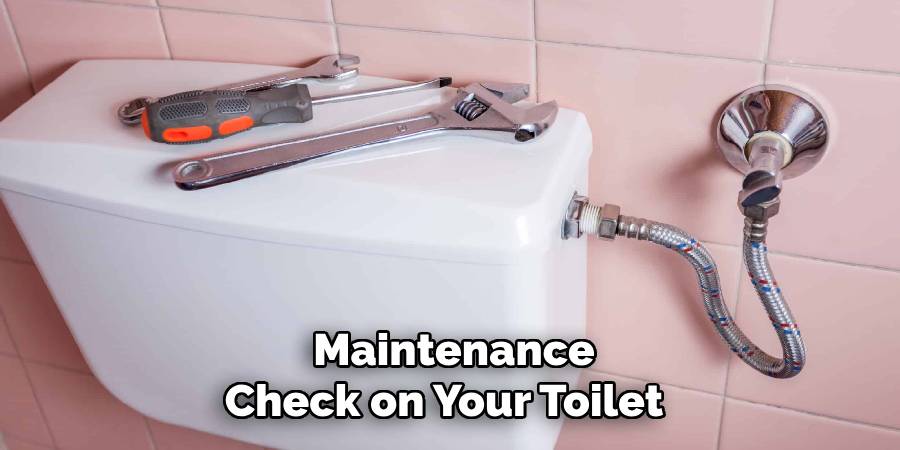
After successfully replacing the tank bolts, clean up any remaining debris or water from the area. Dispose of old parts and materials appropriately. It is also a good idea to perform a quick maintenance check on your toilet while it is disassembled.
Look for any signs of wear or damage, such as cracks in the porcelain or rusted parts. Address any issues promptly to avoid future problems with your toilet.
Lastly, it is recommended to periodically inspect and replace tank bolts and gaskets every few years to ensure the proper function of your toilet. And remember, always turn off the water supply before attempting any repairs on your toilet to prevent accidents or flooding.
Do You Need to Use Professionals?
Replacing toilet tank bolts and gaskets is a relatively straightforward task that most people can handle with basic tools and a little patience. However, there are situations where calling a professional plumber may be the better choice. If your toilet is very old, corroded, or showing signs of structural damage, a professional can provide expert advice and ensure the repair is done correctly without causing further issues.
Additionally, if you encounter persistent leaks even after replacing the bolts or are unsure about diagnosing the problem, a plumber can help identify and resolve the issue efficiently.
While DIY repairs can save money, professionals have the skills and experience to handle more complex problems, such as cracked tanks or improperly sealed connections, which could lead to costly water damage if not addressed properly. Ultimately, the decision to hire a professional depends on your comfort level with the repair process and the condition of your toilet.
Frequently Asked Questions
Q1: How Do I Know When It’s Time to Replace My Toilet’s Tank Bolts?
A: If you notice any leaks, wobbling, or rust on the bolts, it may be time to replace them. Additionally, if your toilet is constantly running or not flushing properly, it may be a sign of worn or damaged tank bolts.
Q2: Can I Replace the Tank Bolts Myself?
A: Yes, if you feel comfortable and have the necessary tools, you can easily replace the tank bolts yourself. However, if you are unsure or inexperienced with DIY repairs, it is best to consult a professional plumber for assistance.
Q3: What Type of Bolts Should I Use for Replacement?
A: Brass or stainless steel bolts are recommended for replacement, as they are more durable and less likely to rust compared to regular metal bolts.
With these steps on how to replace tank bolts on a toilet, you can confidently tackle this DIY task and keep your toilet functioning properly. Remember to always prioritize safety and consult a professional if needed.
A well-maintained toilet is essential for a functional and comfortable bathroom, so don’t neglect any necessary repairs or maintenance. Happy fixing!
Conclusion
Replacing your toilet’s tank bolts is a straightforward process that can save you time and money compared to hiring a professional. By following the step-by-step instructions on how to replace tank bolts on a toilet outlined above, you can ensure a secure and leak-free connection between your toilet’s tank and bowl.
Proper maintenance, such as periodic inspections and timely replacements of bolts and gaskets, will help extend the life of your toilet and prevent future issues.
With a little patience and the right tools, you can confidently tackle this DIY repair and maintain a well-functioning bathroom.

