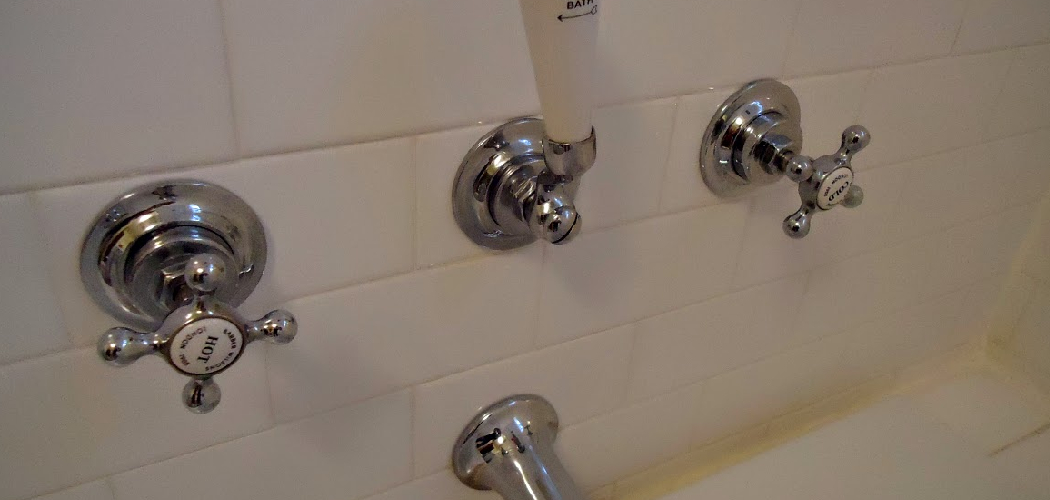
Removing a tub faucet is a common household task that can arise for several reasons, such as repairing leaks, upgrading your bathroom fixtures, or performing a deep cleaning to remove hard water buildup.
Knowing how to remove faucet from tub setups efficiently can save you time and the cost of hiring a professional while keeping your plumbing in great condition. Fortunately, this process is manageable with basic tools like a wrench, plumber’s tape, and a hacksaw, depending on the faucet type.
Before beginning, it’s critical to prioritize safety by turning off the water supply. This step prevents leaks or accidental flooding during the removal process. Additionally, preserving the pipe’s integrity by using proper techniques and tools is essential to avoid unnecessary damage.
With a little patience and preparation, removing a tub faucet becomes an approachable DIY task, ensuring your bathroom stays functional and well-maintained.
Understanding Different Types of Tub Faucets
When removing a tub faucet, it’s important first to understand the type of faucet you’re dealing with, as this will influence the removal process.
Wall-Mounted vs. Deck-Mounted Faucets
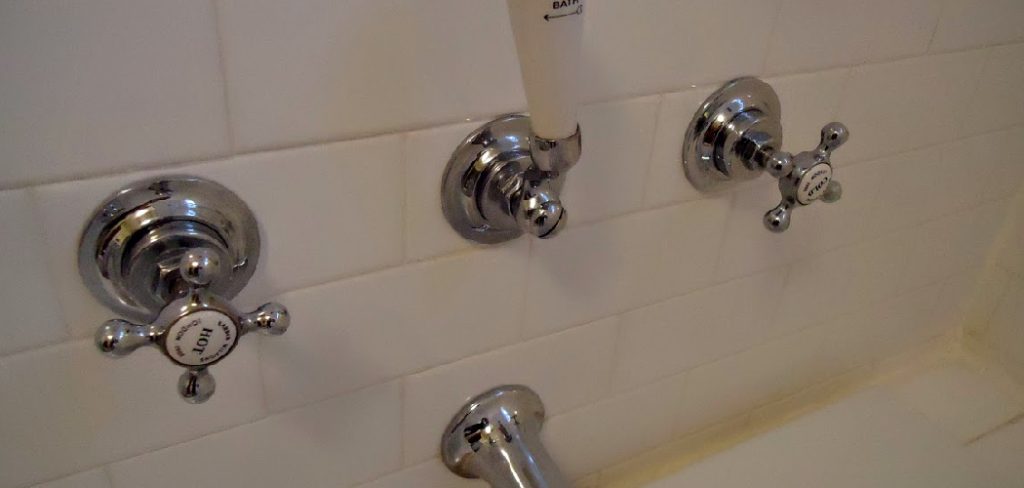
Wall-mounted faucets are attached directly to the wall above the bathtub and connect to plumbing hidden within the wall.
These faucets are common in most households and are favored for their sleek appearance and space-saving design. Deck-mounted faucets, in contrast, are installed on the rim or edge of the bathtub itself.
These are often found in freestanding tubs or clawfoot-style designs. The installation process for deck-mounted faucets involves visible plumbing connections beneath the tub, making them distinct from wall-mounted versions.
Diverter Faucets
Diverter faucets have a mechanism that redirects water from the tub spout to the showerhead. This function is achieved either through a pull-up knob on the faucet or a separate valve.
Removing diverter faucets can be slightly more complex, as care must be taken to avoid damaging the internal diverter mechanism. Often, additional steps may be required to disassemble and safely remove the diverter.
Slip-On vs. Screw-On Faucets
To identify the faucet type, examine the base of the spout. Slip-on faucets are secured with a set screw, typically located on the underside of the faucet.
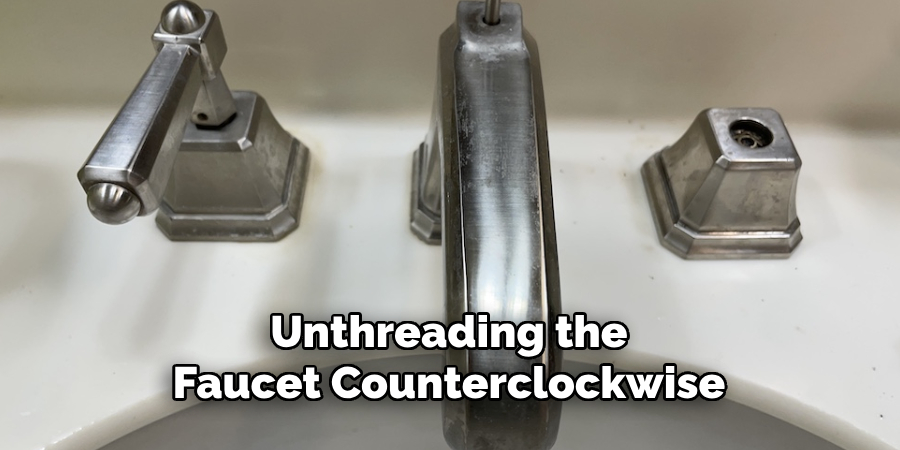
These can be removed by loosening the screw with the appropriate tool. On the other hand, screw-on faucets have a threaded connection and can be removed by unthreading the faucet counterclockwise. Recognizing these distinctions ensures an efficient and smooth removal process.
Tools and Materials Needed
When removing a tub faucet, having the right tools and materials is essential for a smooth and damage-free process. Here is a list of commonly required items:
- Adjustable Wrench or Pliers: These are useful for loosening nuts or other fittings securely attached to the plumbing.
- Hex Key or Allen Wrench: Necessary for handling set screws often found in slip-on faucets.
- Screwdriver: Used for removing any visible screws that secure certain faucet types.
- Rag or Tape: Protect the faucet’s finish by placing a rag or wrapping tape around it before using tools, which helps prevent scratches or marks.
- Penetrating Oil: Ideal for loosening stubborn screws or joints that may have become corroded over time.
These readily available tools can simplify the process while minimizing the risk of damage to the faucet or surrounding plumbing.
Preparation Before Removal
Before removing a tub faucet, it is crucial to take a few preparatory steps to ensure a smooth and damage-free process.
Turn Off the Water Supply
Begin by locating and closing the tub’s water supply valve. This prevents water from flowing during removal, reducing the risk of water leaks or flooding. If your tub does not have a dedicated valve, you may need to turn off the main water supply for your home.
Drain Remaining Water
Once the water supply is turned off, open the faucet to release any trapped water in the pipes. Allow it to drain to avoid unnecessary mess during the procedure completely.
Protect the Tub
To safeguard your tub from potential damage, place a towel or drop cloth over its surface. This protective layer will catch any stray tools, screws, or debris, reducing the chance of scratches, chips, or other marks.
Inspect the Faucet
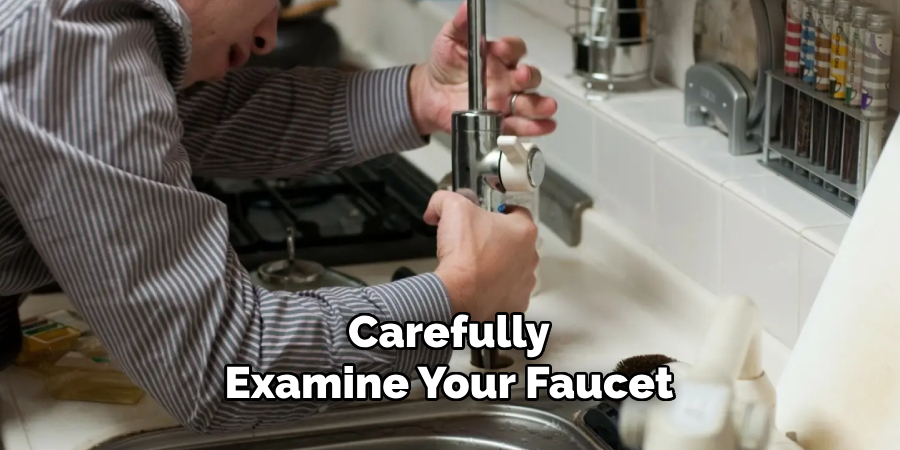
Carefully examine your faucet for visible screws, set screws, or fastening mechanisms. Identifying how the faucet is mounted will help you choose the right tools and guide your removal approach. Understanding these components in advance can save time and prevent accidental damage.
Taking these steps ensures a more efficient and trouble-free removal process.
How to Remove Faucet from Tub: Removing a Slip-On Faucet
Locate the Set Screw
Begin by inspecting the bottom of your slip-on faucet for a small set screw. This screw is typically located near the base of the faucet, where it connects to the pipe. Its purpose is to secure the faucet in place, so identifying its position is crucial before proceeding.
Loosen the Set Screw
Using a hex key or Allen wrench, gently loosen the set screw. Be cautious not to fully remove the screw, as this step only requires enough slack to detach the faucet without losing the screw entirely. Keeping it partially in place reduces the risk of misplacing such a small component.
Detach the Faucet
Once the set screw is adequately loosened, carefully pull the faucet straight off the pipe. Apply gentle but steady pressure during this process to avoid damaging either the faucet or the pipe. If you encounter resistance, double-check that the set screw is sufficiently loosened before trying again.
Check for Debris or Damage
With the faucet removed, take a moment to inspect the pipe. Look for signs of debris, such as mineral buildup, or any visible damage that could interfere with the reinstallation process.
Cleaning the pipe at this stage ensures a smoother and more secure fit when attaching the new faucet. Addressing any issues now will save time and potential frustration later.
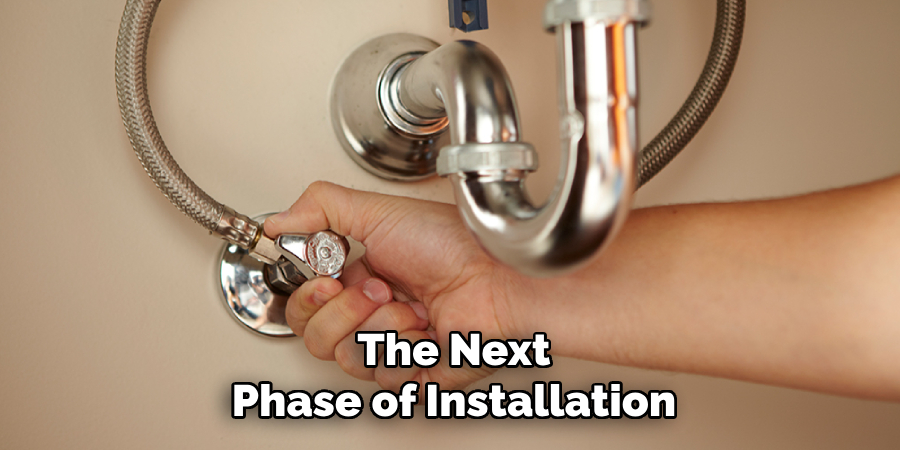
By following these steps, you can safely and efficiently remove a slip-on faucet, preparing your plumbing for the next phase of installation or repair.
How to Remove Faucet from Tub: Dealing with Stubborn Faucets
Sometimes, a slip-on faucet may be too difficult to remove using standard methods due to hardened sealant, rust, or other factors. If you find yourself in this situation, here are a few techniques you can try:
Using Heat
Applying heat can help soften hardened sealant or loosen rust holding the faucet in place. Use a hairdryer to direct warm air around the base of the faucet for a few minutes. Be sure to rotate the heat source to distribute the warmth evenly. Once the sealant or rust softens, remove the faucet with steady pressure.
Tapping Method
If heat alone does not work, gently tapping around the base of the faucet with a rubber mallet can help loosen it. This method works by breaking up the adhesion caused by rust or debris without damaging the faucet or pipe. Don’t tap too hard, as excessive force could cause damage.
Last Resort: Cutting the Faucet
If all other methods fail and the faucet is irreparably stuck or damaged, you may need to cut it off carefully. Use a hacksaw to make precise cuts, ensuring no damage to the underlying pipe. Work slowly and methodically to maintain control during this process. Once removed, inspect the pipe for any issues before proceeding with the installation of the new faucet.
Post-Removal Cleanup and Inspection
Clean the Pipe
After successfully removing the faucet, it is essential to clean the pipe thoroughly to ensure a smooth reinstallation. Carefully remove any old plumber’s tape, remnants of sealant, or debris present on the pipe threads. Using a clean cloth or a soft-bristled brush, gently scrub away any buildup, ensuring the threads are free from obstructions. This step will help create a secure connection for the new faucet.
Check for Leaks or Damage
Once the pipe is clean, inspect it closely for any visible cracks, rust, or other damage that might indicate the need for repair or replacement. Pay special attention to the condition of the threads, as worn or stripped threads can hinder a proper seal.
If you detect any serious issues, consult a professional plumber to address the problem before proceeding. Ensuring the pipe’s integrity is crucial to avoid potential leaks or long-term issues.
Prepare for Reinstallation
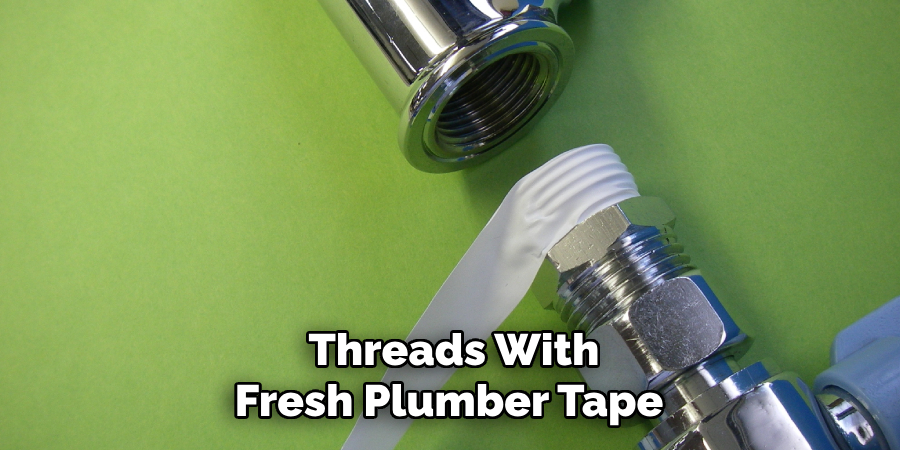
To prepare the pipe for the new faucet, wrap the threads with fresh plumber’s tape or apply a suitable thread sealant. This step helps prevent leaks and ensures a tight, waterproof seal upon installation.
Make sure the tape or sealant is applied evenly to cover all the threads effectively. With the pipe now cleaned, inspected, and prepared, you can install the new faucet confidently.
Conclusion
Removing a tub faucet can be done safely and efficiently by following the proper steps. Begin by turning off the water supply and removing any decorative components to access the faucet. Clean the exposed pipe and inspect it for leaks or damage before applying the plumber’s tape or sealant to prepare for reinstallation.
Taking your time and using the appropriate tools will help avoid unnecessary damage. Consult a professional if you find the process challenging or discover any significant issues. By following this guide on how to remove faucet from tub, you can complete the task with confidence and care.

