Removing a bathtub can be essential in modernizing your bathroom, addressing underlying plumbing issues, or creating more functional space by converting it to a shower.
Whether you’re upgrading to a sleek, modern tub or reconfiguring your bathroom layout, understanding how to remove bath tub is a critical first step in the process. While this task may seem daunting, thorough planning and appropriate safety precautions can make it a manageable DIY project for many homeowners.
Before starting, gathering the necessary tools, including a utility knife, adjustable wrench, reciprocating saw, and pry bar, is important. Basic plumbing skills, like disconnecting pipes and fittings, are also useful.
Always ensure proper protection, such as gloves and safety goggles, to handle heavy materials and prevent accidents. With careful preparation, determination, and the right techniques, removing a bathtub can be a rewarding project that transforms your bathroom into your dream space.
Tools and Supplies Needed
Before embarking on the bathtub removal process, gathering all necessary tools and supplies is essential for a smooth and safe project. Here’s a breakdown of what you’ll need:
Essential Tools
- Wrench: Handy for disconnecting plumbing fixtures and fittings.
- Screwdriver: Useful for removing screws attached to the tub or surrounding structures.
- Crowbar: Ideal for prying off tiles or panels around the tub.
- Utility Knife: Allows for cutting caulk or sealants around the edges of the bathtub.
- Hammer: Useful for loosening fittings or breaking apart materials.
- Reciprocating Saw: Essential for cutting through tough materials like fiberglass, metal, or wood framing.
Safety Equipment
- Gloves: Protect your hands from sharp edges and harsh materials.
- Safety Goggles: Shield your eyes from flying debris during cutting or prying.
- Dust Mask: Helps to avoid inhaling dust or small particles.
- Sturdy Work Boots: Prevent injuries from heavy items or slipping on wet surfaces.
Other Materials
- Drop Cloths: Protect your floors and surrounding areas from damage and debris.
- Buckets: Useful for catching excess water from disconnected pipes.
- Duct Tape: This can be used to secure loose items or coverings during removal.
- Plumber’s Putty: Handy for sealing and patching areas if needed.
Having all your tools and materials ready before starting the removal ensures a more efficient process, minimizes disruptions, and reduces potential hazards. Proper preparation is crucial for achieving the best results in your bathroom transformation.
Preparing the Workspace
Clear the Area
Before starting the demolition process, clear the bathroom of all movable items, including toiletries, towels, rugs, and decorations. This ensures that nothing gets damaged during the removal and provides unobstructed access to the area. Use drop cloths to cover surfaces such as countertops, bathtubs, and the bathroom floor to protect them from scratches, debris, and dust.
Turn Off the Water Supply
Locate the water supply valves for the bathroom, typically found under the sink or near the toilet, and turn them off completely. This step is crucial to avoid accidental leaks or water damage during the removal process. If the valves are inaccessible, you may need to shut off the main water supply to your home.
Disconnect Fixtures
Begin by removing smaller fixtures such as faucets, showerheads, and drain covers. Use a wrench or pliers as needed to loosen connections carefully. You will need a screwdriver to detach the cover and disconnect the overflow drain properly. Be cautious not to damage any reusable parts. Collect all pieces in a safe spot for later disposal or repurposing.
Lastly, ensure the workspace has proper ventilation by opening windows or using a fan to minimize dust accumulation and improve air circulation.

How to Remove Bath Tub: Removing the Bathtub Drain
Unscrew the Drain Flange
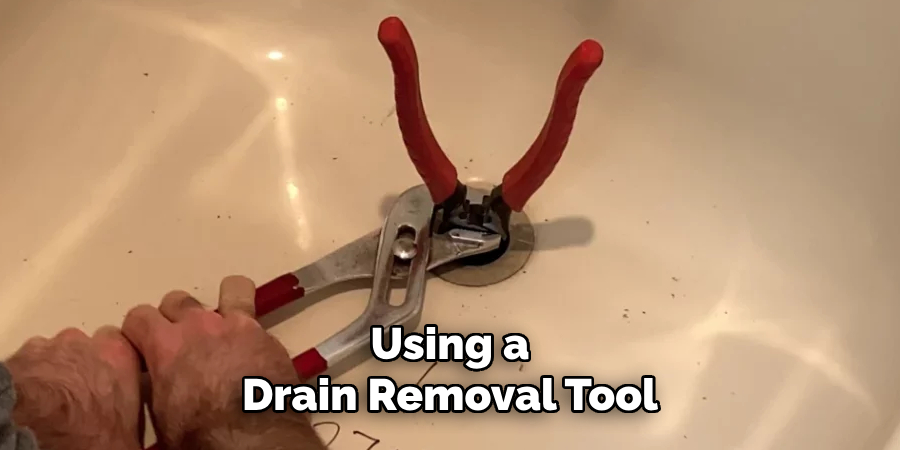
Start by using a drain removal tool or a pair of pliers to unscrew the drain flange carefully. Insert the tool into the crossbars of the drain and turn counterclockwise until the flange loosens and can be lifted out. Be gentle during this process to avoid damaging the drain’s threading or surrounding surfaces. If the flange is stuck due to corrosion, apply penetrating oil and allow it to sit for a few minutes before attempting again.
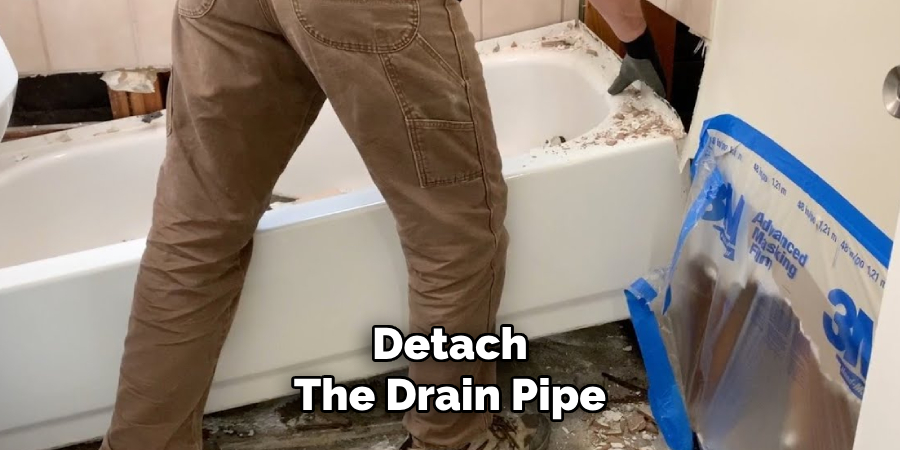
Disconnect the Drain Pipe
Once the drain flange is removed, proceed to detach the drain pipe from underneath the tub. Use a wrench to loosen the connections, carefully turning it counterclockwise. Keep a bucket or towel nearby to catch any water that might still be in the pipe.
Take your time and ensure the connections are fully loosened before removing the pipe to avoid unnecessary strain on adjoining plumbing.
Handle Overflow Assembly
Remove the overflow plate by unscrewing the bolts or screws and securing it to the tub wall. Gently pull the plate away, detaching the overflow pipe and any linked components. Make sure to inspect the pipes for any signs of wear or damage. Avoid undue force when disconnecting parts to prevent cracking or bending the surrounding plumbing.
Tips for Avoiding Damage
Avoid using excessive force when removing drain components to prevent cracking pipes or threads. Always use the appropriate tools for the task, and if components seem stuck, use lubricants or a heat application method before proceeding. Double-check all connections after removal to spot any potential damage early.
How to Remove Bath Tub: Detaching the Bathtub
Remove Caulking
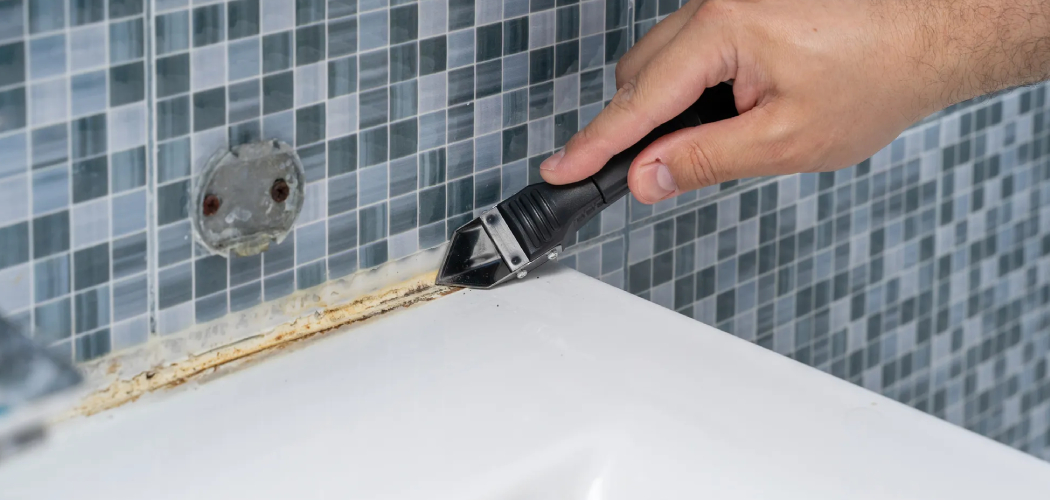
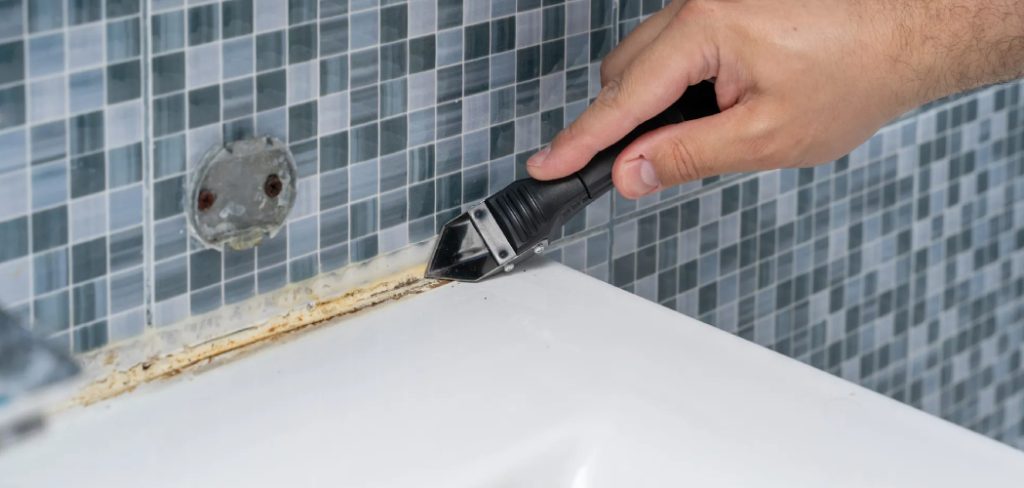
Begin by using a utility knife to cut through the caulk that seals the bathtub to the surrounding walls and floor. Make precise, steady cuts along the edges of the caulk to ensure a clean removal without damaging the surrounding materials.
Once cut through, gently peel away the loosened caulk to create a gap between the tub and the wall or flooring. This step helps minimize resistance when detaching the tub later.
Detach the Tub from the Wall
Carefully remove any screws or nails securing the tub flange to the studs in the wall. Use a screwdriver or pry bar as needed to gently dislodge the screws or nails without applying excessive force.
Be mindful of the surrounding surfaces to prevent any accidental scraping or dents. Double-check that all fasteners have been removed to avoid unnecessary strain during the next steps.
Break the Tub Free
Using a crowbar or pry bar, gently lift the tub away from the wall. Start at one corner and work your way around the perimeter. Apply gradual and even pressure to avoid cracking or damaging the tub or the wall. For heavier tubs, enlist the help of another person to stabilize and maneuver the tub safely out of place.
Handle Surrounding Tiles
If tiles are attached to the rim or sides of the tub, remove them carefully before proceeding. Use a putty knife or chisel to pry the tiles away, preserving their condition and avoiding chipping or cracking them.
Safety Tips
Wear gloves and protective eyewear to avoid injuries from sharp tools or broken materials. Avoid lifting the tub alone, especially if it is heavy or awkward; team assistance can help distribute the weight safely. When prying the tub, ensure your hands and tools are positioned securely to minimize the risk of slipping or exerting unintended force. Keep the work area clear of debris to reduce tripping hazards during this task.
Lifting and Removing the Bathtub
Assess the Weight
Begin by determining the material of the bathtub, as this will influence the removal process. Lightweight tubs, such as those made of fiberglass or acrylic, can typically be managed more quickly compared to heavier cast iron tubs, which may require extra precautions and additional help. Properly assessing the weight ensures you can plan for safe and efficient removal.
Cut into Sections if Necessary
Consider cutting the bathtub into smaller, more manageable pieces if it is heavy or bulky. Use a reciprocating saw with a blade suitable for metal or fiberglass, depending on the tub’s material. Wear protective gear, including gloves, safety glasses, and a dust mask, to guard against flying debris and sharp edges. Cutting the tub into sections makes handling easier and facilitates disposal or recycling.
Lift with Assistance
For heavy tubs, recruit at least one other person to assist during removal. Position yourselves ergonomically to minimize strain—bend your knees and lift with your legs rather than your back. Take breaks as needed to avoid overexertion, and use additional tools like a furniture dolly or straps, if available, to distribute the weight more effectively.
Dispose of the Tub
Once the tub is removed, decide on the best disposal option. You can recycle old metal tubs at a local scrap yard or consider repurposing the material for other uses.
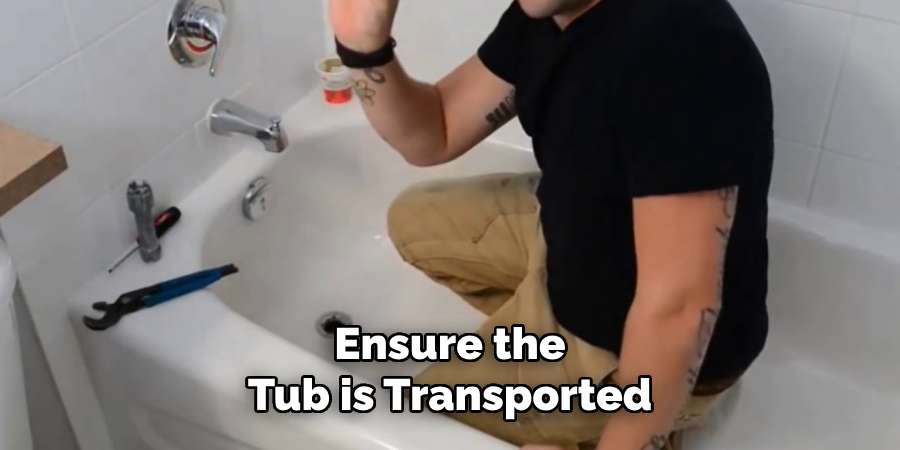
Alternatively, check with your local waste management service for guidelines on disposing of fiberglass or acrylic tubs. Ensure the tub is transported and discarded safely, particularly if it has sharp edges or irregular parts that could cause injury. Always prioritize safety throughout this process.
Inspecting and Preparing the Area for Replacement
Before installing the new tub, it is crucial to thoroughly inspect and prepare the area to ensure a smooth replacement process.
Check the Subfloor
Start by examining the subfloor for signs of water damage or rot. If you find any compromised areas, make the necessary repairs to maintain structural integrity. A sturdy and dry subfloor is essential to support the weight of the new tub and avoid future issues.
Inspect Plumbing
Next, check the plumbing system for leaks, corrosion, or worn-out pipes. Address any concerns by replacing damaged sections to ensure the system operates efficiently. Proper plumbing prevents potential leaks and maintains a dependable water flow.
Clean the Area
Once inspections and repairs are complete, thoroughly clean the area. Remove any debris, lingering caulk, or adhesives, and ensure the workspace is clear and free of obstructions. This creates an ideal environment for installing the new tub, reducing complications.
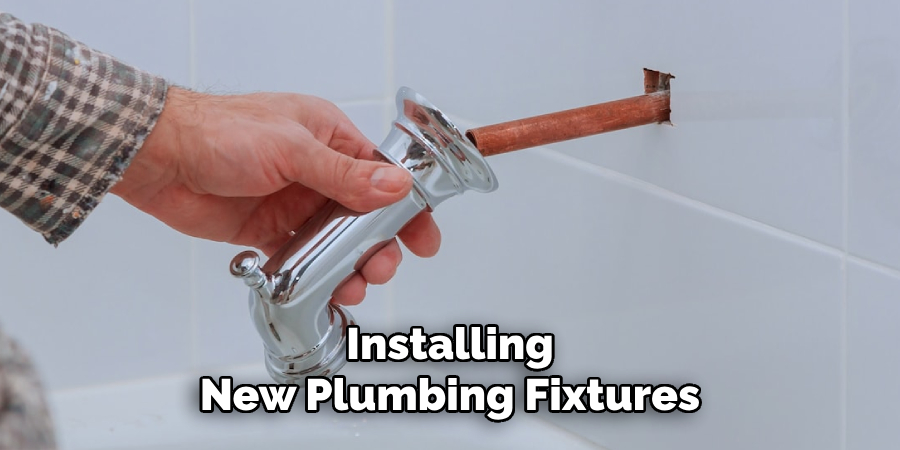
Additionally, consider upgrades, such as installing new plumbing fixtures or enhancing waterproofing around the area. These improvements can increase the durability and functionality of your bathroom, giving your replacement project a modern and lasting appeal.
Common Challenges and Troubleshooting Tips
Stuck Tub
If your old tub seems immovable, applying heat to the surrounding caulk can help loosen it. Use a heat gun on low or medium settings to gently soften stubborn caulk, making it easier to cut and remove. Additionally, a utility knife or oscillating multi-tool can effectively separate the tub from the wall or floor.
Hidden Screws or Nails
Sometimes tubs are secured with screws or nails that are not immediately visible. Carefully inspect the tub’s perimeter for concealed fasteners, including any framing or flange areas. Use a flashlight or an inspection mirror to locate these hidden elements and remove them with the necessary tools, such as a screwdriver or pry bar.
Plumbing Issues
Stuck or corroded pipes and fittings are common obstacles during a tub replacement. Apply penetrating oil to rusted connections and allow it to sit for a few minutes. Use adjustable wrenches or pipe wrenches to provide the proper leverage. If the fittings are irreparably damaged, cutting them and replacing them with new plumbing components might be the best solution.
Dealing with Heavy Tubs
Cast iron tubs can be particularly challenging due to their weight. Enlist helps to lift and maneuver the tub safely.
If moving it as a whole is impractical, breaking it into manageable pieces using a sledgehammer can simplify the process. Take precautions and wear protective gear like goggles and gloves to ensure safety.
Remember, while these challenges may seem daunting, patience and the right tools can resolve most issues, paving the way for a successful and satisfying project.
Conclusion
Removing a bathtub is a manageable task with proper preparation and safety measures. Start by gathering the necessary tools and shutting off water supplies, then address challenges like hidden fasteners, plumbing issues, or heavy materials thoughtfully.
Knowing how to remove bath tub efficiently ensures safety and simplifies disposal or recycling of the old tub. Carefully assess whether this project aligns with your DIY skill level or if professional help is warranted. Completing this task provides satisfaction and prepares the space for a new bathtub or alternative installation, ready to transform your bathroom.

