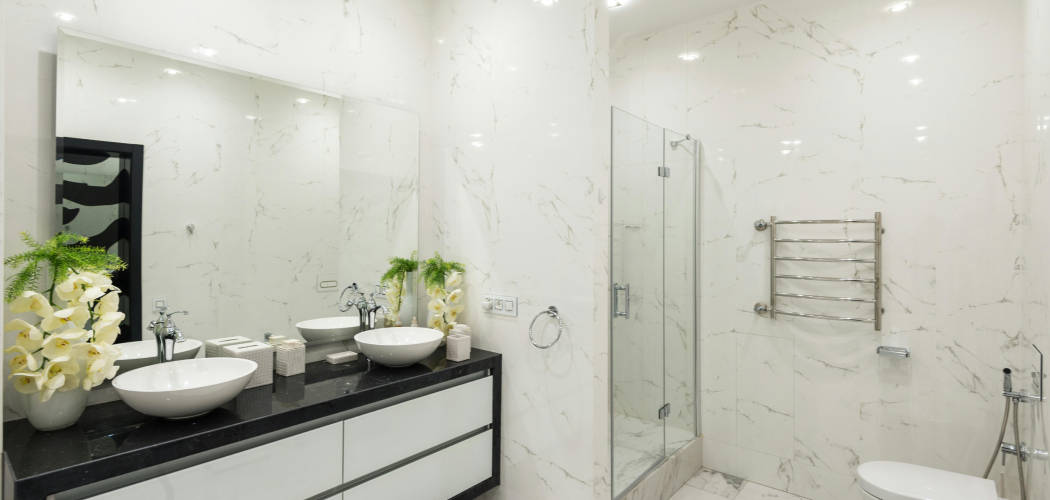
Cleaning a bathroom may seem like a daunting task, but with the right approach and a clear checklist, it can be tackled efficiently and effectively. Regular bathroom cleaning not only keeps the space looking fresh and inviting but also promotes a hygienic environment. This guide will walk you through the essential steps of how to clean a bathroom checklist.
Benefits of Using a Checklist
Using a checklist for cleaning a bathroom offers several advantages that make the task more manageable and less overwhelming. First, it ensures that no essential steps are missed, leading to a more thorough and consistent clean. Checklists also help save time by providing a clear structure and order, reducing the chances of repeating tasks or forgetting supplies.
Additionally, they make it easier to share the workload with others, as everyone can follow the same set of instructions. Finally, completing items on a checklist provides a sense of accomplishment, motivating you to maintain a regular cleaning routine.
How Often Should You Clean Your Bathroom?
The frequency of cleaning your bathroom depends on multiple factors, including how often it is used and by how many people. Generally, high-traffic bathrooms should be cleaned at least once a week to maintain hygiene and prevent the buildup of grime and bacteria. Certain tasks, like wiping down sinks and countertops, might need to be done more frequently, especially in shared or heavily used spaces.
Toilets and shower areas, being hotspots for germs and residue, should be cleaned thoroughly on a weekly basis. However, daily habits like wiping surfaces and ensuring proper ventilation can help minimize the need for deep cleaning and keep your bathroom fresh in between more comprehensive sessions. Adjust your schedule based on your household’s specific needs to ensure a clean and sanitary environment.
10 Methods How to Clean a Bathroom Checklist
1. Start with Decluttering the Bathroom Space
Before any cleaning can begin, it’s essential to clear out the bathroom of personal items, decorative elements, and any clutter that may be resting on countertops, shelves, or around the bathtub. Remove all toiletries, towels, mats, and shower accessories. This step allows you to access every corner and surface of the bathroom and ensures that you don’t miss any hidden spots during cleaning.
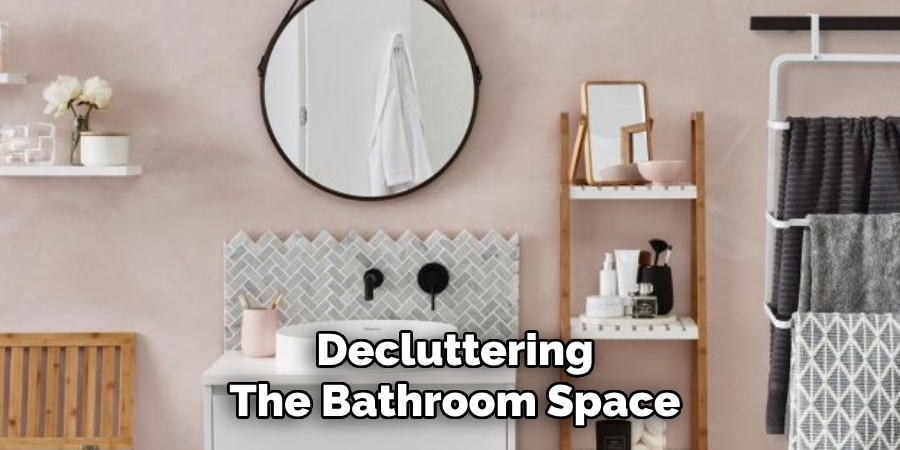
Place items in a laundry basket or bin and sort them later for refilling, laundering, or discarding if expired. A clutter-free start ensures a more focused and efficient cleaning session.
2. Dust and Sweep the Bathroom Thoroughly
Once the bathroom is cleared of items, begin the cleaning process by addressing dust and loose debris. Use a microfiber duster or a dry cloth to dust light fixtures, vents, baseboards, and shelves. Don’t forget the top of the medicine cabinet and the corners of the ceiling, where cobwebs tend to gather. Follow this with a quick sweep of the floor, including behind the toilet and under the vanity, to remove hair and particles. This initial pass ensures the surfaces are ready for washing and keeps dust from turning into grime when wet.
3. Apply Cleaning Products and Let Them Sit
A vital technique in deep cleaning is allowing your chosen cleaners to sit and work before scrubbing. Apply appropriate bathroom cleaners to key areas—disinfectant spray in the toilet bowl, a foaming cleaner in the tub and sink, and a mildew-fighting solution in grout lines. For the toilet, use a toilet bowl cleaner under the rim and let it sit for at least 10 minutes. Letting products sit allows time for grime and soap scum to break down, making scrubbing much more effective and requiring less physical effort.
4. Tackle the Toilet Methodically
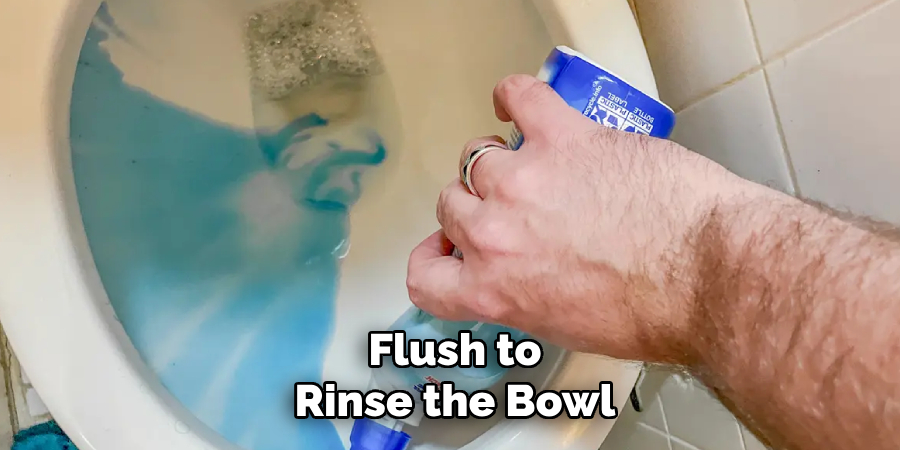
Cleaning the toilet is arguably the most critical part of the checklist. After letting the toilet cleaner soak, scrub the bowl thoroughly using a toilet brush, making sure to reach under the rim and down into the drain hole. Flush to rinse the bowl and inspect for remaining stains.
Wipe down the outer surfaces with disinfectant wipes or a cloth soaked in disinfectant, including the seat, handle, lid, and the base of the toilet. Replace the toilet brush into a clean holder, and consider spraying the brush with a disinfecting spray before putting it away.
5. Scrub the Shower and Bathtub
The shower and bathtub tend to accumulate soap scum, hard water stains, and mildew. Using a scrub brush or sponge, work the cleaner into the surfaces of the tub and shower walls, focusing especially on grout lines and corners where mildew often appears. Use a dedicated tile cleaner or baking soda paste on stubborn stains. Rinse thoroughly using a detachable showerhead or bucket of water. For glass doors, a mixture of vinegar and water works well to cut through film and leave the glass sparkling. Finish by drying with a microfiber cloth to prevent water spots.
6. Wipe Down Bathroom Counters and Sink
Countertops and sinks often bear toothpaste splatters, water spots, and residue from beauty products. Using an all-purpose cleaner or a vinegar solution, spray the entire area and allow it to soak briefly. Scrub the sink basin, faucet handles, and surrounding surfaces with a sponge. Pay special attention to areas around the drain and faucet base where buildup collects. Rinse and wipe dry with a clean cloth. If the faucet is chrome or stainless steel, buff with a microfiber towel for a polished finish.
7. Clean the Mirrors and Glass Surfaces
A spotless mirror contributes significantly to the overall appearance of a clean bathroom. Spray the mirror with a streak-free glass cleaner or a mixture of vinegar and water. Using a lint-free microfiber cloth or newspaper, wipe the glass in a zigzag pattern, starting at the top. Check from different angles to catch any streaks or missed spots.
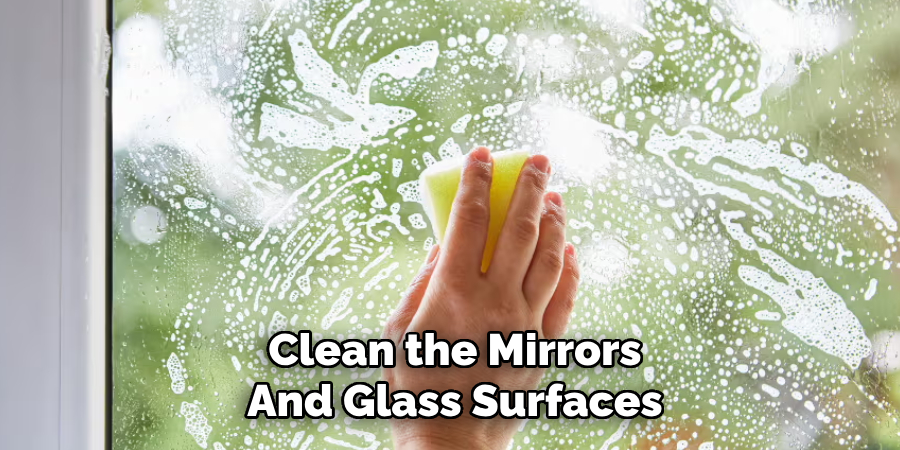
If your bathroom has glass shelves or glass panels in the shower area, use the same technique to clean those surfaces for a consistent sparkle throughout the space.
8. Sanitize Handles, Switches, and Frequently Touched Surfaces
High-touch areas such as doorknobs, light switches, cabinet handles, toilet handles, and even towel bars are often overlooked but are essential to disinfect. Use disinfectant wipes or spray a cloth with a disinfecting solution and wipe down these surfaces thoroughly. Allow them to air dry for maximum germ-killing effect. Regular sanitizing of these parts of the bathroom helps prevent the spread of germs and bacteria, especially in shared household bathrooms.
9. Mop the Bathroom Floor Last
Once all surfaces above the floor have been cleaned and rinsed, it’s time to focus on the bathroom floor. Begin by sweeping again to ensure no new debris has settled during the cleaning process. Prepare a bucket with warm water and a mild floor cleaner, or use a steam mop for a chemical-free option. Start mopping from the farthest corner of the room and work your way toward the door to avoid stepping on the freshly cleaned floor. Pay extra attention to corners and around the base of the toilet where dirt collects. Let the floor air dry or use a clean towel for a quicker result.
10. Restock and Refresh the Bathroom
With every surface now cleaned, disinfected, and dried, return to the items you removed at the beginning. Launder and replace clean towels and bathmats. Restock toilet paper, facial tissues, and hygiene products in their designated spots. Take this opportunity to toss out expired products and organize drawers or cabinets. Add a finishing touch by placing a scented candle, an essential oil diffuser, or a small plant for freshness and ambiance. A freshly cleaned bathroom isn’t just about hygiene—it’s about creating a calming and inviting space.
Things to Consider When Cleaning Your Bathroom
- Ventilation – Ensure proper airflow while cleaning to avoid inhaling harsh chemical fumes. Open a window or use an exhaust fan for fresh air circulation.
- Product Choice – Use cleaning products suitable for the surfaces in your bathroom to prevent damage. Opt for environment-friendly options when possible.
- Frequency – Establish a regular cleaning schedule to maintain hygiene and reduce deep-cleaning time. A weekly routine can help prevent buildup.
- Safety – Wear gloves to protect your hands from cleaning agents and hot water if necessary. For slippery surfaces, use a non-slip mat for safety.
- Decluttering – Take a moment to evaluate items in your bathroom. Keep only what’s necessary and remove excess clutter to maximize space and functionality.
- Attention to Details – Don’t overlook often-missed spots like grout, showerheads, and under the sink. These areas require occasional deeper cleaning to prevent mildew.
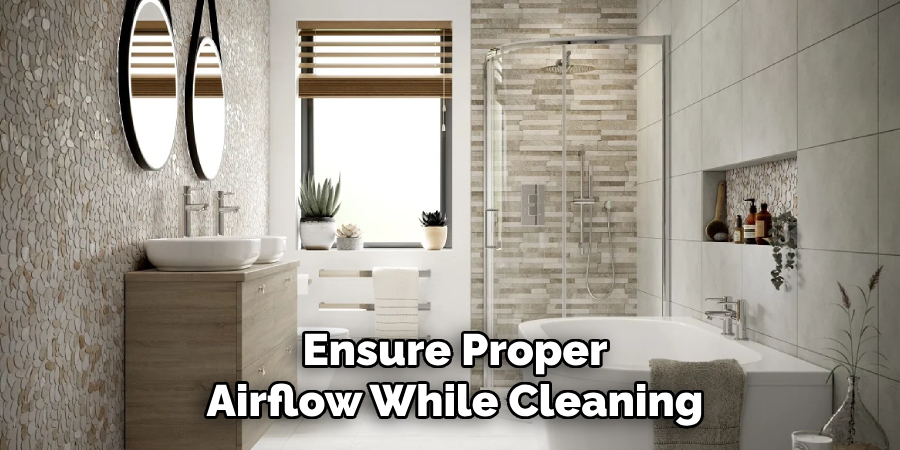
By keeping these considerations in mind, you can ensure a thorough and efficient cleaning process that maintains both the hygiene and ambiance of your bathroom.
Conclusion
A bathroom is one of the most frequently used rooms in a home and deserves careful attention during cleaning. Following a step-by-step checklist ensures that no surface is neglected, from the toilet bowl to the light switches. Each method described—from decluttering to restocking—contributes to a comprehensive routine that not only cleans but refreshes and revives your bathroom. So, there you have it – a quick and easy guide on how to clean a bathroom checklist.

