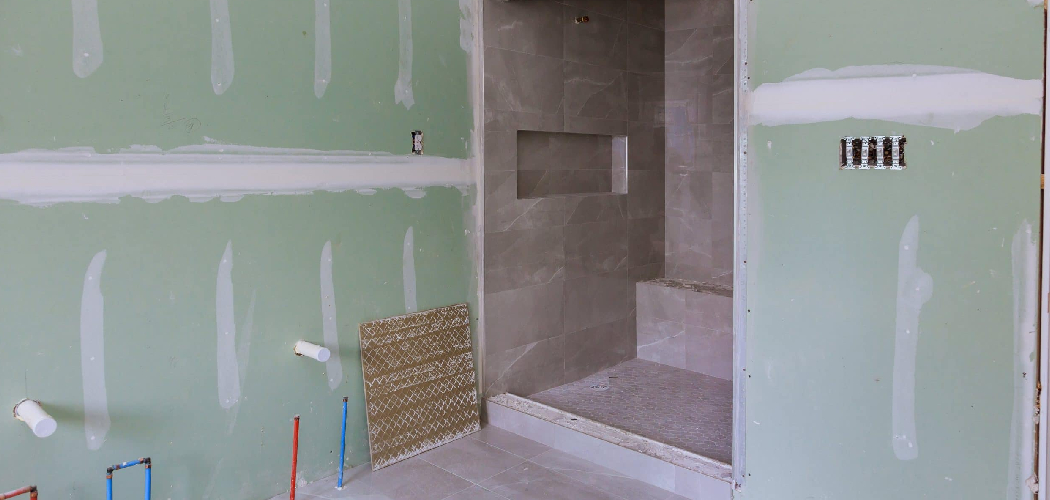
Sheetrocking, also known as drywall installation, is a crucial step in any bathroom renovation or construction project. It provides the foundation for walls and ceilings, serving as a critical element in defining the space. Given the unique challenges that bathrooms present—such as high humidity and constant exposure to moisture—it is vital to choose the right materials to ensure long-term durability and prevent issues like mold or water damage.
Moisture-resistant drywall, often referred to as greenboard or cement board, is specifically designed for these conditions and plays a crucial role in creating a safe and reliable bathroom environment.
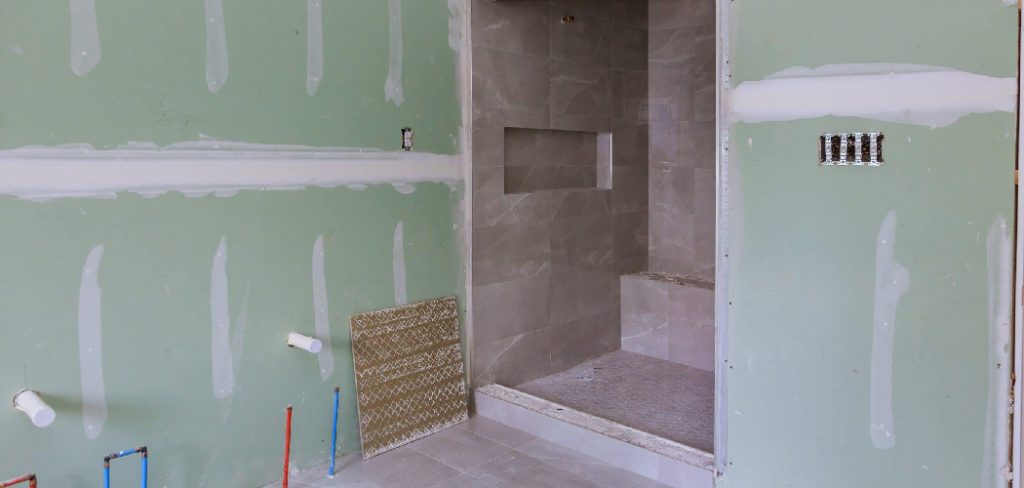
The purpose of this article is to walk you through a comprehensive, step-by-step guide on how to sheetrock a bathroom effectively. By following this process, you’ll achieve a result that is not only functional and safe but also sets the stage for a professional and aesthetically pleasing finish.
Gathering Materials and Tools
Before starting the Sheetrock installation in your bathroom, gather all the necessary materials and tools to ensure a smooth and efficient process. Below is a detailed list of what you’ll need:
Materials Needed
- Moisture-resistant drywall: Also known as green board or cement board, this is specially designed for wet areas and is essential for bathroom installations.
- Drywall screws or nails: These will securely attach the drywall to the studs.
- Joint compound (drywall mud): Used to fill seams and create a smooth finish.
- Drywall tape: Available in paper or mesh, this reinforces seams and prevents cracking.
Tools Required
- Utility knife: For cutting drywall to size.
- Drywall saw: Necessary for cutting holes for fixtures like pipes or outlets.
- T-square or straight edge: Ensures precise lines and clean cuts.
- Screw gun or drill: Helps secure drywall screws effectively.
- Taping knife and sanding block: Used for applying and smoothing joint compound.
Safety Gear
- Dust mask, gloves, and safety goggles: These protect you from dust, sharp edges, and other potential hazards during the process.
Having these materials and tools prepared will streamline your project, reduce interruptions, and allow you to focus on creating a polished and functional bathroom.
Preparing the Bathroom Space
Proper preparation of the bathroom space is essential for a smooth drywall installation process. Follow these key steps to ensure your area is ready:
Step 1: Clear the Area
Begin by removing any old drywall, if present, along with fixtures or obstacles that might interfere with the installation process. Clearing the area completely will provide you with sufficient workspace and prevent delays during installation.
Step 2: Inspect and Prepare the Studs
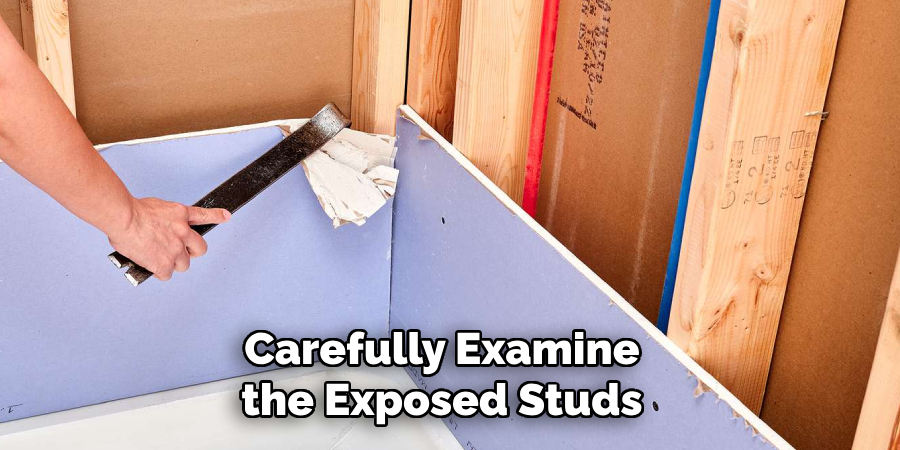
Carefully examine the exposed studs to ensure they are clean, dry, and undamaged. Verify that the studs are spaced correctly, typically 16 inches apart, as this ensures that the drywall sheets will fit securely. For added stability, install blocking where additional support is needed, such as behind locations where towel bars, shelves, or cabinets are intended.
Step 3: Plan for Utilities
Take note of the placement of plumbing pipes and electrical fixtures to avoid issues later. Before hanging the drywall sheets, measure and mark areas where you’ll need to cut out holes for plumbing and electrical components. Accurately preparing these cutouts in advance will save time and help ensure a seamless installation.
How to Sheetrock a Bathroom: Choosing the Right Type of Drywall
Selecting the appropriate drywall for your bathroom project is crucial for durability and functionality in a moisture-prone environment. Here are some common types of drywall to consider:
Moisture-Resistant Drywall (Green Board)
The green board is specifically designed to resist humidity, making it an excellent choice for bathroom walls and ceilings in non-shower areas. While it offers protection from moisture, it is not fully waterproof and should not be used in regions that experience direct water exposure, such as showers or bathtub enclosures.
Cement Board
Cement board is the go-to option for high-moisture areas, including shower stalls and tub surrounds. Its composition makes it highly resistant to mold, mildew, and water damage, providing a robust base for tile installation in wet zones. It ensures long-lasting performance even in areas with unavoidable moisture exposure.
Fire-Resistant Drywall (Type X)
Fire-resistant drywall, such as Type X, is commonly used in areas requiring fire code compliance. For example, it can be installed on walls and ceilings adjacent to garages. Its fire-resistant properties add an extra layer of safety to your bathroom construction.
Tips for Choosing Drywall
When selecting drywall, consult local building codes to ensure compliance. Additionally, consider the specific location within the bathroom—moisture-resistant and cement boards are essential for wet areas, whereas fire-resistant drywall may be required for adjoining spaces.
Cutting and Hanging the Drywall
Step 1: Measuring and Cutting
Begin by measuring the dimensions of the wall or ceiling where you will install the drywall. Use a pencil and a straightedge to mark the cutting lines on the drywall sheets. For accurate cuts, use a utility knife to score along the marked lines and snap the drywall cleanly, or employ a drywall saw for more intricate cuts. Additionally, pre-cut holes for any electrical fixtures, plumbing, or outlet boxes to ensure they align properly during installation. Double-check all measurements to minimize mistakes.
Step 2: Dry Fitting Panels
Before securing the drywall, test-fit each panel to confirm proper alignment and sizing. This step allows you to make any necessary adjustments, ensuring a snug fit against the wall or ceiling. Dry fitting also helps detect any potential issues, such as misaligned outlet holes or uneven surfaces, before permanently attaching the drywall panels.
Step 3: Attaching to Studs
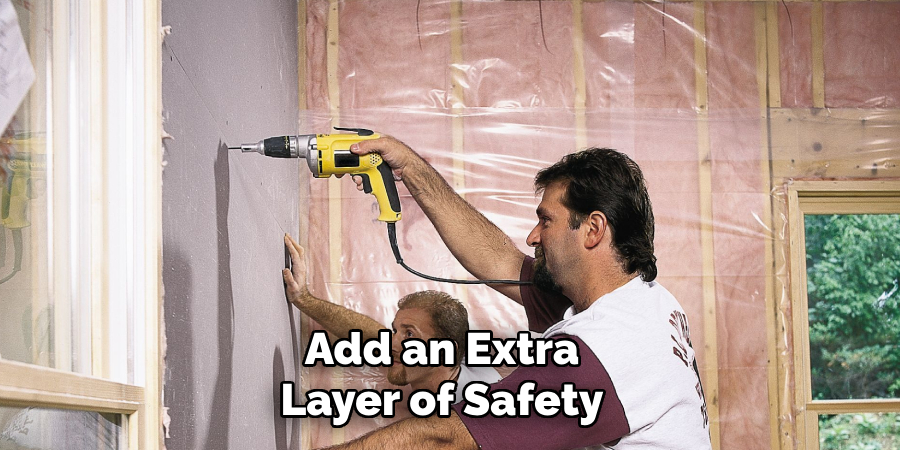
Position the drywall panels either horizontally or vertically against the studs, depending on your preference or specific requirements. Horizontal installation is often recommended for walls, as it reduces the number of seams and provides added strength. Secure the drywall to the studs using drywall screws placed every 12 to 16 inches. Drive the screws so that the heads are slightly recessed below the drywall surface, but avoid breaking through the paper backing.
For added durability, stagger the joints of adjacent panels, and avoid placing seams directly over doors or windows to maintain structural integrity. By following these steps, you can ensure a sturdy and professional installation of drywall.
Taping and Mudding the Seams
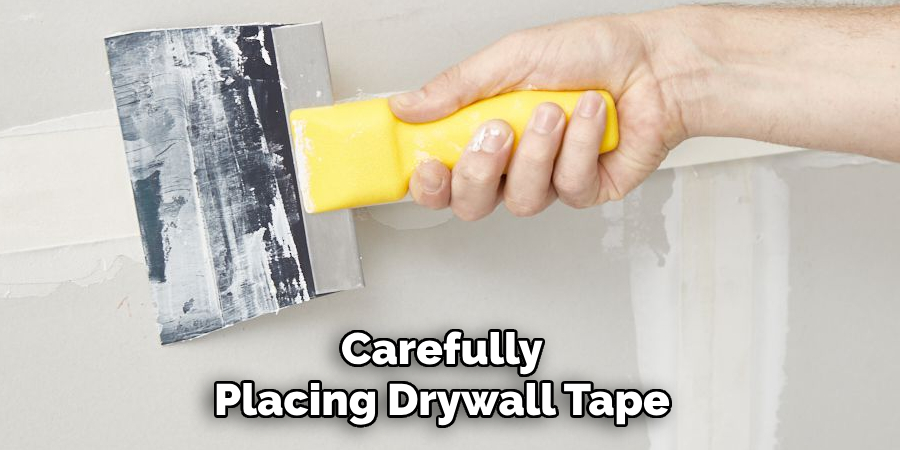
Step 1: Applying Drywall Tape
Start by carefully placing drywall tape over all seams and corners. Use paper tape or mesh tape, depending on your preference and the type of seam. Press the tape flat against the drywall surface, ensuring there are no air bubbles beneath the tape. This step helps reinforce the joint and prevents future cracking, creating a stable base for the joint compound.
Step 2: First Coat of Joint Compound
Using a taping knife, apply a thin layer of joint compound, also known as “mud,” over the taped seams. Ensure the compound fully covers the tape without leaving excess buildup. Feather the edges of the compound outward to create a smooth transition between the repair area and the surrounding drywall. During this step, fill in all screw holes and any surface imperfections with the compound to ensure a uniform surface.
Step 3: Second and Third Coats
Allow the first coat to dry completely, which typically takes 24 hours, depending on humidity levels. Once dry, lightly sand the seams with fine-grit sandpaper to smooth out ridges or bumps. Apply a second coat of joint compound, extending the width of the application to blend it further into the surrounding wall. Repeat this process for the third coat, smoothing and feathering the edges each time. Always allow each coat to dry fully before sanding and reapplying.
Step 4: Final Sanding
After the third coat has dried, conduct a final sanding using a sanding block or sponge. Focus on achieving a perfectly smooth finish across the entire surface. Be careful not to sand too much, as this may expose the tape. Once the walls are smooth, wipe them down with a damp cloth or sponge to remove all sanding dust. The surface is now prepped and ready for painting or tiling, ensuring a flawless and professional finish.
Moisture Protection and Final Touches
Sealing the Surface
To ensure durability and prevent moisture damage, it is essential to seal the surface effectively. Begin by applying a moisture-resistant primer to the drywall if you plan to paint the area. For spaces intended for tiling, such as bathrooms or kitchens, use a waterproofing membrane over the cement board to provide an added layer of protection against water infiltration.
Inspecting Your Work
Before moving forward, carefully inspect the work to ensure everything is in place. Look for any gaps, irregular seams, or loose screws, and make the necessary corrections. Ensuring a seamless and secure finish at this stage can save time and effort later, as well as improve the final results of your project.
Preparing for Next Steps
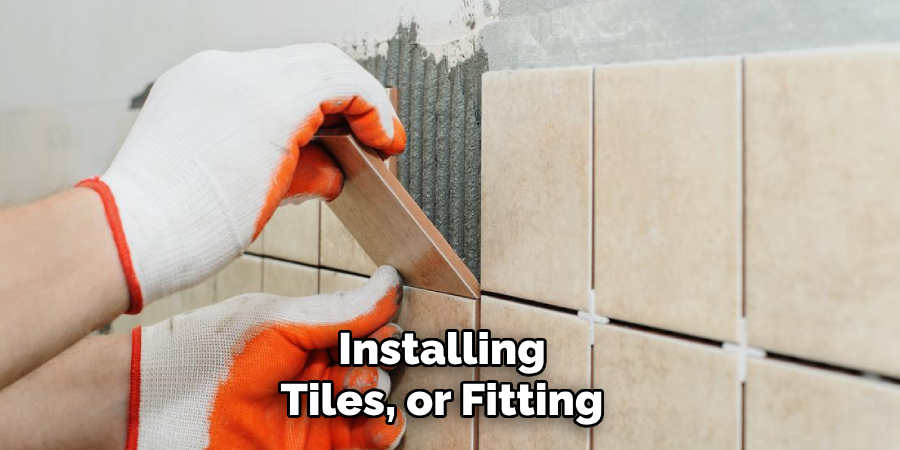
With the drywall work complete and adequately sealed, you can confidently proceed to the next steps of your project. Depending on your plan, this may include painting the walls, installing tiles, or fitting bathroom fixtures. Proper preparation and moisture protection help create a polished and resilient finished product, ensuring your space remains functional and beautiful for years to come.
Conclusion
Renovating a bathroom involves a careful, step-by-step process to ensure a durable and polished outcome. From preparing the space and selecting the right drywall to cutting, hanging, taping, and sealing, each stage plays a crucial role in creating a functional and attractive room. When learning how to sheetrock a bathroom, it’s vital to use moisture-resistant materials to protect against humidity and water damage. Lastly, take your time with taping and mudding to achieve a smooth, even surface. Proper attention to detail ensures your walls are beautifully primed for paint or tile, giving your bathroom a professional and lasting finish.

