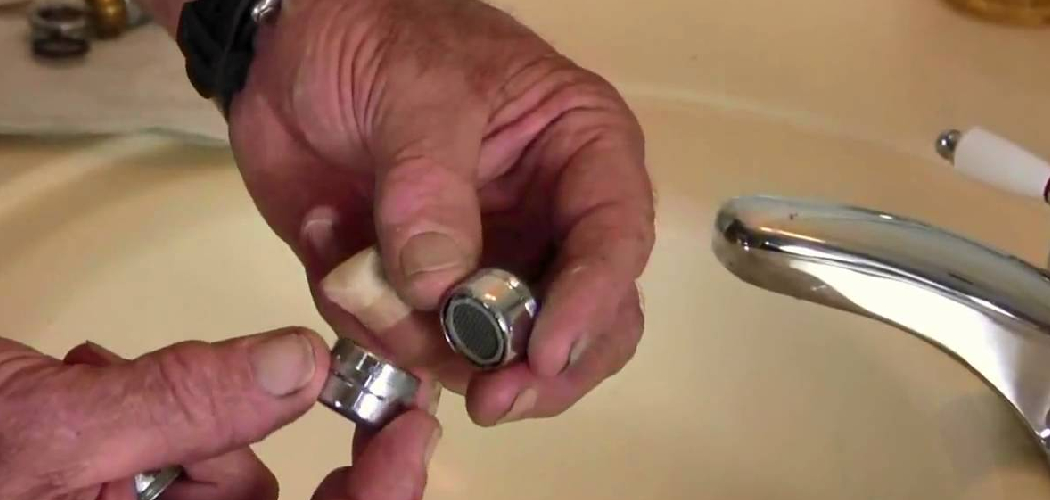
A faucet cap is a small yet essential component of a faucet, typically located on the faucet spout or handle. It is often threaded and serves as a protective cover for internal parts like aerators, cartridges, or other mechanisms that regulate water flow and pressure. Over time, mineral deposits, dirt, or regular wear and tear may make it necessary to remove the faucet cap for cleaning, replacing parts, or resolving issues like low water pressure.
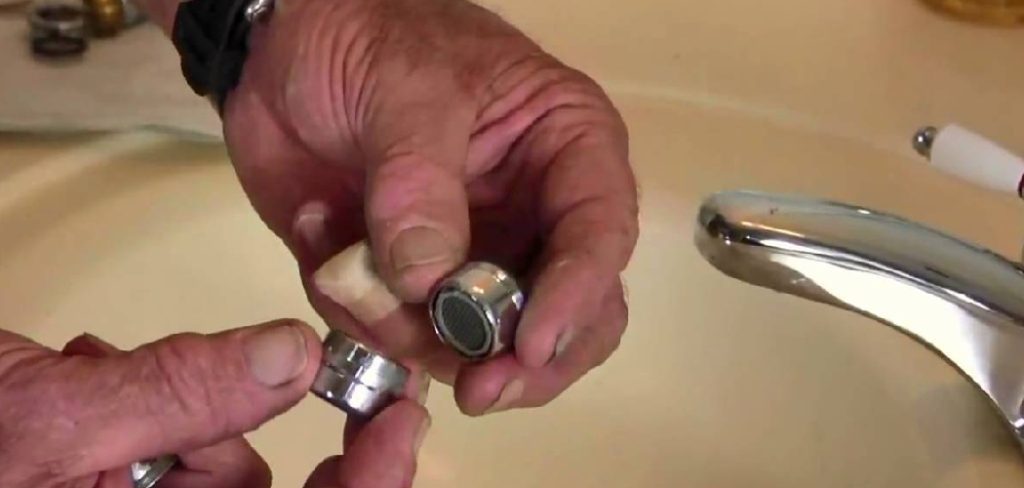
Understanding how to unscrew faucet cap correctly is crucial for preventing damage to your faucet and ensuring efficient maintenance or repairs. Applying the wrong technique or excessive force can strip threads or crack the cap, leading to additional costs and frustration. This guide provides a step-by-step approach to safely unscrewing a faucet cap using the proper tools and methods, saving you time and avoiding unnecessary complications during your plumbing tasks.
Tools and Materials Needed
Basic Tools
- Adjustable Wrench or Pliers: Opt for tools with rubber grips to protect the cap’s surface and provide better control during the process.
- Rubber Jar Opener or Strap Wrench: These tools are ideal for preventing scratches and damage while securing a firm grip on the faucet cap.
- Flat-Head Screwdriver (Optional): Use this for gentle prying if the cap is particularly stubborn, though it must be handled with care.
Support Materials
- Rag or Cloth: Essential for added grip and safeguarding the faucet’s surface from scratches or dents during removal.
- Vinegar or Limescale Remover: Helpful in dissolving mineral deposits that may be causing the cap to stick.
- Bowl of Warm Water and Mild Soap: Use these to clean the faucet components thoroughly post-removal to maintain hygiene and functionality.
- WD-40 or Penetrating Oil: A reliable solution for loosening stuck or corroded caps, ensuring a smoother removal process.
Having these tools and materials ready will ensure an efficient and damage-free process for unscrewing your faucet cap, allowing you to address issues effectively and extend the lifespan of your plumbing fixtures.
Identifying Your Faucet Cap Type
Understanding the type of faucet cap you are dealing with is essential for proper removal and maintenance. Faucet caps come in various types, each serving a specific function and requiring unique handling techniques.
Types of Faucet Caps
- Aerator Caps on Faucet Spouts
These are commonly found at the tip of faucet spouts to regulate water flow by mixing air and water. They are essential for water conservation and often require occasional cleaning to remove buildup.
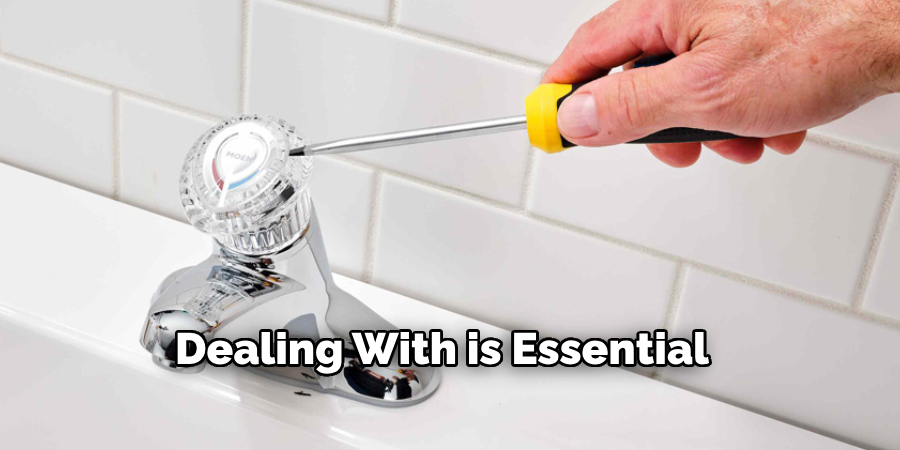
- Decorative Caps on Faucet Handles
These caps cover screws or mechanisms on faucet handles, often contributing to the overall aesthetic of the fixture. Their primary purpose is to conceal hardware for a clean appearance.
Threaded vs. Snap-on Caps
- Threaded Caps
These caps are secured by screwing them into place and can often be removed with simple hand tools like pliers or wrenches. Care is needed to avoid damaging the threads during removal.
- Snap-on or Push Caps
These caps attach by snapping or pushing into place. Removal may require careful prying with a flathead screwdriver or similar tool, ensuring minimal force to avoid breakage.
Metal vs. Plastic Caps
- Metal Caps
Known for durability, metal caps are less prone to cracking but may corrode over time if not maintained properly.
- Plastic Caps
While lightweight and cost-effective, plastic caps are more fragile and must be handled with extra caution to avoid damage during removal.
By identifying your faucet cap type, you can take the correct approach, ensuring a smooth process with minimal risk of damage.
Preparing the Area for Safe Removal
Before attempting to remove a faucet cap, taking a few precautionary steps can ensure a safe and efficient process.
Turn Off Water Supply (if needed)
Although it is usually not necessary to turn off the water supply when removing a faucet cap, doing so provides an extra layer of safety. This step helps prevent accidental faucet activation, which could cause unwanted water flow during the process.
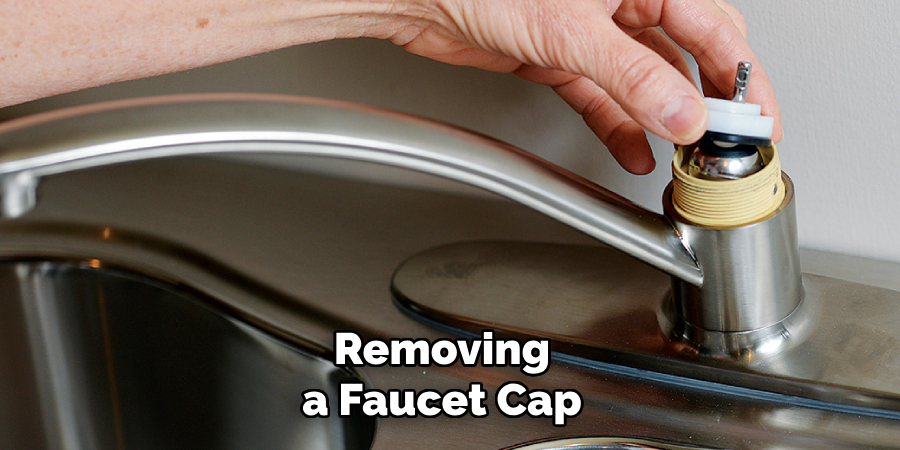
Protect the Faucet and Countertop
To avoid any scratches or damage, place a towel or rag around the faucet and the surrounding countertop. This will also catch any drips that might occur while loosening the cap, keeping your workspace clean and protected.
Inspect the Cap for Build-up
Examine the faucet cap for limescale or corrosion, as these deposits can make removal more difficult. If a build-up is present, wrap a cloth soaked in vinegar around the cap and let it sit for 10–15 minutes. This helps dissolve mineral deposits, making the cap easier to loosen.
Ensure You Have a Good Grip
Dry your hands thoroughly before attempting to unscrew the cap. For better traction, use a rubber jar opener or a towel to grip the cap securely, which reduces the chance of slipping and ensures a smooth removal process.
Step-by-Step: How to Unscrew Faucet Cap
Step 1: Try by Hand First
Begin by attempting to unscrew the faucet cap using just your hands. Grip the cap firmly and twist it counterclockwise gently. If the cap is not too tight or stuck, this method is often sufficient and prevents potential damage to the cap or faucet.
Step 2: Use a Rubber Tool or Cloth
If the cap does not budge by hand, try using a rubber strap wrench or a cloth for added grip. Wrap the cloth securely around the cap before using pliers or a similar tool. This step is beneficial for protecting the faucet’s finish while providing extra traction.
Step 3: Apply Penetrating Oil for Stuck Caps
For caps that remain stuck, apply a penetrating oil like WD-40. Spray the oil around the edges of the faucet cap, then let it sit for 10–15 minutes. This process helps to loosen any corrosion or debris that may be causing the cap to stick.
Step 4: Use Pliers Carefully
If the cap is still tight, gently use a pair of pliers to twist it off. Apply light, even pressure to avoid stripping the threads or damaging the cap’s finish. Using a cloth between the pliers and the cap can provide additional protection.
Step 5: Remove and Inspect the Cap
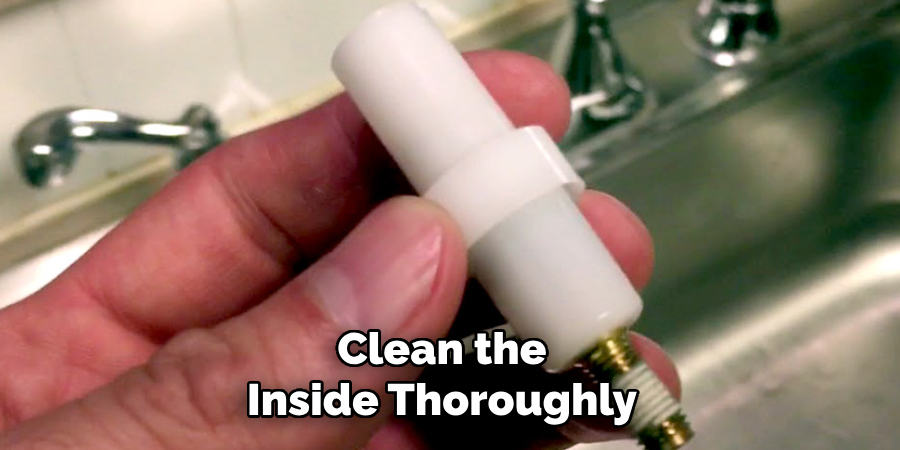
Once the cap is removed, inspect the interior for debris, corrosion, or wear. Clean the inside thoroughly if needed, and check the threads or gaskets for signs of damage. Replace worn components as necessary to ensure a proper seal when reassembling the faucet.
Troubleshooting Stubborn Faucet Caps
If the Cap Won’t Budge
If the faucet cap is stuck and won’t budge, there are a few techniques you can try to loosen it. Begin by soaking the area with vinegar to dissolve any hard water deposits that may be causing the issue. Allow the vinegar to sit for a few minutes before trying to twist the cap again. If this doesn’t work, use a rubber mallet to tap around the cap gently. The vibration can help break up corrosion or debris holding it in place. Be careful not to apply too much force to avoid damaging the faucet.
Cap is Stripped or Damaged
If the cap is stripped or damaged, you’ll need to approach the problem carefully. Use channel-lock pliers equipped with a rubber liner to improve your grip and minimize further damage to the cap’s surface. If all else fails and the cap is irreparably damaged, it may be necessary to replace it entirely. Purchase a compatible replacement to ensure a proper seal and functionality.
Preventing Future Issues
To avoid dealing with stubborn faucet caps in the future, clean them regularly to prevent the buildup of debris or hard water deposits. Additionally, lubricate the threads during reassembly to make future removal easier and to maintain the cap’s condition over time.
Reassembling and Testing
Clean the Threads and the Inside of the Faucet
Before reassembling, use a soft brush or cloth to thoroughly clean the threads and the inside of the faucet where the cap will sit. This helps remove any grime, debris, or hard water buildup that could interfere with a proper seal or smooth function.
Check O-rings and Seals
Inspect the O-rings and seals for signs of wear or damage. If any are cracked, hardened, or misshapen, replace them with new ones. Worn seals are a common cause of leaks, and replacing them can extend the life of your faucet and prevent future issues.
Reattach the Cap
Carefully screw the cap back into place by turning it clockwise. Hand-tighten it to ensure a snug fit, but take care not to overtighten, as this can damage the threads or make future removal difficult. If necessary, apply a small amount of lubricant to the threads for smooth assembly.
Turn on the Water and Test
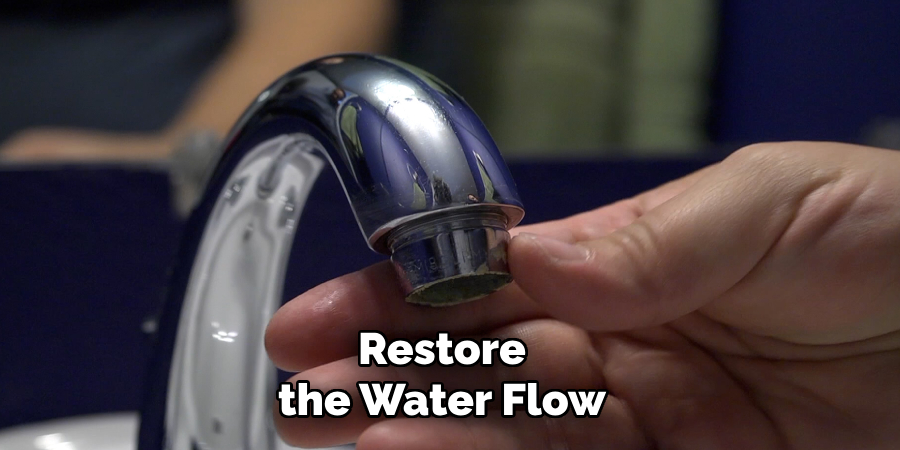
Restore the water flow and carefully check the faucet for proper operation. Look and listen for any signs of leaks or drips. A properly reassembled faucet should have smooth functionality and remain leak-free, ensuring your repair efforts were successful.
Conclusion
Removing a faucet cap is a straightforward task with the right tools and approach. By understanding how to unscrew faucet cap components and preparing the area properly, you can avoid unnecessary damage and complete the task efficiently. Always identify the cap type beforehand and use gentle yet firm force to loosen it.
Regular cleaning and maintenance of the cap and faucet threads can help prevent buildup that causes complications over time. If the cap is too damaged to reuse, affordable replacements are readily available at hardware stores, ensuring you can restore your faucet’s functionality with minimal effort.

