Waterfall faucets are stylish and innovative fixtures that bring a touch of elegance to modern bathrooms and kitchens. They deliver water in a flat, cascading flow, beautifully mimicking the natural motion of a waterfall. Aside from their visual appeal, these faucets come with practical benefits.
Installing a waterfall faucet not only enhances the overall aesthetic of your space but also provides a functional, easy-to-use addition that can elevate your home’s overall value. The purpose of this article is to offer a comprehensive, step-by-step guide on how to install a waterfall faucet. Whether you’re replacing an outdated fixture or installing a new one, this guide will help ensure the process is smooth and successful.
Tools and Materials Needed
Before starting the installation process, ensure you have all the necessary tools and materials ready. Proper preparation will make the process more efficient and prevent any unexpected delays.
Tools Required
- Adjustable wrench – Used for tightening or loosening connections.
- Basin wrench – Essential for reaching and tightening nuts in tight, hard-to-reach spaces under the sink.
- Plumber’s tape (Teflon tape) – Ensures a leak-free seal on threaded connections.
- Screwdriver (Phillips and flathead) – Needed for removing or securing screws during installation.
- Bucket or towel – Handy for catching any water that may drip during the removal of old fixtures or the installation process.
- Flashlight or headlamp – Provides better visibility in the often dark and cramped space under the sink.
Materials Required
- Waterfall faucet set – Includes the spout and handles, if separate.
- Supply lines – Ensure these are compatible with your faucet set, particularly if they are not included.
- Silicone caulk or plumber’s putty – Used to create a watertight seal between the faucet base and the sink.
- Mounting hardware – Typically provided with the waterfall faucet set.
Additionally, confirm that the waterfall faucet matches your sink’s configuration, whether it’s a single-hole, widespread, or centerset design. Having everything ready beforehand will streamline the installation and help you achieve a professional finish.
Turning Off Water and Removing the Old Faucet
Step 1: Shut Off the Water Supply
Begin by locating the hot and cold water valves under the sink. Turn these valves clockwise to shut off the water supply completely. Once this is done, turn on the faucet to release any residual pressure and ensure the lines are fully drained.

Step 2: Disconnect Water Lines
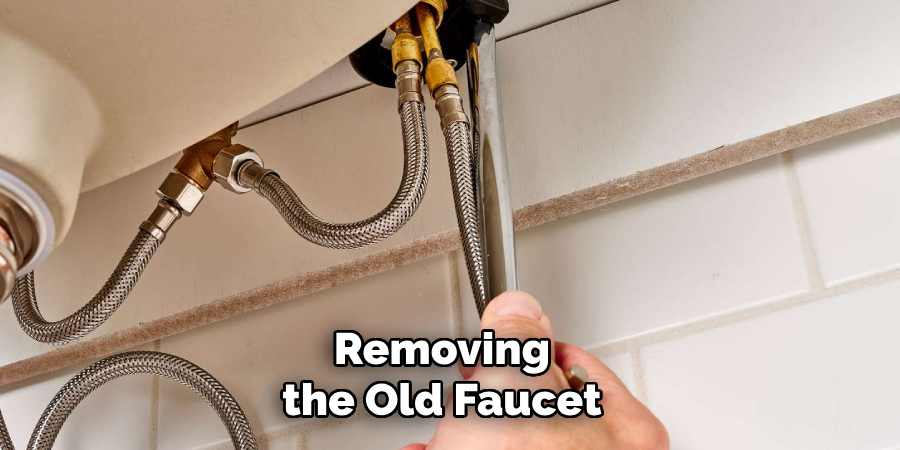
Using an adjustable wrench, carefully unscrew the flexible water supply lines connected to the faucet. Be prepared for a small amount of water to drip out, so keep a towel or bucket nearby to catch any leakage.
Step 3: Remove the Old Faucet
Locate the mounting nuts securing the old faucet underneath the sink. Using a basin wrench, loosen these nuts until the faucet is free to be removed. Once loosened, gently lift the old faucet out of the sink or countertop, taking care not to scratch any surfaces.
Step 4: Clean the Surface
With the faucet removed, thoroughly clean the surface area around the sink hole. Use a scraper or cloth to remove any old caulk, plumber’s putty, or debris, ensuring a smooth and clean surface. This step is crucial for achieving a proper seal when installing the new faucet.
Preparing the Sink or Countertop
Check the Number of Holes
Before installing your new faucet, verify the configuration of your sink or countertop. Most waterfall faucets are designed for single-hole installations, offering a sleek and modern look. However, if your sink has a three-hole configuration, you may need to use a deck plate to cover the extra holes. Ensure that the deck plate is compatible with your faucet and fits securely over the sink for a seamless appearance.
Clean the Surface Thoroughly
A clean surface is essential to ensure a proper seal and prevent potential leaks. After removing the old faucet and cleaning the area, wipe the surface once more with a damp cloth. Remove any remaining debris, dirt, or grease to create a smooth and clean foundation for the new faucet installation. Allow the surface to dry completely before proceeding.
Apply Plumber’s Putty or Silicone
If your faucet requires an additional seal, apply a ring of plumber’s putty or a bead of silicone beneath the base of the faucet. This step adds an extra layer of protection to keep water from leaking underneath the faucet. Ensure an even application around the entire circumference of the base for maximum effectiveness.
How to Install a Waterfall Faucet: Installing Process
Step 1: Position the Faucet
Insert the faucet into the mounting hole on your sink. Make sure the spout is aligned to face directly forward. Take a moment to check that the base of the faucet is sitting flush against the sink’s surface to ensure proper installation.
Step 2: Secure the Faucet from Below
From underneath the sink, attach the mounting hardware, which typically includes a washer and a nut. Slide these components onto the threaded shank of the faucet and tighten them securely with a basin wrench. Be careful not to over-tighten, as this could damage the sink or the faucet.
Step 3: Install Separate Handles (if applicable)
If your waterfall faucet comes with separate hot and cold handles, position each handle into its respective mounting hole on the sink. Secure the handles with the supplied mounting hardware, ensuring they are tight and properly aligned. Follow the manufacturer’s instructions for any specific adjustments.
Step 4: Attach Water Supply Lines
Connect the faucet to the hot and cold shut-off valves under the sink using flexible supply hoses. Before connecting, wrap plumber’s tape around all threaded connections to create a watertight seal. Hand-tighten the connections first, then use an adjustable wrench to secure them further, being cautious not to over-tighten and damage the fittings.
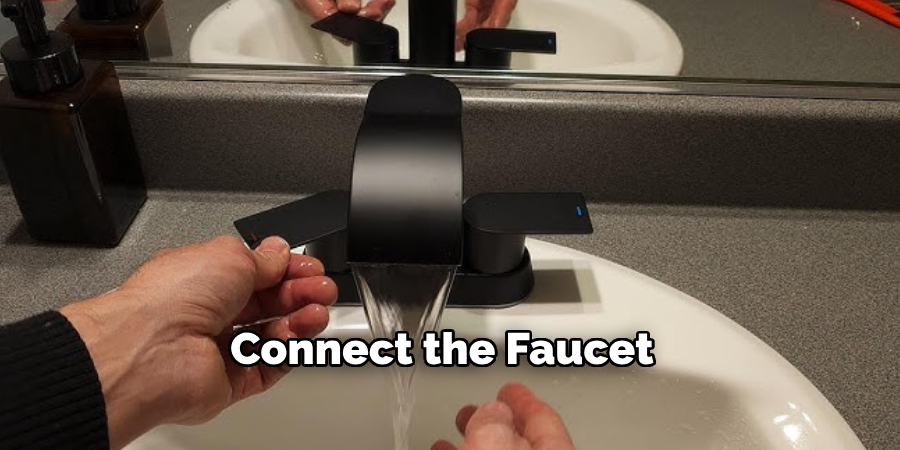
Once the supply lines are connected, check that all components are secured, and prepare to test your faucet for leaks in the final step.
Testing the Faucet and Checking for Leaks
Step 1: Turn Water Supply Back On
Slowly open both the hot and cold shut-off valves under the sink. Gradual turning prevents an initial burst of pressure, protecting the connections and avoiding unnecessary strain on the faucet.
Step 2: Run the Faucet
Turn on the faucet and allow water to flow through both the hot and cold settings. Check the water pressure and ensure the flow is steady. Observe the stream to confirm it is even and smooth, indicating proper installation.
Step 3: Inspect for Leaks
Examine the area under the sink carefully, especially around the supply lines and the base of the faucet. Look for any signs of dripping or pooling water. If leaks are detected, tighten the connections slightly or remove and reapply plumber’s tape to reinforce the seal.
Step 4: Clean Off Excess Sealant
During installation, extra plumber’s putty or silicone may have squeezed out around the faucet base. Use a damp cloth or sponge to wipe away any remaining sealant, leaving the sink area clean and looking professional.
Once these steps are complete and no leaks are detected, your faucet installation is successful, and the unit is ready for regular use.
Finishing Touches and Maintenance Tips
Step 1: Add Decorative Touches
Once the faucet installation is complete, use a soft cloth to polish the faucet and the surrounding area. This final step enhances the appearance, giving your sink a clean, shiny, and professional finish. It also ensures that any residual fingerprints or smudges are removed.
Step 2: Maintenance Advice
To prolong the life and aesthetics of your faucet, clean it regularly with a mild soap and water solution. This gentle approach prevents grime accumulation without damaging the faucet’s finish. Avoid using abrasive cleaning tools or harsh chemicals, as they can cause scratches or tarnishing.
Step 3: Preventing Mineral Buildup
Mineral buildup from hard water can cause unsightly spots and potentially affect the faucet’s performance. To prevent this, wipe the faucet with a soft cloth and a vinegar solution. Gently scrubbing away hard water spots will keep the fixture looking new and functioning optimally.
Step 4: Long-Term Tips
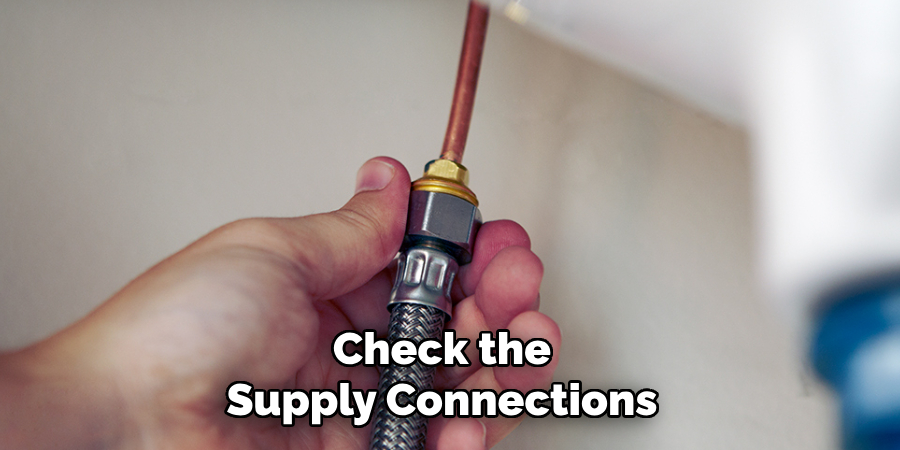
Over time, it’s important to check the supply connections for signs of leaks or wear. Periodically tighten the connections if necessary to prevent water damage. If dripping develops, replace washers or cartridges promptly to maintain the faucet’s efficiency and prevent wasted water.
Conclusion
Installing a waterfall faucet transforms both the functionality and aesthetic of your bathroom or kitchen. The process involves removing the old fixture, preparing the sink, installing the new faucet, and ensuring all connections are secure and leak-free. By taking your time and following each step carefully, you can achieve a smooth, stress-free installation. A waterfall faucet not only adds a touch of modern elegance but also enhances the water flow experience. For anyone wondering how to install a waterfall faucet, attention to detail is key to enjoying its beauty and convenience for years to come.

