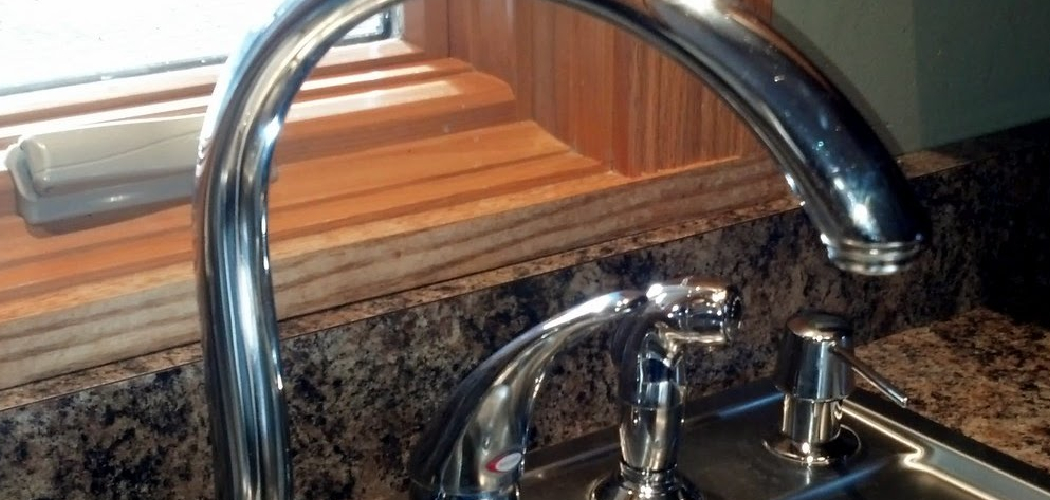
Are you tired of listening to the constant dripping sound of a leaky Moen faucet? Not only can it be annoying, but it can also waste a lot of water and increase your utility bills.
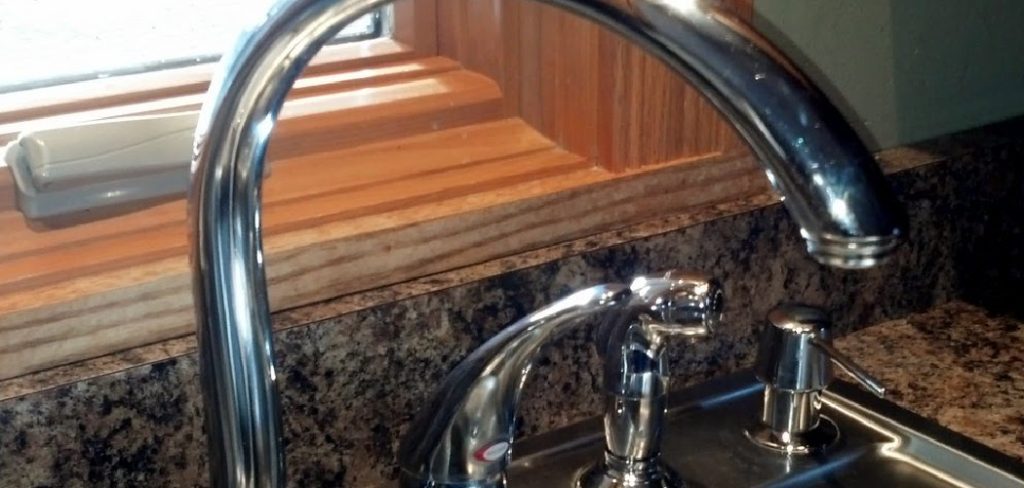
A leaky faucet can be both an annoyance and a source of wasted water, which may increase your utility bills over time. Luckily, fixing a leaky Moen faucet is a relatively simple task you can handle with basic tools and a little guidance. Moen faucets, known for their durability and sleek design, often require minor adjustments or replacements of specific parts to stop a leak.
This guide on how to fix a leaky moen faucet will walk you through the steps needed to identify the problem and resolve it quickly, saving you time and money while restoring your faucet to perfect working condition.
What Are the Causes of a Leaky Moen Faucet?
There could be several reasons why your Moen faucet is leaking.
- Worn-Out Cartridge: The cartridge is the heart of a Moen faucet and controls the water flow. Over time, it can become worn out or damaged, causing leaks.
- Loose Parts: With regular use, parts like nuts, bolts, and screws can become loose, leading to leaks.
- Corrosion: If your faucet is made of metal, it is susceptible to corrosion over time. This can cause holes or cracks in the faucet’s body, leading to leaks.
- O-Ring Damage: The O-ring is a small rubber ring that helps create a watertight seal between moving parts in the faucet. If this becomes damaged or worn out, it can cause leaks.
- Improper Installation: If the faucet was not installed correctly, it can lead to leaks. This could be due to incorrect parts placement or not using enough sealant.
- Water Pressure: High water pressure can cause stress on the faucet, resulting in leaks. It is essential to check your water pressure and make adjustments if necessary.
- Age: As with any household item, faucets have a limited lifespan and may start to develop leaks as they age. If your faucet is old and constantly leaking, it may be time for a replacement.
What Will You Need?
To fix a leaky faucet, you will need the following tools and materials:
- Adjustable wrench
- Screwdriver
- Replacement parts (such as O-rings or washers)
- Plumber’s tape
- Cleaning cloth
- Penetrating oil (if needed)
- Silicone sealant (if needed)
8 Easy Steps on How to Fix a Leaky Moen Faucet
Step 1: Turn Off the Water Supply
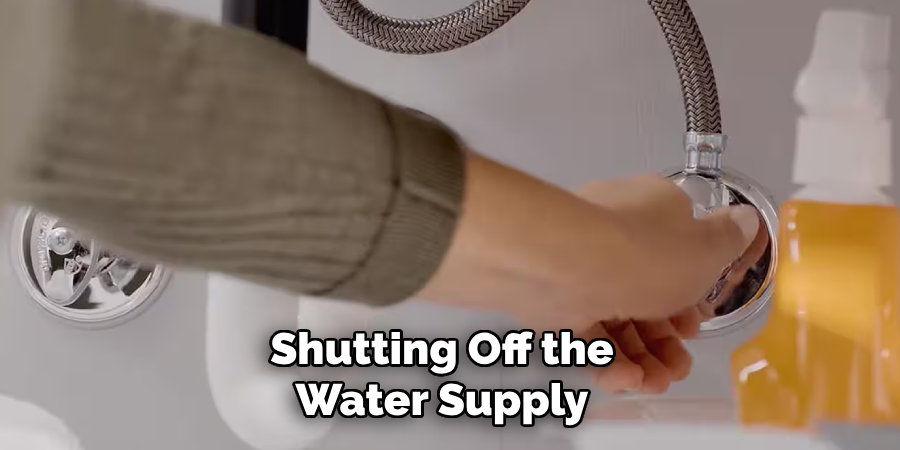
Before starting any repairs, shutting off the water supply is critical to prevent any accidental flooding or water damage. Locate the shut-off valves beneath your sink and turn them clockwise to close them tightly. If the valves are difficult to turn, you may use the adjustable wrench for extra leverage. For additional safety, you can also turn off the main water supply to your house. Once the water has been turned off, open the faucet to release any remaining water in the pipes. This step ensures the area stays dry and makes working on the faucet components easier.
Step 2: Remove the Faucet Handles
Using a screwdriver, carefully remove the decorative cap, if present, from the faucet handles to expose the screws beneath. Unscrew the handles and gently pull them off to reveal the valve system. Keep the screws and caps in a safe place to avoid losing them. This step provides access to the inner components, allowing further inspection or repair of the faucet.
Step 3: Inspect and Remove the Valve
Carefully examine the valve system for any signs of damage, corrosion, or debris. Use a wrench or pliers to loosen and remove the valve from its housing. Be cautious to avoid stripping the valve or causing damage to the surrounding components. Once removed, inspect the valve for wear and tear, as this may indicate the need for replacement. Proper inspection ensures the faucet operates efficiently once reassembled.
Step 4: Clean the Components
Thoroughly clean all faucet components, including the valve, valve housing, and any other parts that may have accumulated debris or mineral deposits. Use a soft brush and a cleaning solution designed for plumbing fixtures to remove buildup. Take care not to damage any surfaces or seals during the cleaning process. Ensuring the clean components will help maintain the faucet’s functionality and prevent future issues.
Step 5: Reassemble the Faucet
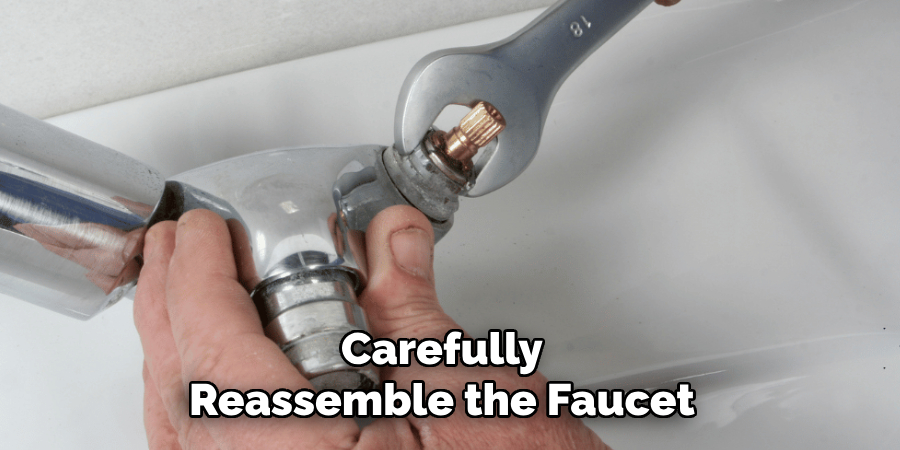
Carefully reassemble the faucet by following the reverse order of disassembly. Ensure all components are properly aligned and securely tightened to prevent leaks. Take extra care when reinstalling washers, seals, and the valve to avoid damaging these crucial parts. Once everything is in place, double-check that no parts are missing or improperly positioned. Reassembling the faucet correctly is key to restoring optimal performance.
Step 6: Test the Faucet
Turn the water supply back on and slowly open the faucet to test its functionality. Check for any leaks around the base, spout, or handles, and confirm the water flow is smooth and consistent. If any issues persist, consider tightening the connections or revisiting the previous steps to ensure everything was assembled correctly. A successful test ensures that the faucet is fully operational and that the repairs were successful.
Step 7: Clean Up the Area
Once the faucet has been tested and is functioning correctly, take a moment to clean up the workspace. Remove any tools, old parts, or debris from the area and wipe down the sink and surrounding surfaces. Ensuring a tidy and clean space improves the visual appeal but also helps prevent any loose materials from causing future issues. This final step completes the process and leaves your faucet area refreshed and ready for use.
Step 8. Maintenance and Troubleshooting
Regular maintenance is key to ensuring your faucet remains in excellent working condition. Periodically check for any leaks around the base or handles, as addressing minor issues early can prevent more significant problems later. Clean the faucet regularly using a gentle, non-abrasive cleaner to avoid the buildup of limescale or grime, which can affect appearance and function. Additionally, inspect the aerator, which may accumulate debris over time; unscrew and rinse it to maintain optimal water flow.
By following these simple steps, you can prolong the lifespan of your faucet and ensure it continues to function efficiently for years to come.
5 Things You Should Avoid
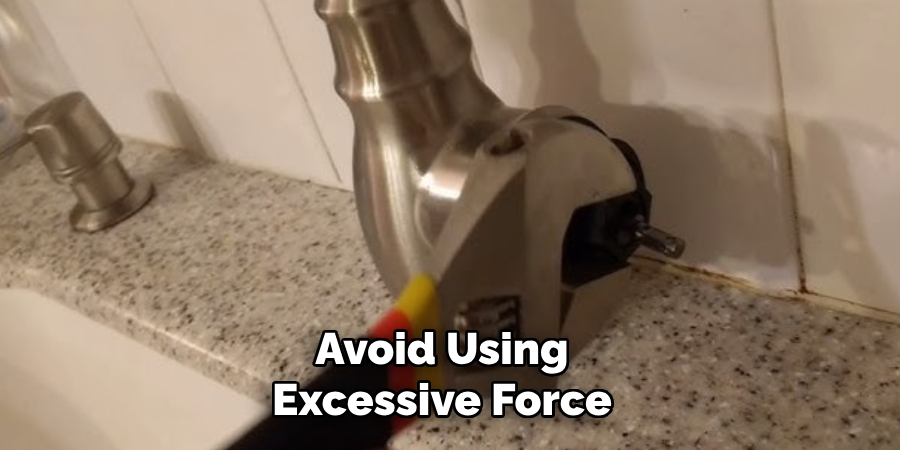
- Using Excessive Force
Avoid using excessive force when tightening or loosening components of the faucet. Over-tightening can damage threads, seals, or other delicate parts, leading to further leaks or requiring expensive repairs.
- Skipping the Shut-Off Valve
Never attempt to fix the faucet without turning off the water supply first. Skipping this step can result in water spraying uncontrollably, causing a mess and potential water damage.
- Ignoring Proper Tools
Do not use incorrect or makeshift tools for repairs. Using improper tools can strip screws, damage fittings, or make the repair process more difficult and less effective.
- Failing to Identify the Exact Cause of the Leak
Don’t assume that every leak requires the same fix. It’s essential to accurately diagnose whether the problem lies with the cartridge, O-ring, or another faucet component before proceeding with repairs.
- Using Harsh Chemicals
Avoid using harsh chemicals or cleaners on faucet parts. These can corrode or degrade the materials, particularly rubber seals or gaskets, leading to further damage and additional leaks over time.
Why Does My Moen Faucet Drip?
One of the most common causes of a dripping Moen faucet is worn-out O-rings. These small rubber rings act as seals between the different components of the faucet and can become cracked or loose with regular use. Fortunately, replacing O-rings is a simple and inexpensive fix.
Another potential cause of a leaking Moen faucet could be a faulty cartridge. The cartridge controls the flow of water in the faucet, which can lead to leaks if it becomes damaged or worn. In this case, replacing the cartridge may be necessary to stop the dripping.
How Do You Lubricate a Moen Faucet Cartridge?
To lubricate a Moen faucet cartridge, you will first need to turn off the water supply to the faucet. This can typically be done by turning off the shut-off valves located underneath the sink. Once the water is turned off, you can then follow these steps:
- Remove the handle of the faucet by unscrewing any retaining screws or using a screwdriver to pry it off.
- Use pliers to remove the retaining clip from the top of the cartridge.
- Gently pull out the cartridge from its housing.
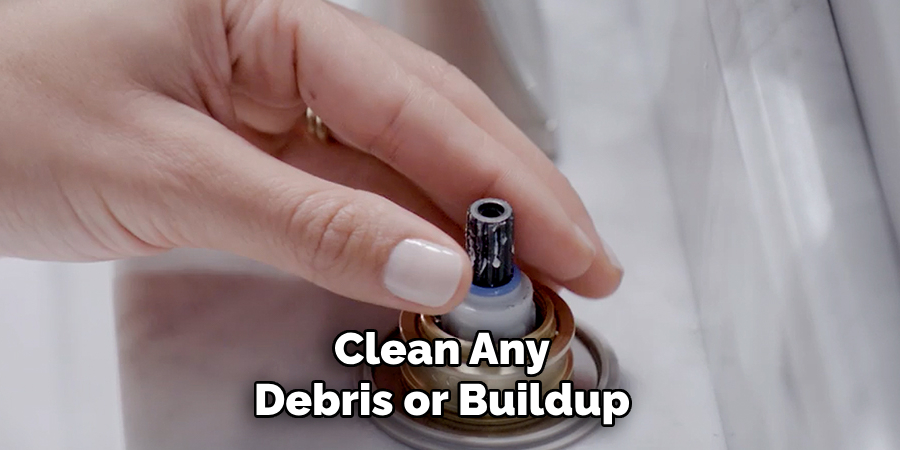
- Clean any debris or buildup on both the inside of the housing and on the outside of the cartridge.
- Apply a thin layer of plumber’s grease to the cartridge before reinserting it back into the housing.
- Replace the retaining clip and then screw the handle back on.
Once these steps are completed, you can turn the water back on and test out your faucet. If the leak persists, it may indicate that you need to replace the entire faucet. In this case, refer to your manufacturer’s instructions for properly installing a new faucet.
Conclusion
How to Fix a leaky Moen faucet is a straightforward process that can save you time and money compared to hiring a professional plumber.
By carefully following the outlined steps—turning off the water supply, disassembling the faucet, inspecting and replacing the cartridge, and reassembling everything—you can effectively address the most common causes of leaks. Take your time, use the correct tools, and consult your faucet’s manual if needed.
Regular maintenance and prompt repairs can extend the lifespan of your faucet and prevent further issues down the line.

