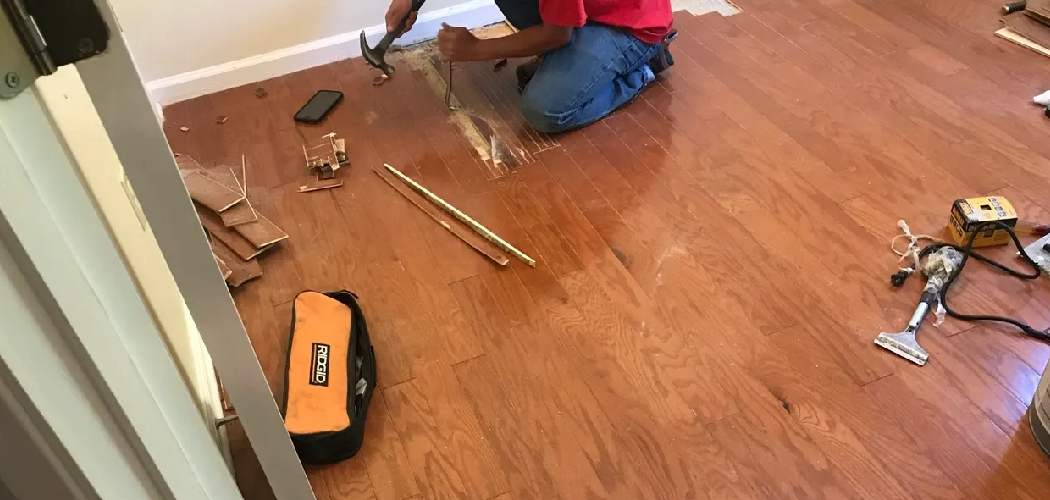
Removing the subfloor in a bathroom can be a critical part of a renovation or repair project. Whether it’s due to water damage, mold growth, or the need for a fresh start, this process requires careful planning and the right tools to ensure it’s done safely and efficiently. Before beginning, it’s important to understand the steps involved and prepare your workspace properly to avoid unnecessary complications.
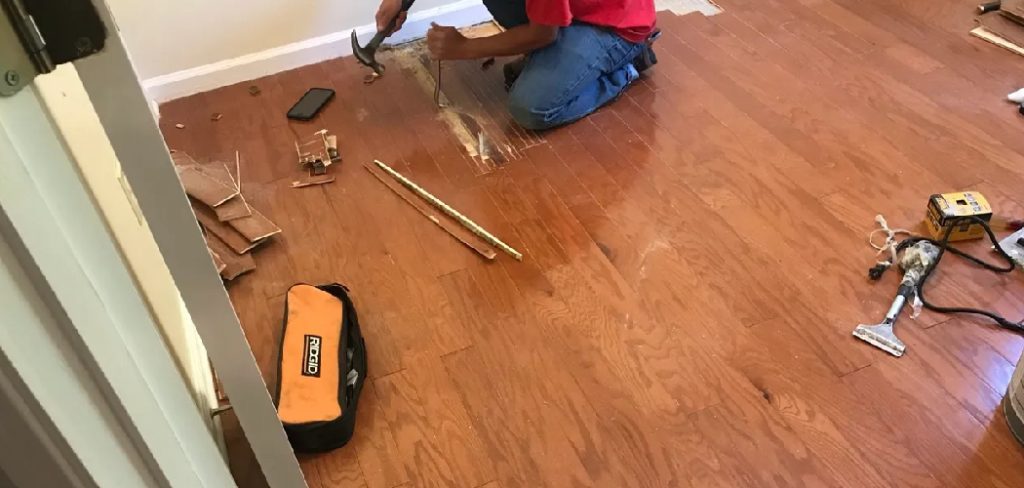
This guide on how to remove subfloor in bathroom will walk you through the process of removing your bathroom subfloor with confidence.
Safety First: Preparation and Precautions
Before starting the subfloor removal process, prioritizing safety is essential to prevent injuries and ensure the project goes smoothly. Begin by wearing the proper protective gear, including safety goggles, gloves, and a dust mask, to protect yourself from hazardous materials such as mold, dust, and splinters. It’s also recommended to wear sturdy footwear with a non-slip sole to reduce the risk of accidents.
Next, shut off utilities in the bathroom, including water and electricity. This step is crucial to avoid potential leaks or electrical hazards during the removal process. Inspect the area for signs of mold or asbestos, especially in older homes, as these require specialized handling by professionals. Lastly, ensure your work area is well-ventilated and clear of unnecessary items to provide enough space to move and work efficiently. Taking these precautions will set the stage for a safer and more successful project.
Tools and Materials You’ll Need
To complete a DIY demolition project, you will need the following tools and materials:
Tools:
- Hammer
- Pry Bar
- Crowbar
- Screwdriver
- Utility Knife
- Chisel
- Reciprocating Saw
- Circular Saw
Materials:
- Protective Gear (gloves, safety glasses, and dust mask)
- Plastic Drop Cloths
- Tarps
- Trash Bags
- Dumpster or Bin for Debris Disposal
- Protective Coverings for Floors and Furniture
- Tarp or Sheet to Protect Walls from Damage
10 Simple Step-by-step Guidelines on How to Remove Subfloor in Bathroom
Step 1: Prepare the Work Area
Before starting any demolition work, it is important to prepare the work area to ensure safety and avoid damage.
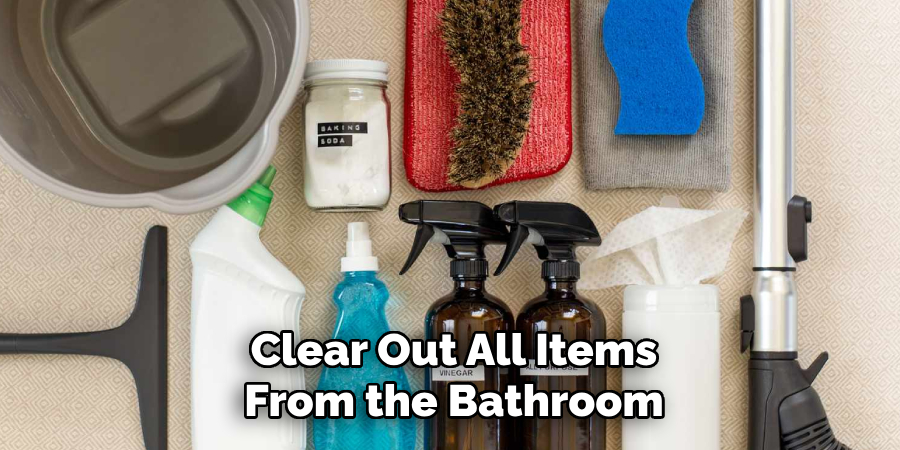
- Clear out all items from the bathroom, including furniture, rugs, and toiletries.
- Lay down protective coverings on floors and walls to prevent damage. This can be a thick tarp or sheet.
- If you have furniture or fixtures that cannot be removed, cover them with drop cloths.
Step 2: Turn off the Water Supply
To prevent water damage or leaks during the removal process, it’s critical to turn off the water supply.
- Locate the main water shut-off valve for your home or the specific shut-off valves for the bathroom.
- Turn the valve clockwise to close it completely.
- Drain any remaining water from the pipes by turning on the faucets in the bathroom until the flow stops.
- Double-check that the water is fully off before proceeding with the subfloor removal.
3: Remove Baseboards and Trim
Before accessing the subfloor, it’s necessary to remove the baseboards and trim along the walls of the bathroom.
- Use a utility knife to carefully cut along the edge of the baseboards to break any caulk or paint seal.
- Insert a pry bar or putty knife gently behind the baseboard or trim and slowly work it loose, taking care not to damage the wall.
- Label or organize the pieces if you plan to reuse them later.
- Once all baseboards and trim are removed, ensure the area is clear and ready for the subfloor removal process.
Step 4: Inspect for Any Obstacles
- Carefully examine the exposed subfloor for any obstacles such as nails, screws, or adhesive residue that might interfere with the removal process.
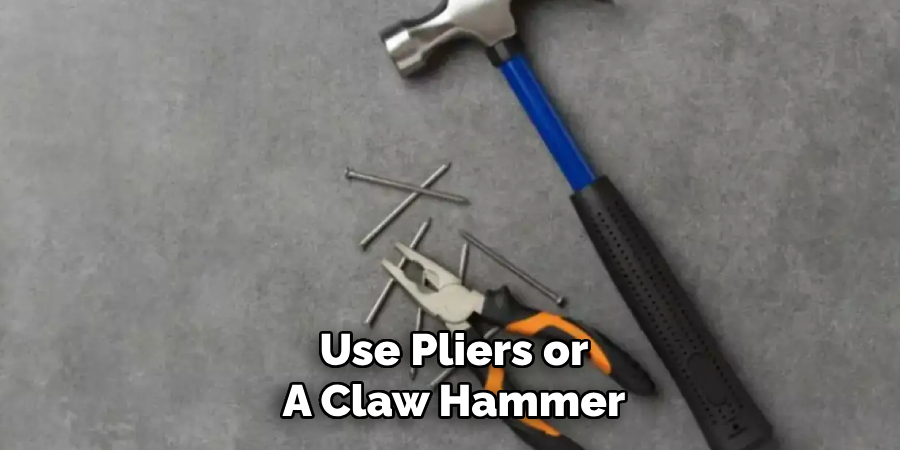
- Use pliers or a claw hammer to remove any protruding nails or screws.
- If adhesive is present, gently scrape it off with a putty knife or floor scraper, taking care not to damage the subfloor.
- Check for signs of damage, such as rotted wood or weak spots, and note any areas that may require repair or replacement.
- Ensure that the surface is clean and free of debris before proceeding to the next step.
Step 5: Cut Subfloor into Manageable Sections
- Use a circular saw set to the depth of the subfloor material to make clean, straight cuts.
- Cut the subfloor into smaller, manageable sections to make removal easier. Typically, sections around 2–3 feet wide work well for handling.
- Exercise caution to avoid cutting into the joists or any underlying utilities, such as electrical wiring or plumbing.
- Wear proper safety gear, including goggles and gloves, to protect against sawdust and sharp edges.
- Mark the sections clearly to maintain organization throughout the process.
Step 6: Remove the Subfloor
- Begin by prying up each section of the cut subfloor using a pry bar or similar tool. Insert the pry bar at the edges and slowly work your way along to loosen the material.
- Carefully lift the sections, ensuring you do not damage the joists or surrounding structures.
- Check for and remove any nails or screws left in the joists after the subfloor is pulled up. Use a nail puller or drill for this task to ensure a clean surface for future installation.
- Dispose of the removed subfloor sections properly, following local waste disposal guidelines.
- Inspect the exposed joists and underlying area for any signs of damage, such as rot or mold, and address these issues before proceeding with the replacement.
Step 7: Inspect and Repair Floor Joists
Carefully examine each floor joist for structural integrity. Look for any signs of damage, such as cracks, splitting, sagging, or decay. Use a moisture meter to check for excessive moisture levels, which could indicate potential issues with rot or future deterioration.
If any joists are compromised, repair or replace them as necessary to ensure a stable foundation for the new subfloor. Reinforce weakened joists using sistering techniques, where a new piece of lumber is fastened alongside the existing joist for added support. Always ensure repairs meet local building codes and standards for safety and durability.
Step 8: Install New Subfloor
Once the joists have been inspected and any necessary repairs have been completed, it’s time to install the new subfloor. Begin by measuring and cutting the subfloor panels to fit the space, ensuring tight seams between panels for a sturdy fit. Use tongue-and-groove panels for added stability and to minimize movement or squeaks.
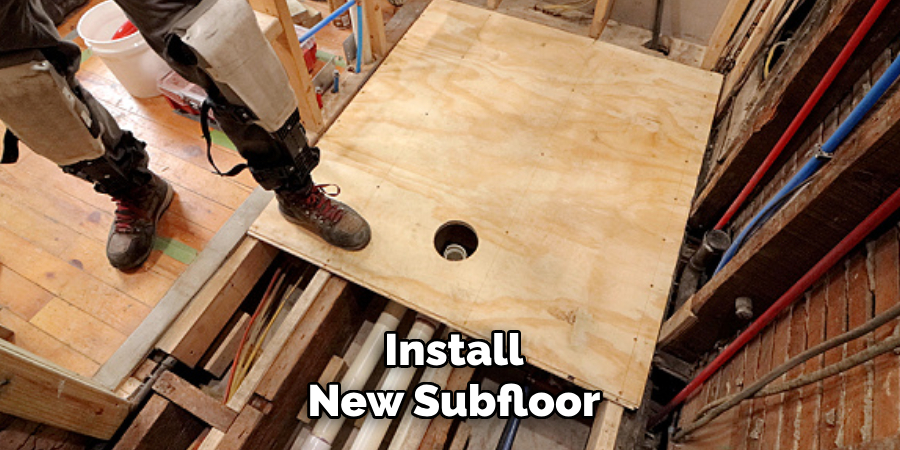
Secure the panels to the joists using construction adhesive and screws or nails, following the fastener schedule recommended by the manufacturer. Be sure to leave an appropriate expansion gap along the edges of the room to account for natural wood expansion and contraction. Verify that the subfloor is level and firmly attached before proceeding with the next phase of the project.
Step 9: Add a Moisture Barrier
Before installing the finished flooring, it is essential to lay down a moisture barrier to protect the floor from potential damage caused by moisture or humidity. Choose a barrier material suitable for your specific flooring type, such as a plastic sheeting or a specialized underlayment.
Roll out the moisture barrier across the subfloor, ensuring that the entire surface is covered without gaps or overlaps. Tape the seams securely using waterproof tape to create a continuous and effective barrier. This step will help prevent moisture-related issues and extend the lifespan of your flooring.
Step 10: Lay Down New Flooring
Finally, you can lay down your chosen flooring material over the subfloor and moisture barrier. Follow the manufacturer’s instructions for installation, making sure to leave expansion gaps around the edges of the room.
Following these steps on how to remove subfloor in bathroom will ensure a solid and moisture-resistant subfloor for your new flooring. Remember to take your time and do each step carefully for the best results.
Additional Tips
- If you are installing tile or stone flooring, make sure to use an appropriate adhesive and grout that is rated for bathroom use.
- Consider adding a layer of cement backer board between the subfloor and tile for added stability.
- Choose flooring materials that are resistant to water damage, such as vinyl or laminate.
- Properly ventilate your bathroom to prevent excess moisture buildup, which can cause damage to your floors.
- If you are installing hardwood flooring, make sure to use a waterproof sealant or finish to protect the wood from water damage.
- When laying out your tiles, avoid using small pieces at the edges of the room as they can be more prone to cracking and breaking.
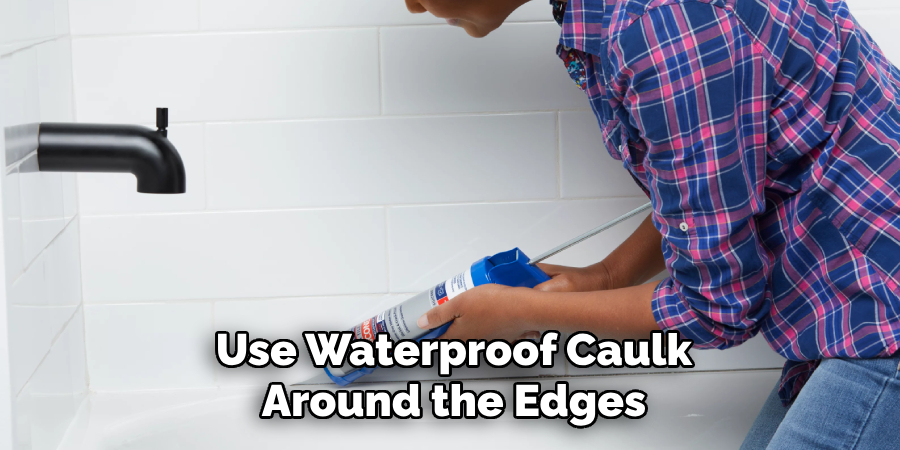
- Use a waterproof caulk around the edges of your flooring and tub or shower for added protection against moisture.
- Consider adding a rug or mat in high-traffic areas of your bathroom to protect your floors and add a touch of style.
- Regularly clean and maintain your new flooring to ensure its longevity and prevent any potential damage.
Conclusion
Upgrading your bathroom flooring can transform the space, both in terms of functionality and style. By carefully selecting the right materials, properly preparing the surface, and following key installation tips, you can ensure a durable and aesthetically pleasing result. Regular maintenance will keep your floors looking pristine and extend their lifespan.
With these steps on how to remove subfloor in bathroom, you’ll create a bathroom that not only looks great but also serves your needs for years to come.

