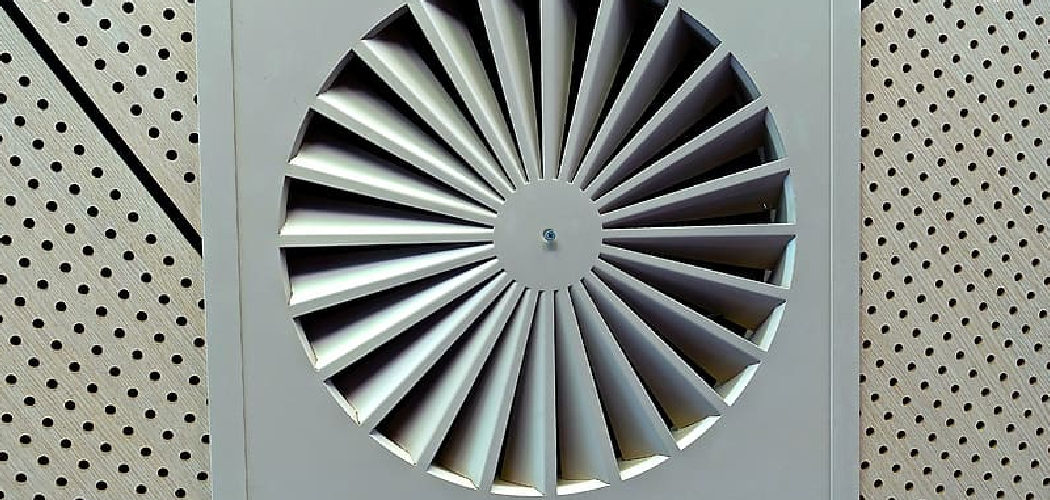
Are you tired of inhaling dust, debris, and stale air in your bathroom? Or has your Panasonic bathroom fan stopped working efficiently? Either way, it’s time to clean your Panasonic bathroom fan to maintain proper ventilation and air quality in your bathroom.
A clean bathroom fan is essential for maintaining proper ventilation and improving air quality in your home. Over time, dust, grime, and debris can accumulate in the fan, reducing its efficiency and potentially causing unpleasant odors or overheating. Regular cleaning not only ensures that the fan operates smoothly but also extends its lifespan. If you own a Panasonic bathroom fan, this step-by-step guide on how to clean panasonic bathroom fan will walk you through the process of cleaning it safely and effectively.
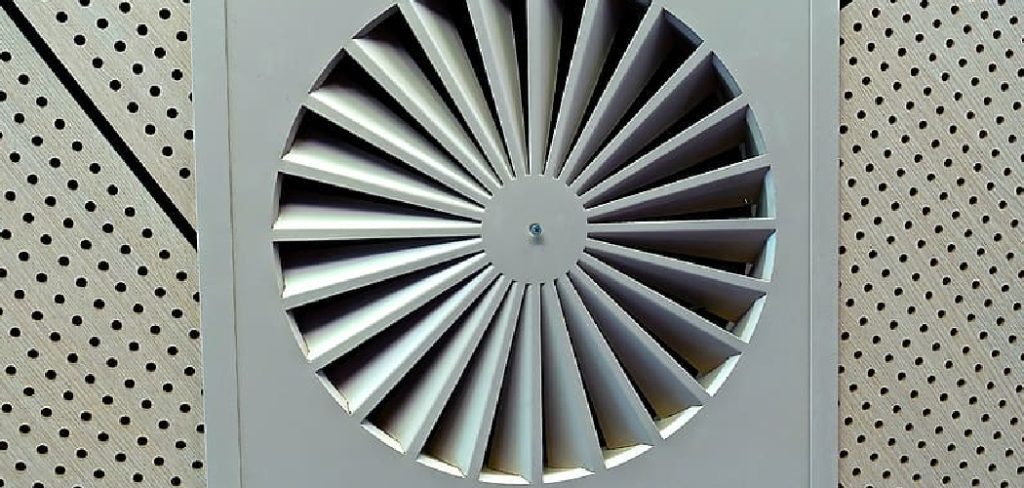
Follow these instructions to keep your fan in top condition and your bathroom fresh and comfortable.
What are the Benefits of Cleaning Your Panasonic Bathroom Fan?
There are several benefits to regularly cleaning your Panasonic bathroom fan. These include:
- Improved Efficiency: As mentioned before, dust and debris can accumulate in the fan, hindering its performance. By cleaning it regularly, you can ensure that the fan is functioning at its highest capacity, providing proper ventilation for your bathroom.
- Longer Lifespan: A clean fan will also have a longer lifespan, saving you money on frequent replacements. You can extend its longevity by removing any buildup and running the fan smoothly.
- Better Air Quality: A dirty fan can blow particles and allergens into the air, affecting the overall air quality in your bathroom. Regular cleaning helps to prevent this and keeps the air in your bathroom fresh and clean.
- Safety: A clogged fan can also pose a safety hazard. If dust and debris are blocking the fan, it can overheat and potentially cause a fire. Regular cleaning reduces this risk and ensures the safe operation of your fan.
- Energy Efficiency: When a fan is clogged with dust and grime, it has to work harder to function correctly. This means it will use more energy, resulting in higher utility bills. Keeping your fan clean helps to maintain its efficiency and saves you money in the long run.
What Will You Need?
To properly clean your fan, you will need the following items:
- Screwdriver
- Soft cloth or microfiber cloth
- Mild soap or all-purpose cleaner
- A bucket of warm water
- Small brush (toothbrush or paintbrush works well)
- Vacuum with attachments
Gathering these items before cleaning is important to ensure a thorough and efficient job. Additionally, make sure you have enough space to work in and a safe place to store any removed parts.
8 Easy Steps on How to Clean Panasonic Bathroom Fan
Step 1: Turn Off the Power
Before beginning any cleaning process, safety should always come first. Locate the circuit breaker that supplies power to your bathroom fan and switch it off. This ensures that there is no risk of electric shock while you work. If you are unsure which breaker controls the fan, you can test it by flipping the switch for the fan on and off to confirm that the power has been successfully cut.

Additionally, place a piece of tape or a small note on the breaker to notify others that you are working on the fan. Taking this precautionary step ensures a safe cleaning process.
Step 2: Remove the Fan Cover
To remove the fan cover, start by examining how it is secured. Most bathroom fan covers are held in place by metal clips or screws. If the cover is attached with screws, use an appropriate screwdriver to carefully unscrew and set them aside in a safe place to avoid losing them. For covers secured with metal clips, gently pull the cover down until it detaches from the clips; you may need to squeeze the clips together to release the cover entirely.
Be cautious not to apply excessive force, which could damage the cover or the fan housing. Once removed, inspect the cover for any accumulated dust or debris. Cleaning the cover thoroughly now will save time later, ensuring the fan operates efficiently once reassembled. Set the cleaned or to-be-cleaned cover aside in a clean, safe area as you proceed to the next step.
Step 3: Clean the Fan Blades
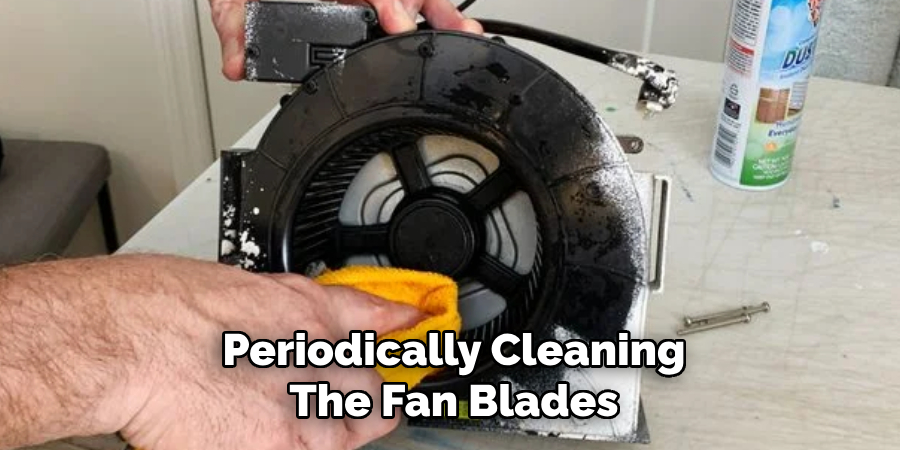
With the cover removed, carefully examine the fan blades for dust, dirt, or grime buildup. Using a soft, damp cloth or a microfiber cleaning tool, gently wipe down each blade to remove any debris. For stubborn dirt, a mild detergent mixed with water may be applied to the cloth, but ensure not to use excessive moisture, as this can damage the motor.
Rotate the fan manually as needed to access each blade fully, and take your time to ensure all surfaces are thoroughly cleaned. Proper cleaning of the blades is essential for maintaining optimal airflow and reducing strain on the fan motor.
Step 4: Clean the Motor Housing and Exterior
After cleaning the blades, focus on the fan’s motor housing and exterior components. Use a dry or slightly damp cloth to carefully wipe down the motor casing, being cautious to avoid any openings or electrical components. If there are stubborn spots or built-up grime, use a small amount of mild detergent with water on the cloth, ensuring it is well-wrung to prevent dripping.
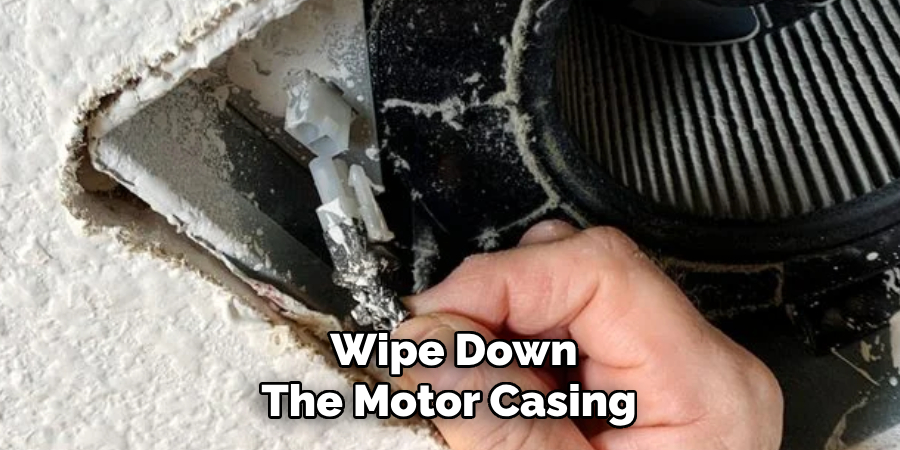
Clean any other visible areas of the fan, such as the base or mounting brackets, to remove dust and maintain the fan’s overall appearance. Regular maintenance of these areas prolongs the fan’s performance and ensures a cleaner environment.
Step 5: Reassemble the Fan
Carefully reassemble the fan once all components are thoroughly cleaned and completely dry. Begin by attaching the blades back to their designated positions on the motor, ensuring they are securely fastened. Next, reinstall the protective grille or cover, making sure it clicks or screws into place tightly. Double-check all parts to confirm they are properly aligned and stable before powering on the fan. Reassembling correctly is crucial for the fan’s safe operation and optimal performance.
Step 6: Testing the Fan
Once the fan is fully reassembled, plug it into a power source and turn it on to ensure it operates smoothly. Test the fan at all available speed settings to confirm that the blades rotate without obstruction and the airflow is consistent. Listen for any unusual noises that might indicate misalignment or loose components. If the fan functions as expected, it is now ready for regular use. If any issues persist, revisit the assembly steps to identify and correct potential errors.
Step 7: Safety Precautions
Before using the fan, it is important to keep a few safety precautions in mind. Always ensure the fan is placed on a stable and flat surface to avoid tipping or instability. Protect the fan from water or other liquids to prevent damage and potential electrical hazards. Avoid placing the fan near curtains, drapes, or loose clothing, as they can easily get caught in the blades.
Step 8: Regular Maintenance
Regular maintenance is essential to ensure the fan operates efficiently and has a prolonged lifespan. Begin by periodically cleaning the fan blades to remove dust and debris, as a buildup can hinder performance and decrease airflow. Use a soft cloth or a brush and ensure the fan is unplugged before cleaning.
Check the motor and other moving parts for any signs of wear or unusual noises, which may indicate the need for repairs. Lubricate the motor bearings if applicable, following the manufacturer’s guidelines for the type of lubricant to use.
Additionally, inspect the power cord and plug for any damage or fraying, and replace them immediately if issues are found to avoid safety risks. Regularly tightening screws and other components can also prevent vibrations and maintain stability during operation.
By following these steps, you can ensure that your motor will continue functioning properly and avoid potential malfunctions.
5 Things You Should Avoid
- Using Harsh Chemicals
Avoid using abrasive cleaners or harsh chemicals as they can damage the fan’s components, particularly plastic parts or any delicate finishes. Stick to mild soap and water for cleaning purposes.
- Skipping the Power Off Step
Never attempt to clean the fan without first turning off the power. This can pose a serious electrical hazard and may lead to injury or damage to the fan.
- Ignoring the Manufacturer’s Manual
Failing to consult the manufacturer’s manual can result in improper cleaning methods or the use of unsuitable tools, which could interfere with the fan’s performance.
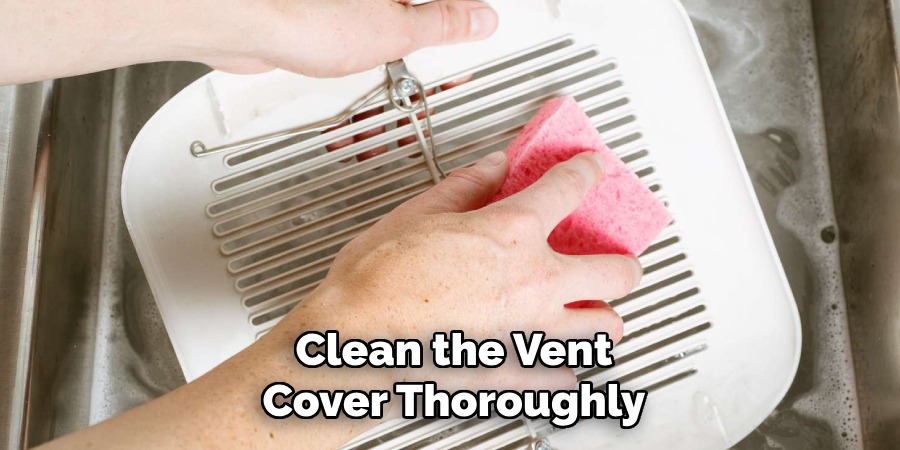
- Overlooking the Vent Cover
Do not neglect to clean the vent cover thoroughly. Accumulated dirt and debris on the cover can block airflow and reduce the fan’s efficiency.
- Using Excessive Force
Avoid applying excessive force when removing or cleaning delicate parts, as this can lead to broken or bent components, making the fan less effective or completely inoperable. Take care to handle parts gently during the cleaning process.
Conclusion
How to clean Panasonic bathroom fan is an essential part of maintaining its efficiency and prolonging its lifespan.
By following the steps outlined above, including turning off the power, carefully removing and cleaning each component, and avoiding common mistakes, you can ensure your fan remains in optimal working condition. Regular maintenance improves air circulation and reduces the risk of dust buildup and potential malfunctions.
Dedicate some time to this task periodically, and enjoy the benefits of a cleaner, healthier bathroom environment.

