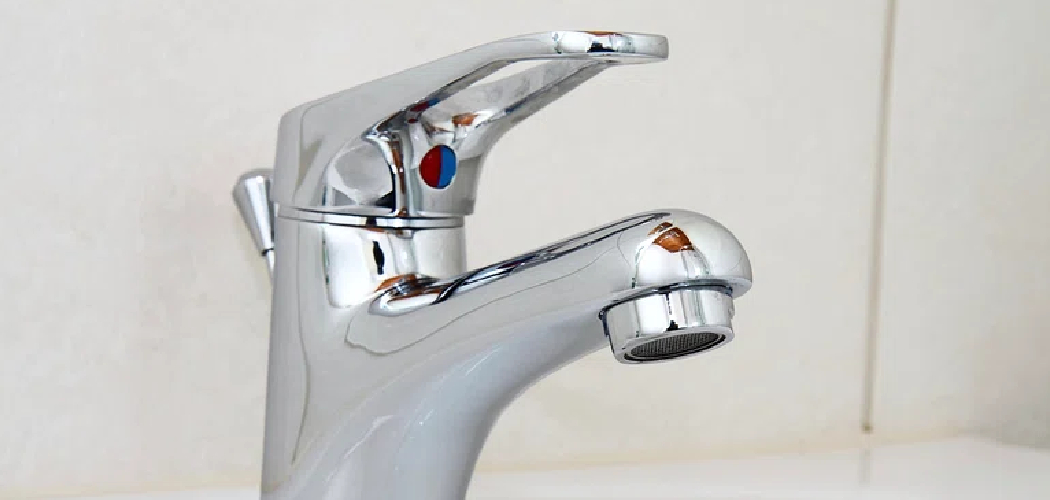
A dripping tap can be more than just a minor annoyance—it can waste a significant amount of water over time, increasing your utility bills and impacting the environment. Fortunately, fixing a dripping tap is a relatively simple task that most people can handle with basic tools and a little guidance.
This guide on how to fix dripping tap will walk you through the steps to identify the cause and resolve the issue efficiently.
Causes of a Dripping Tap
Before we dive into the steps to fix a dripping tap, it’s important to understand the potential causes. In most cases, a dripping tap is caused by a worn or damaged washer inside the tap mechanism. Over time, these washers can become stiff or torn, leading to water leaking out of the tap even when it’s turned off.
Another possible cause is a loosened screw or valve that connects the tap handle to the mechanism. This can cause the tap to constantly drip or even leak water from the base of the tap.
Alternatively, a build-up of sediment or debris inside the tap can also lead to a dripping tap. This is especially common in areas with hard water, where mineral deposits can accumulate and affect the functioning of the tap.
It’s important to identify the specific cause of your dripping tap in order to fix it properly. Now, let’s move on to the steps for fixing a dripping tap.
Needed Materials
Adjustable Wrench:
The first tool you’ll need is an adjustable wrench, which will allow you to loosen and tighten the nuts on your tap.
Screwdriver (Either Flathead or Phillips) or Allen Key:
Depending on the type of tap you have, you’ll need either a flathead or Phillips screwdriver or an allen key to remove the tap handle.
Replacement Parts:
Before starting any repairs, it’s important to check if your tap requires any replacement parts. This may include rubber washers, O-rings, or ceramic discs. These parts can be found at hardware stores or through your tap’s manufacturer.
Teflon Tape:
If you’re replacing any part of your tap, it’s a good idea to use Teflon tape on the threads to ensure a tight seal. This can prevent leaks and keep your tap functioning properly.
6 Steps on How to Fix Dripping Tap
Step 1: Turn off the Water Supply
Before you begin fixing your dripping tap, locate the water shut-off valves under the sink and turn them off. Twist the valve handles clockwise until they are fully closed. If you cannot find the individual shut-off valves, you may need to turn off the main water supply to your home.
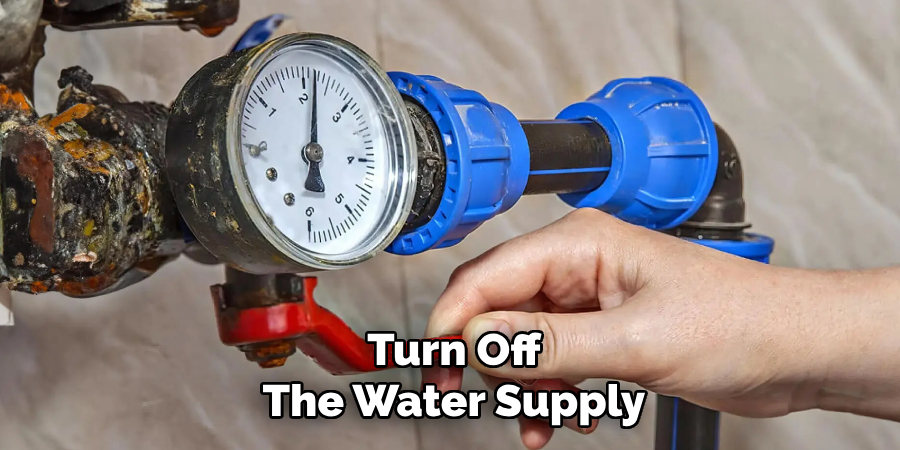
This step is crucial to prevent water from flowing while you work on the tap. Once the water is off, turn the tap on to drain any residual water in the pipes.
Step 2: Remove the Tap Handle
To access the internal components of the tap, you’ll need to remove the tap handle. Begin by locating the screw that secures the handle in place—this is often hidden under a decorative cap. Use a flathead screwdriver to gently pry off the cap, if present, and expose the screw. Once visible, use a screwdriver to carefully unscrew it.
After removing the screw, the handle should lift off easily. If it feels stuck, apply gentle pressure or wiggle it slightly to free it, being careful not to damage any parts.
Step 3: Examine the Cartridge or Valve
Once the handle is removed, you will have access to the cartridge or valve, which is the main component responsible for controlling water flow. Carefully inspect this part for any signs of damage, buildup, or wear. Look for cracks, corrosion, or mineral deposits that might impede its functionality.
If necessary, use a flashlight to get a clearer view of hard-to-see areas. Take note of the make and model of the cartridge or valve, as you may need this information if a replacement is required. If there is debris or buildup, gently clean the area using a soft cloth or a vinegar solution to restore functionality.
Step 4: Replace Any Damaged Parts
If you identify any damaged components, such as a cracked cartridge or corroded valve, it is essential to replace them to ensure the proper functioning of your system. Begin by purchasing a replacement part that matches the make and model you noted earlier. Ensure that the replacement is high-quality and compatible with your system.
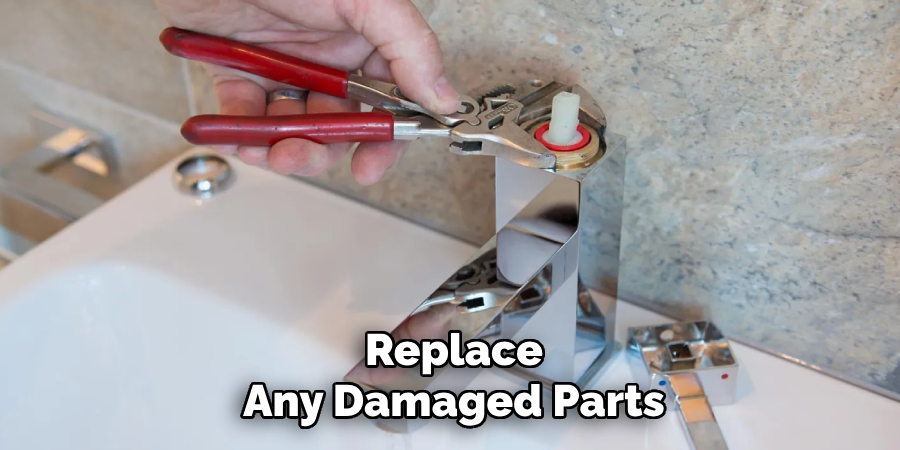
To remove the damaged component, follow the manufacturer’s instructions, often involving unscrewing or detaching the part carefully. Install the new component securely, double-checking that it is properly aligned and tightened. Once completed, test the system to confirm that the replacement has resolved the issue and restored functionality effectively.
Step 5: Reassemble the Faucet
With the new component successfully installed, proceed to reassemble the faucet. Begin by reattaching any parts you removed earlier, such as handles, screws, or decorative covers. Ensure that each piece is securely fastened to avoid leaks or loose components. Refer to the manufacturer’s assembly guide if needed to ensure all parts are positioned correctly.
Once the faucet is fully reassembled, turn on the water supply and check for proper flow and operation. This step completes the repair process, leaving you with a fully functional faucet.
Step 6: Turn on Water Supply and Test
Once you have reassembled the faucet, turn on the water supply and check for any leaks or unusual sounds. If everything looks good, test the hot and cold water to make sure they are both functioning correctly.
Following these steps on how to fix dripping tap will help you successfully fix a leaky faucet and save money on your water bill. Remember to regularly check your faucets for any signs of leaks or damage to prevent more significant issues in the future.
Do You Need to Use Professionals?
While fixing a dripping tap is often a straightforward DIY task, there are situations where professional help may be necessary. If the issue persists despite your efforts or if you notice extensive damage to the faucet or surrounding plumbing, it’s best to consult a licensed plumber. Professionals have the tools and expertise to diagnose and resolve more complex problems, such as hidden leaks, structural damage, or issues with water pressure.
Additionally, if you’re uncomfortable working with plumbing systems or lack the required tools, reaching out to a professional can save time and prevent accidental damage. Always prioritize the safety and long-term reliability of your plumbing system.
Additional Tips
- Use a flashlight to help you see inside small spaces while examining and repairing your faucet.
- Keep a bucket nearby to catch any excess water while making repairs.
- If you encounter any difficulties or are unsure about a step, it is always best to call a professional plumber for assistance.
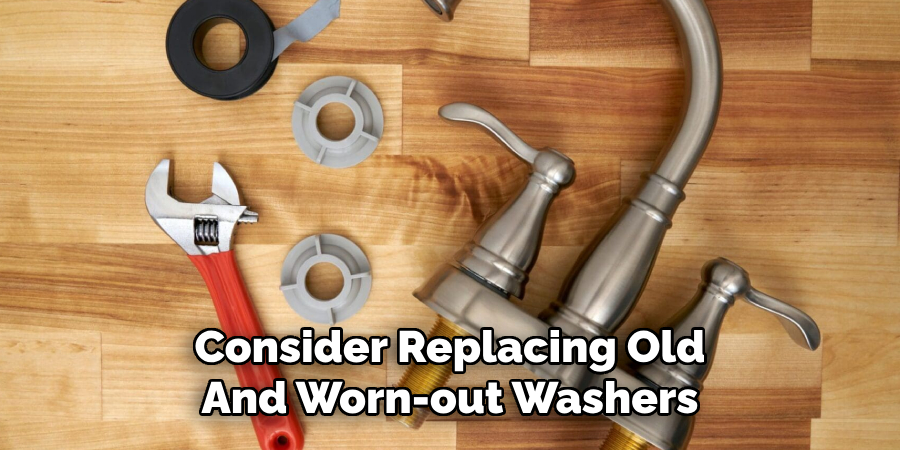
- In addition to fixing the dripping tap, consider replacing old and worn-out washers, O-rings, and other parts to prevent future leaks. Regular maintenance can save you from more significant repair costs in the long run.
- Make sure to turn off the water supply before attempting any repairs to avoid potential flooding or accidents.
- Consider using eco-friendly or low-flow faucet aerators to conserve water and reduce your utility bill even further.
- Don’t forget to clean up any excess materials or debris after completing the repair. This will help prevent clogs and maintain the proper functioning of your faucet.
- If you’re unsure about how to fix a specific issue with your faucet, don’t hesitate to consult a professional plumber. Attempting complicated repairs without proper knowledge or experience can lead to further damage and expenses.
- Lastly, keep in mind that regular cleaning and maintenance can also extend the lifespan of your faucets, saving you money in the long run. Regularly check for any signs of wear and tear, such as loose handles or dripping water, and address them promptly before they become more serious issues.
Frequently Asked Questions
Q1: How Often Should I Replace My Faucet?
A1: It is recommended that your faucet be replaced every 10-15 years, depending on usage and maintenance.
Q2: Can I Install a New Faucet Myself?
A2: If you have experience with plumbing, you may be able to install a new faucet yourself. However, it is always recommended to hire a professional for installation to ensure it is done correctly and to avoid any potential damage.
Q3: How Can I Prevent Leaks in My Faucet?
A3: The best way to prevent leaks in your faucet is by regularly maintaining and repairing any issues that arise. Additionally, avoid using excessive force when turning the handles or knobs, as this can cause wear and tear on the internal parts of the faucet. You can also consider investing in a high-quality faucet with durable materials to prevent leaks from occurring.
Q4: What Type of Faucet Is Best for My Kitchen or Bathroom?
A4: The type of faucet that is best for your kitchen or bathroom depends on your personal preferences and the style of your sink. Some popular options include single handle, double handle, pull-down, or wall-mounted faucets. It is important to consider the functionality and design of the faucet before making a decision.
Conclusion
Selecting the right faucet for your kitchen or bathroom is a crucial decision that blends functionality with style. By considering factors such as durability, design, and practicality, you can make an informed choice that enhances the overall look and usability of your space.
Investing in a high-quality faucet will not only prevent issues like leaks but also ensure long-lasting performance and satisfaction. Take your time to explore your options, and choose a faucet that truly meets your needs and preferences. Thanks for reading this article on how to fix dripping tap.

