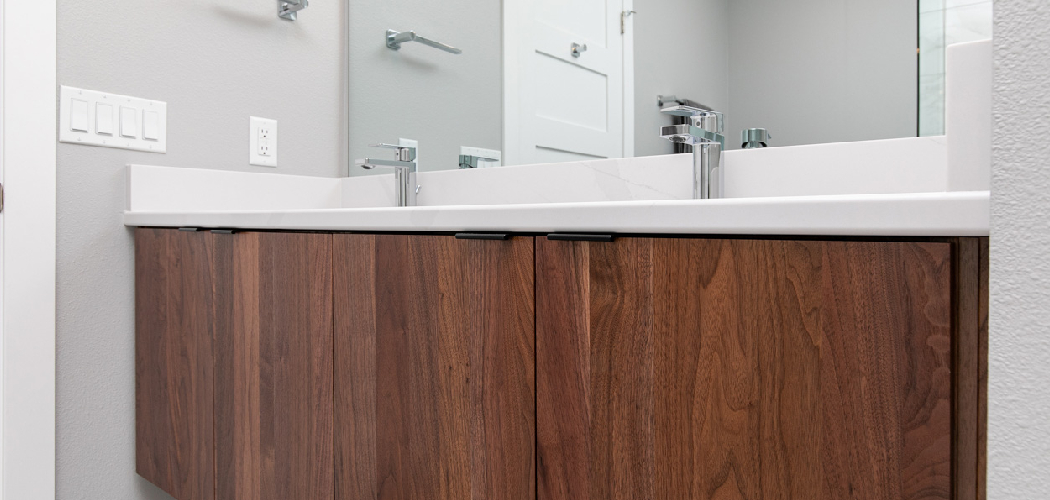
Building a bathroom cabinet is a practical and rewarding project that can enhance both the functionality and aesthetics of your bathroom. Whether you’re customizing it to suit your specific needs or creating a unique style statement, crafting your own cabinet allows for creativity and precision. With the right tools, materials, and a step-by-step approach, you can construct a durable and attractive cabinet that fits seamlessly into your space.
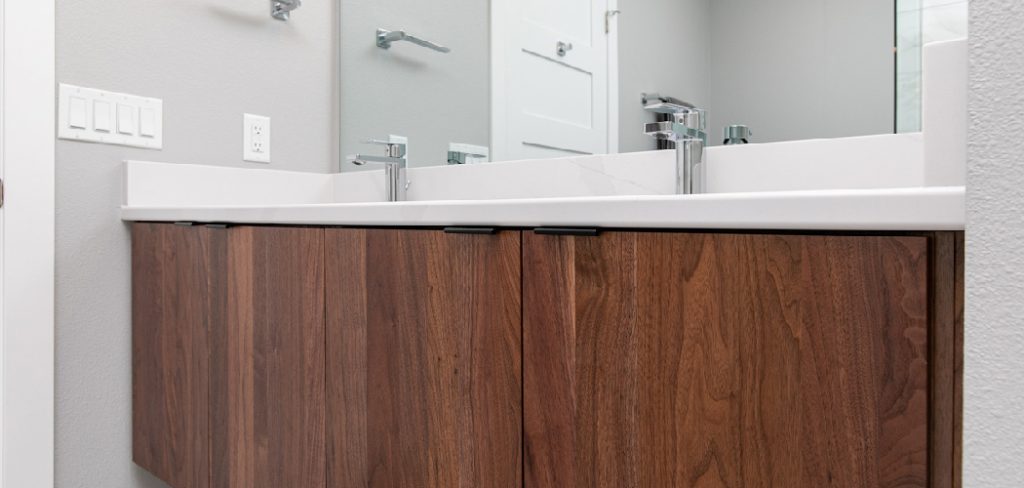
This guide on how to build a bathroom cabinet will walk you through the process, ensuring even beginner DIY enthusiasts can achieve professional-looking results.
Why Build a Bathroom Cabinet?
Building a custom bathroom cabinet not only allows for personalization and customization but also offers practical benefits. Here are some reasons why you should consider building your own bathroom cabinet:
Cost Savings:
Purchasing pre-made cabinets can be expensive, especially if you want high-quality materials and unique designs. Building your own cabinet allows you to save money on labor costs and choose budget-friendly materials. You can also repurpose materials from other projects or use recycled materials to further decrease costs.
Customization:
Building your own bathroom cabinet allows you to create a design that perfectly fits your needs and preferences. You can choose the size, shape, color, and style of the cabinet to match your bathroom’s existing aesthetic. You can also incorporate specific features such as pull-out shelves, hidden compartments, or built-in lighting.
Functionality:
A custom-built bathroom cabinet can be designed with functionality in mind. By assessing your storage needs and habits, you can determine the best layout for your cabinet. This will ensure that all of your bathroom essentials are easily accessible and organized.
Needed Materials
To build a custom bathroom cabinet, you will need the following materials:
- Measuring Tape
- Plywood or Solid Wood for the Frame and Shelves
- Wood Glue
- Screws or Nails
- Sandpaper
- Paint or Stain (Optional)
- Cabinet Hardware (Handles, Knobs, Hinges)
Tools Required
In addition to the materials, you will also need the following tools to assemble your custom bathroom cabinet:
- Saw (Circular Saw or Table Saw)
- Drill
- Hammer or Nail Gun
- Screwdriver
7 Step-by-step Guides on How to Build a Bathroom Cabinet
Step 1. Measure Your Space
Begin by measuring the area where you plan to install the bathroom cabinet. Use a measuring tape to determine the height, width, and depth of the available space. Ensure that the measurements account for any nearby fixtures, such as sinks, toilets, or walls, to avoid any obstructions.
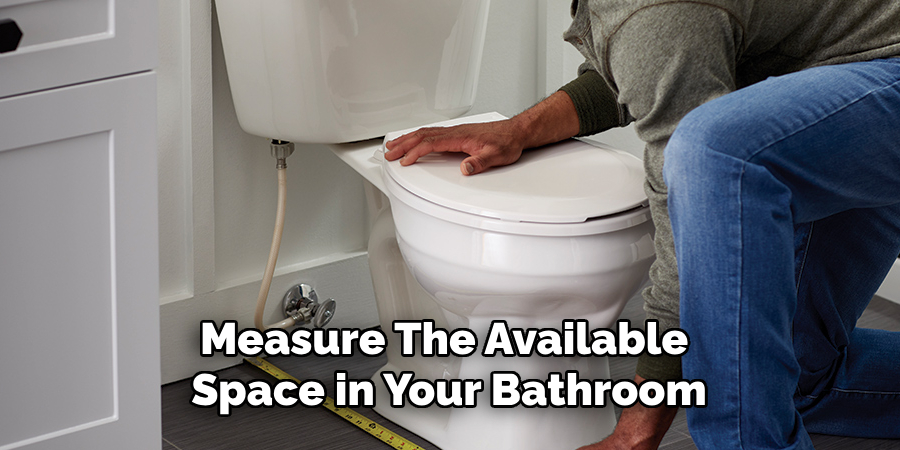
Write down these measurements and double-check for accuracy, as they will guide the design and building process for your custom cabinet.
Step 2: Choose Your Materials
Next, decide on the materials you want to use for your bathroom cabinet. Common options include wood, metal, or a combination of both. Consider the style and design of your bathroom when selecting materials.
For a more traditional look, wood may be the best choice, while metal can provide a sleek and modern feel.
Step 3: Design Your Cabinet
Once you have your measurements and materials selected, it’s time to design your cabinet. Begin by sketching out a layout that fits your bathroom’s dimensions and meets your storage needs. Consider elements such as the number of shelves and compartments and whether you want doors or open shelving.
Pay attention to functional details, such as the hardware you’ll use for handles or hinges, and ensure the design complements the overall aesthetic of your bathroom. You can use design software for precise planning or consult a professional for guidance. Wood or low VOC paints.
Step 4: Prepare the Workspace
Before you begin building your bathroom cabinet, it’s essential to prepare your workspace for the project. Choose a clean, well-lit area with enough space to lay out your materials and tools. Ensure you have a sturdy workbench or table to support your work. Gather all necessary tools, such as a saw, drill, measuring tape, clamps, and sandpaper, and keep them within easy reach.
Lay down a protective covering, such as a drop cloth or tarp, to safeguard the floor or surface from dust, paint, or accidental damage. Organizing your workspace not only increases efficiency but also helps maintain safety during the construction process.
Step 5: Measure and Cut Materials
Using your chosen design, measure out the dimensions for each piece of wood needed for your cabinet. Use a tape measure and a straight edge to ensure accurate measurements. Mark the measurements on the wood using a pencil before cutting.
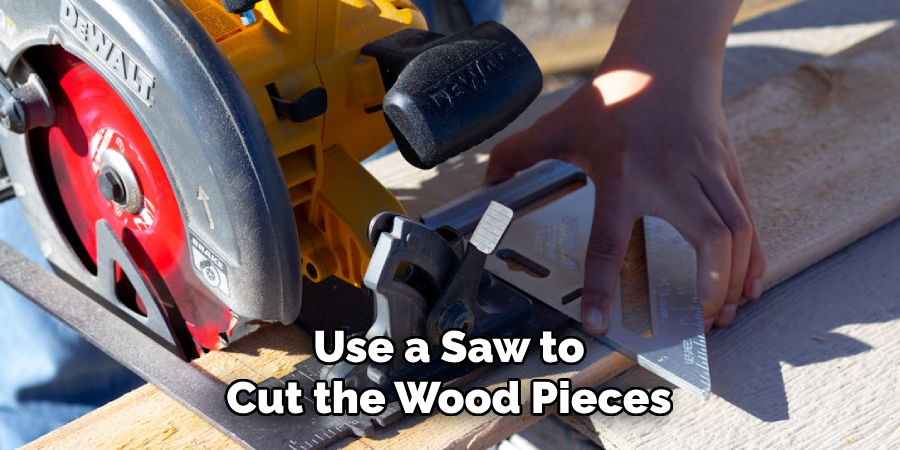
Next, use a saw to cut the wood pieces according to your markings. If using power tools, be sure to wear protective gear such as goggles and gloves.
Step 6: Assemble the Cabinet
Begin assembling the cabinet by attaching the cut wood pieces together according to your design. Start with the base and sides, ensuring they are properly aligned. Use clamps to hold the pieces in place while you secure them with screws or nails. A power drill can make fastening more efficient and precise.
Continue attaching the remaining components, like the back panel and shelves, ensuring each section is sturdy and level. Double-check that all corners are square during assembly to maintain the cabinet’s structural integrity. For added strength, consider using wood glue in addition to screws or nails at each joint. Once the frame is fully constructed, inspect the cabinet for any loose fittings or misalignments and make adjustments as necessary.
Step 7: Finishing Touches
Now that the cabinet is assembled, it’s time to add some finishing touches. You can stain or paint the wood for a more polished look or leave it as is for a rustic feel. Add any hardware such as knobs or handles, and your custom cabinet is complete!
Following these steps on how to build a bathroom cabinet and using your creativity, you can create a custom cabinet that not only fits your space perfectly but also reflects your personal style. You can also experiment with different materials such as reclaimed wood or incorporate unique designs to make it truly one-of-a-kind.
Additional Tips
- Before beginning your project, make sure you have all the necessary tools and materials.
- Take your time with each step to ensure accuracy and safety.
- If you are unsure of any steps, do some research or consult with an experienced woodworker.
- Always wear appropriate safety gear, such as goggles and gloves, when working with power tools.
- Don’t be afraid to make adjustments or mistakes along the way – it’s all part of the learning process.
- Consider incorporating organization features into your custom cabinet, such as shelves or drawers, to maximize functionality.

- You can also add finishing touches such as paint or stain to enhance the appearance of your cabinet.
- Remember to take measurements and plan out your design before cutting any materials to avoid waste and ensure a proper fit.
- Have fun and let your creativity shine through in your final product! Building a custom cabinet is not only a practical project but also an opportunity for self-expression.
Frequently Asked Questions
Q1: Can I Build a Cabinet Without Any Previous Woodworking Experience?
A1: Yes, building a cabinet is a great beginner project for those interested in woodworking. With the right tools and materials, anyone can successfully build a simple cabinet. It may take some practice and patience, but with the help of online tutorials or classes, even beginners can achieve a professional-looking final product.
Q2: What Tools Do I Need to Build a Cabinet?
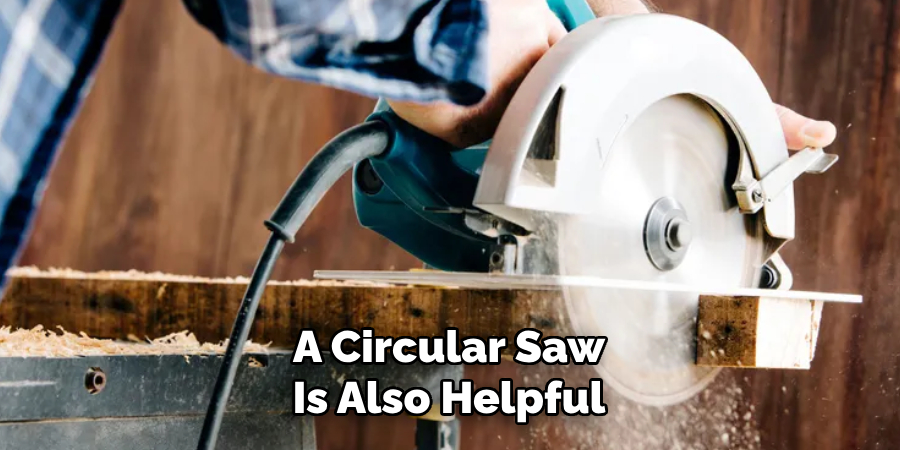
A2: You will need basic hand tools such as a hammer, screwdriver, measuring tape, and level. A power drill and circular saw are also helpful for making precise cuts. Depending on your design and materials, you may also need a table saw, miter saw, or router. It’s important to have all the necessary tools before starting your project to avoid any delays.
Q3: How Much Does It Cost to Build a Custom Cabinet?
A3: The cost of building a custom cabinet can vary depending on factors such as the materials used, the size and complexity of the design, and any additional features or hardware. It’s important to create a budget before starting your project and factor in the cost of tools, materials, and any other expenses. You may also want to consider using reclaimed or recycled materials to save money while still creating a unique piece.
Q4: Can I Use Reclaimed Materials for my Cabinet?
A4: Yes, you can definitely use reclaimed materials for your cabinet! Using reclaimed wood not only adds character to your cabinet but is also an environmentally friendly option. You can find old cabinets or furniture at thrift stores or salvage yards and repurpose them into new pieces. You can also use materials such as reclaimed metal, glass, or even old doors for your cabinet.
Conclusion
Creating your own cabinet can be a rewarding and cost-effective project that allows you to showcase your creativity and personal style. By carefully selecting the right materials, considering reclaimed options, and following a step-by-step approach how to build a bathroom cabinet, you can build a unique and functional piece for your home.
Not only does this process enable you to save money, but it also contributes to sustainable practices by utilizing existing resources. Take the first step and enjoy the satisfaction of crafting something truly one of a kind!

