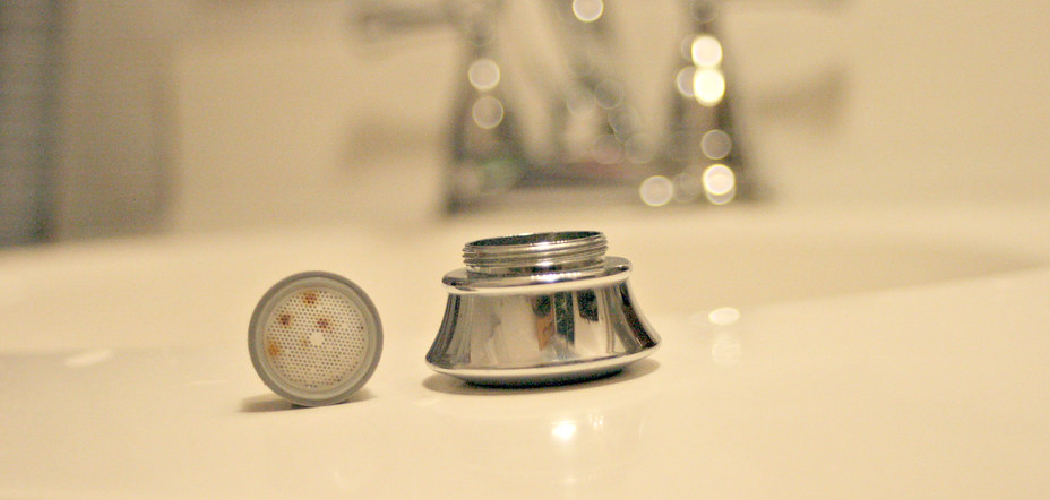
Removing the aerator from a Moen bathroom faucet is a simple yet essential maintenance task that helps ensure your faucet functions correctly. Over time, aerators can accumulate debris, leading to reduced water flow or uneven sprays. Whether you’re looking to clean the aerator or replace it entirely, understanding the proper steps can save you time and avoid potential damage to your faucet.
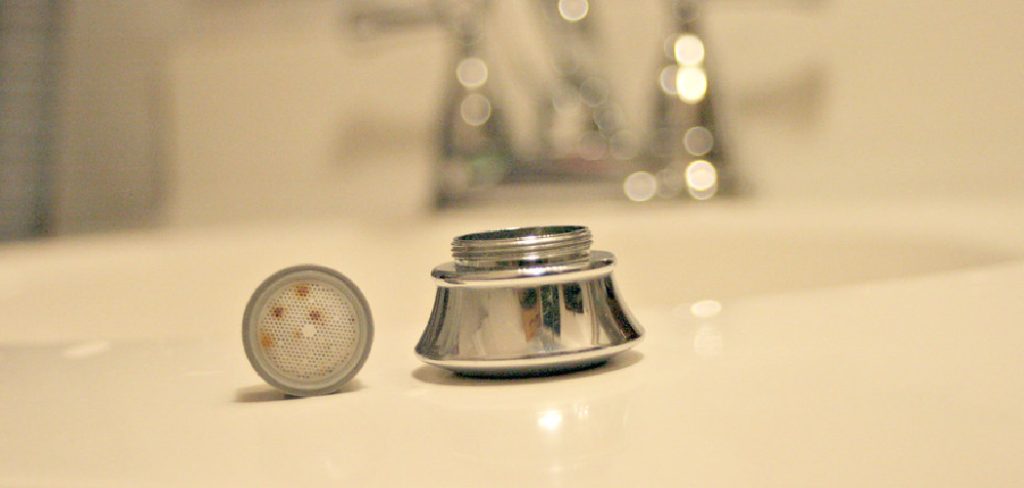
This guide on how to remove aerator from moen bathroom faucet will provide you with a clear and straightforward process to safely remove the aerator from your Moen bathroom faucet.
Why Remove the Aerator?
Before we dive into the steps, let’s first discuss why it may be necessary to remove the aerator from your Moen bathroom faucet. As mentioned earlier, debris can build up in the aerator over time and cause issues with water flow and spray patterns. By removing the aerator, you can thoroughly clean or replace it to restore your faucet’s functionality.
Additionally, removing the aerator allows for easier access to other parts of the faucet that may need maintenance or repairs. It also gives you an opportunity to inspect and clean any internal components that may have been affected by debris buildup.
Tools Needed
To successfully remove the aerator from a Moen bathroom faucet, you’ll need a few tools on hand:
- Pliers or an Adjustable Wrench
- A Cloth or Towel to Protect the Faucet Finish
- Teflon Tape (Optional)
- Replacement Aerator (If Needed)
7 Steps on How to Remove Aerator From Moen Bathroom Faucet
Step 1: Turn Off the Water Supply
Before beginning the process, ensure that the water supply to the faucet is turned off. Locate the shut-off valves under the sink, typically found on the hot and cold water lines. Turn both valves clockwise until they are fully closed.
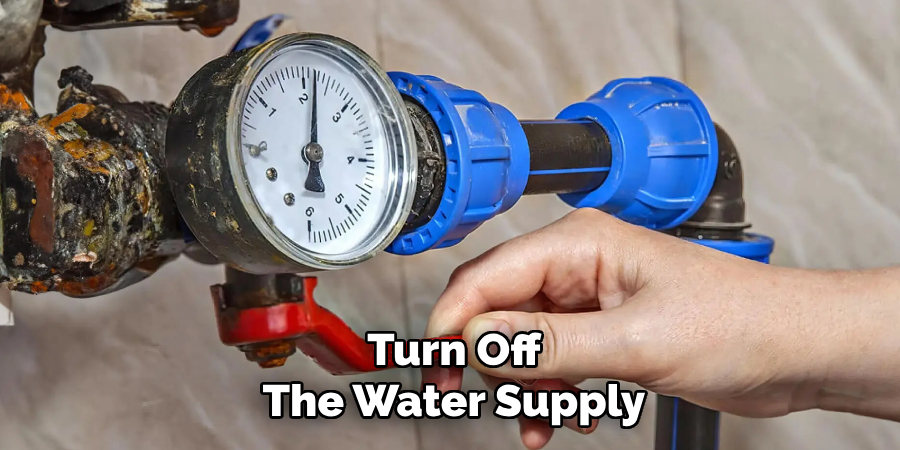
This step prevents any water from flowing while you work, reducing the risk of accidental spills or leaks. It’s also a good idea to test the faucet by turning it on briefly to confirm the water supply has been successfully shut off. Make sure to close the faucet after testing.
Step 2: Prepare the Faucet
Before beginning any repairs or replacements, gather the necessary tools and materials for the job. Common items include a wrench, screwdriver, plumber’s tape, and a replacement part if needed. Place a towel or bucket beneath the sink to catch any residual water that may drip during the process.
Next, remove any decorative caps or covers from the faucet handles using a flathead screwdriver, exposing the screws underneath. Once exposed, carefully unscrew the handles and set them aside in a safe location. This preparation ensures easy access to the internal components of the faucet for further work.
Step 3: Locate and Remove the Aerator
The aerator is a small component located at the tip of the faucet spout, designed to regulate water flow and prevent splashing. To remove it, first, check if it can be unscrewed by hand. Grip the aerator firmly and twist it counterclockwise. If it feels stuck, use an adjustable wrench or pliers padded with a cloth to avoid scratching the faucet.
Once loosened, carefully remove the aerator and inspect it for clogs, debris, or mineral buildup. This step will help improve water flow and ensure the faucet functions correctly. Be sure to keep all removed parts organized for reassembly.
Step 4: Clean the Aerator
To clean the aerator, start by separating its components, such as the screen, housing, and other internal parts. Rinse each piece thoroughly under warm running water to remove any loose debris. For stubborn mineral buildup, soak the parts in a mixture of vinegar and water for 15-30 minutes. Use a soft brush or toothpick to gently scrub away remaining deposits.
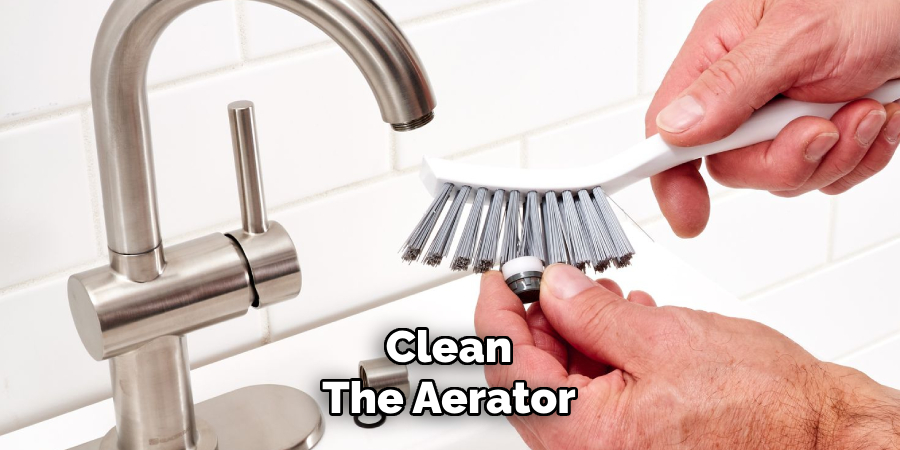
Ensure all components are free of dirt and blockages before rinsing them again with clean water. Once cleaned, the aerator will function more efficiently and restore optimal water flow.
Step 5: Reattach the Aerator
After thoroughly cleaning and drying all the components, it’s time to reassemble and reattach the aerator. Begin by carefully aligning the parts in the correct order, ensuring they fit snugly together. Next, screw the aerator back onto the faucet by hand, turning it clockwise. Avoid overtightening, as this may damage the threads or the aerator itself.
Once securely in place, turn on the faucet to check for any leaks or irregular water flow. If necessary, make minor adjustments to ensure proper functionality. Reattaching the aerator completes the process and restores efficient water delivery.
Step 6: Turn on the Water and Check for Leaks
With the aerator securely reattached, turn on the faucet slowly to allow water to flow through the fixture. Observe carefully for any signs of leaks around the aerator or irregular water flow patterns. If you notice leaks, try tightening the aerator slightly by hand, ensuring not to overtighten.
Additionally, check that the water stream is smooth and consistent, indicating proper alignment and installation. If the flow appears restricted or uneven, consider disassembling the aerator to ensure all components are positioned correctly. Once satisfied, your faucet is ready for regular use.
Step 7: Repeat as Needed
If you have multiple faucets in your home, repeat this process for each one to ensure they are all functioning properly. It’s also a good idea to do this maintenance routine every few months to keep your faucets in good working condition.
Following these steps on how to remove aerator from moen bathroom faucet can help prevent potential faucet issues and save you from costly repairs. Regular maintenance is key to keeping your home’s plumbing in top shape. Additionally, it’s important to address any leaks or other problems as soon as possible to avoid further damage and water waste.
Common Mistakes to Avoid
In addition to regular maintenance, it’s important to avoid common mistakes that can cause damage or wear down your Moen bathroom faucet. These include:
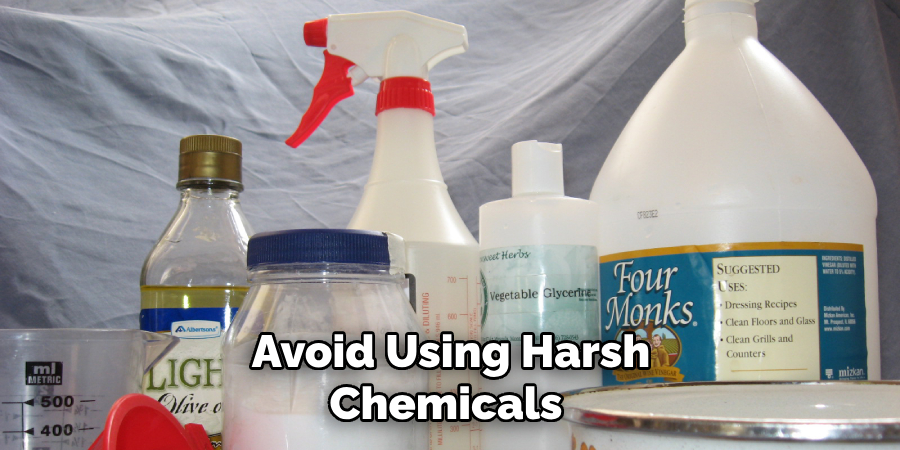
Using Harsh Chemicals or Abrasive Cleaners:
While it may be tempting to use strong chemicals or abrasive cleaners to remove buildup on your faucet, these can actually cause damage and scratch the finish. Stick to gentle cleaners, which are recommended specifically for faucets.
Failing to Fix Leaks Promptly:
A small leak may not seem like a big deal, but over time, it can cause significant damage and even lead to mold growth. It’s important to fix leaks promptly to avoid costly repairs in the future.
Neglecting Regular Maintenance:
As mentioned earlier, regular maintenance is crucial for keeping your Moen bathroom faucet in good condition. Neglecting this step can lead to build-up, leaks, and other issues that could have easily been prevented with proper care.
Not Replacing Worn Out Parts:
Over time, parts of your faucet may become worn out and need to be replaced. This includes O-rings, cartridges, and aerators. Ignoring these worn-out parts can lead to leaks and decreased water pressure. It’s important to regularly check and replace any worn-out parts to ensure your faucet continues functioning properly.
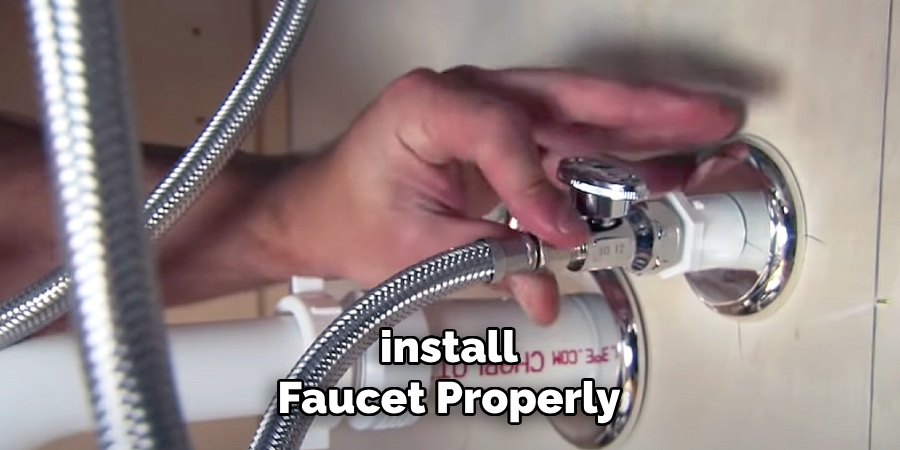
Not Properly Installing the Faucet:
Improper installation of a Moen bathroom faucet can also result in issues down the road. This includes loose connections, improper alignment, and incorrect placement of washers or gaskets. If you are unsure about how to install your faucet correctly, it’s best to seek professional help to avoid potential problems.
Additional Tips
- If you notice any water discoloration or strange smells, it may indicate a larger issue with your pipes. In this case, it’s best to contact a professional plumber.
- Regularly cleaning and maintaining your faucet can help prevent the buildup of mineral deposits that can affect its performance.
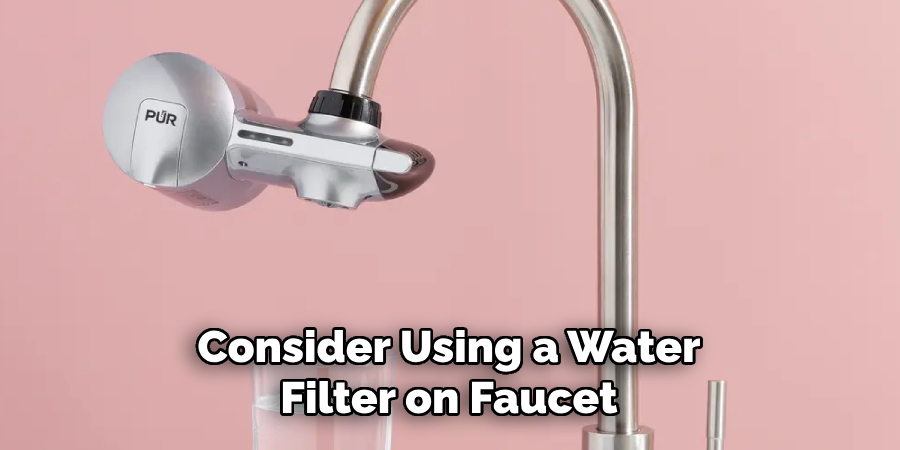
- Consider using a water filter on your faucet to improve the quality of your tap water and reduce mineral buildup.
- If you have hard water, using vinegar or lemon juice instead of dish soap can help remove mineral deposits on your faucet.
- Be careful not to overtighten any parts when reassembling your faucet, as this can cause damage.
- If you notice any leaks or unusual noises coming from your faucet, it is important to address them as soon as possible. Ignoring these issues can lead to more serious and costly problems down the line.
Frequently Asked Questions
Q: How Often Should I Clean My Faucet?
A: It is recommended that your faucet be cleaned at least once a month to prevent mineral buildup and maintain its performance. The frequency of cleaning may vary depending on the quality of your tap water and how often you use your faucet.
Q: Can I Use Harsh Chemicals to Clean My Faucet?
A: It is not recommended to use harsh chemicals such as bleach or ammonia to clean your faucet, as these can damage the finish and cause corrosion. Stick to natural solutions like vinegar or lemon juice for a safe and effective clean.
Q: How Do I Fix a Dripping Faucet?
A: A dripping faucet is usually caused by worn-out internal parts, which can be replaced easily with a repair kit from a hardware store. Be sure to turn off the water supply before attempting any repairs. You may also want to consult a professional plumber for more complex faucet issues.
Q: How Do I Replace a Faucet?
A: First, turn off the water supply and then disconnect the water lines from the faucet. Next, remove any mounting hardware or nuts holding the faucet in place. Finally, the new faucet will be installed by following the manufacturer’s instructions and reconnecting the water lines.
Q: Should I Hire a Professional to Install My Faucet?
A: It is recommended to hire a professional if you are not experienced with plumbing installations. This will ensure that your faucet is installed properly and prevent potential damage or leaks in the future. However, if you feel confident and have some plumbing knowledge, you can install it yourself by carefully following the installation instructions.
Conclusion
Installing a faucet can be an achievable DIY project for those with some basic plumbing knowledge and the right tools. However, it is always worth considering hiring a professional to ensure the job is done correctly and to avoid potential issues.
Proper installation not only enhances the functionality of your faucet but also helps prevent leaks and damage over time. Whether you choose to install it yourself or seek professional assistance, following the appropriate guidelines is key to achieving a successful and durable result. Thanks for reading this article on how to remove aerator from moen bathroom faucet.

