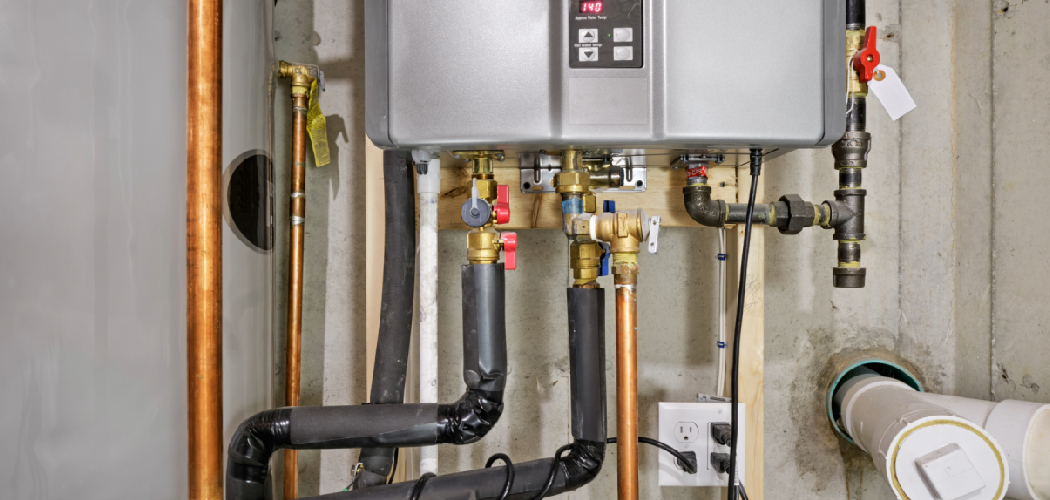
Are you planning to install new plumbing in your bathroom? Or are you renovating and need to update the existing plumbing? Either way, one of the first steps in any bathroom plumbing project is creating a rough-in plan.
How to install bathroom plumbing rough in is a crucial step in the construction or renovation process, providing the foundational framework for your bathroom’s water supply and drainage systems. This phase involves setting up the pipes, fittings, and connections that will later serve fixtures like sinks, toilets, and showers. Proper planning and execution are essential to ensure optimal functionality and prevent future problems, such as leaks or poor water flow.
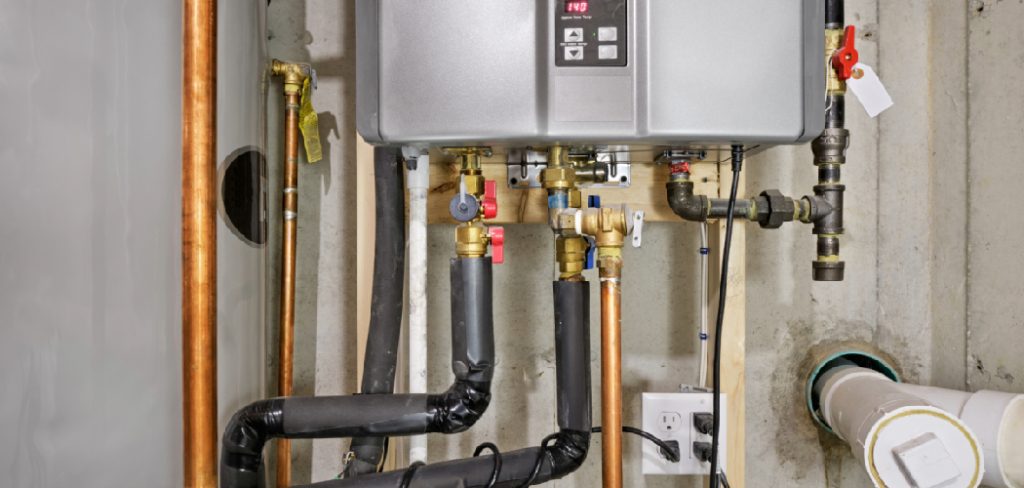
Whether you’re a seasoned professional or tackling a DIY project, understanding the basics of rough-in plumbing is key to creating a reliable and efficient bathroom setup.
What Are the Benefits of Proper Rough-In Plumbing?
Proper rough-in plumbing can offer a variety of benefits, including:
- Efficient Use of Water: By correctly planning and installing your supply and drainage systems, you can ensure that water is being used efficiently. This not only helps to conserve resources but also saves you money on your water bill.
- Improved Functionality: When pipes and fittings are correctly sized and installed, it allows for better water pressure and flow. This means that fixtures like showers or faucets will work more effectively, providing a more satisfying experience for the user.
- Prevention of Future Problems: A well-executed rough-in plumbing job can prevent potential issues, such as leaks, clogs, and burst pipes. This can save you from the inconvenience and expense of dealing with these problems in the future.
- Easier Maintenance: With a properly designed rough-in plumbing system, access points are strategically placed for easy maintenance and repairs. This eliminates the need for invasive digging or demolition work to fix any issues that may arise.
What Will You Need?
To complete a rough-in plumbing job, you will need the following tools and materials:
- Pipe cutter
- Pipe wrench
- Pliers
- Screwdriver
- Measuring tape
- Level
- Plumbing fittings (elbows, tees, couplings)
- Drainage pipes (PVC or ABS)
- Supply pipes (copper or PEX)
- Plumbers’ tape or joint compound
Having all these items on hand is important before starting your rough-in plumbing project. This will ensure that you can work efficiently without making multiple trips to the hardware store.
8 Easy Steps on How to Install Bathroom Plumbing Rough in
Step 1: Plan Your Layout
Begin by planning the layout of your bathroom plumbing system. Identify where the sink, toilet, and shower or bathtub will be located. Consult your local building codes to ensure all installations meet the required standards. Use a measuring tape and level to mark precise locations for the fixtures on the walls or floor. This step is crucial to ensure proper alignment and efficient water flow.
Step 2: Shut Off the Water Supply
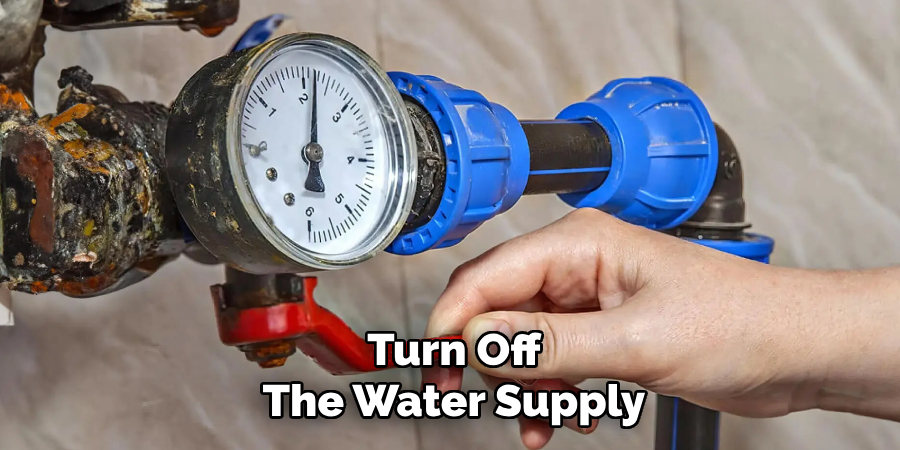
Before starting any plumbing work, ensure that the water supply to your home is completely shut off. Locate the main water valve and turn it off to prevent water from flowing through the pipes during installation. Draining any remaining water from the existing pipes by opening nearby faucets is also a good idea. This precaution helps avoid leaks or flooding as you work on the plumbing rough-in.
Step 3: Mark and Measure Pipe Locations
Using a tape measure and a pencil, carefully mark the locations where the pipes will be installed. Double-check your measurements to ensure accuracy and that the pipe layout aligns with your plumbing plan. Proper marking will help guide you when cutting and fitting the pipes, reducing the chance of errors during installation. Accurate measurements are crucial to ensure a seamless connection between all components.
Step 4: Cut and Prepare Pipes
Once the pipe locations are marked, use a pipe cutter or saw to cut the pipes to the appropriate lengths. Ensure that the cuts are clean and even to avoid connection issues. After cutting, deburr the edges of the pipes using sandpaper or a deburring tool to remove any rough edges or residues. This step is essential for creating a smooth surface that allows for secure fittings and reduces the risk of leaks. Always wear appropriate safety gear during this process to prevent injuries.
Step 5: Assemble the Pipes
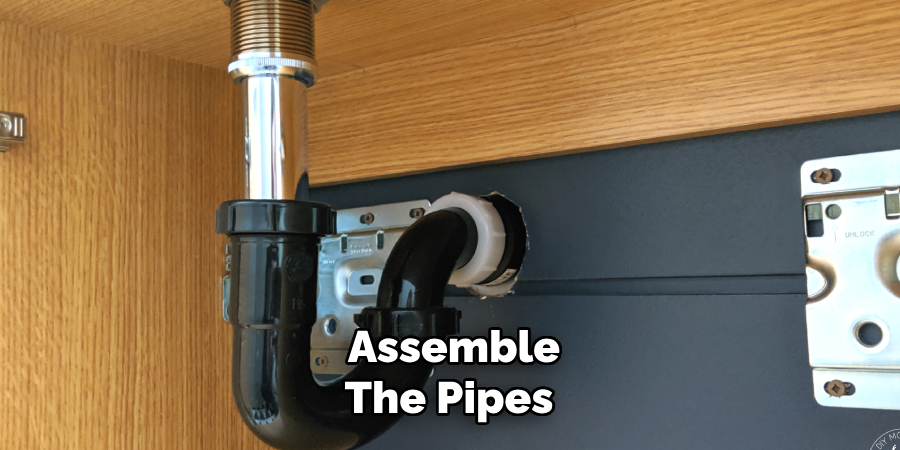
After preparing the pipes, assemble the pieces according to your layout plan. Apply the appropriate adhesive or sealant to the ends of the pipes if required, ensuring an even coating for a strong bond. Insert the pipes into the fittings, pressing firmly to secure them. Use Teflon tape around the threads for threaded connections to provide a tight seal and prevent leaks. Double-check each connection to confirm it is properly aligned and secure before proceeding to the next section.
Step 6: Inspect all connections:
Ensure that all connections are thoroughly inspected before testing the system. Once confident in the assembly, gradually introduce water or the intended fluid into the pipes to check for leaks. Monitor each connection point carefully and tighten or reinforce any areas where leaks are detected. Initially, performing this test at a low pressure can help identify weak points without causing significant damage. After confirming the leak-free system, increase the pressure to operational levels and conduct a final check to ensure durability and performance.
Step 7: Maintenance and Upkeep
After installation, regular maintenance is crucial to ensure the longevity and efficiency of your piping system. This includes routine inspections, cleaning, and repairs if necessary.
Inspections should be conducted at least once a year to identify any potential issues before they become major problems. It’s essential to check for signs of wear and tear, corrosion, or damage that may compromise the functionality of the pipes. Regular cleaning can also help prevent clogs and buildup that could lead to future issues.
In addition to inspections and cleaning, promptly addressing any needed repairs is essential. Ignoring minor issues can lead to larger ones, resulting in costly repairs or even the replacement of the entire piping system.
Step 8: Replacing Old Pipes
If your home has old pipes, it may be necessary to replace them to maintain a safe and efficient plumbing system. Signs that you may need new piping include frequent leaks, low water pressure, or discolored or foul-smelling water.
When replacing pipes, it’s essential to use high-quality materials and hire a professional plumber with experience in pipe installation. Additionally, consider upgrading to more durable and efficient options such as copper or PEX piping. These materials have longer lifespans and are less prone to corrosion and leaks.
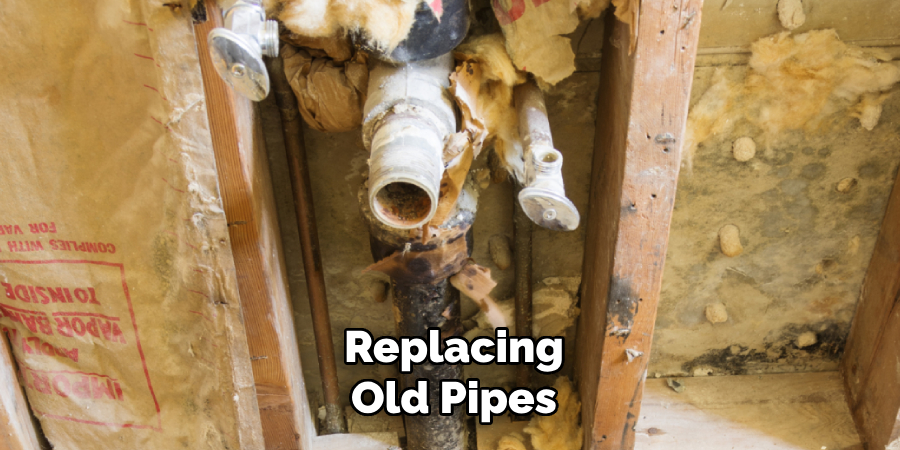
Following proper maintenance and repair practices ensures that your plumbing system remains in good condition for years.
5 Things You Should Avoid
- Skipping the Planning Phase
One of the biggest mistakes is failing to create a detailed plan before starting the installation. You may encounter alignment issues, incorrect pipe placements, or incompatible fixtures without proper planning. Take the time to review blueprints, measure dimensions carefully, and understand the layout.
- Using Incorrect Pipe Materials
Choosing the wrong type of pipe for water supply or drainage can lead to long-term problems like leaks, corrosion, or low water pressure. For bathroom plumbing, ensure you use materials suitable for their specific function, such as PVC for drainage or PEX for water lines.
- Ignoring Local Building Codes
Disregarding building codes and regulations can result in plumbing that is unsafe, inefficient, or not up to standards. Always ensure your installation adheres to local codes, and consult with a licensed plumber if you’re unsure about specific requirements.
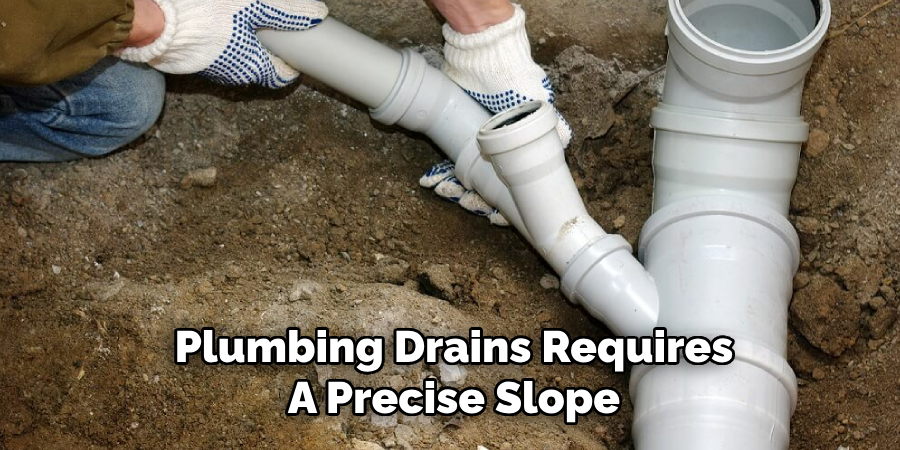
- Neglecting Proper Slope for Drains
Plumbing drains require a precise slope to allow for adequate wastewater flow. A too steep or shallow slope can lead to clogs or improper drainage. Always follow the recommended gradient, typically around 1/4 inch per foot of pipe.
- Failing to Conduct a Pressure Test
Skipping the pressure test of new plumbing lines before closing walls or floors is a critical error. Pressure tests help identify leaks or weak joints, ensuring the system is watertight before final installation. Never seal up the system without testing it thoroughly.
Where is the Rough in for a Toilet?
The rough-in for a toilet refers to the placement of the waste pipe and water supply line about the finished wall behind the toilet. This is important to know when installing a new toilet or replacing an old one.
Typically, the rough measurement for a toilet is 12 inches from the wall to the center of the waste pipe. However, this can vary depending on factors such as local building codes and the size and shape of your bathroom. It’s always best to double-check with your plumber or contractor before beginning any installation work.
Conclusion
How to install bathroom plumbing rough in requires careful planning and attention to detail.
Start by mapping out the layout of your plumbing system, ensuring that all fixtures are positioned according to local building codes. Accurately measure the rough-in dimensions for each fixture, such as the toilet, sink, and shower, to prevent complications during installation. Use high-quality materials and tools, and double-check all connections to avoid leaks or misalignments.
Consulting with a professional plumber or contractor is highly recommended if you are uncertain about any step in the process. Proper preparation and attention to detail will ensure a smooth and efficient installation.

