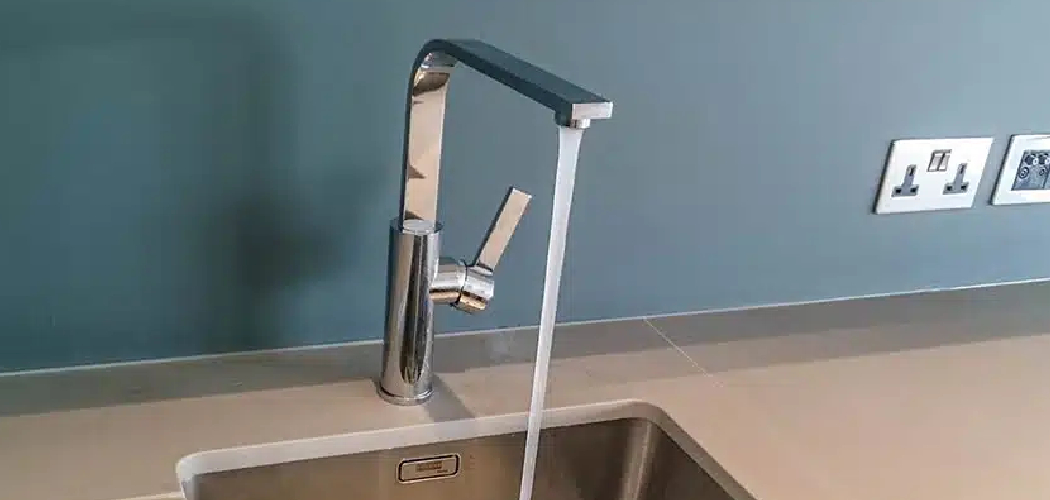
A stiff tap can be a common household issue, often caused by a buildup of grime, mineral deposits, or simply due to wear and tear over time. Proper lubrication can restore its smooth operation and extend its lifespan, saving you the hassle and expense of replacing it. This guide will walk you through the steps of how to lubricate a stiff tap.
Importance of Proper Maintenance
Regular maintenance of taps is essential to ensure their longevity and functionality. A poorly maintained tap can lead to issues such as leaks, reduced water flow, or complete failure over time, often resulting in costly repairs or replacements. Proper care, including periodic cleaning and lubrication, can prevent the buildup of limescale and grime, keeping the tap in optimal working condition.
Additionally, maintaining taps reduces water wastage caused by drips or inefficiencies, which can lower utility bills and contribute to environmental conservation. By dedicating a little time to upkeep, you can avoid unnecessary inconvenience and preserve the quality of your fixtures.
Signs Your Tap Needs Lubrication
Regularly inspecting your tap can help identify early signs that it may require lubrication. One common indicator is increased stiffness or resistance when turning the handles, which can make adjusting the water flow difficult. Squeaking or grinding noises during operation may also suggest that internal components have become dry or worn.
Additionally, if you notice uneven water flow or dripping even when the tap is closed, it might be a sign that the seals or moving parts need attention. Addressing these issues promptly with proper lubrication can extend the lifespan of your tap and ensure smooth functionality.
10 Methods How to Lubricate a Stiff Tap
1. Turn Off the Water Supply Before Starting
Before any maintenance begins, always shut off the water supply to the tap you’re working on. For basin and sink taps, you can usually find isolation valves under the sink—turn them clockwise to stop the flow. If isolation valves aren’t present, you may need to turn off the main water supply to the house.
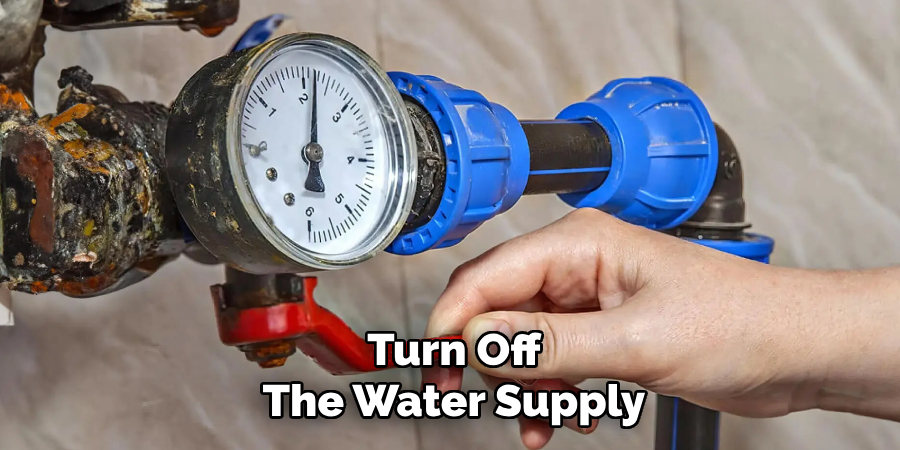
Once the water is off, open the tap fully to relieve pressure and drain any residual water. This prevents unexpected spraying and ensures a dry workspace for disassembly and lubrication.
2. Identify the Tap Type and Handle Mechanism
Different taps require different approaches for lubrication. Is it a traditional compression tap with a turning knob? Or a modern mixer with a single lever? Some taps use ceramic discs, others use rubber washers, cartridges, or ball valves. Understanding what you’re working with helps you know what parts to lubricate and which tools to use. If you’re not sure, take note of the brand or model, or search online using descriptive keywords or images. This simple step saves time and ensures you’re targeting the right internal mechanism.
3. Carefully Remove the Tap Handle
To access the valve inside, you’ll need to remove the tap handle. This typically involves popping off a decorative cap to reveal a screw underneath. Use a flathead screwdriver to lift the cap gently, then a Phillips or Allen key to unscrew the handle. Set these parts aside in a safe place. If the handle is stuck due to mineral buildup, apply a little white vinegar around the base and let it sit for 10–15 minutes before gently wiggling it free. Always be gentle to avoid damaging the tap’s finish or internal components.
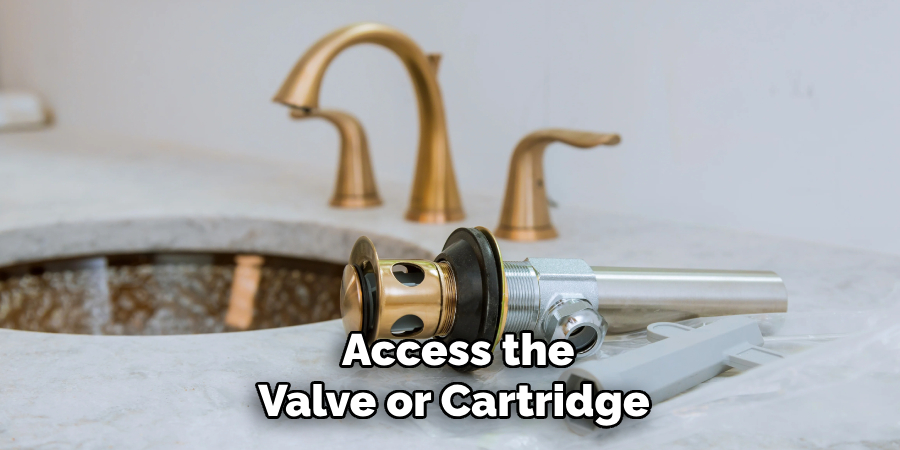
4. Access the Valve or Cartridge Assembly
Once the handle is off, you’ll see the valve stem or cartridge assembly beneath. For compression taps, this will look like a brass spindle. In mixer or monobloc taps, a cartridge or ceramic disc mechanism will be present. Use a spanner or adjustable wrench to unscrew the retaining nut that holds the cartridge or spindle in place. Keep all washers, nuts, and sleeves organized as you disassemble. This gives you direct access to the moving parts inside, which is where lubrication is most effective.
5. Clean Off Old Grease and Mineral Deposits
Before applying any lubricant, it’s important to clean away old grease, dirt, and mineral buildup from the valve components. Use a cloth, soft brush, and warm soapy water to clean the parts. For tougher mineral deposits, soak the parts in white vinegar or use a descaler. Cleaning ensures that fresh lubricant adheres well and that you’re not sealing in grit or corrosion. Make sure all parts are dry before moving to the next step to prevent contamination of the new lubricant.
6. Choose a Suitable Tap Lubricant
Not all lubricants are safe for plumbing use. You should only use a silicone-based, food-grade grease, which is designed to be safe for drinking water and won’t damage rubber or ceramic components. Avoid petroleum-based products like Vaseline or WD-40, as these can degrade rubber seals and contaminate water. Silicone grease is thick, waterproof, and long-lasting, making it perfect for taps and other water-contact plumbing fixtures. Apply it sparingly but thoroughly to all moving parts that experience friction.
7. Apply Grease to Threads, O-Rings, and Seals
Use a small brush or your finger to apply the silicone grease to key areas: the valve stem threads, O-rings, ceramic discs, and any washers or seals involved in the tap’s movement. Coat evenly without overloading the components—too much grease can attract debris and cause clogs. Be sure to rotate or flex the parts a few times to work the grease into their movement. This ensures smooth turning and extends the lifespan of internal seals and washers, which are often the first parts to fail.
8. Reassemble the Tap with Care
Once the parts are greased, reassemble the tap in reverse order. Replace the valve or cartridge into the housing and tighten the retaining nut securely but not excessively—you don’t want to strip threads or crack components. Reattach the handle and screw it back into place. If your tap had a decorative cap, snap it back in.
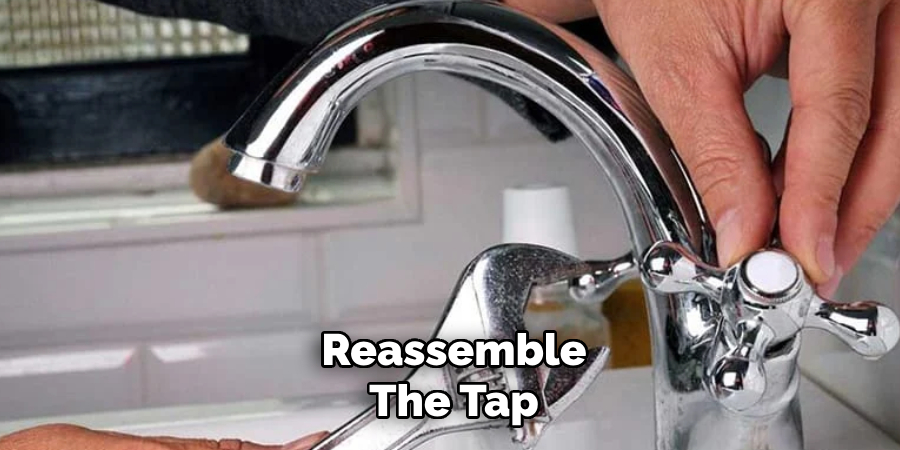
As you rebuild, ensure all components are aligned correctly, and avoid forcing any part into place. A misaligned cartridge or seal can cause leaks or worsen stiffness.
9. Turn On the Water and Test the Movement
With the tap reassembled, turn the water supply back on slowly to avoid sudden pressure surges. Open and close the tap several times to test the movement. A properly lubricated tap should feel noticeably smoother with minimal resistance.
If there’s still stiffness or roughness, disassemble and double-check for missed areas or over-tightened parts. Sometimes, the issue may not be internal but due to sediment in the supply lines or worn components that require replacement rather than lubrication.
10. Prevent Future Stiffness with Regular Maintenance
Lubrication isn’t just a one-time fix—it’s part of regular tap maintenance. To prevent future stiffness, lubricate your taps every 12–18 months or whenever you notice resistance. Keep your water quality in mind too: hard water leads to faster mineral buildup inside taps, so using a water softener or periodically descaling the tap can extend its smooth function. Regularly cleaning the handles and surrounding area also helps prevent dirt from working its way into the valve mechanism.
Things to Consider When Maintaining Taps
Use the Right Lubricant
Always use a plumbing-approved, non-toxic silicone-based grease for your taps. Avoid petroleum-based products, as they can degrade certain components like rubber washers or O-rings over time.
Know Your Tap Type
Different types of taps, such as ceramic disc or compression valve taps, may require specific maintenance methods. Refer to the manufacturer’s guidelines for detailed instructions.
Check for Leaks
Regularly inspect your taps for any signs of leaking. Addressing small drips promptly can prevent larger issues, such as water waste or damage to internal components.
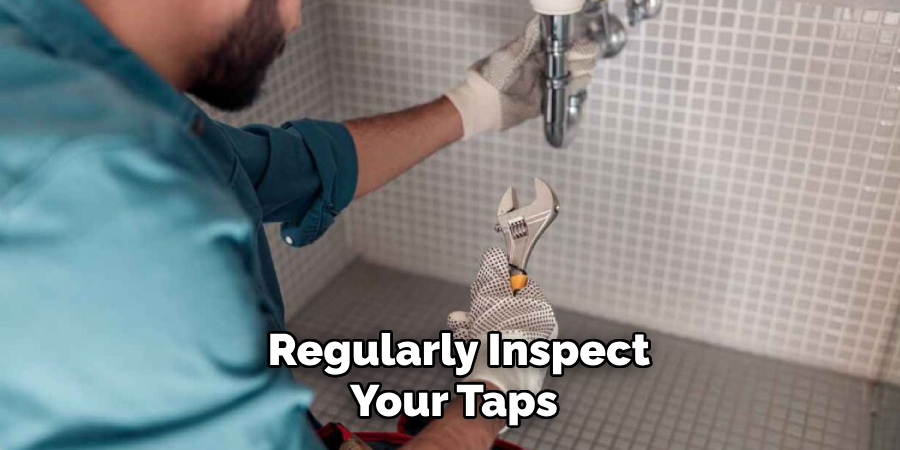
Be Gentle During Maintenance
When removing or reassembling parts, avoid excessive force. Using the correct tools and techniques ensures you don’t damage the threads or fragile tap components.
Inspect for Wear and Tear
Periodically check washers, seals, and cartridges for wear. Replacing these parts when necessary can significantly extend the tap’s lifespan.
Consistency in these practices will keep your taps in excellent condition, ensuring they function smoothly and effectively for years to come.
Conclusion
Lubricating a stiff tap isn’t just about making it easier to turn—it’s about preserving the integrity of your plumbing and avoiding premature replacements. By following these ten methods, you can restore your tap’s performance with confidence and minimal expense. With just a few basic tools, some silicone grease, and a little time, you can extend the life of your taps and enjoy smooth, reliable function.
Whether you’re dealing with a traditional spindle tap or a modern mixer, these practical steps ensure you’ll always be in control of your water flow. So, there you have it – a quick and easy guide on how to lubricate a stiff tap.

