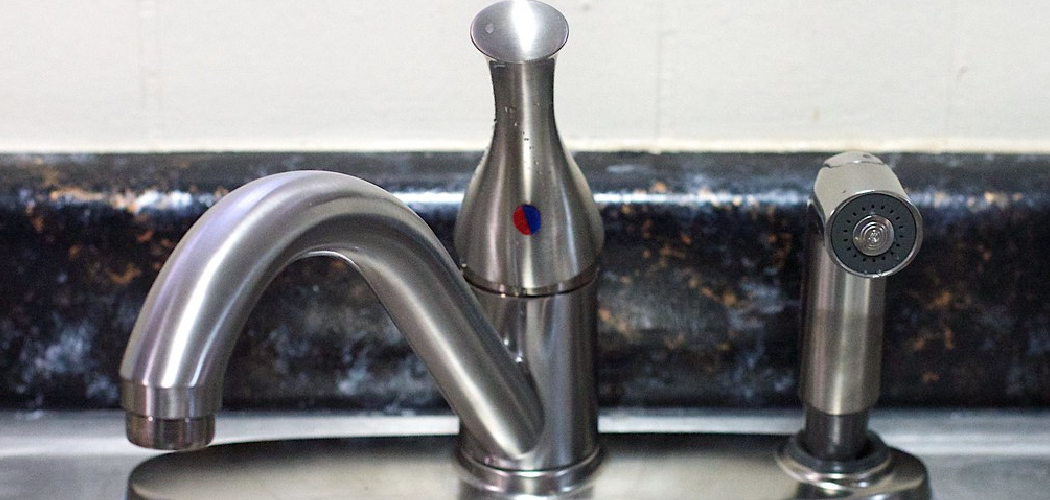
A leaking or malfunctioning tap can be both frustrating and wasteful. Often, the culprit is a faulty tap cartridge that needs replacing. Fixing a tap cartridge might seem daunting, but with the right tools and guidance, it’s a straightforward task that you can easily tackle yourself. This guide will walk you through the steps of how to fix a tap cartridge, helping to restore your tap to perfect working order.
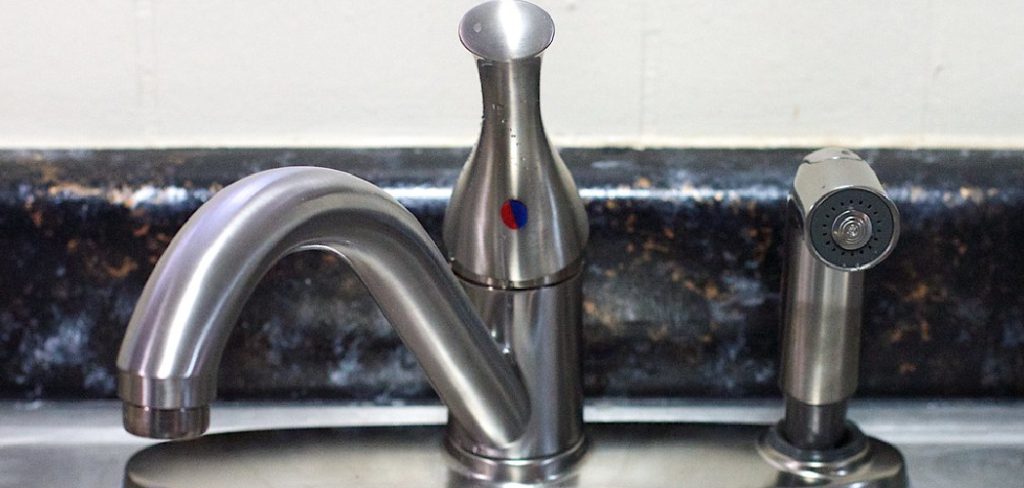
Signs You Need to Fix or Replace a Tap Cartridge
Identifying the signs of a faulty tap cartridge early can save you from larger issues down the line. Here are some common indications that your tap cartridge may need repair or replacement:
- Dripping Tap – If water continues to drip from the spout even when the tap is fully turned off, the cartridge might be worn out or damaged.
- Difficulty Turning the Tap – A stiff or stuck tap handle often signals that the cartridge is starting to fail, possibly due to mineral build-up or wear and tear.
- Irregular Water Flow – If the water flow is weak, uneven, or intermittent, it may be a sign of a clogged or faulty cartridge.
- Water Temperature Issues – For mixer taps, if you notice inconsistent or incorrect water temperatures when adjusting the handle, the cartridge may be defective.
- Unusual Noises – Strange noises, such as screeching or grinding, when turning the tap on or off, are another indicator of cartridge problems.
By recognizing these signs, you can address the issue promptly and prevent further water wastage or damage to your plumbing system.
Types of Tap Cartridges
Tap cartridges come in several types, each designed for specific functionalities and tap designs. Understanding the differences can help you choose the right one for your needs or identify which type may require replacement. Here are the most common types:
- Ceramic Disc Cartridges – These are widely used in modern taps and feature two ceramic discs that control the water flow and temperature. They are durable, require minimal maintenance, and provide smooth operation.
- Compression Cartridges – Found in traditional taps, these cartridges work by compressing a rubber washer against the seat to stop the flow of water. While inexpensive, they may wear out over time and require regular replacement.
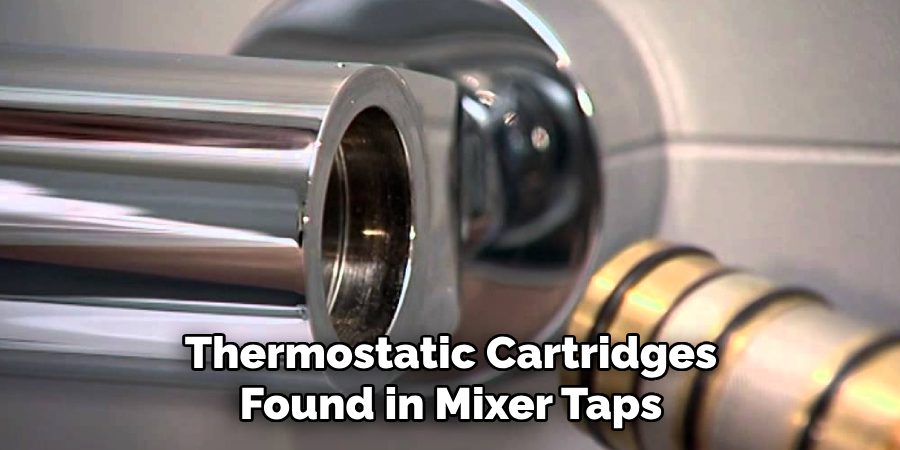
- Thermostatic Cartridges – Typically found in mixer taps or shower systems, these cartridges allow precise control of water temperature and can prevent scalding by regulating temperature fluctuations.
- Diverter Cartridges – Commonly used in showers or bath taps, these cartridges direct water flow between different outlets, such as the showerhead or bath spout.
- Single-Lever Cartridges – These cartridges are used in single-lever taps and control both water flow and temperature with a single handle, making them a popular choice for modern kitchens and bathrooms.
Each type of cartridge has its own advantages and considerations, so proper selection and maintenance are crucial to ensuring efficient tap performance.
10 Methods How to Fix a Tap Cartridge
1. Identify the Type of Cartridge Tap You Have
The first and most important step is identifying the type of tap you’re working with. Tap cartridges come in several variations, including ceramic disc cartridges (common in mixer taps), thermostatic cartridges, and traditional compression types. Ceramic cartridges usually control both hot and cold water with a single lever, while thermostatic ones regulate temperature in showers or bath mixers. Understanding the model helps you choose the right replacement parts or repair strategy. If unsure, look up the tap make and model, or take a photo to compare it online or at your local hardware store.
2. Turn Off the Water Supply and Drain the System
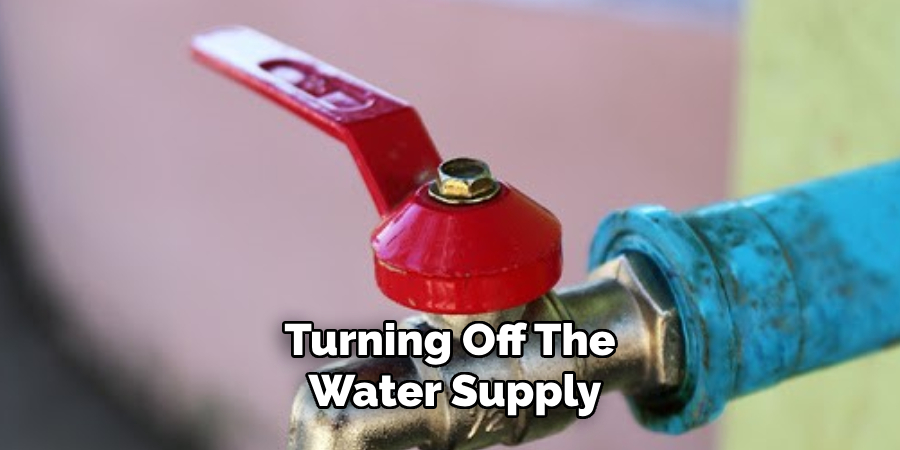
Before attempting any work on your tap, always isolate the water supply. Look for isolation valves under the sink—these can be turned off by twisting them clockwise. If your tap doesn’t have individual valves, shut off the main water supply to the house. Once the water is off, open the tap fully to drain any remaining water in the pipes. This simple step ensures you won’t face any leaks or sudden bursts of water while dismantling the tap.
3. Remove the Tap Handle Carefully
Most tap cartridges are located underneath the handle. To access it, remove the handle by loosening the hidden screw. This screw is typically concealed under a small cap or plug on top or side of the handle—look for a red/blue indicator or plain chrome disc. Pry it off gently using a flathead screwdriver or a blunt knife. Then use the appropriate screwdriver or Allen key to remove the securing screw. Gently pull or wiggle the handle off. If it’s stuck due to mineral buildup, apply a bit of vinegar or limescale remover and wait a few minutes before retrying.
4. Unscrew and Remove the Shroud or Retaining Collar
Beneath the handle, you’ll likely find a decorative shroud, collar, or cover that protects the cartridge body. This component often unscrews by hand, though some may require a wrench or pliers for removal. To avoid damaging the finish, wrap the part in a cloth before using tools. If it’s tight or seized due to corrosion, apply a penetrating oil and give it a few minutes to work. Removing this component fully exposes the cartridge and the retaining mechanism holding it in place.
5. Remove the Cartridge Using the Correct Tools
Cartridges are held in place by either a large retaining nut or clips, depending on the design. Use an adjustable wrench or a deep socket to loosen the retaining nut. Turn it counterclockwise until it’s free, then lift the cartridge out of the tap body. If your cartridge is stuck due to scale buildup, rock it gently side to side or use a cartridge puller if necessary. Never force it out abruptly, as this may crack the tap body. Take note of the cartridge’s orientation so you can insert the replacement or repaired one correctly.
6. Inspect the Cartridge for Damage or Blockages
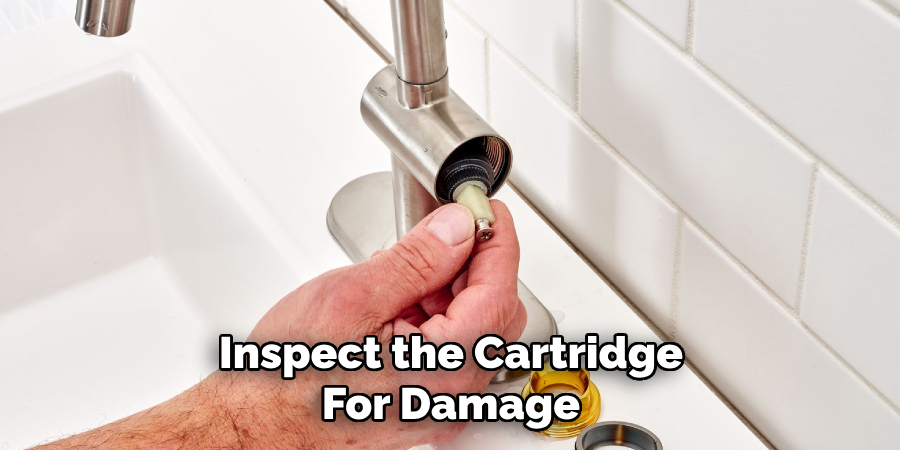
Once removed, thoroughly examine the cartridge. Look for cracks, worn seals, or broken ceramic discs. If the cartridge has rubber O-rings or washers, check for brittleness or deformation. In some cases, especially in hard water areas, the issue may be due to limescale blocking water flow or affecting movement. Soak the cartridge in white vinegar or a limescale remover solution for 30–60 minutes, then rinse and test its movement. If it’s still stiff or visibly damaged, replacement is usually the best option.
7. Replace O-Rings and Seals on the Cartridge
If the cartridge is in good condition aside from worn rubber seals, replacing the O-rings can restore its functionality. Remove the old O-rings carefully using a flathead screwdriver or a hook tool. Take them to a hardware store to match the exact size, or purchase a tap repair kit containing a variety of sizes. Apply silicone plumber’s grease to the new O-rings before fitting them, ensuring they sit properly in the grooves. Lubricated seals help prevent leaks and allow smoother operation once the cartridge is reinstalled.
8. Reinstall or Replace the Cartridge
With the cartridge inspected or replaced, insert it back into the tap body in the same orientation as before. Make sure it sits flush and lines up with any notches or alignment tabs. Secure it using the original retaining nut or clip, tightening it with care. Over-tightening can crack the tap or strip threads, so aim for snug but not excessive tension. Once secure, replace the shroud or collar, ensuring it screws back smoothly and sits evenly.
9. Reattach the Handle and Restore the Water Supply
Now it’s time to put everything back together. Slide the handle back onto the cartridge spindle and tighten the screw firmly. Replace the decorative cap or button to cover the screw. Turn the water supply back on slowly, checking for any leaks around the base or spout of the tap. Open the tap fully and test the flow, temperature control, and smoothness. If the issue was resolved, your repair is complete. If the tap still drips or feels stiff, double-check the cartridge seating and O-rings.
10. Test Thoroughly and Perform Preventive Maintenance
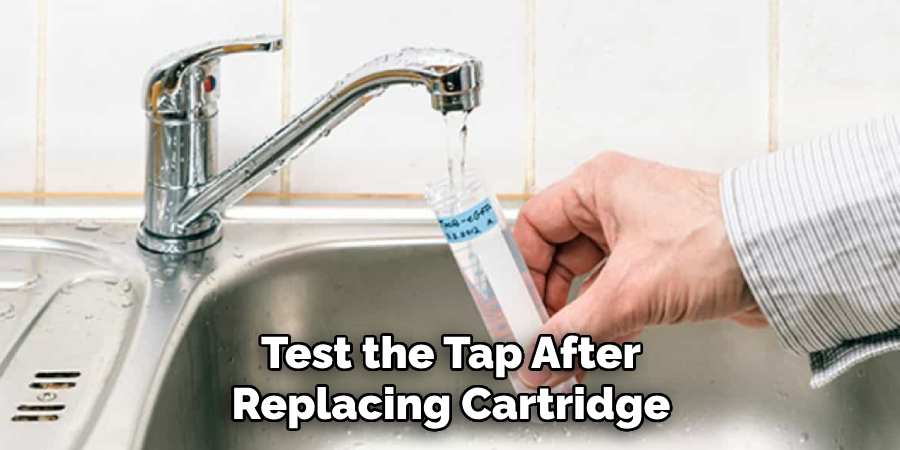
With the cartridge fixed or replaced, test the tap over the next few days for any recurring issues. Listen for drips and check underneath the sink for signs of leaks. To prolong the life of your cartridge, avoid overtightening the tap when turning it off and periodically clean aerators and filters to prevent debris buildup. In hard water areas, consider fitting a tap filter or using a water softener system to reduce limescale buildup—this will keep your cartridge operating smoothly for years to come.
Conclusion
Fixing a tap cartridge doesn’t have to be intimidating. By following these ten detailed methods, you’ll be equipped to diagnose, dismantle, and repair your tap with confidence. Whether you’re dealing with leaks, stiffness, or poor pressure, a little time spent repairing the cartridge can save you the cost and hassle of replacing the entire tap.
Regular maintenance and occasional cleaning can also go a long way in extending the lifespan of your fixtures. So, there you have it – a quick and easy guide on how to fix a tap cartridge.

