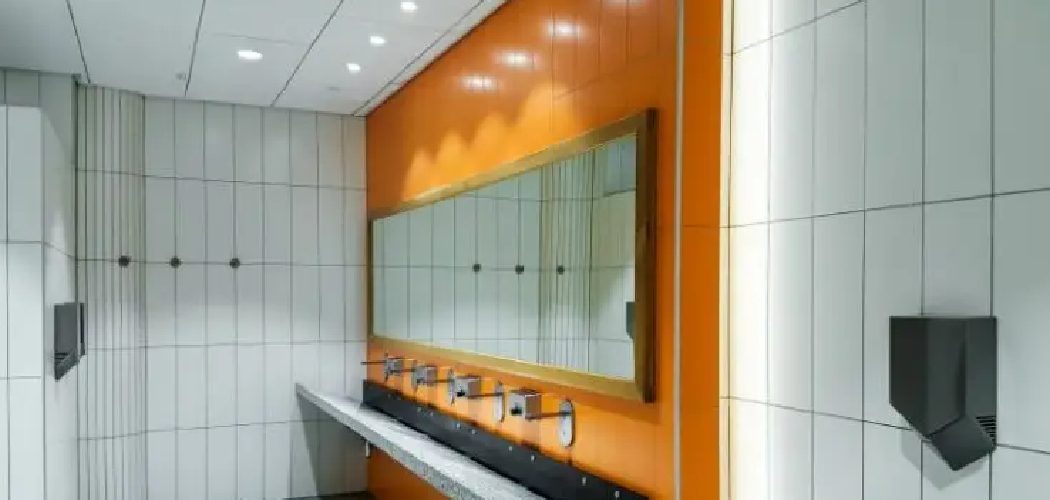
Removing a bathroom mirror that is glued to the wall can be a challenging task, but it is entirely manageable with the right tools and approach. Whether you’re updating your bathroom or replacing a damaged mirror, understanding the process is crucial to avoid injury or damage to your walls. This guide will walk you through the steps of how to remove bathroom mirror that is glued.
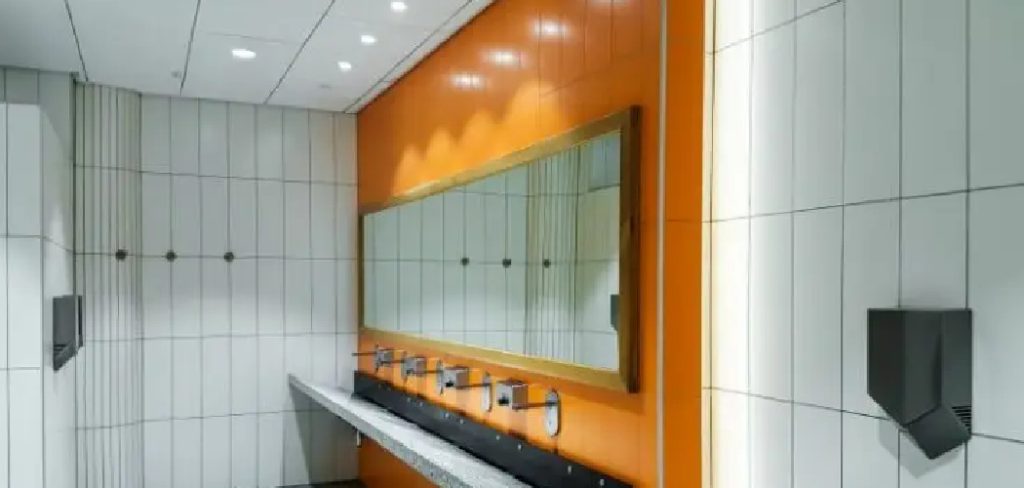
Reasons for Removing a Glued Mirror
There are several reasons why you might need to remove a glued bathroom mirror. One common reason is to update or remodel your bathroom, where replacing an old mirror with a more modern or stylish design can significantly enhance the space. Another reason is damage to the mirror, such as cracks, chips, or discoloration, which can affect both its appearance and functionality.
Additionally, some homeowners may need to remove a glued mirror to paint or repair the wall behind it, ensuring a smooth and clean surface. Whatever the reason, removing a glued mirror is an important step in achieving your desired bathroom improvements.
Tools and Materials You’ll Need
Before beginning the process of removing a glued mirror, it’s important to gather the necessary tools and materials to ensure the task is done safely and efficiently. Here’s what you’ll need:
- Protective Gear: Safety glasses and gloves to protect yourself from potential glass shards.
- Painter’s Tape: To secure the mirror and reduce the risk of shattering during removal.
- Putty Knife or Pry Bar: Useful for gently prying the mirror away from the wall.
- Fishing Line or Piano Wire: To slide behind the mirror and cut through the adhesive.
- Heat Gun or Hair Dryer: To soften the adhesive and make the mirror easier to remove.
- Drop Cloth or Tarp: To cover floors and surrounding areas for protection against debris.
- Utility Knife: For cutting through any sealant or caulking around the edges of the mirror.
- Adhesive Remover: To clean off any leftover adhesive from the wall once the mirror is removed.
- Masking Tape (optional): To outline the mirror area for precision work.
Having these tools and materials ready will help make the process safer and more manageable. Always proceed with caution and ensure you handle the mirror carefully.
10 Methods How to Remove Bathroom Mirror that Is Glued
1. Loosen the Edges with Heat Using a Hair Dryer or Heat Gun
One of the most effective ways to begin loosening the grip of adhesive is to apply heat to the mirror’s edges. Using a hair dryer or a heat gun on low to medium setting, warm the area where the glue is most likely concentrated—typically behind the perimeter. Move the heat source back and forth to avoid overheating one spot and potentially damaging the wall or mirror.
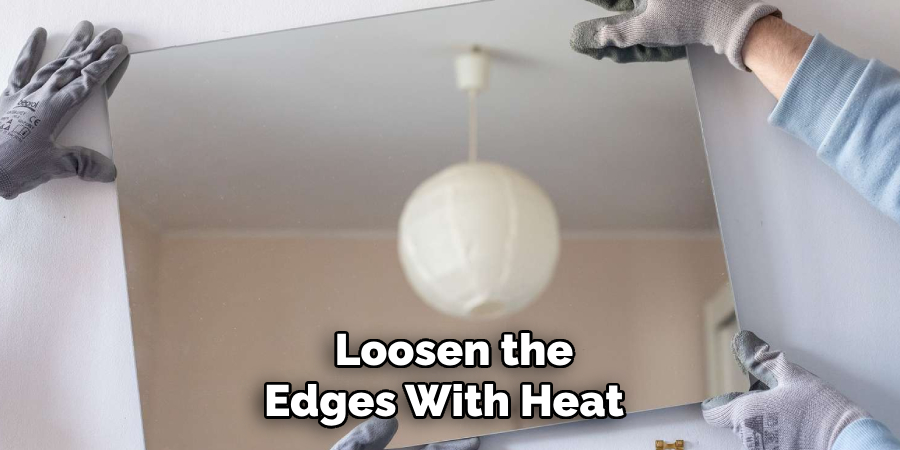
After a few minutes of heat, the adhesive softens enough for you to start gently prying with a putty knife. Be cautious not to overheat, especially with a heat gun, and always wear gloves to protect your hands.
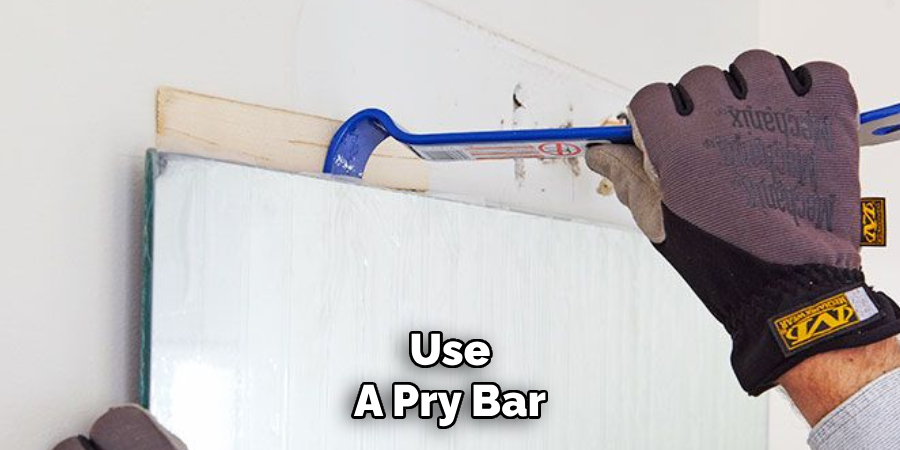
2. Use a Long Putty Knife or Pry Bar for Gentle Leverage
Once the adhesive has softened, you can slide a long putty knife or thin pry bar behind the mirror. Start at the corners or any area where the mirror naturally gives a bit. Wiggle the tool slowly and gently, working your way inward and across. The goal is to release the bond between the mirror and the wall without applying too much pressure that could crack the glass. If resistance is high, return to the heat source and repeat the warming process before continuing.
3. Cut Through the Adhesive with Wire or Floss
For large or thickly glued mirrors, cutting through the adhesive directly may be necessary. A sturdy wire (such as piano wire or picture-hanging wire) or strong dental floss can be used as a slicing tool. Thread the wire behind the mirror at the top or side and use a back-and-forth sawing motion to work through the adhesive.
This method is especially effective when two people work together—one holding each end of the wire—providing a safer and more controlled cut. It’s important to go slowly and keep the wire parallel to the wall to avoid scratching.
4. Use a Multi-Tool Oscillating Saw with Caution
For mirrors that are extremely well-bonded or where manual methods fail, a multi-tool oscillating saw with a scraper or cutting blade attachment can be used. Carefully insert the blade between the mirror and wall and work in slow, steady movements. Be sure to wear eye protection and go slowly to avoid shattering the glass or damaging the wall. This method is best for experienced DIYers or professionals and should be used as a last resort.
5. Use Suction Cups for Added Grip and Safety
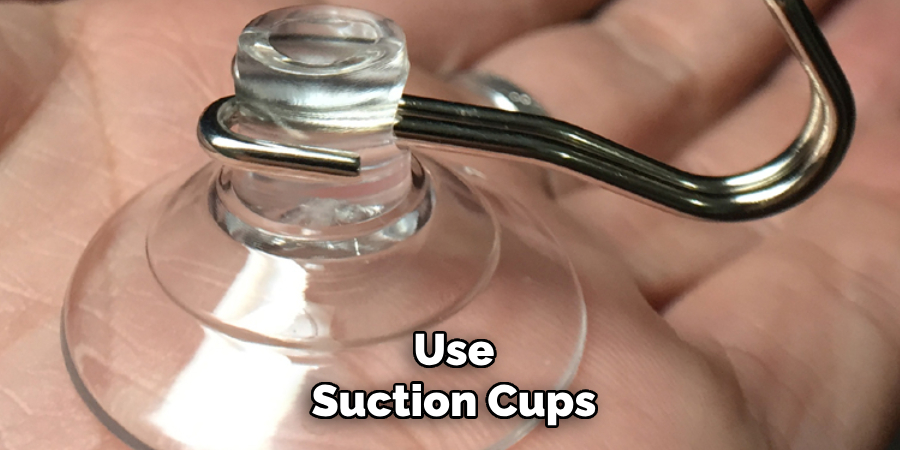
Suction cups with handles—like those used for glass installation—are essential for gripping large mirrors securely. They provide added leverage when pulling the mirror away from the wall and reduce the risk of it slipping or falling once loosened. After prying the edges or cutting some adhesive, attach the suction cups to the glass surface and apply gentle but firm pressure outward. This helps lift the mirror evenly and safely.
6. Score Around the Edges to Release Sealant
Some glued mirrors are also sealed around the edges with caulk or silicone. Before you begin prying or heating, use a utility knife to carefully score the perimeter of the mirror. This breaks the seal and prevents the mirror from tearing the drywall when pulled. Run the blade slowly along the edge, making sure not to cut too deep into the wall. Once the sealant is scored, you’ll find it easier to insert your prying tool and begin loosening the mirror.
7. Tape the Surface to Prevent Shattering
Before attempting any method of removal, it’s wise to cover the surface of the mirror with painter’s tape or duct tape in a grid pattern. This helps hold the glass together in case it breaks during removal and minimizes the risk of injury. The tape also provides a visual aid, helping you track your progress if you’re cutting adhesive behind the glass. This simple step can prevent a dangerous situation if the mirror unexpectedly cracks or slips.
8. Remove Wall Trim or Framing First
If your glued mirror has a decorative frame or trim around it, you’ll need to remove that first. Use a pry bar or flat-head screwdriver to gently lift the trim off, being careful not to damage surrounding drywall. Removing the frame gives you better access to the edges of the mirror and allows you to see how much adhesive is used. It also gives you a clearer path to insert cutting tools or heat.
9. Work in Sections for Large Mirrors
For oversized or wall-to-wall mirrors, tackling the entire piece at once may be impractical. Instead, work in small sections. Loosen one corner, cut through a portion of the adhesive, and gently pull that section forward. If possible, have an assistant support the loosened section while you continue around the mirror. This step-by-step approach ensures better control and reduces the likelihood of breakage. If the mirror is too large to remove in one piece, consider breaking it in a controlled way (with full protective gear) and removing it piece by piece.
10. Call a Professional for Complex Installations
Sometimes, the safest and most efficient method is to hire a professional—especially if the mirror is extremely large, embedded into the wall, or placed in a hard-to-reach area. Professionals have the tools, experience, and safety equipment to handle glued mirrors without damage to the wall or injury to themselves. This method ensures the job gets done cleanly, and they can often repair the wall afterward, if needed. While this may be more expensive, it’s a worthy investment if the risks are high or your confidence in handling glass is low.
Maintenance and Upkeep
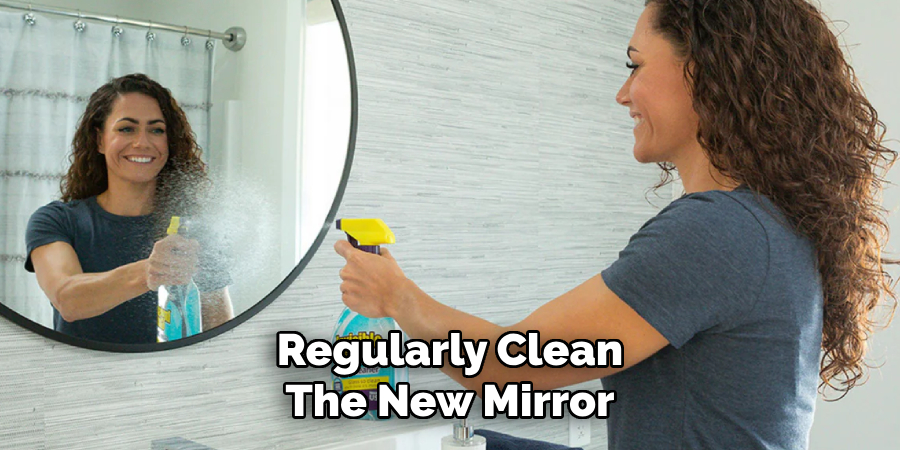
Once the mirror has been successfully removed and the wall repaired, proper maintenance is essential to ensure longevity and visual appeal. If a new mirror is installed, regularly clean it using a glass cleaner or a mixture of water and vinegar to keep it spotless and streak-free. For walls, inspect the surface periodically for any signs of damage, such as cracks or peeling paint, and address issues promptly to prevent further deterioration.
If adhesive was used during the removal or reinstallation process, check that it remains secure over time, as weakening could lead to safety hazards. Consistent care will not only maintain the functionality of your mirror but also contribute to the overall aesthetics of your space.
Conclusion
Removing a glued bathroom mirror requires a blend of patience, caution, and the right tools. Whether you’re using heat to soften the adhesive, cutting with wire, or leveraging with suction cups, each method is designed to minimize damage and ensure safety. Before beginning, always prepare your workspace—lay down a drop cloth, wear safety gear, and have a partner assist when possible.
With the right technique and mindset, even the most stubborn glued mirrors can be removed successfully, making way for a fresh bathroom upgrade or repair. So, there you have it – a quick and easy guide on how to remove bathroom mirror that is glued.

