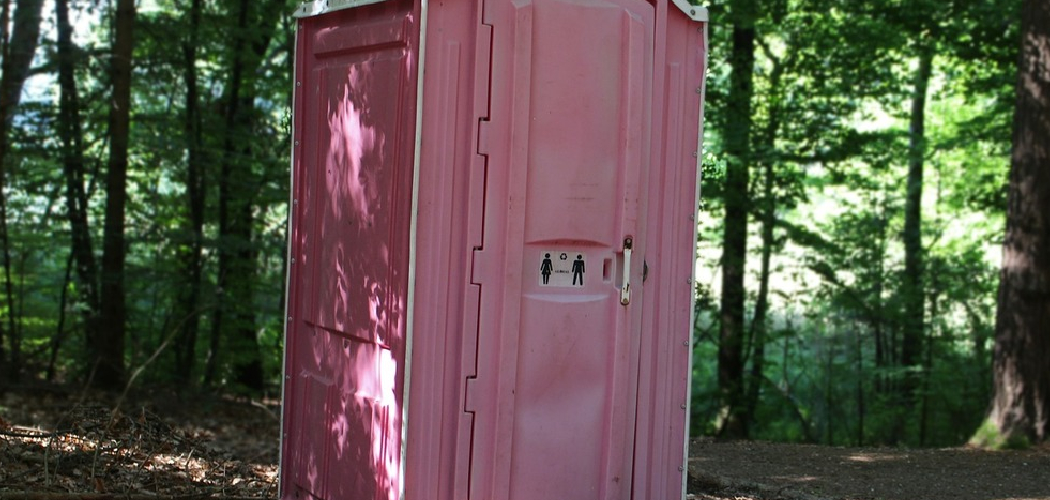
Setting up a portable toilet is a practical solution for outdoor events, camping trips, or construction sites where access to traditional restroom facilities is limited. Portable toilets are designed to be convenient, hygienic, and easy to use, making them an essential item in various scenarios.

This guide on how to set up a portable toilet will walk you through the steps required to properly set up a portable toilet, ensuring it is functional and sanitary for use.
Why Choose a Portable Toilet?
Portable toilets offer a versatile and convenient solution for situations where permanent restroom facilities are unavailable. They are easy to transport and set up, making them ideal for outdoor events, remote worksites, and emergency situations.
Additionally, portable toilets help maintain hygiene and sanitation standards by providing a designated space for restroom usage, reducing the risks associated with improper waste disposal. Their compact design and the ability to accommodate multiple users make them a practical choice to meet both individual and large group needs.
Supplies Needed
Before setting up a portable toilet, gather the following supplies:
Portable Toilet Unit (Including the Body, Seat, Lid, and Waste Tank):
The base unit of a portable toilet is made up of a body, seat, lid, and waste tank. These components form the basic structure of a portable toilet and are usually made of lightweight and durable materials like plastic or fiberglass.
Sanitation Supplies:
For hygiene purposes, it is essential to have hand sanitizers or antibacterial wipes available near the portable toilet. These supplies help prevent the spread of germs and bacteria.
Toilet Paper:
Ensure that there is an adequate supply of toilet paper available for use. It is advisable to keep extra rolls nearby in case they run out quickly.
Cleaning Supplies:
To keep the portable toilet clean and well-maintained, have cleaning supplies such as disinfectant, toilet bowl cleaner, and brushes available. Regularly cleaning the portable toilet will prevent unpleasant odors and maintain a hygienic environment.
Hand Sanitizer:
Hand sanitizer is a convenient and effective way to keep your hands clean, especially when there is no access to soap and water. Consider placing hand sanitizer dispensers near the entrance of the portable toilet for easy access.
Waste Disposal:
Proper waste disposal is crucial in maintaining a clean and sanitary portable toilet. Make sure that there are designated waste bins available for disposing of used paper towels, feminine products, and other trash. Educate users on the importance of proper waste disposal to avoid clogging or damaging the portable toilet.
10 Step-by-Step Guidelines on How to Set Up a Portable Toilet
Step 1: Choose a Location
Selecting the right location is the first and most critical step in setting up a portable toilet. Look for a flat, stable surface to ensure the unit remains level and secure during use. Avoid areas prone to flooding or excessive water runoff to prevent potential issues during heavy rain.
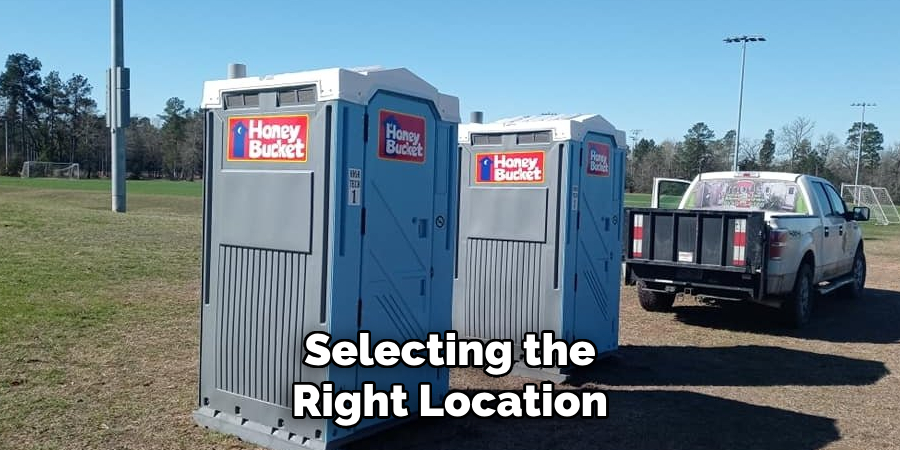
For the convenience of users, the location should be easily accessible, preferably near walkways or gathering areas, while still maintaining a degree of privacy. Make sure the site adheres to any local regulations or guidelines regarding the placement of portable toilets.
Step 2: Prepare the Ground
Once you have selected a suitable location, it’s time to prepare the ground to ensure the portable toilet is stable and secure. Clear the area of any debris, such as rocks, branches, or uneven patches that could compromise the unit’s stability. If the surface is soft or muddy, consider using a sturdy base such as wooden planks or gravel to create a more stable foundation.
This step helps to prevent shifting or sinking, particularly in areas prone to soft soil or heavy foot traffic. Proper ground preparation ensures the portable toilet remains safe and functional for all users.
Step 3: Place the Portable Toilet
Once the ground is prepared, carefully position the portable toilet on the stabilized area. Ensure the unit is level by checking all sides and making adjustments if necessary. For added security, use any anchoring systems or stakes provided with the unit, especially in windy conditions or locations with uneven terrain.
Confirm that the door faces a convenient direction for access and that it is free from obstructions. Proper placement not only enhances user safety but also contributes to the overall functionality and ease of use.
Step 4: Secure it in Place
Once the portable toilet is positioned and level, take the necessary steps to secure it firmly in place. Use anchoring systems, such as stakes, straps, or weighted bases, to prevent movement or tipping, particularly in high-traffic areas or during adverse weather conditions.
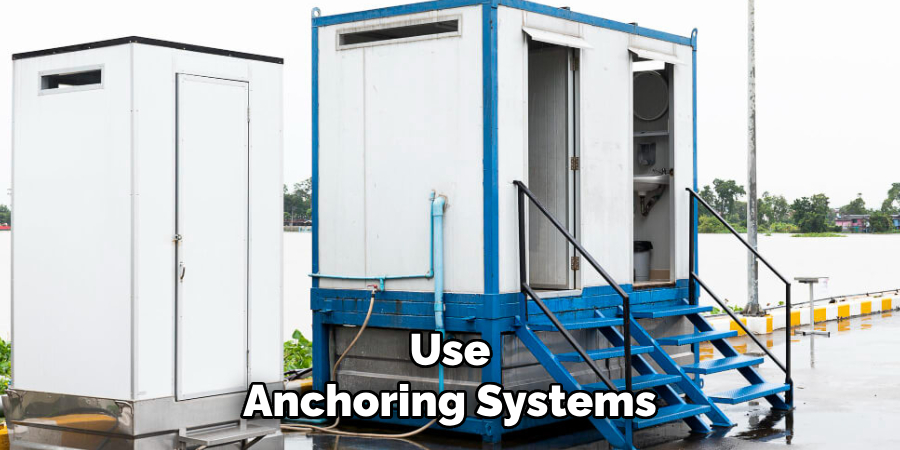
If the unit includes built-in latches or brackets for stabilization, ensure they are properly engaged. Regularly inspect the anchoring mechanisms to guarantee the unit remains stable throughout its use. Properly securing the portable toilet enhances safety and minimizes the risk of accidents or damage.
Step 5: Stock up on Necessities
Once the portable toilet is secured, it’s crucial to stock it with essential supplies to ensure user convenience and hygiene. Begin by placing a sufficient amount of toilet paper in the provided dispenser or holder. Include hand sanitizer or soap, depending on the unit’s amenities, and ensure it is easily accessible. If the portable toilet includes a handwashing station, fill it with clean water and check that it functions properly.
Additionally, consider providing deodorizing products or chemicals to help control odors and maintain a pleasant environment. Regularly restock these necessities to guarantee the unit remains fully functional and ready for use at all times.
Step 6: Regular Maintenance
To ensure the portable toilet remains clean, sanitary, and operational, establish a regular maintenance schedule. This includes thoroughly cleaning the interior surfaces, emptying the waste tank, and replacing or replenishing supplies such as toilet paper, hand sanitizer, soap, and deodorizing chemicals. Inspect the unit for any damage, such as leaks or broken components, and address repairs promptly to avoid further issues.
Regularly sanitize high-touch areas, including door handles and seat lids, to maintain hygiene standards. Consistent upkeep not only extends the lifespan of the unit but also enhances user satisfaction and overall cleanliness.
Step 7: Removal
When it is time to remove the portable restroom unit, ensure that the process is executed carefully to prevent any damage or spillage. Begin by confirming that all waste has been thoroughly removed from the tank and that the unit is secure for transport.
Disconnect any external attachments or stabilizers, if applicable. Use proper lifting equipment to load the unit onto the transport vehicle, ensuring it is secured and balanced to prevent shifting during transit.
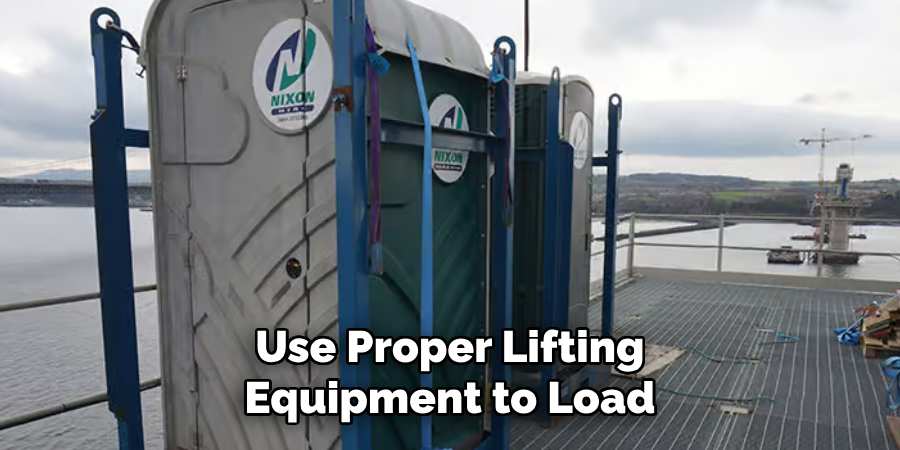
Finally, perform a final inspection of the site to confirm that no debris or materials have been left behind, leaving the area clean and ready for its next use.
Step 8: Waste Management
Proper waste management is a critical step in maintaining environmental safety and compliance. Ensure that all waste materials removed from the unit are disposed of in accordance with local regulations and guidelines. Sort waste into appropriate categories, such as recyclable, hazardous, or general waste, to facilitate proper processing.
Always transport waste to designated disposal or treatment facilities using approved containers and methods. Document the waste disposal process as required to maintain records for future reference or inspection. By adhering to these practices, you minimize environmental impact and uphold responsible waste management standards.
Step 9: Consider Placement
When managing waste, it is essential to carefully consider the placement of waste storage and disposal stations. Ensure that waste bins and containers are located in accessible yet secure areas to prevent unauthorized access and minimize the risk of environmental contamination. Placement should also account for ease of collection and transfer to disposal facilities, reducing the likelihood of spills or accidents.
Additionally, avoid positioning waste containers near sensitive areas such as water sources, ventilation systems, or high-traffic zones. Proper placement not only enhances efficiency but also supports health and safety protocols in waste management practices.
Step 10: Communicate with Attendees
Effective communication with attendees is essential for ensuring the success of any waste management plan. Provide clear instructions on proper waste disposal practices through announcements, signage, and informational materials. Use visual aids such as color-coded bins and labels to make it easier for attendees to identify the correct disposal locations for different types of waste.
Encourage participation by emphasizing the importance of their role in maintaining a clean and safe environment. Regular updates and reminders during the event can reinforce these messages and address any potential issues promptly. Open communication fosters cooperation and promotes a culture of environmental responsibility.
Following these steps on how to set up a portable toilet for an event, you can ensure a hygienic and environmentally friendly experience for your attendees. Remember to also properly dispose of the waste once the event is over, leaving the location clean and free from any potential harm to wildlife or the environment.
Regular Maintenance
Maintaining portable toilets during the event is crucial to ensure cleanliness and a pleasant experience for attendees. Schedule regular checks to restock supplies such as toilet paper, hand sanitizer, and soap. Clean the units at consistent intervals to prevent unpleasant odors and maintain hygiene standards.
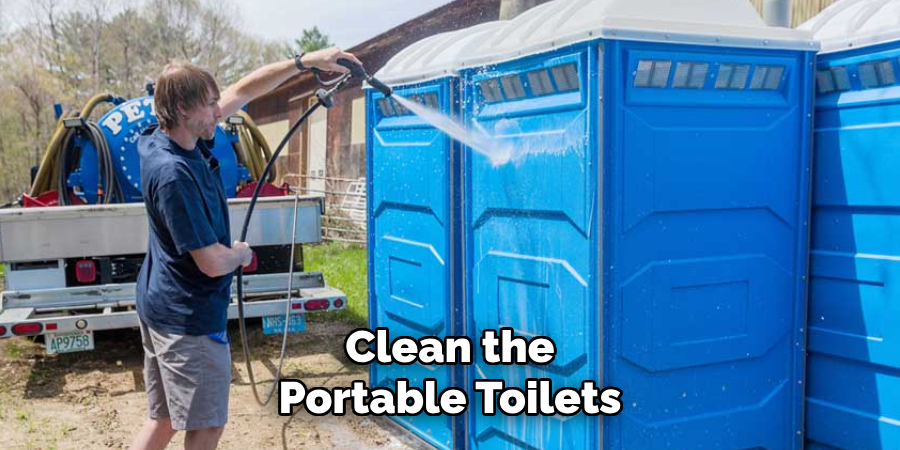
Depending on the event’s duration and attendance, this may need to be done several times a day. It’s also essential to promptly address any issues such as clogged toilets or overflowing tanks, to avoid inconvenience. A well-maintained portable toilet not only enhances user satisfaction but also reflects positively on the overall organization of the event.
Conclusion
In conclusion, proper maintenance and regular upkeep of portable toilets are crucial for ensuring a clean, hygienic, and pleasant experience for users. By proactively addressing replenishment needs, cleanliness, and potential issues, event organizers can uphold high standards of sanitation and leave a lasting positive impression.
Prioritizing these efforts demonstrates a commitment to the well-being and comfort of attendees, contributing significantly to the overall success of any event. Thanks for reading this article on how to set up a portable toilet.

