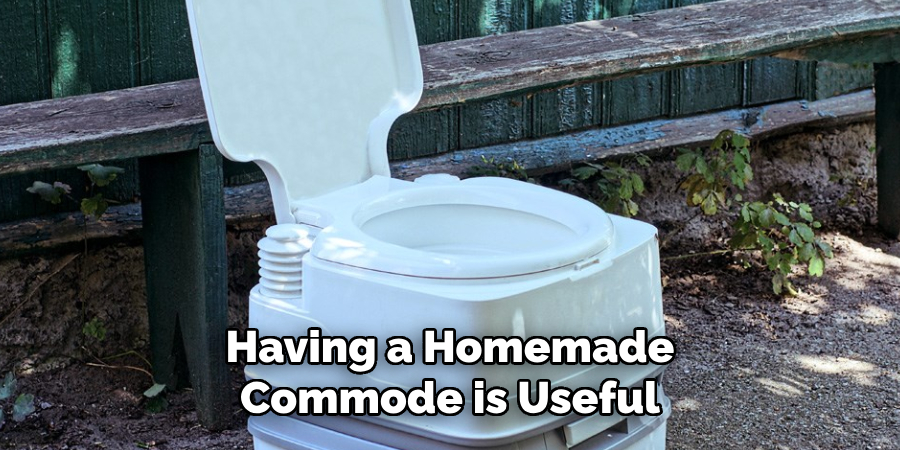
Creating a homemade commode can be a practical and cost-effective solution for outdoor adventures, emergencies, or temporary situations where conventional restroom facilities are unavailable. With just a few basic materials and simple steps, you can construct a functional and hygienic commode that meets your needs.

This guide on how to make a homemade commode will walk you through the process, ensuring comfort and convenience in any setting.
Why Make a Homemade Commode?
There are many reasons why you might consider making a homemade commode instead of using traditional restroom facilities or purchasing a portable toilet. Some common reasons include:
Outdoor Activities:
Whether you’re camping, hiking, or boating, having a portable toilet can make your outdoor adventures more comfortable and convenient. In remote or primitive areas where there are no restrooms available, a homemade commode can be a lifesaver.
Emergency Situations:
In case of a natural disaster or other emergency situation where water and electricity may be unavailable, having a homemade commode can provide relief and sanitation for you and your family.
Cost Savings:
Purchasing a portable toilet can be expensive, especially if you only need it for occasional use. Making your own commode is a cost-effective alternative that will save you money in the long run.
Personal Preferences:
Some people simply prefer using their own personal restroom facilities rather than public restrooms. Having a homemade commode allows them to maintain their privacy and comfort.
Emergency Preparedness:
In the event of a disaster or emergency situation, having a homemade commode can be extremely useful. It will provide sanitation and convenience when traditional bathroom facilities are not available.

Customization:
When creating your own homemade commode, you have the freedom to customize it to your specific needs and preferences. You can choose the size, height, and even add features such as armrests or handles for stability.
Eco-Friendly Option:
Disposable toilets and chemical waste bags used in portable camping toilets contribute to waste and pollution. By using a homemade commode, you are reducing your carbon footprint and being more environmentally friendly.
Needed Materials
To create your own homemade commode, you will need the following materials:
- A Sturdy Bucket or Pail With a Lid (Ideally With a Capacity of 5 Gallons or More)
- A Toilet Seat and Lid That Fits Securely on Top of the Bucket
- A Saw or Drill to Make Holes in the Lid for Attaching the Seat
- Bolts, Washers, and Nuts to Secure the Seat to the Lid
- A Plastic Bag or Liner for Easy Disposal of Waste
- Some Peat Moss, Sawdust, or Other Organic Material to Cover Waste and Reduce Odor
6 Steps on How to Make a Homemade Commode
Step 1: Measure and Mark
Start by measuring the lid of your bucket or pail to determine where the toilet seat will be attached. Use a marker to outline the seating area by placing the toilet seat on top of the lid and tracing around its inner edge.
Ensure that your markings are centered to provide stability and comfort when the seat is installed. This step is crucial for accuracy and will guide your cut in the next stage of the process.
Step 2: Cut the Hole
Using a jigsaw or utility knife, cut out the measuring area that you marked on the lid. It is essential to take your time and make slow, precise cuts to avoid any jagged or uneven edges.

Use sandpaper to smooth out any rough spots around the hole for a more comfortable seating experience. It is also recommended to sand down the outside edge of the hole for improved comfort.
Step 3: Install Toilet Seat
Once the hole has been cut and smoothed, position the toilet seat over the opening to ensure it aligns properly. Using the hardware provided with the seat, attach it securely to the lid according to the manufacturer’s instructions.
Double-check that the seat is centered over the hole and is firmly fastened to avoid any movement during use. If necessary, adjust the positioning before tightening the screws completely. This step ensures the seat is stable and provides a comfortable and functional final product.
Step 4: Caulk the Toilet Base
To create a secure and polished finish, apply a bead of caulk around the base of the toilet where it meets the floor. Use a high-quality, bathroom-grade caulk to ensure durability and resistance to moisture. Start by loading the caulk into the applicator and cutting the tip of the nozzle at a 45-degree angle for a precise application. Slowly run the caulk along the base, maintaining an even and consistent line around the perimeter.
Once applied, smooth the caulk with a caulking tool or your finger for a clean finish, wiping away any excess with a damp cloth. Allow the caulk to dry completely as per the product instructions before using the toilet to ensure a watertight seal.
Step 5: Reconnect Water Supply
Once the caulk has dried completely, it is time to reconnect the water supply to the toilet. Begin by attaching the supply line back to the fill valve located on the underside of the toilet tank. Ensure the connection is secure, but avoid over-tightening to prevent damage.

Turn on the water supply valve slowly and check for any leaks around the connection. Allow the tank to fill and flush the toilet a few times to confirm that everything is functioning properly. If there are no leaks or issues, your toilet installation is complete!
Step 6: Cleaning and Maintenance
Now that your toilet is installed and functioning properly, it’s important to focus on cleaning and maintenance to ensure its longevity. Begin by wiping down the exterior surfaces of the toilet with a mild cleaner and a soft cloth to remove any dust or residue from the installation process. For the interior of the bowl, use a toilet brush and appropriate cleaning solution to maintain hygiene and prevent buildup.
Regularly inspect the connections and fittings for any signs of wear or leaks. Performing periodic maintenance, such as checking the fill valve and flapper, will help prevent future issues and keep your toilet in optimal working condition.
Following these steps on how to make a homemade commode will ensure that your new toilet stays clean and functional for years to come.
Additional Tips for Toilet Maintenance
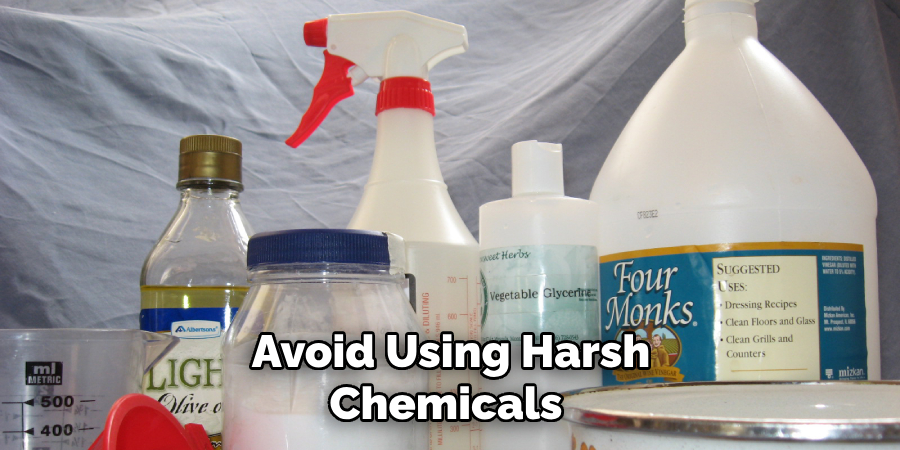
- Avoid using harsh chemicals, such as bleach or drain cleaners, in your toilet. These can damage the internal components and cause problems down the line.
- Consider using a toilet bowl cleaner specifically designed for septic systems, if applicable. These are gentler on the environment and can help maintain the balance of bacteria in your septic tank.
- Regularly check for and fix any leaks around the base of the toilet or at the water supply line. A leaking toilet can waste a significant amount of water and lead to higher bills.
- If you notice any issues with flushing, such as weak pressure or slow drainage, it may be time to replace parts inside the tank. This is a relatively simple DIY project and can save you money on repairs.
- To prevent clogs, avoid flushing anything other than human waste and toilet paper down the toilet. Items like cotton swabs, feminine products, wipes, and even thick toilet paper can cause blockages over time.
- Consider using a plunger or a drain snake to unclog a toilet before calling a plumber. These tools are relatively inexpensive and can save you from expensive service fees.

Frequently Asked Questions
Q1: How Often Should I Clean My Toilet?
A: It is recommended to clean your toilet at least once a week to prevent buildup and keep it free from germs. If you have a larger household or regularly use the bathroom, you may want to clean it more frequently.
Q2: Can I Use Bleach to Clean My Toilet?
A: Yes, bleach can be an effective cleaner for toilets, but be sure to dilute it according to the instructions and use caution when handling it. It is also important to avoid using bleach on colored or older toilets as it can cause damage.
Q3: What Should I Do If My Toilet Is Clogged?
A: To unclog a toilet, you can try using a plunger first. If that doesn’t work, you may need to use a plumbing snake or call a professional plumber for assistance.
Q4: How Can I Prevent Clogs in My Toilet?
A: To prevent clogs, make sure to only flush appropriate materials down the toilet such as toilet paper. Avoid flushing items like wet wipes, feminine hygiene products, or paper towels as they can easily clog your toilet. Regularly cleaning and maintaining your toilet can also help prevent clogs by keeping the pipes clear of any buildup or debris.
Conclusion
Maintaining a properly functioning toilet is essential for the comfort and hygiene of your home. By following preventative measures and addressing issues promptly, you can avoid the most common plumbing problems and keep your toilet in good working order.
Remember, if you’re unsure how to handle a plumbing issue, professional assistance is always a reliable option to ensure the problem is resolved correctly. Thanks for reading this article on how to make a homemade commode.

