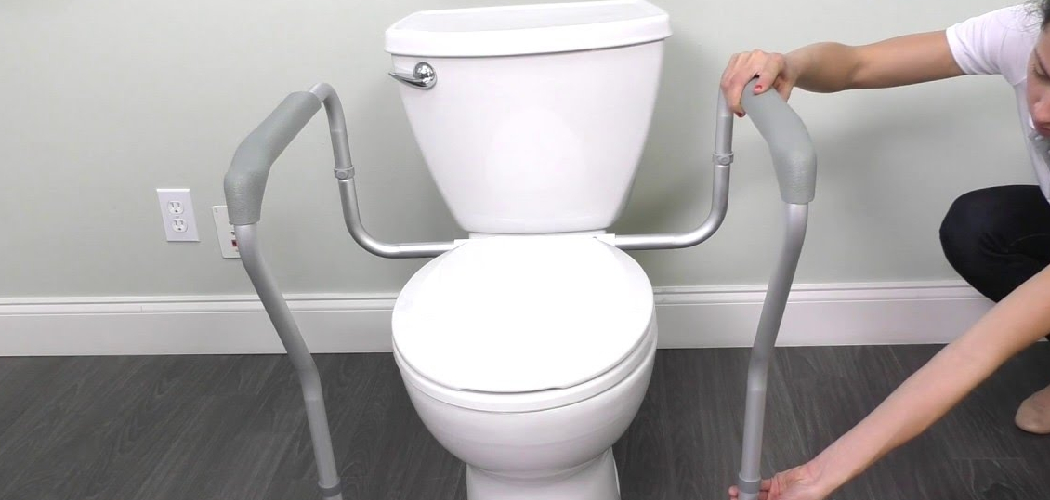
Installing a toilet safety rail can greatly enhance bathroom safety and accessibility, particularly for individuals with limited mobility or those recovering from injuries. This simple yet effective device provides added stability and support, reducing the risk of slips and falls.

Whether you’re caring for a loved one or improving your own bathroom’s safety features, this guide on how to install a toilet safety rail will walk you through the process of properly installing a toilet safety rail step by step.
Why Install a Toilet Safety Rail?
There are several reasons why installing a toilet safety rail is beneficial. Firstly, it provides added stability and support for those who may have difficulty standing or sitting down on the toilet. This is especially important for older adults or individuals with mobility issues. A safety rail can help them maintain their balance and prevent falls, which can be particularly dangerous in the bathroom.
Additionally, having a toilet safety rail installed can make it easier for caregivers to assist their loved ones with toileting tasks. The added support of the safety rail can reduce strain and discomfort for both the caregiver and the individual being assisted.
Furthermore, installing a toilet safety rail is a cost-effective way to improve bathroom accessibility. Compared to larger renovations or the costs of potential injuries from falls, a toilet safety rail is a relatively inexpensive solution.
Needed Materials
- Toilet Safety Rail
- Screws and Bolts for Installation
- Screwdriver or Drill
- Measuring Tape
- Pencil or Marker for Marking Placement
- Level (Optional)
- Towel or Cloth for Cleaning the Area Before Installation
9 Simple Steps on How to Install a Toilet Safety Rail
Step 1: Measure the Space
Begin by measuring the area around your toilet where the safety rail will be installed. Use a measuring tape to ensure there is enough space for the rail to fit comfortably without obstructing other fixtures.
Pay close attention to the distance between the toilet and nearby walls or furniture, as this will help you determine the best placement. Mark the desired mounting points with a pencil or marker for accuracy.
Step 2: Prepare the Area
Before installing the safety rail, clean the area around the toilet to ensure a secure and stable installation. Remove any clutter or items that might obstruct the process. If the safety rail requires mounting onto the floor or walls, ensure the surfaces are free of dust, dirt, or moisture.
For adhesive rails, make sure the surface is completely dry to allow proper adherence. Double-check your marked mounting points to ensure they are clearly visible and correctly positioned.
Step 3: Mark Placement
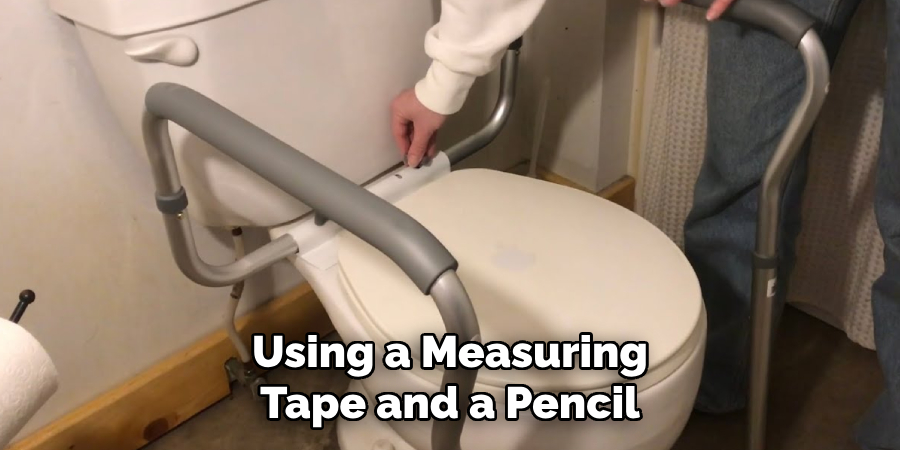
Using a measuring tape and a pencil, mark the exact placement points for the safety rail based on the manufacturer’s guidelines. Ensure that the measurements are accurate and symmetrical on both sides of the toilet for a balanced installation.
If you are using a template provided with the safety rail, align it properly before marking the screw holes or mounting points. Double-check your markings to confirm they match the desired positioning and provide adequate support for safe usage.
Step 4: Assemble Your Safety Rail
Begin assembling your safety rail according to the manufacturer’s instructions. Lay out all components on a flat surface to ensure you have all the necessary parts. Use the provided screws, bolts, or other hardware to attach the rail sections securely, following the assembly diagrams or guidelines in the instruction manual.
Tighten all connections carefully, ensuring the rail is stable and free of any wobbles or loose fittings. This step is crucial to ensure the safety rail is both sturdy and safe for regular use.
Step 5: Drill Holes
Mark the locations where the safety rail will be installed, ensuring they align with the pre-drilled holes or slots on the rail sections. Use a level to confirm that the marks are straight and properly aligned. Select a drill bit that matches the size recommended in the installation guide, and carefully drill holes at each marked location.
Ensure that you drill straight into the surface to avoid misalignment. After drilling, clean any debris from the holes to create a smooth and secure area for mounting the rail.
Step 6: Secure Mounting Brackets
Position the mounting brackets over the drilled holes, ensuring they align perfectly. Use the screws provided in the installation kit to attach the brackets to the surface. Tighten the screws firmly with a screwdriver or drill, but avoid over-tightening to prevent damage to the brackets or the mounting surface.
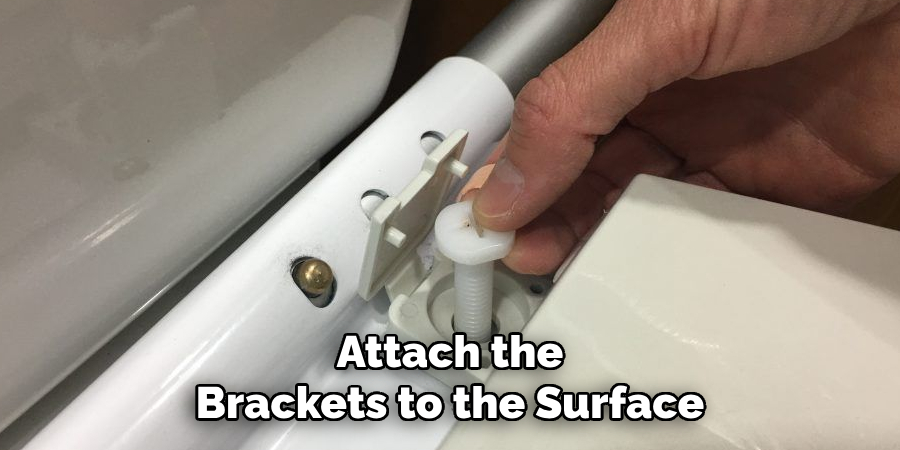
Once all brackets are securely fastened, double-check their stability by gently applying pressure to confirm they are firmly in place and ready to support the safety rail.
Step 7: Attach Safety Rail
Carefully position the safety rail onto the mounted brackets. Ensure that the rail aligns correctly with the grooves or slots on the brackets for a secure fit. Once in place, use the provided screws or fasteners to firmly attach the rail to the brackets.
Tighten all fasteners evenly, but be cautious not to over-tighten, as this could compromise the integrity of the rail. After attaching the rail, gently wiggle it to confirm that it is securely fixed and properly aligned with the brackets.
Step 8: Test and Inspect
After securing the rail, thoroughly test and inspect the installation to ensure its safety and stability. Apply light pressure in multiple directions along the length of the rail to check for any movement or instability. Visually examine the connections to confirm that all screws or fasteners are properly tightened and that there are no visible gaps between the rail and the brackets.
If any issues are identified, resolve them immediately by adjusting the alignment or tightening the fasteners as needed. Regular maintenance checks are also recommended to ensure the rail remains secure over time.
Step 9: Regular Maintenance
To ensure the long-term effectiveness of your safety rail, regular maintenance and inspections should be conducted. This includes checking for any loose screws or damaged parts, as well as cleaning and lubricating moving components.
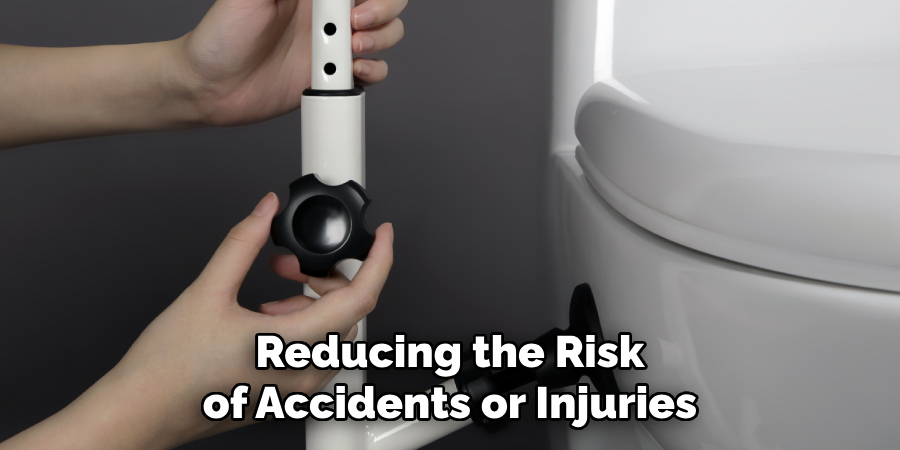
Following the manufacturer’s instructions on how to install a toilet safety rail for maintenance is crucial to ensure proper functioning of the safety rail. Any identified issues should be addressed immediately to avoid potential accidents or injuries.
Do You Need to Use Professionals?
While it is possible to install and maintain a safety rail on your own, there are instances where hiring professionals might be the safer and more reliable option. If the installation involves complex structures, requires specialized tools, or if you are unsure about meeting safety regulations, professional help is strongly recommended.
Experts have the necessary training and experience to ensure that the safety rail is installed properly and securely, minimizing risks and ensuring compliance with local safety standards. Additionally, professional services often come with warranties, giving you peace of mind and added protection in case issues arise.
How Much Will It Cost?
The cost of installing safety rails can vary depending on several factors, including the type of rail, the materials used, and whether you choose to hire a professional or take a DIY approach. Basic safety rail kits can start at around $50-$100, but more durable and aesthetically pleasing options made from materials like stainless steel or wrought iron can range from $200 to $500 or more.
If you opt for professional installation, labor costs can add an additional $100-$300, depending on the complexity of the project and local rates. It’s always a good idea to obtain multiple quotes and compare options to ensure you get the best value while prioritizing quality and safety.
Frequently Asked Questions
Q1: Do I Need a Safety Rail for My Home?
Ans: It is recommended to have a safety rail installed in areas where there are potential fall hazards, such as stairs, balconies, and elevated platforms. If you have small children or elderly individuals living with you, it is especially important to consider installing a safety rail for their safety and well-being.
Q2: What Materials are used for Safety Rails?
Ans: There are a variety of materials that can be used for safety rails, including wood, metal, and glass. The most important factor is to choose a material that is sturdy, durable, and able to withstand weight and impact.
Q3: How do I Choose the Right Safety Rail for My Home?
Ans: When choosing a safety rail for your home, consider the location where it will be installed, the purpose it will serve, and the overall aesthetic of your home. It is also important to ensure that the safety rail meets building codes and safety standards.
Q4: Can I Install a Safety Rail Myself?
Ans: While some safety rails may have easy installation instructions, it is recommended to hire a professional for proper installation. A professional will ensure that the safety rail is securely attached and can bear weight, reducing the risk of accidents or injuries.
Conclusion
Safety rails are an essential feature for ensuring the safety and accessibility of your home. Whether you are considering installing one for stairs, bathrooms, or other areas, careful planning and professional installation can make a significant difference.
By prioritizing high-quality materials and adhering to safety standards, you can create a safer environment while enhancing the overall functionality and style of your space. Thanks for reading this article on how to install a toilet safety rail.

