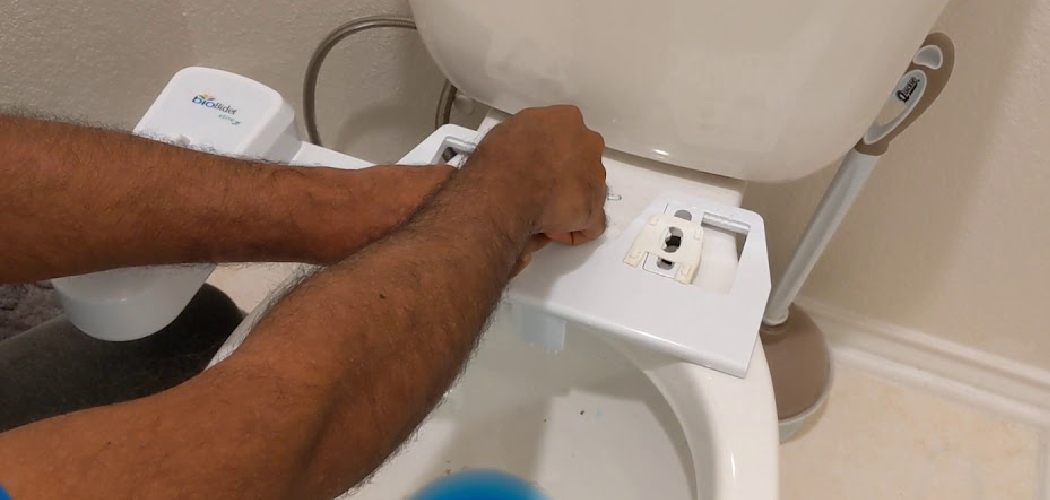
Removing a Bio Bidet may seem like a daunting task, but with the right tools and step-by-step guidance, it can be completed quickly and easily. Whether you’re replacing it with a new bidet model or returning to a traditional toilet seat, this guide will help you how to remove bio bidet unit without causing any damage to your toilet or plumbing setup.
Common Reasons for Removing a Bio Bidet
There are several reasons why someone might need to remove a Bio Bidet. One common reason is upgrading to a newer model with enhanced features, such as better water pressure control, heated seats, or additional spray settings.
Another reason could be relocating to a new home and taking the bidet with you, especially if it is a high-end model. Some individuals may choose to remove the Bio Bidet due to malfunction or wear and tear that requires repair or replacement. Finally, personal preference or a decision to revert to a traditional toilet seat setup may also prompt the removal of a Bio Bidet.
Tools and Materials You Will Need
Before you begin removing your Bio Bidet, gather the necessary tools and materials to ensure a smooth and efficient process. Here’s what you will need:
- Adjustable wrench or pliers for loosening bolts and connections.
- Screwdriver (typically Phillips or flathead, depending on your bidet model).
- Towel or cloth to soak up any water spillage.
- Bucket or container to catch residual water from hoses or connections.
- Cleaning supplies to tidy up the area after removal, such as disinfectant and a sponge.
- Replacement toilet seat (if applicable) to install once the bidet is removed.
Having these tools and materials ready beforehand will save time and make the process much more manageable.
10 Methods How to Remove Bio Bidet
1. Turn Off the Water Supply
The first and most important step when removing a Bio Bidet is to shut off the water supply to the bidet. This can usually be done by turning off the water valve that feeds the bidet’s supply line, typically located on the wall behind or next to the toilet. You should rotate the valve clockwise to close it. Once the water supply is turned off, flush the toilet to drain any remaining water from the tank and supply line. This will reduce the chance of water spillage during the disconnection process, ensuring a dry and safe work environment.

2. Disconnect the Water Supply Line
Once the water supply is turned off and the toilet tank is emptied, it’s time to disconnect the water supply line from the Bio Bidet. Use an adjustable wrench to unscrew the nut that connects the water hose to the bidet’s inlet valve. Be careful to position a small bucket or towel under the connection, as some water may still leak out even after draining the toilet tank. Take your time to avoid damaging the flexible hose or the threads of the valve. This step ensures that no water will be flowing when you proceed to remove the bidet, making the job safer and more efficient.
3. Disconnect the Power Supply
Many Bio Bidets come with an electrical connection that powers the heated seat and other functions. Before proceeding, ensure that the power supply is turned off. If the bidet is plugged into a standard electrical outlet, unplug the power cord from the outlet. If the bidet is hardwired, you will need to locate the electrical junction box, typically beneath the seat area or inside the toilet tank area. Turn off the circuit breaker that powers the bidet to ensure your safety while handling the electrical components. If you’re unsure about how to properly disconnect the electrical wiring, it’s wise to consult an electrician or a professional plumber to avoid the risk of electrical shock.
4. Unscrew the Mounting Bolts
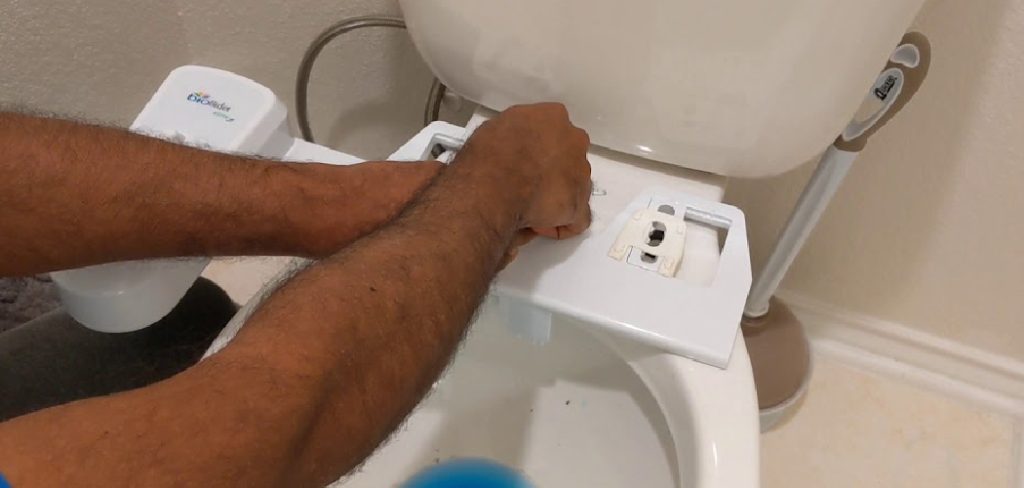
The Bio Bidet unit is typically secured to the toilet seat using two mounting bolts. To remove the unit, you will need to unscrew these bolts. Depending on the model, the bolts may be located underneath the seat or behind the bidet’s attachment area. Use a screwdriver or wrench to loosen the bolts, rotating counterclockwise. Keep the bolts in a safe place as you will need them if you plan to reinstall the bidet at a later time. Be cautious when unscrewing the bolts to avoid damaging the toilet or the bidet base. These bolts are often under significant pressure, so it may take some force to loosen them.
5. Detach the Bidet from the Toilet
Once the mounting bolts are removed, gently lift the Bio Bidet off the toilet. Depending on the design of your bidet, there may be additional clips or attachments that need to be disconnected before you can fully remove it. Some bidets have quick-release mechanisms that make it easier to detach, while others may require a bit of maneuvering. When lifting the bidet, be careful not to force it, as you could break or damage the plastic components. If it doesn’t come off easily, double-check to ensure all fasteners are removed and no hidden clips are holding it in place.
6. Clean the Area Before Reinstallation or Removal
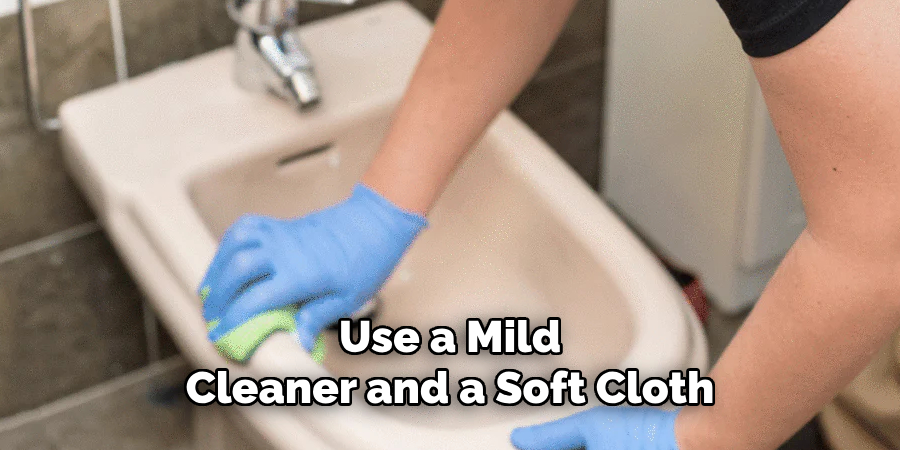
Before continuing with the removal, take this opportunity to clean the area around the toilet, especially where the Bio Bidet was mounted. Use a mild cleaner and a soft cloth to wipe down any areas with dust, debris, or moisture. Cleaning the area ensures that you have a fresh, hygienic surface when reinstalling a new bidet or reinstalling the old one after maintenance. This step also helps to maintain the hygiene of your toilet area and avoids the spread of bacteria or grime while handling the bidet.
7. Check for Leaks in the Water Supply Line
After removing the Bio Bidet, it is a good idea to check the water supply line and the shutoff valve for any leaks. If the hose appears worn or damaged, it’s a good time to replace it before reinstalling any bidet or making any adjustments to the plumbing. Even small leaks can cause water damage or increase the risk of mold growth in the bathroom, so inspect the line thoroughly. Tighten the connections or replace parts as necessary to prevent future water-related issues.
8. Cap or Seal the Water Supply Line
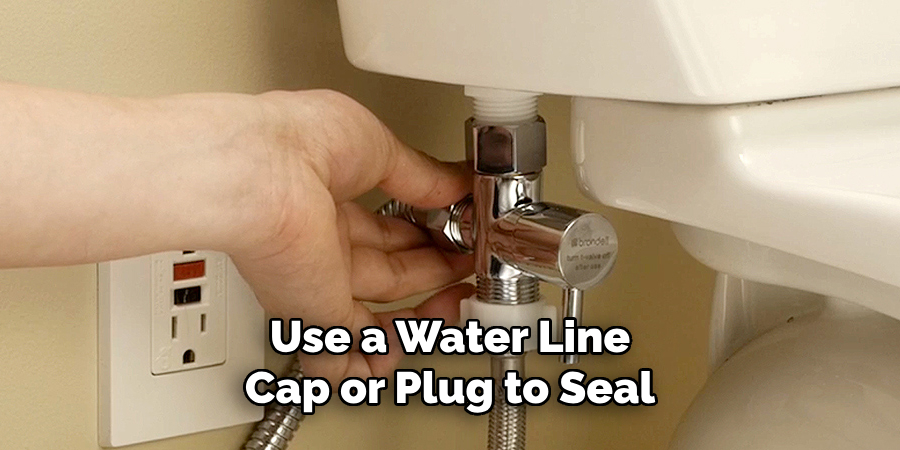
Once the water supply line has been disconnected from the Bio Bidet, you will need to cap or seal the line to prevent any residual water from leaking. If you’re removing the bidet permanently and not planning on reinstalling it immediately, use a water line cap or plug to seal the open connection. These caps are inexpensive and easy to install. Simply screw the cap onto the end of the water supply pipe to ensure a secure seal. If you intend to leave the toilet unmodified, this prevents water from leaking into the bathroom and creating unnecessary mess or water damage.
9. Store the Bio Bidet for Future Use
If you plan to store the Bio Bidet for future use or reinstallation, be sure to clean and store it properly. Use a soft cloth to wipe down the bidet, ensuring there are no remaining traces of water or waste. Store the bidet in a dry, safe area, preferably inside its original packaging to protect it from dust and damage. If you are disassembling it for long-term storage, keep all screws, bolts, and accessories in a small container or bag to avoid losing them. Proper storage will ensure that the bidet is in good condition when you’re ready to use it again.
10. Dispose of the Bidet Properly (If Necessary)
In some cases, you may need to dispose of the Bio Bidet if it is no longer functional or if you have replaced it with a different model. Before disposing of the bidet, remove any reusable parts, such as hoses, power cords, or mounting bolts, which could be repurposed or recycled. Check with your local waste management or recycling center for guidelines on how to dispose of large plastic items or electronic waste. Many centers offer special services for items like bidets, ensuring that they are disposed of in an environmentally responsible manner. If you are unsure how to dispose of the unit, call your local municipal waste authority for further advice.
Maintenance and Upkeep
Proper maintenance and regular upkeep of a bidet can significantly extend its lifespan and ensure optimal performance. Start by cleaning the unit regularly with a mild, non-abrasive cleaner to prevent buildup of grime or bacteria. Pay special attention to the nozzle, as it is a critical component for hygiene.
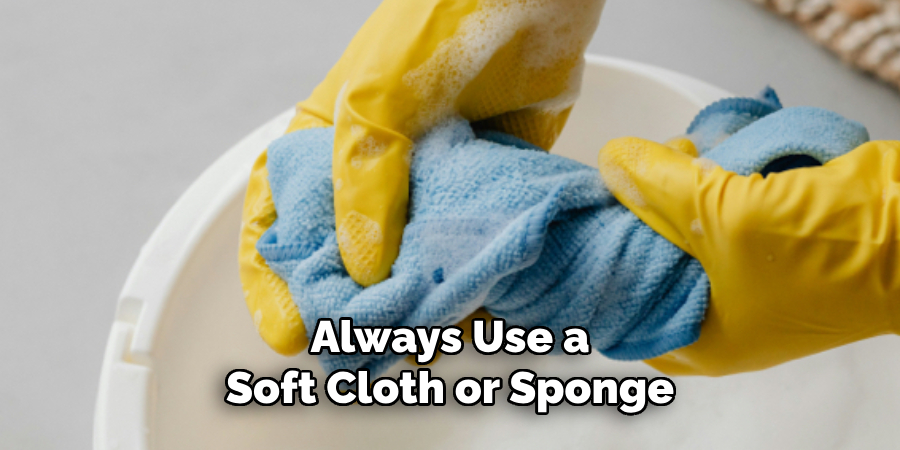
Many bidets come with a self-cleaning nozzle function, but manual cleaning may also be necessary for a more thorough job. Always use a soft cloth or sponge to avoid scratching the surface. Additionally, check for any leaks or loose connections in hoses and bolts, tightening or replacing parts as needed. For electronic bidets, periodically inspect the power cord and plug for any wear or damage to prevent electrical hazards. Following the manufacturer’s maintenance guidelines can help keep your bidet in excellent condition for years to come.
Conclusion
Proper disposal of a bidet not only ensures compliance with local regulations but also helps minimize environmental impact. By repurposing reusable components and following the correct disposal procedures, you contribute to a more sustainable future. Always prioritize eco-friendly practices and seek guidance from local authorities or recycling centers when in doubt. Thanks for reading our blog post on how to remove bio bidet! We hope you found it helpful and informative.

