Replacing a toilet shutoff valve is an essential skill for any homeowner, as it allows you to manage leaks, upgrades, or repairs with ease. Over time, shutoff valves can become corroded, worn out, or fail to operate properly, leading to potential water damage or inconvenience. With the right tools and a straightforward process, you can replace a faulty valve and restore proper water control to your toilet. This guide will walk you through the steps of how to replace a toilet shutoff valve safely and effectively complete the task.

Common Reasons for Replacing a Toilet Shutoff Valve
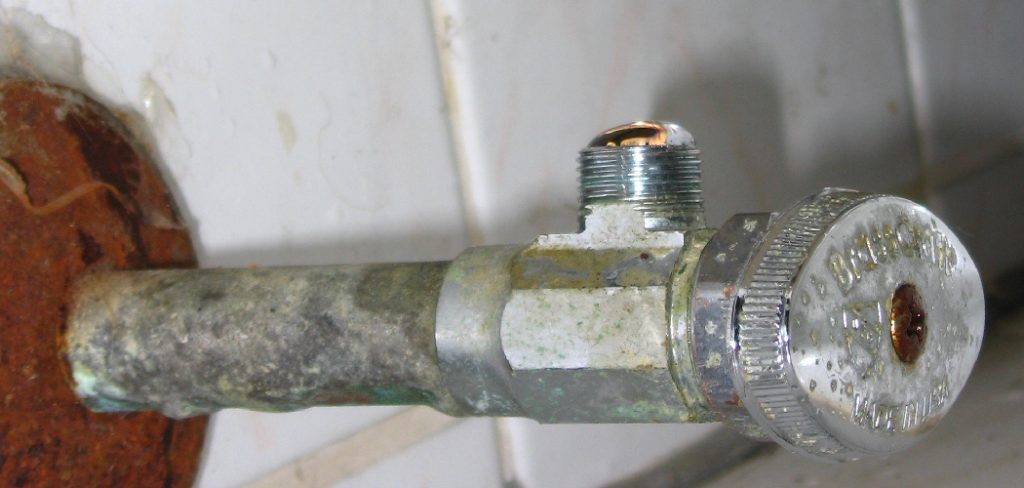
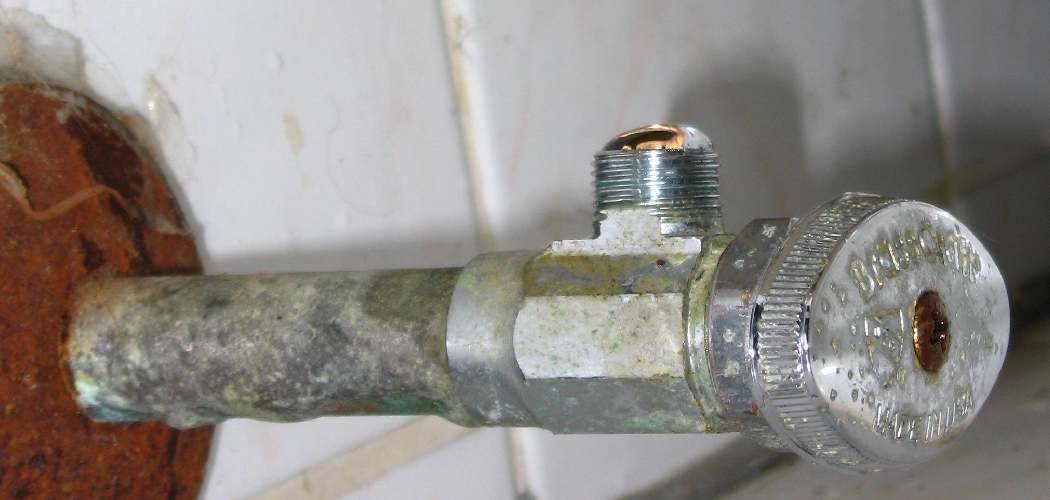
There are several reasons why you might need to replace a toilet shutoff valve. One common issue is corrosion, which can occur over time, especially in areas with hard water or high humidity. Corroded valves may seize up or develop leaks, making them ineffective. Another reason is a worn-out or aging valve that no longer opens or closes properly, leading to difficulty in controlling water flow.
Additionally, a valve might sustain physical damage due to improper handling or external impacts. Upgrading to a more reliable or modern valve design is also a frequent reason for replacement, as newer models often offer better durability and ease of operation. Addressing these issues promptly ensures reliable water control and prevents potential damage to your home.
Tools and Materials Needed
Replacing a valve requires a few essential tools and materials to ensure a smooth and successful process. Below is a list of items typically needed:
- Adjustable Wrench: For loosening and tightening the nuts and fittings on the valve.
- Pipe Wrench: Useful for extra grip when removing or installing stubborn valves.
- Screwdrivers: Depending on the valve type, you might require a flathead or Phillips screwdriver.
- Pipe Cutter (if necessary): For cutting and removing pipes in cases where the valve is hard to access.
- Teflon Tape: To seal threaded connections and prevent leaks.
- Replacement Valve: Ensure the new valve is compatible with your existing plumbing system.
- Bucket or Towel: To catch any residual water when removing the old valve.
- Safety Gloves: Protect your hands during the process.
Having these tools and materials ready before starting the task will save time and make the replacement process more efficient.
10 Methods How to Replace a Toilet Shutoff Valve
1. Turn Off the Main Water Supply
The first and most essential step before replacing a toilet shutoff valve is to turn off the main water supply to your house. This valve is typically located where the water line enters your home, often in a basement, utility room, or near an outdoor meter box. Shutting off the main water prevents flooding or leaks while you’re working on the plumbing. Once turned off, open a faucet on a lower level of the house to relieve any remaining pressure and drain excess water from the lines. Ensuring a fully depressurized system not only protects your workspace but also gives you a dry, clean area to work in, reducing the mess and making the process more efficient.

2. Empty the Toilet Tank
After the main water is turned off, flush the toilet to remove as much water from the tank as possible. Hold down the flush lever to allow the tank to drain completely. Any remaining water at the bottom of the tank can be soaked up with a sponge or towel. Additionally, place a small bucket under the valve and water line connection to catch any drips during the removal process. A dry working area prevents slippage and also ensures that no water accidentally damages the floor. This step, though simple, is critical in setting the stage for a safe and tidy replacement.
3. Disconnect the Water Supply Line
With the tank drained and the area prepped, use an adjustable wrench to disconnect the flexible water supply line that connects the shutoff valve to the base of the toilet tank. Carefully twist the nut counterclockwise to loosen it. If it’s an older installation, mineral buildup may make the nut stubborn; applying a small amount of penetrating oil can help. Be gentle when handling the supply line, especially if it’s braided stainless steel or plastic, to avoid damage if you plan to reuse it. Set the hose aside, ensuring both ends are dry and clean before reconnection.
4. Remove the Old Valve
Next, use a wrench to loosen the nut that connects the shutoff valve to the copper, CPVC, or PEX water pipe coming from the wall or floor. Depending on the valve type—compression, threaded, or push-fit—you’ll need to use the appropriate removal method. For compression fittings, you’ll remove the compression nut and ring, while threaded valves simply twist off. Push-fit types like SharkBite may require a special disconnect tool. Removing the old valve can take patience, especially if it has corroded or hasn’t been serviced in years. Take your time to avoid damaging the pipe it’s attached to.

5. Clean the Pipe Surface
Once the old valve is removed, inspect the exposed pipe for corrosion, mineral buildup, or leftover debris. Use emery cloth, a wire brush, or fine sandpaper to clean the pipe’s surface thoroughly, ensuring a smooth and shiny finish. For copper or metal pipes, it’s essential that no old compression rings or debris remain. For PEX or CPVC, check that the pipe ends are square and smooth. A clean pipe not only ensures a better seal for the new valve but also helps in making the installation easier and leak-free. Never skip this prep step, as even small particles can prevent a watertight fit.
6. Select the Right Replacement Valve
Before installing, make sure you have the correct type of replacement valve. Toilet shutoff valves come in several types—compression, threaded, or push-fit—and you must choose one that matches your pipe type and size. Most toilets use a 3/8-inch outlet and a 1/2-inch inlet. Compression valves work well with copper, while push-fit models (like SharkBite) are ideal for quick installs without soldering. If you’re uncertain about your plumbing, taking the old valve to a hardware store for comparison is wise. Choosing the proper valve ensures compatibility, safety, and ease of future maintenance.
7. Install the New Valve
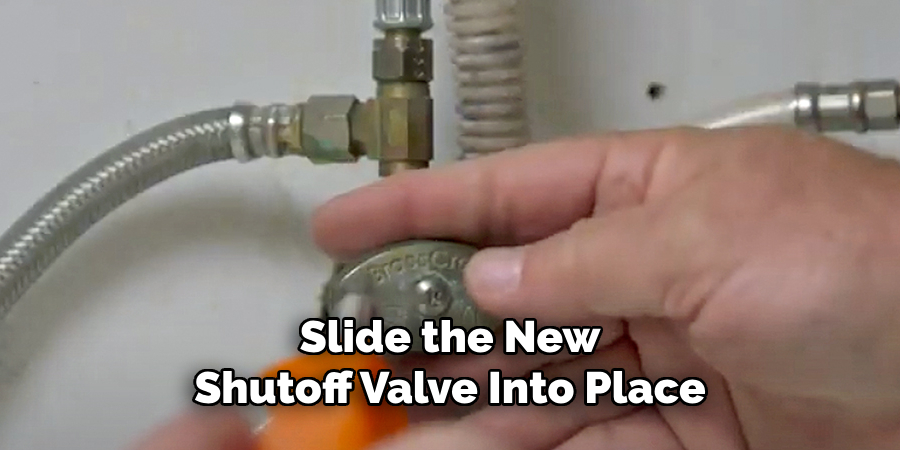
With a clean pipe and the correct valve selected, slide the new shutoff valve into place. For compression valves, insert the pipe into the valve, slide on the compression ring and nut, and tighten with two wrenches—one to hold the valve and another to turn the nut. For push-fit models, simply push the valve onto the pipe until it clicks firmly. Threaded valves screw directly onto male pipe threads, usually with plumber’s tape applied to ensure a tight seal. Always ensure the outlet of the valve is pointing upward or toward the toilet for correct hose alignment later on.

8. Reconnect the Supply Line
Once the new valve is securely installed, reattach the flexible water supply line to the outlet of the valve and the toilet tank’s fill valve. Use your hand to thread the nut on gently, then tighten with an adjustable wrench—taking care not to over-tighten and damage the fittings. If you’re using the old supply line, inspect it for cracks or wear; it may be worthwhile to replace it while the system is already open. A snug, firm connection without excessive force will provide a leak-free joint and prolong the life of the fittings.
9. Turn the Water Back On and Test
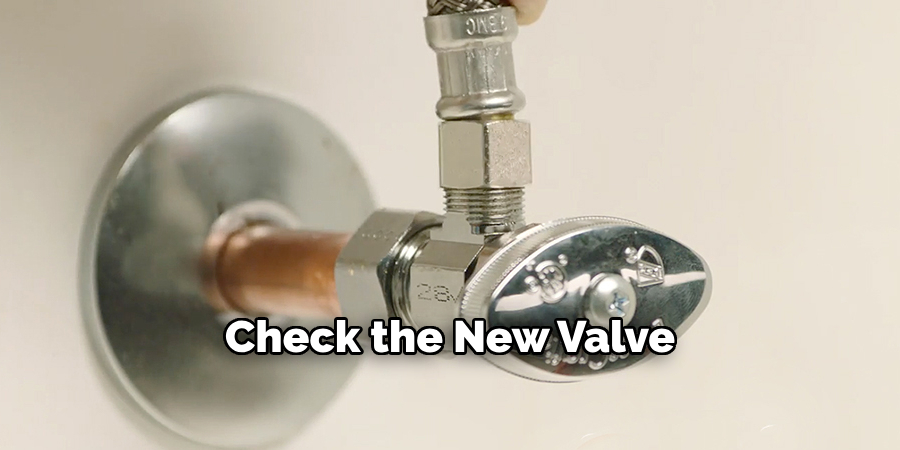
With everything in place, go back to the main water supply and turn it back on slowly to allow the pipes to fill without surging. Then, turn the new shutoff valve open by turning the handle counterclockwise. Watch closely for any leaks at the valve or hose connections. If you notice a small drip, gently tighten the connection just enough to stop the leak. Once confirmed that everything is secure, let the toilet tank fill completely and flush it once or twice to ensure normal function. Testing thoroughly ensures that the job is completed successfully with no hidden surprises.
10. Check for Long-Term Stability and Label the Valve
After confirming the installation is leak-free, it’s a good practice to check the new valve over the next day or two for any delayed drips. If everything remains dry, you can consider the job done. For households with multiple users, it can be helpful to label the valve as “toilet shutoff” in case someone else needs to use it during an emergency. This small extra step improves household safety and ease of access. Replacing a toilet shutoff valve may seem minor, but doing it right prevents future plumbing headaches and adds peace of mind.

Conclusion
In conclusion, tackling small plumbing tasks like replacing a toilet shutoff valve can save both time and money in the long run. With the right tools, a bit of preparation, and attention to detail, this project can be completed safely and efficiently by most homeowners. Taking the initiative to learn these basic home maintenance skills not only improves the functionality of your home but also builds confidence in managing everyday repairs. Thanks for reading our blog post on how to replace a toilet shutoff valve! We hope you found it helpful and informative.

