Are you experiencing a sudden increase in your water bill? Do you hear strange noises coming from your toilet? These are telltale signs of a potential leak.
A toilet leak often goes unnoticed, leading to wasted water and higher utility bills. Detecting a leak early helps conserve water and prevents potential damage to your bathroom. Fortunately, identifying a toilet leak is a straightforward process that requires only a few simple steps and tools. By learning how to check for leaks, you can maintain your plumbing system and avoid costly repairs down the line.
This guide on how to detect a toilet leak will walk you through the most effective methods for detecting a toilet leak in your home. Let’s get started!
What are the Benefits of Detecting Toilet Leaks Early?
Detecting toilet leaks early can save you time, money, and hassle in the long run. Here are some benefits of identifying a toilet leak early on:
- Saves Water: A running or leaking toilet can waste hundreds of gallons of water per day. By detecting and fixing leaks quickly, you can prevent unnecessary water wastage and reduce your utility bills.
- Prevents Damage to Your Bathroom: Constant dripping from a leaky toilet can cause damage to your floors, walls, and fixtures over time. It’s essential to catch these leaks early before they cause significant damage that requires costly repairs.
- Maintains Proper Functioning: A leaky toilet may not flush properly or may constantly run, leading to inconvenience and frustration for you and your family. Regular maintenance can help ensure that your toilet is functioning correctly and efficiently.
- Improves Overall Hygiene: A leaking toilet can also lead to unsanitary conditions in your bathroom. Excess water can create a breeding ground for mold and mildew, which can cause health issues for you and your family. You can maintain a clean and hygienic bathroom environment by fixing leaks promptly.
- Contributes to Eco-Friendly Practices: Conserving water is important to creating a more sustainable future. By fixing leaks in your toilet, you are not only saving money on your utility bills but also doing your part in preserving our planet’s resources. Every drop counts, and by preventing water wastage, you are contributing to a more eco-friendly lifestyle.
What Will You Need?
- Tools: To fix a leaking toilet, you will need basic tools such as an adjustable wrench, a flathead screwdriver, and pliers. These tools are readily available at any hardware store.
- Replacement Parts: Depending on the type of leak, you may need to replace certain parts of your toilet. This could include the flapper valve, fill valve, or flush valve. Having these replacement parts on hand is important before starting the repair process.
8 Easy Steps on How to Detect a Toilet Leak
Step 1. Check for Visible Water Around the Toilet Base:
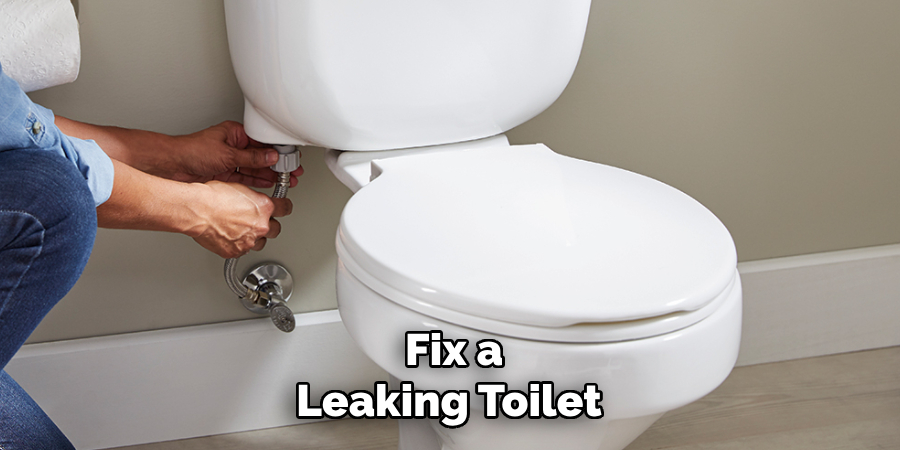
Start by carefully inspecting the area around the toilet base. Look for any water pooling or discoloration on the floor, as this could indicate a leak. Be sure to check the condition of the caulking around the base as well. If the caulking appears cracked or worn, it may allow water to seep out even with minor leaks.
The dampness might not always be apparent, so running a hand along the floor near the toilet base can help detect any moisture. If you notice water, clean up the area and monitor it to confirm whether the leak persists or reappears. Identifying the location and severity of the issue at this step can save you time as you proceed.
Step 2. Listen for Constant Running Water:
If you hear the sound of water running continuously even when the toilet is not in use, this is a strong indicator that there may be a problem with the internal components of the tank. This could be due to issues such as a faulty flapper that isn’t sealing properly, a broken or misaligned fill valve, or an imbalanced float mechanism.
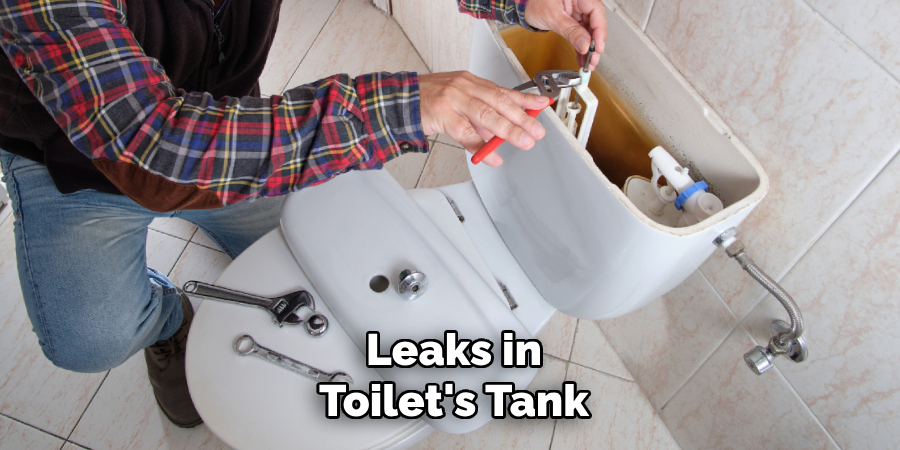
To troubleshoot, remove the lid of the toilet tank and observe its inner workings. Check if the water is overflowing into the overflow tube, which can signal a problem with the float’s adjustment. Alternatively, inspect the flapper to see if it is worn, warped, or failing to sit flush with the valve seat. These seemingly small parts can lead to larger water waste and increase your water bill, so addressing constant running water promptly is essential to prevent unnecessary expense and further inconvenience.
Step 3. Perform a Dye Test:
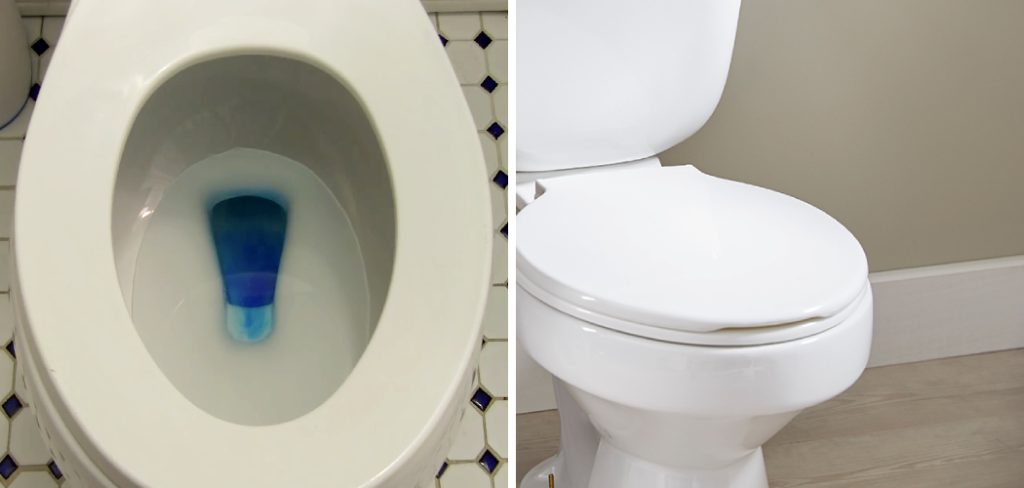
A dye test is a simple and effective way to detect leaks in your toilet’s tank that may be invisible. Begin by carefully removing the tank lid and adding a few drops of food coloring or a dye tablet into the water inside the tank. Allow the colored water to sit without flushing for 10 to 15 minutes. During this time, observe the bowl to see if any colored water enters it.
If the color appears in the toilet bowl, this indicates a leak, typically caused by a faulty flapper or an issue with the flush valve. Identifying and fixing such leaks promptly will help conserve water and reduce unnecessary utility costs.
Step 4. Inspect the Toilet Tank for Cracks:
Carefully inspect the inside and outside of the toilet tank for any visible cracks or signs of damage. Use a flashlight to thoroughly examine hard-to-see areas, especially around the edges and seams where cracks might be hidden. Pay attention to any moisture or small leaks around the tank, as these could indicate minor cracks that may worsen over time. Discovering a crack inside the tank could lead to continuous water leakage, resulting in wasted water and higher utility bills.
For external cracks, you might notice water pooling around the toilet’s base. Depending on the severity of the crack, consider applying a waterproof sealant as a temporary solution or replacing the tank to ensure long-term functionality and prevent further water damage. Regular inspections can help spot issues early and save you from costly repairs.
Step 5. Examine the Water Supply Line:
The water supply line connects your toilet to the central water system, providing the essential flow needed for your toilet to function correctly. Over time, this line can develop issues such as corrosion, loose connections, or cracks, leading to potential leaks.
When examining the water supply line, start by checking the connections at both ends, where it meets the toilet and attaches to the water source. Ensure these connections are secure and free of any visible water drips or dampness. If you notice any corrosion, it may be time to replace the line with a new one, preferably made of durable materials like braided stainless steel.
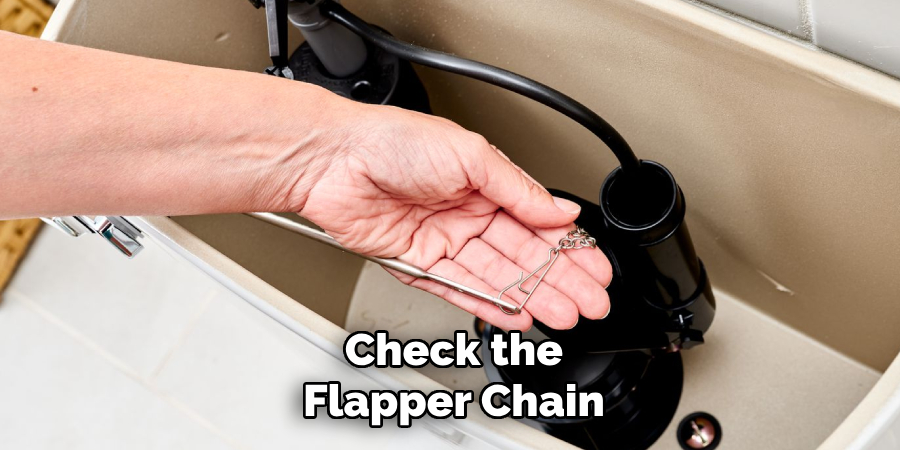
Step 6. Check the Flapper Chain:
The flapper chain is a small but crucial component of the toilet tank that helps control water flow when flushing. If this chain is too long or too short, it can cause issues with your toilet’s flushing mechanism and potentially waste water.
To check the flapper chain, first, remove the toilet tank lid and locate the chain attached to the flush handle. Make sure there is enough slack in the chain so that it can easily move up and down without getting caught on anything. If it is too long, simply adjust it by using pliers to remove excess links. If it is too short, replace it with a new one.
Step 7. Observe the Fill Valve:
The fill valve is a critical component of your toilet’s flushing system, as it controls water flow into the tank after each flush. Start by paying close attention to how the fill valve operates. After flushing, observe how quickly the tank refills and whether the water stops at the correct level. If the water level rises too high and overflows into the overflow tube, it could indicate that the fill valve needs adjustment. Similarly, if the tank doesn’t fill up correctly, the valve may malfunction or become obstructed.
Step 8. Test the Wax Ring Seal:
To test the wax ring seal, ensure the toilet is securely mounted to the floor. Any wobbling or movement could suggest a compromised seal. Once the stability of the toilet has been checked, flush the toilet multiple times while observing the base for any signs of water leakage. If water seeps out, this indicates that the wax ring seal may be faulty and require replacement.
Additionally, pay attention to any unpleasant odors around the base of the toilet, as these could also point to a broken or ineffective seal allowing sewer gases to escape. A properly functioning wax ring creates a watertight and airtight barrier between the toilet and the drain, making this step critical in ensuring the long-term integrity of your toilet installation.
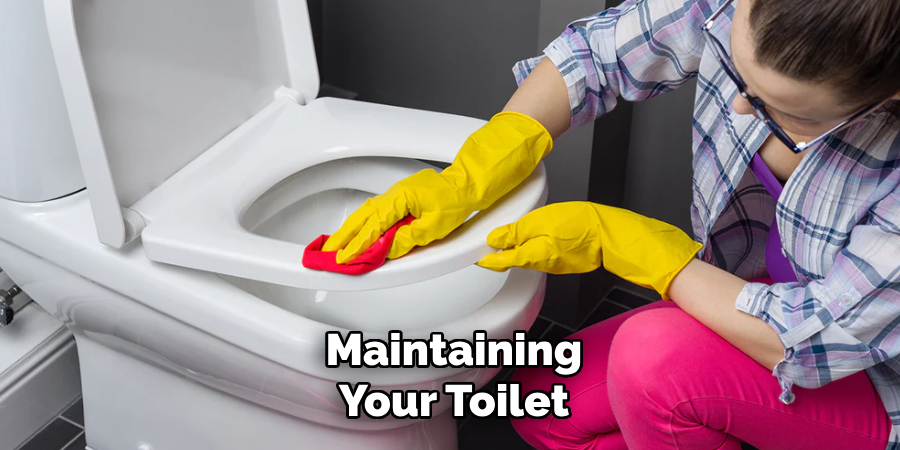
By following these steps and regularly maintaining your toilet, you can avoid major plumbing issues and prolong its lifespan.
Conclusion
How to detect a toilet leak requires a keen eye and attention to detail.
Start by observing any unusual sounds, such as continuous running water, or noticing unexplained increases in your water bill. Perform simple tests like adding food coloring to the tank to check if the color seeps into the bowl without flushing. Inspecting the toilet base for water pooling or foul smells can also help you identify a faulty seal or other potential issues.
Addressing these signs promptly can prevent expensive repairs, conserve water, and ensure your toilet operates efficiently.
You Can Check It Out To Fix Air Lock in Toilet

