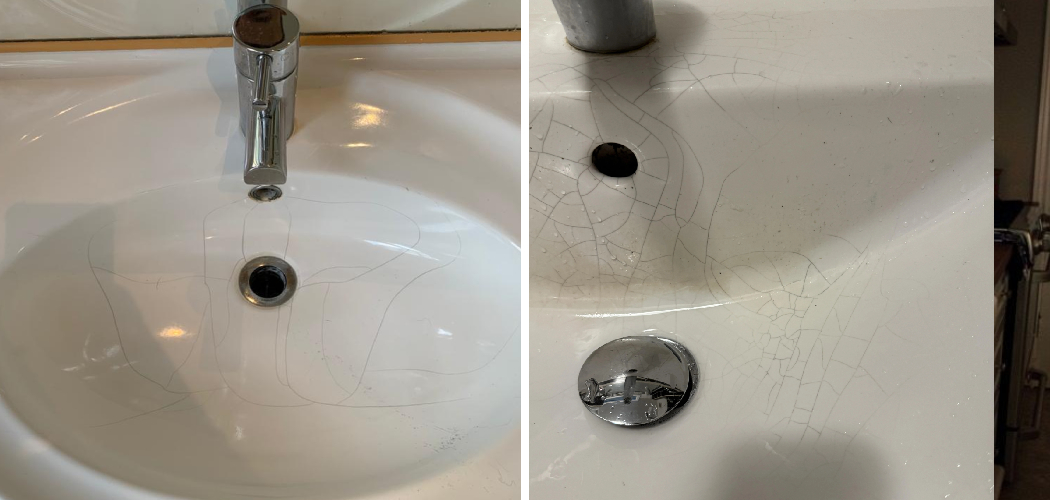
Ceramic sinks are a popular choice for kitchens and bathrooms due to their sleek, glossy finish and long-lasting durability. Their timeless appeal and ability to withstand heavy use make them a staple in many households. However, like any fixture, ceramic sinks are not immune to wear and tear. Over time, they may develop common types of damage such as chips, cracks, and surface scratches. These imperfections can detract from their aesthetic appearance and, in some cases, impact functionality.
The purpose of this article is to provide a practical, step-by-step guide on how to repair ceramic sink damage at home. Whether you’re dealing with minor blemishes or more extensive issues, the methods outlined here will help you restore your ceramic sink with ease. With the right tools, repair kits, and a little patience, you can restore your sink to its original condition without needing professional help.
Assessing the Damage
Types of Damage
Before beginning any repairs, it’s essential to assess the type and extent of the damage to your ceramic sink. Here are the most common types of damage:
- Surface Scratches: These are minor cosmetic blemishes resulting from regular wear and tear. While they don’t impact functionality, they may detract from the sink’s appearance.
- Chips: These are small areas where pieces of the ceramic have broken away, often occurring along the edges or basin of the sink.
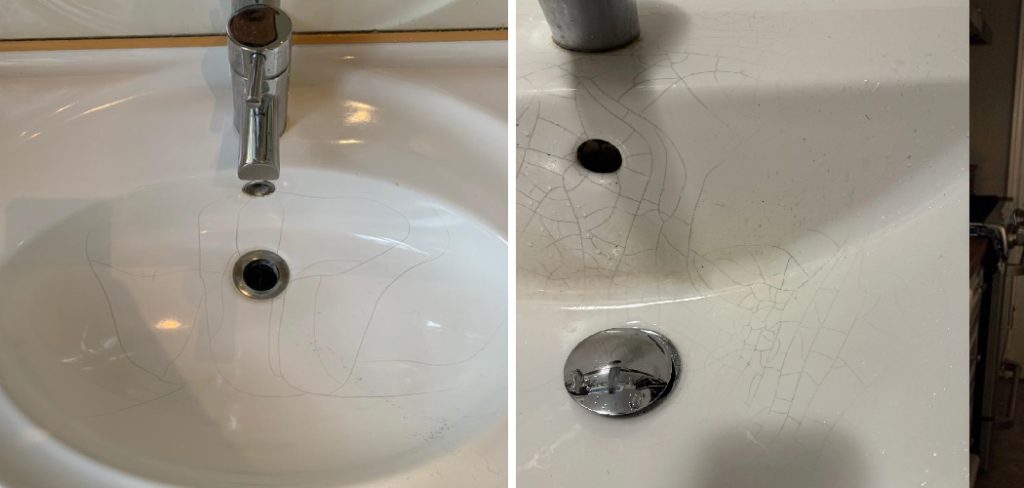
- Cracks: Cracks can range from superficial hairline fractures to deeper fissures that may indicate structural issues caused by heavy impact or pressure.
Determining Repairability
Not all types of damage are created equal, and understanding what can be repaired at home is critical.
- Hairline Cracks and Small Chips: These are usually straightforward to repair with store-bought ceramic repair kits and some effort.
- Deep Cracks or Structural Damage: If the damage compromises the sink’s integrity, such as large or penetrating cracks, a professional evaluation or replacement may be necessary.
Safety First
Before beginning the repair process, prioritize safety:
- Turn Off the Water Supply: If repairs involve areas close to faucets or plumbing, switch off the water supply to avoid accidents.
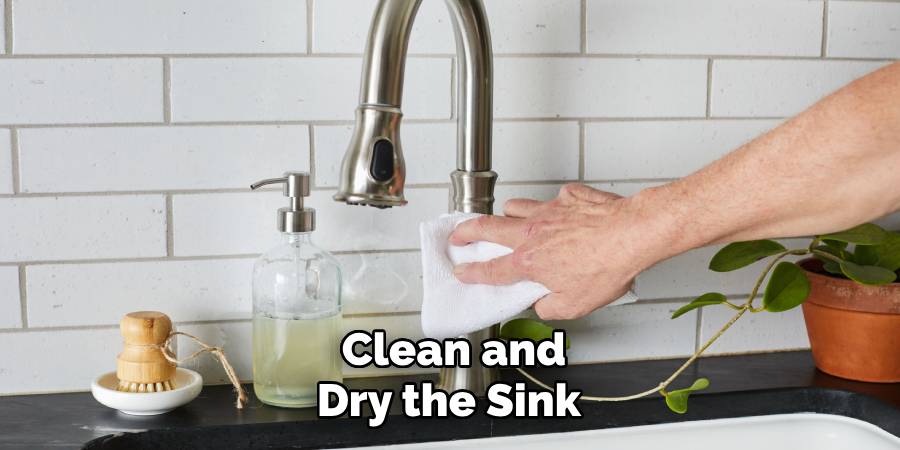
- Clean and Dry the Sink: Ensure the damaged area is clean and fully dry to allow repair materials to adhere properly. This step is crucial for achieving a durable and seamless result.
By carefully assessing these factors, you’ll be better prepared to restore your ceramic sink effectively and safely.
Tools and Materials Needed
To repair a ceramic sink efficiently, gather the following tools and materials:
- Ceramic or Porcelain Repair Kit: Use a repair kit that includes color-matched epoxy or touch-up glaze to seamlessly blend with your sink’s surface.
- Fine-Grit Sandpaper (400–600 Grit): Essential for smoothing the damaged area and ensuring a clean repair surface.
- Rubbing Alcohol or Acetone: These are useful for cleaning the surface and removing residues that may interfere with adhesion.
- Putty Knife or Applicator Stick: Helps in applying epoxy or glaze evenly and precisely over the damaged area.
- Microfiber Cloths or Paper Towels: Necessary for cleaning, drying, and wiping excess materials during the repair process.
- Optional Touch-Up Paint or Topcoat: Provides additional durability and enhances the repaired surface’s appearance.
- Gloves and Mask: Ensure your safety by protecting your hands from chemicals and avoiding inhalation of dust or fumes.
Having these tools and materials ready will streamline the repair process, making it efficient while ensuring the final result is durable and visually appealing. Always follow the safety guidance included with any repair products used.
How to Repair Ceramic Sink: Repair Chips in a Ceramic Sink
Repairing chips in a ceramic sink can restore its appearance and prevent further damage. Follow these steps for a professional-looking result:
Step 1: Clean the Area
Start by thoroughly cleaning the chipped area. Use rubbing alcohol or acetone to remove debris, oils, and soap scum. Ensure the surface is completely dry before proceeding to the next step.
Step 2: Prepare the Repair Compound
Mix the epoxy or filler according to the instructions provided with the repair kit. Choose a filler that matches the color of your sink for seamless results. Take your time to achieve the correct consistency.
Step 3: Apply the Filler
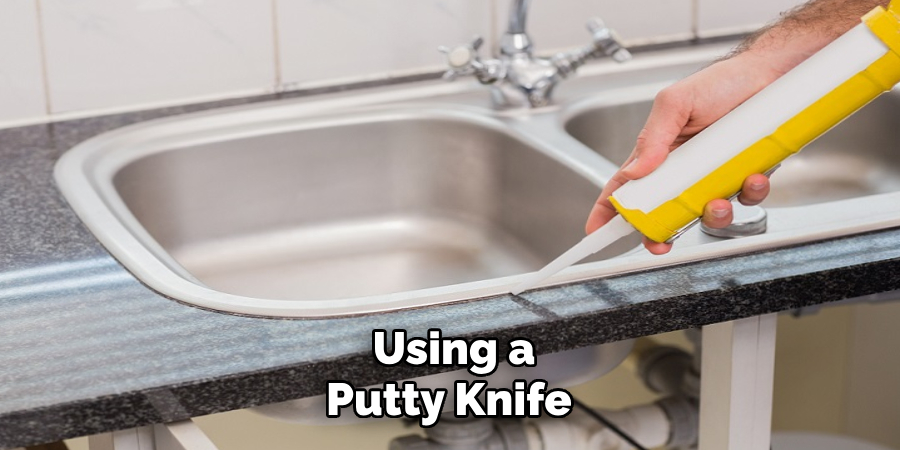
Using a putty knife, carefully press the repair compound into the chipped area. Smooth the filler so that it is level with the surrounding surface. Wipe away any excess material to avoid a messy finish.
Step 4: Let It Cure
Allow the repair compound to cure for the time specified in the product instructions, typically around 24 hours. Avoid using the sink during this period to ensure the filler sets properly.
Step 5: Sand and Finish
Once the compound has fully dried, lightly sand the area to achieve a smooth surface. Clean away any dust, and if desired, apply a glaze or topcoat to give the repair a glossy finish, blending it with the rest of the sink.
Following these steps will ensure your ceramic sink looks as good as new while maintaining its durability!
How to Repair Ceramic Sink: Fix Cracks in a Ceramic Sink
Step 1: Clean and Inspect the Crack
Begin by cleaning the sink thoroughly to ensure no dust, grease, or debris interferes with the repair process. Use rubbing alcohol to sanitize the area and remove any residue from the crack. To accurately assess the full extent of the damage, use a magnifying glass, if necessary, and trace the crack’s entire length. This ensures a comprehensive repair.
Step 2: Apply Crack Filler
Choose a high-quality epoxy resin or a specialized ceramic crack sealant for the repair. These materials are designed to bond well with ceramics and withstand daily use. Using a small brush or syringe, carefully apply a thin layer of the filler directly into the crack. Ensure the entire length of the crack is covered, and avoid overfilling to minimize extra sanding later.
Step 3: Allow Curing Time
Refer to the product instructions for the recommended curing time, as it may vary depending on the formula. Some fillers may require additional activation, such as exposure to UV light or heat, to fully cure. Patience is key during this stage, as the filler needs to dry completely and form a durable bond.
Step 4: Sand and Touch Up
Once the filler is fully cured, use fine-grit sandpaper to gently sand the repaired area until it’s smooth and level with the rest of the sink. Wipe away any sanding dust before completing the repair with touch-up paint that matches your sink’s finish.
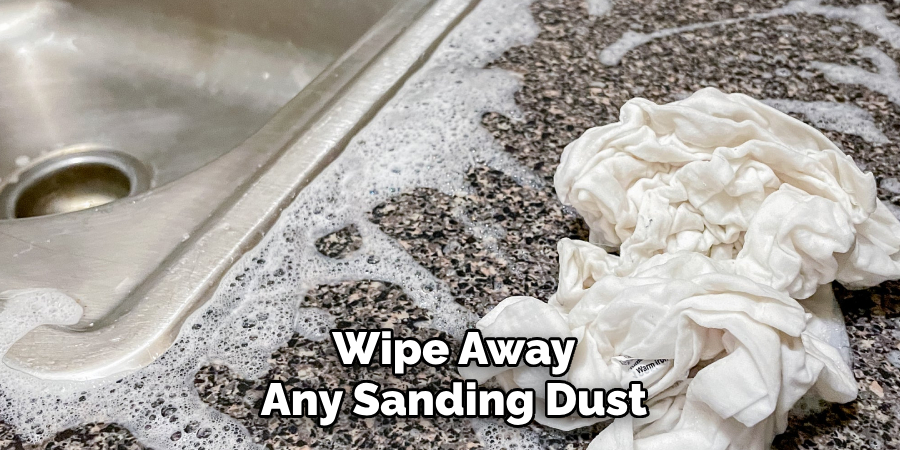
This final step helps blend the repair seamlessly, leaving your ceramic sink looking flawless.
Dealing with Surface Scratches
Cleaning and Polishing
Often, light scratches on ceramic sinks can be effectively removed by using a ceramic polish or compound. To do this, apply the polish with a soft cloth and gently buff the scratched area using circular motions. This process helps restore the sink’s smooth surface and shine, leaving it looking rejuvenated. For better results, follow the product’s instructions and ensure the area is clean before application.
Using Baking Soda Paste (DIY Option)
If you prefer a DIY approach, a simple baking soda paste can work wonders for minor scratches. Create the paste by mixing baking soda with a small amount of water until it reaches a creamy consistency. Apply the paste to the scratched area and gently rub it with a soft cloth or sponge. Rinse the area thoroughly with water and repeat as necessary until the scratch becomes less noticeable or disappears entirely.
Preventing Further Damage
Proper care can help protect your ceramic sink from future scratches. Avoid using abrasive cleaners, scouring powders, or metal scrub pads, as they can worsen scratches or create new ones. Instead, opt for non-abrasive cleaning products and tools. Additionally, placing sink mats at the bottom of the basin can prevent utensils and cookware from scratching the surface, which helps prolong your sink’s pristine appearance.
Preventive Maintenance Tips
Taking proactive steps can help maintain the beauty and functionality of your ceramic sink for years to come. Here are some key tips for preventive maintenance:
Avoid Harsh Cleaners
Always use non-abrasive, pH-neutral cleaners when washing your ceramic sink. Harsh chemicals and abrasive materials can weaken the surface, leading to unnecessary damage over time.
Address Damage Early
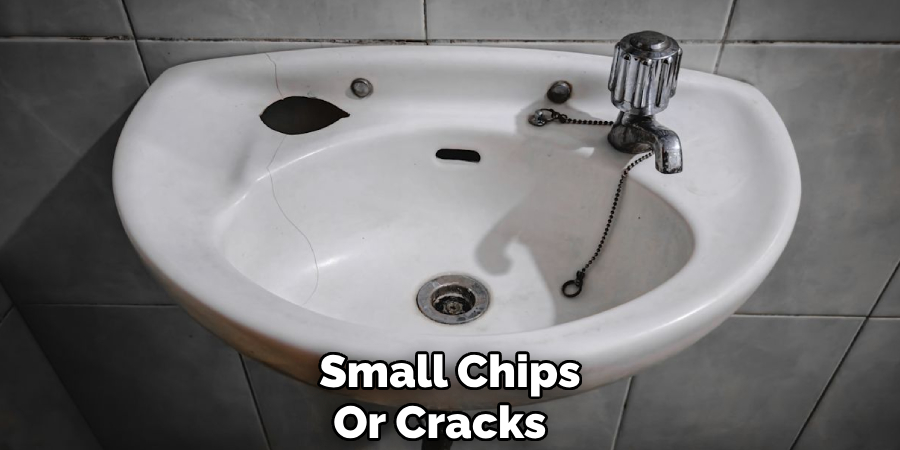
Small chips or cracks can quickly worsen if left untreated. Repair minor damage promptly using appropriate filler materials or by seeking professional assistance to prevent further deterioration.
Use Sink Mats or Grids
Placing sink mats or protective grids at the bottom of the basin can shield the surface from heavy pots, pans, and sharp utensils. These tools act as a protective barrier, minimizing the risk of scratches or impact damage.
Regular Inspection
Inspect your sink monthly to check for signs of wear and tear, especially around critical areas like the drain and edges. Early detection of minor issues makes it easier to address them before they escalate.
By following these simple guidelines, you can preserve your ceramic sink’s smooth surface and elegant appearance, ensuring it remains a centerpiece in your kitchen or bathroom.
Conclusion
With the right tools and a bit of time, you can learn how to repair ceramic sink damage effectively, restoring its smooth surface and elegant look. Proper cleaning and preparation are essential steps, as they ensure that the repair material adheres correctly. Equally important are curing times, which must be respected for a durable and long-lasting fix. For the best results, opt for color-matched repair kits to achieve an invisible finish that blends in seamlessly. Always follow the manufacturer’s instructions closely, as this ensures optimal performance and prevents future damage. A little care goes a long way!

