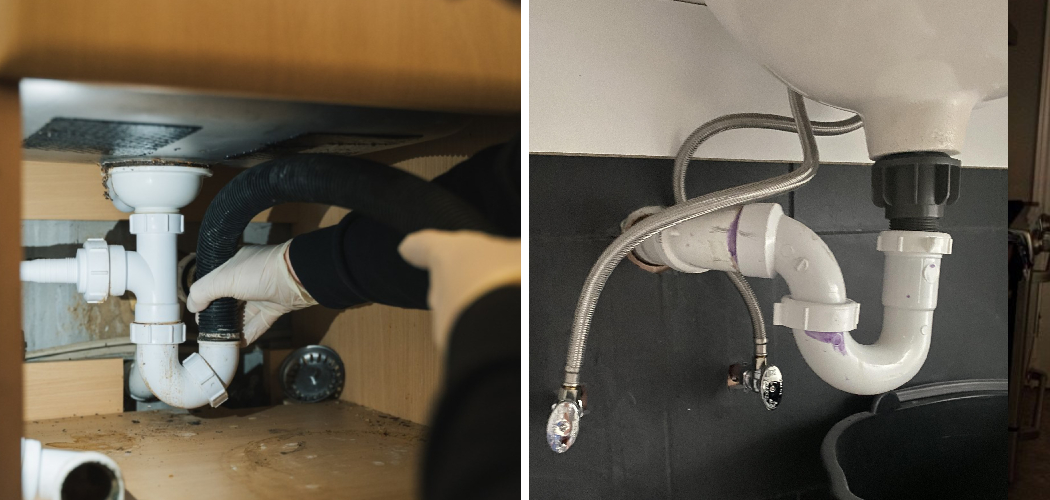
A slow-draining sink is one of the most common plumbing issues homeowners face. It often starts as a minor inconvenience but can develop into a bigger problem if not addressed promptly. Standing water, unpleasant odors, and even potential damage to your pipes are just some of the issues a slow drain can cause over time. Understanding how to fix a slow draining sink is critical to maintaining a clean and efficient household plumbing system.
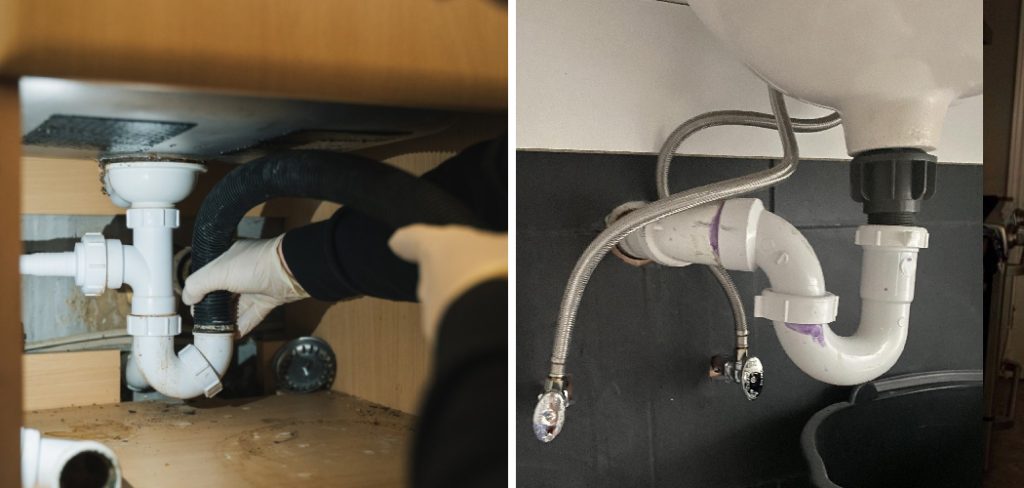
This article aims to provide a clear and practical guide to diagnosing and fixing this problem, offering step-by-step instructions for DIY solutions, as well as advice on when it’s necessary to seek professional help. Whether caused by simple clogs, buildup in the P-trap, or more complex blockages, this guide will equip you to handle the issue effectively and restore your sink to proper working condition.
Understanding the Causes of a Slow Drain
A slow-draining sink can be a frustrating issue, but understanding the root causes can help you address the problem effectively. One of the most common reasons for a slow drain is the buildup of materials such as hair, soap scum, grease, or food particles within the pipes. Over time, these substances can accumulate and partially block the water flow, particularly in bathroom or kitchen sinks. Additionally, the P-trap—a curved section of pipe beneath the sink—can often become clogged or partially obstructed by debris, further slowing drainage.
Another potential cause is venting issues. Plumbing systems rely on proper airflow through vent pipes to maintain pressure balance and facilitate smooth drainage. Blockages in these vent pipes or problems with the main drain line can lead to slow or inefficient water flow.
Signs of a clogged drain are usually easy to notice. Water pooling in the sink or draining slower than usual is a clear indicator. Gurgling sounds coming from the drain can also signal trapped air caused by a blockage.
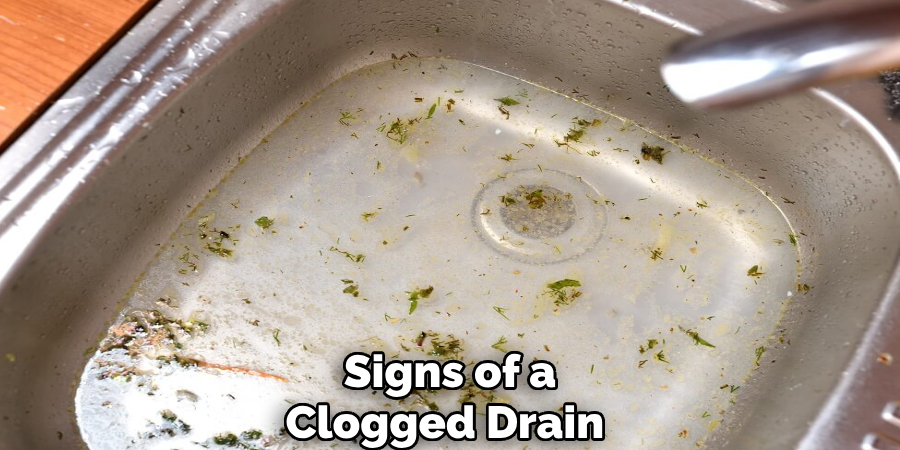
Lastly, foul odors emanating from the sink often point to a buildup of organic material in the drain, which may require immediate attention to prevent further complications.
Initial Steps: Visual Inspection and Basic Cleaning
Step 1: Clear the Sink and Remove Debris
The first step in addressing a clogged drain is to clear the sink of any standing water. Use a container or mug to scoop out the water and dispose of it appropriately. Once the sink is clear, check for any visible debris or obstructions around the drain opening. Items such as food particles, hair, or soap residue may be easy to remove by hand or with a pair of gloves, which could immediately improve water flow.
Step 2: Remove and Clean the Stopper
Next, focus on the sink stopper, which often traps hair, grime, and other materials over time. Carefully pull out the stopper, or unscrew it if necessary, depending on the design of your sink. Inspect the stopper for buildup and wipe it clean using a cloth or sponge. If there is significant dirt or residue, a mild detergent may help dissolve stubborn grime. Replace the cleaned stopper back into the drain securely.
Step 3: Boiling Water Flush
To tackle soap and grease buildup, a boiling water flush can be highly effective. Heat a pot of water until boiling and carefully pour it down the drain in slow increments.
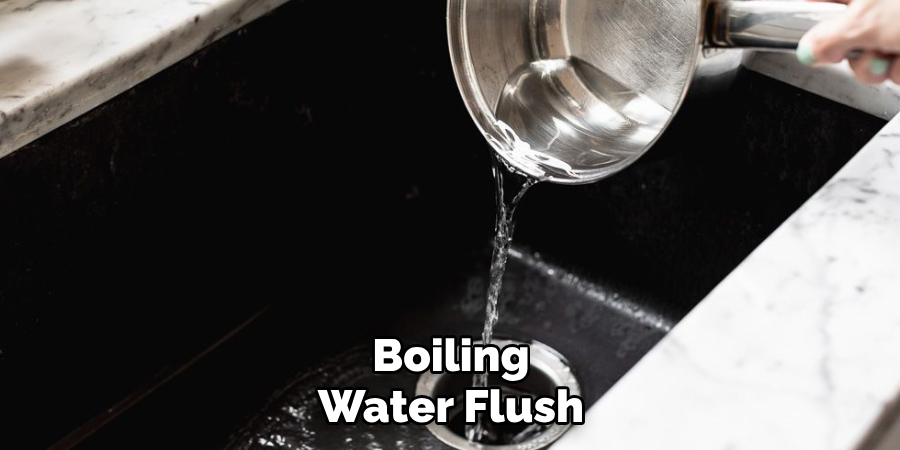
The hot water helps dissolve and loosen residues clinging to the interior of the pipes, potentially restoring smoother water flow. Repeat this process as needed to achieve optimal results.
How to Fix a Slow Draining Sink: Using a Plunger Effectively
Step 1: Choose the Right Plunger
When tackling a clogged sink, it’s crucial to select the correct type of plunger for the job. A sink plunger, which features a flat bottom, is designed explicitly for this purpose. Avoid using a toilet plunger, as its flange design is meant for toilets and may not create an effective seal on a flat sink surface.
Step 2: Create a Good Seal
For successful plunging, ensure the plunger can create a tight seal over the sink drain. Start by blocking the overflow hole with a wet rag to prevent air from escaping during the plunging process. Additionally, if the sink is empty, add enough water to submerge the plunger’s rubber cup. This added water helps increase the force applied when plunging.
Step 3: Plunge the Drain
Position the plunger firmly over the drain and use strong, consistent plunging motions for 20–30 seconds. The up-and-down movement generates pressure that can dislodge stubborn clogs. Afterward, remove the plunger and test the drainage by running water. If the blockage persists, repeat the process as needed until the water flows freely. Patience and persistence are key to clearing the drain successfully.
Using Baking Soda and Vinegar
Step-by-Step Process
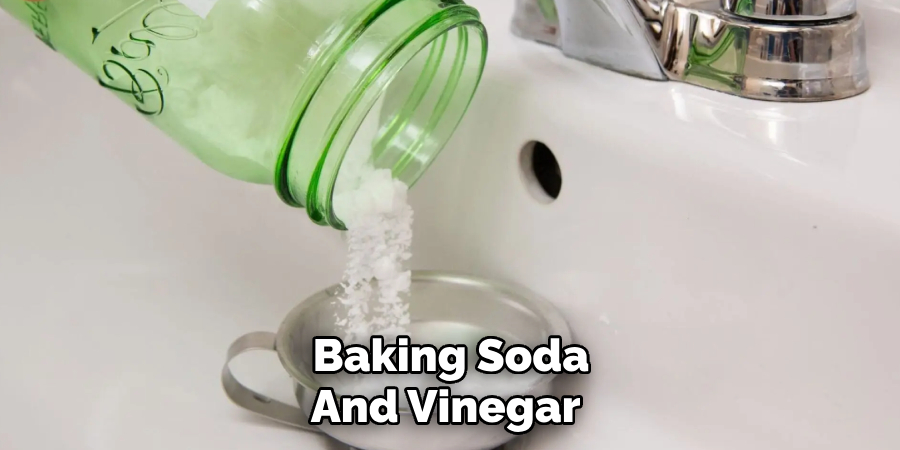
Start by pouring ½ cup of baking soda directly down the clogged drain. Ensure the powder reaches as far into the pipe as possible. Next, follow up with 1 cup of vinegar, which will react with the baking soda to create a fizzy effervescence. Quickly cover the drain with a stopper or a damp cloth to prevent the reaction from escaping upward, allowing it to remain concentrated in the pipe. Leave the mixture to fizz and work for about 15 minutes. During this time, the reaction will loosen mild clogs and break down organic material. Finally, flush the drain thoroughly with a kettle of boiling water to wash away the remnants of the blockage and clean the pipe.
Why It Works
The combination of baking soda and vinegar is a natural cleaning powerhouse. Baking soda is a mild alkali, while vinegar is an acid. When the two mix, they produce carbon dioxide and water, creating bubbles that expand and dislodge buildup. This reaction targets grease, soap scum, and other organic debris effectively.
Additionally, this method is eco-friendly, safe, and inexpensive, making it an excellent alternative to harsh chemical drain cleaners. For best results, this process can be repeated or used as a regular maintenance solution for your drains.
Cleaning the P-Trap
Clogged drains can often be resolved by cleaning the P-trap, the curved section of pipe beneath the sink. This method ensures that stubborn blockages like food particles or debris are removed effectively. Follow these steps to clean the P-trap easily:
Step 1: Prepare the Area
Begin by placing a bucket directly under the sink to catch any water or debris that may spill out when you remove the P-trap. Ensure you wear gloves to protect your hands from dirt and debris, and keep a towel nearby to clean up any mess quickly.
Step 2: Unscrew and Remove the P-Trap
Locate the slip nuts on either side of the curved section of the pipe. Carefully twist these nuts counterclockwise to loosen them. Once loosened, gently remove the P-trap and empty its contents into the bucket. Inspect the trap for blockages or build-ups, which are often the cause of slow or clogged drains.
Step 3: Clean and Reinstall
Using a bottle brush or sponge, scrub the inside of the P-trap thoroughly to remove any accumulated grime. Rinse it with water to ensure it is spotless. Once cleaned, reassemble the P-trap by reconnecting it to the sink and tightening the slip nuts securely. Run water through the drain to test if it is functioning correctly and free of blockages.
By routinely cleaning the P-trap, you can maintain a properly working drain system and prevent future clogs effectively.
When to Use a Drain Snake or Auger
Drain snakes and augers are essential tools for tackling clogs that cannot be resolved by simply cleaning the P-trap. These tools are handy for clogs located deeper in the drainpipes or when traditional methods, like plunging, fail to restore proper drainage.
Using a Manual Drain Snake
To use a manual drain snake, insert the coiled, flexible cable into the drain opening. Slowly rotate the handle to maneuver the snake through the pipe, allowing it to either break apart the clog or hook onto it. Afterward, carefully pull the snake out, removing any debris that has been caught. If necessary, repeat the process to ensure the drain is fully cleared. Always clean the snake after use to keep it effective.
Power Augers (Optional for Deeper Clogs)
For blockages located beyond the reach of a manual snake or deep within the plumbing system, a powered auger may be required. These tools can often be rented from hardware stores and are designed to tackle more stubborn clogs effectively.
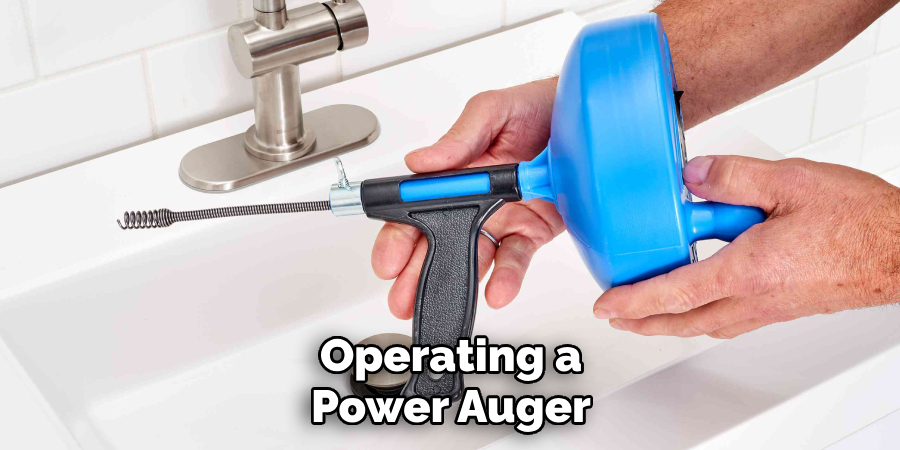
However, use caution when operating a power auger, and avoid applying excessive force to prevent potential damage to the pipes.
By using the appropriate tool for the severity of the clog, you can ensure a safe and effective solution to your drainage issues.
Conclusion
When dealing with plumbing issues, understanding how to fix a slow draining sink can save you time and money. Identifying the root cause of the blockage and selecting the proper tool, from a simple plunger to a powered auger, ensures an effective solution without damaging your pipes. Regular maintenance, such as cleaning the drain and avoiding debris buildup, can prevent future problems. By taking a methodical and careful approach, you can address drainage issues confidently and keep your sink functioning smoothly, emphasizing the importance of proactive care for your home’s plumbing system.

