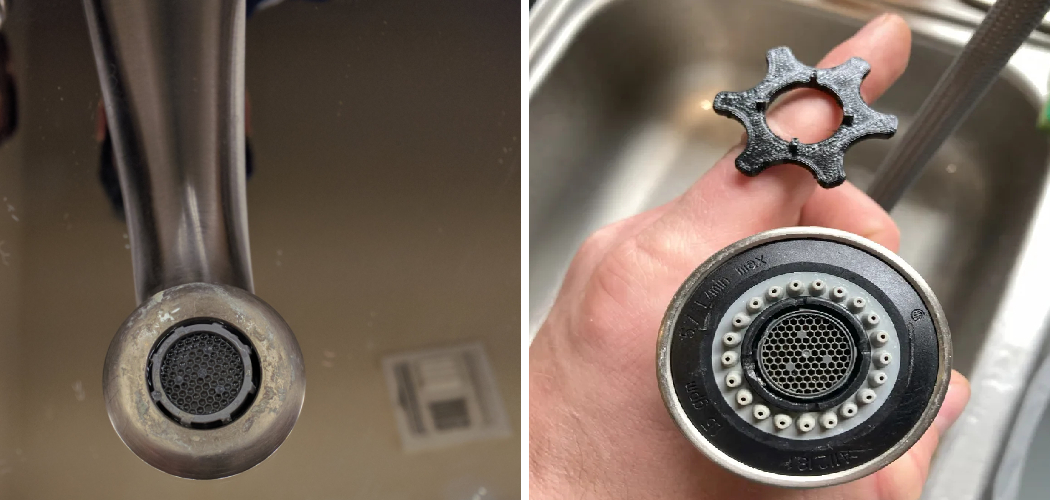
Faucet screens, also known as aerators, are minor yet essential components located at the end of a faucet. These mesh screens are designed to filter out debris, prevent mineral buildup, and regulate water flow, ensuring both efficiency and cleanliness.
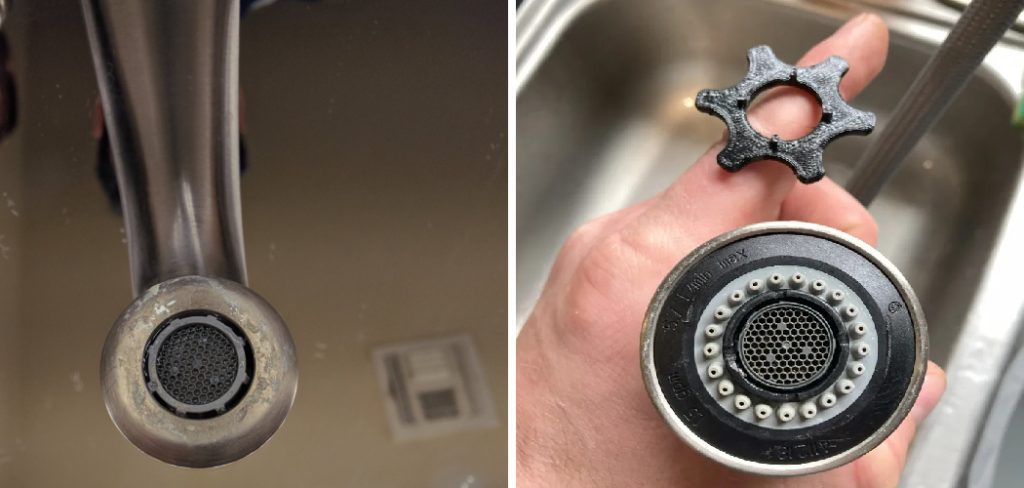
Over time, sediment and mineral deposits can accumulate on the aerator, which can lead to reduced water pressure or even clogging. Removing a faucet screen becomes necessary to clean out these blockages, restore optimal water flow, or replace a damaged aerator.
This guide provides detailed step-by-step instructions on how to remove faucet screen components easily using everyday tools. From identifying the type of faucet screen to cleaning or replacing it and reinstalling it securely, you’ll gain all the knowledge needed to maintain your faucet effectively. Regular maintenance of your faucet screen can extend its lifespan, ensuring the consistent performance of your household faucets.
Understanding What a Faucet Screen Is
A faucet screen, also known as an aerator, is a small yet essential component of a faucet designed to improve water quality and efficiency. It is a mesh-like device that plays a crucial role in the overall functioning of your faucet, filtering impurities and regulating water flow.
Function of a Faucet Screen
The primary purpose of a faucet screen is to filter out particles, such as sand, debris, or mineral deposits, from the water that flows through your faucet. This not only helps improve water quality but also prevents potential damage to the faucet and other plumbing fixtures.
Additionally, faucet screens are designed to aerate the water, breaking it into smaller droplets to reduce splashing and create a steady, smooth stream. Another important function is water conservation, as the screen helps regulate the flow, ensuring minimal wastage.
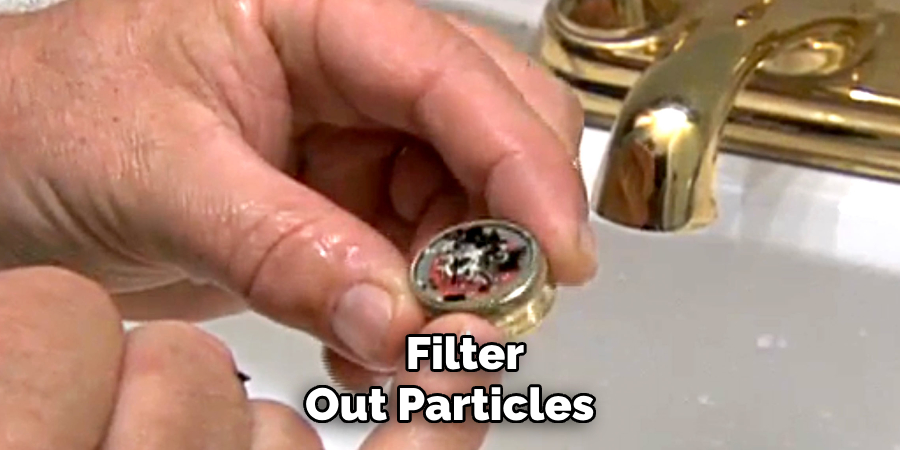
Where It’s Located
Faucet screens are typically located at the end of the faucet spout. Depending on the design of the faucet, they may be externally threaded and easy to unscrew or recessed inside the spout, requiring specialized tools for removal.
Types of Faucet Screens
- External Threaded Screens
These are the most common type and can be easily unscrewed using your hands or a basic wrench.
- Recessed Aerators
These are located deeper inside the faucet spout and usually require special tools, such as an aerator key, for proper removal.
Understanding the type and function of your faucet screen is key to successfully maintaining it and ensuring the longevity of your faucet.
Tools and Materials You’ll Need
Basic Tools
- Adjustable wrench or pliers – Use these with a cloth to protect the finish of your faucet while unscrewing the screen.
- Rubber jar opener or rubber band – Provides extra grip to loosen stubborn external screens.
- Aerator key or removal tool – Essential for removing recessed screens embedded within the faucet spout.
- Old toothbrush or soft brush – Ideal for cleaning debris and buildup off the screen or aerator.
Optional Supplies
- White vinegar – Useful for soaking and dissolving mineral deposits or stubborn grime that has accumulated on the screen.
- Replacement aerator – Keep one on hand in case the existing aerator is damaged or corroded beyond repair.
- Flashlight – Helps locate recessed screens, especially for deep or poorly lit faucet spouts.
By gathering these tools and materials in advance, you can ensure a smooth and efficient process when maintaining or repairing your faucet screens. Proper preparation will not only save time but also help prevent potential damage to your faucet components.
How to Remove Faucet Screen: Remove an External Faucet Screen
Maintaining your faucet screen is essential for ensuring proper water flow and reducing buildup over time. Follow these steps to safely remove, clean, or replace an external faucet screen.
Step 1: Wrap the Faucet Tip
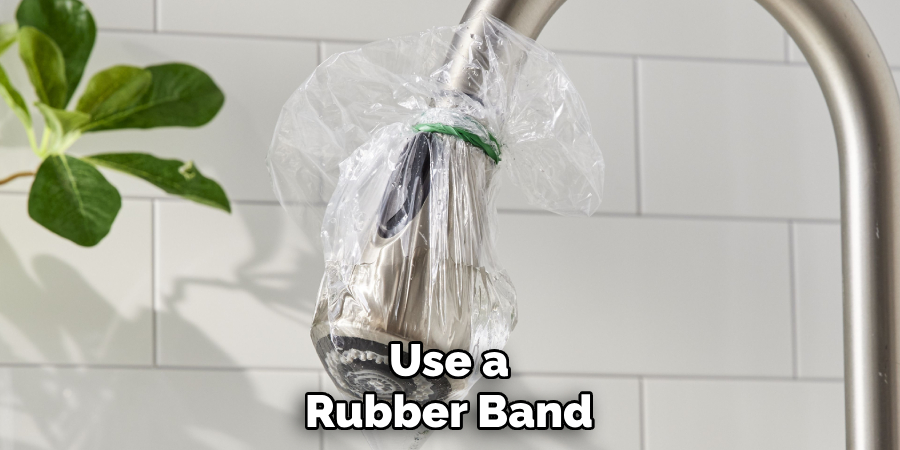
Before you start, use a rubber band or a cloth to wrap around the faucet tip. This precaution protects the metal surface from potential scratches or damage during removal.
Step 2: Loosen the Aerator
Grip the aerator firmly with your hand and twist it counterclockwise to remove it. If it’s stuck due to buildup or corrosion, carefully use pliers or a wrench to loosen it. Be gentle to avoid damaging the aerator or faucet.
Step 3: Inspect and Clean
Once the aerator is removed, inspect the screen inside. Look for debris, mineral deposits, or rust. To clean the screen, soak it in white vinegar for several minutes to dissolve any buildup. Use a soft brush or an old toothbrush to scrub away remaining particles. Rinse thoroughly with water once cleaned.
Step 4: Reinstall or Replace
After cleaning, screw the aerator back onto the faucet tip by hand, turning it clockwise. Ensure it’s tightened securely, but avoid overtightening. If the aerator or screen is damaged beyond repair, replace it with a new one for optimal performance.
By following these steps, you can easily maintain your faucet, ensuring a smooth water flow and extending the life of its components.
How to Remove Faucet Screen: Remove a Recessed Faucet Screen
Step 1: Identify a Recessed Aerator
Begin by identifying a recessed aerator on your faucet. Unlike a standard aerator, a recessed aerator is set deeper inside the spout and may not be immediately visible. Look for a small inner ring within the spout, which is often hexagonal or notched to accommodate a removal tool.
Step 2: Use an Aerator Key
To remove the recessed aerator, you’ll need an aerator key explicitly designed for this purpose. Insert the aerator key into the notched or hexagonal ring and turn it counterclockwise to loosen and remove the aerator.
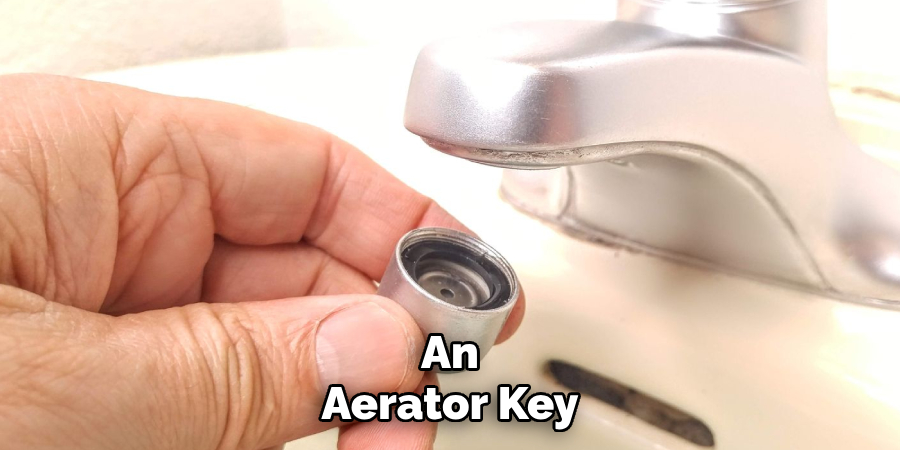
If an aerator key is not available, you can use needle-nose pliers or a similar tool, but work gently to avoid damaging the aerator or faucet.
Step 3: Remove and Clean
Once removed, soak the aerator and its components in a solution of equal parts vinegar and water. This helps dissolve mineral buildup and other debris effectively. Use a soft toothbrush to scrub away remaining residues from the aerator and the screen. Rinse all components thoroughly with water to ensure no particles remain.
Step 4: Replace and Reinstall
After cleaning or replacing damaged parts, screw the aerator back into the faucet tip. Turn it clockwise, ensuring it fits snugly and is flush with the faucet spout. Avoid overtightening, as this can damage the aerator or threads. Following these steps will help maintain optimal water flow and prolong the life of your faucet.
Troubleshooting Stuck or Damaged Screens
If you encounter issues with stuck or damaged screens during maintenance, here are some practical solutions:
Stuck Screens
A common challenge is dealing with stubborn aerators that refuse to budge due to mineral deposits or corrosion. To resolve this, soak the faucet tip in vinegar using a plastic bag secured with a rubber band.
Leave it overnight to loosen the buildup. Once softened, use a rubber jar opener or a similar tool to provide extra grip while twisting the aerator off. Be patient and apply steady pressure to avoid damaging the faucet.
Corroded or Damaged Aerators
If the aerator or its components are too corroded or damaged to clean or reuse, replacing it is the best option. Measure the aerator’s size or bring the old one with you to the hardware store to ensure you purchase the correct replacement. Many stores also offer universal designs that accommodate various sizes.
Leaking After Reinstallation
If the faucet leaks after reinstallation, inspect the washer or gasket for wear or improper positioning. Replace the washer if it’s deteriorated.
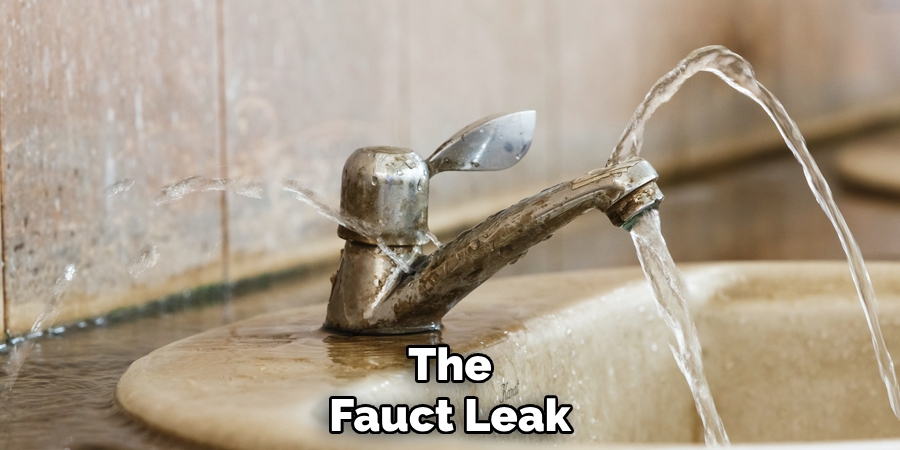
Additionally, ensure the aerator is tightly secured to the faucet tip but not overtightened, as this can lead to unnecessary damage or misalignment.
Cleaning and Maintenance Tips
Routine Cleaning
Clean faucet screens every few months, especially if you notice reduced water pressure. Removing and rinsing the aerator can help eliminate trapped debris and ensure smooth water flow. It’s a simple task that can prevent more significant issues down the line.
Preventing Build-up
To reduce sediment and mineral buildup, consider installing a whole-house or sink-specific water filter. These filters help trap particles before they reach your faucet, extending the life of its components and improving water quality.
Safe Cleaning Methods
For tackling mineral deposits, use a combination of vinegar and baking soda. First, soak a cloth in vinegar and wrap it around the affected area, letting it sit for 30 minutes before wiping. For tougher stains, baking soda can be applied as a gentle scrub. Avoid harsh chemical cleaners, as they can damage the metal or plastic components of your faucet.
Conclusion
Regular maintenance of your faucet is essential for preserving water flow and ensuring hygiene. Learning how to remove faucet screen is a straightforward but vital skill that helps prevent clogs and improves water quality.
Periodic inspection and gentle cleaning of the aerator can significantly extend its lifespan and keep your faucet functioning efficiently. Always use the proper tools, especially for recessed screens, and handle all components with care to prevent damage. By incorporating these simple practices, you can ensure the longevity and performance of your faucet with minimal effort.

