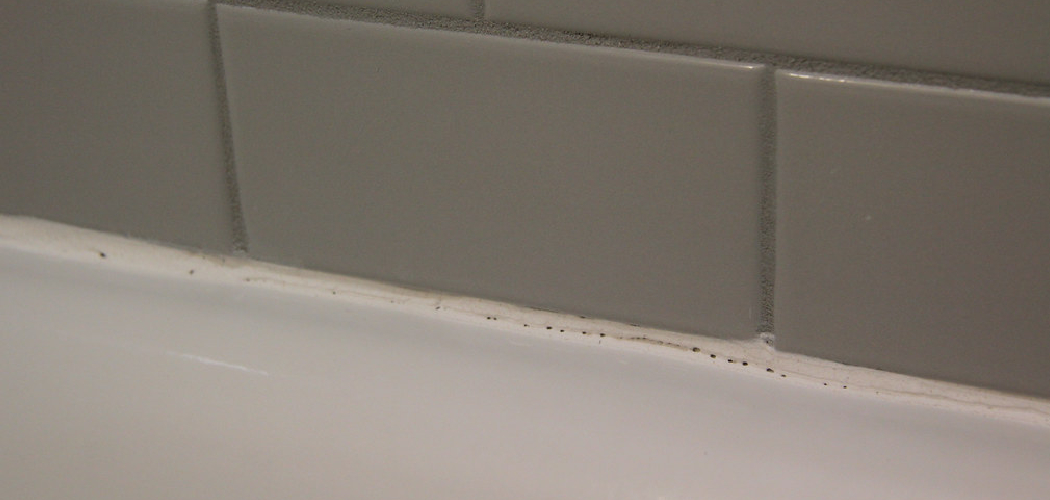
Caulking around a toilet is an essential home maintenance task that provides numerous benefits to both functionality and aesthetics. Proper caulking helps prevent water damage by sealing gaps where moisture can seep through, protecting your flooring and subfloor from costly repairs. Additionally, it keeps out dirt, grime, and odors, ensuring a more hygienic bathroom environment.
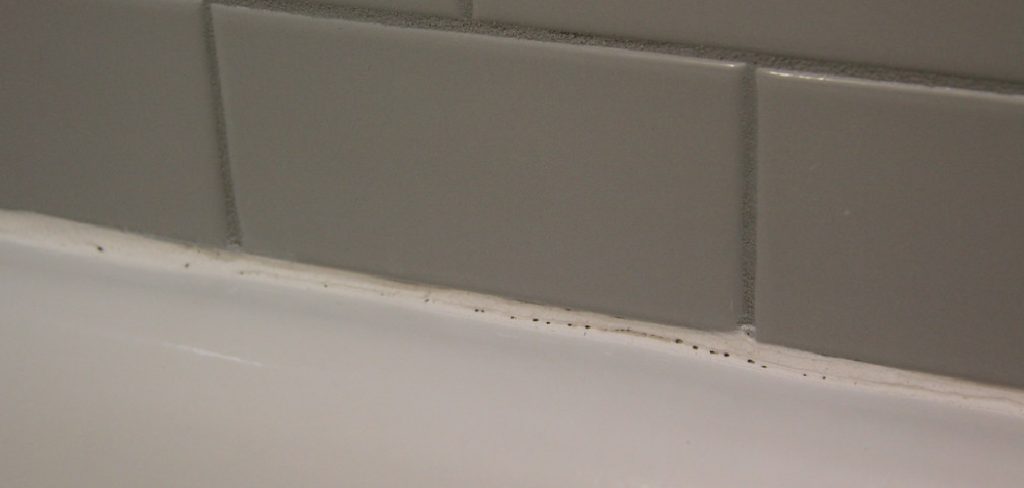
A well-sealed toilet also contributes to a polished, finished look that elevates the overall appearance of your bathroom.
Several common reasons for re-caulking include old caulk that has started to crack, peel, or discolor, and moisture-related issues that compromise the integrity of the seal. Re-caulking may also be necessary after replacing or reinstalling a toilet to ensure a proper fit and protection against leaks.
This guide on how to caulk around a toilet will cover everything you need to know, from the tools and materials required to step-by-step instructions and drying time.
Why Caulking Around a Toilet Matters
Caulking around the base of a toilet is a critical step in bathroom maintenance that serves both functional and aesthetic purposes. One of the primary benefits is water protection, as the caulk seals the gap between the toilet and the floor, preventing water from seeping underneath during cleaning or in the event of a leak. This reduces the risk of water damage, mold growth, or structural issues.
Furthermore, caulking creates a clean appearance, giving your bathroom a polished and professional look by concealing any uneven edges or gaps. It also plays a vital role in hygiene, as the seal blocks dirt, urine, and moisture from gathering underneath the toilet, which could otherwise create unpleasant odors or foster bacterial growth.
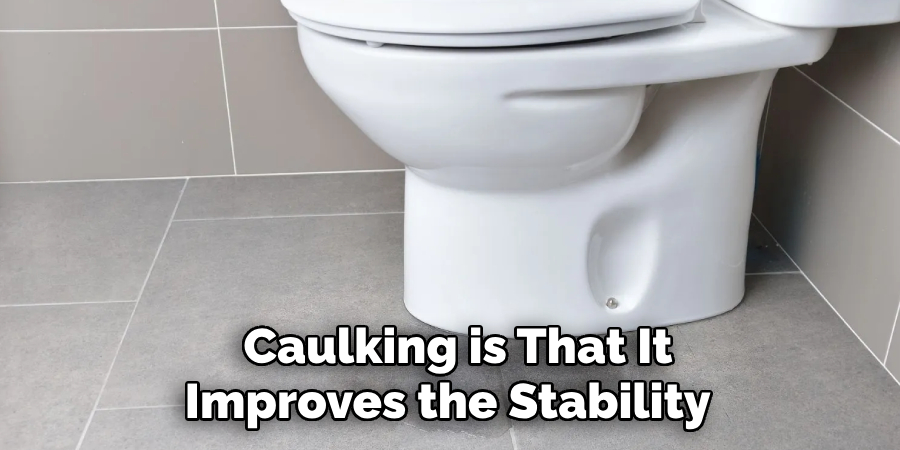
Another advantage of caulking is that it improves the stability of the toilet. On uneven surfaces, caulk can help anchor the toilet securely in place, reducing the chances of it wobbling or shifting over time. Finally, code considerations may come into play, as caulking is recommended or even required by plumbing codes in certain areas. By caulking, you ensure compliance with local regulations while enhancing the functionality and cleanliness of your bathroom.
Tools and Materials You’ll Need
To properly caulk your toilet and achieve a professional finish, you’ll need the following tools and materials:
- Caulking gun (manual or electric): Necessary for applying the caulk smoothly and evenly.
- Silicone or tub-and-tile caulk: Choose a mold and mildew-resistant, waterproof variety for long-lasting durability.
- Utility knife or putty knife: These tools are essential for removing old caulk and creating a clean surface.
- Painter’s tape: Helps ensure the caulk lines are neat and precise by keeping the application area defined.
- Rubbing alcohol or a mild cleaner: Use this to clean the area and ensure proper adhesion for the caulk.
- Paper towels or clean cloths: Handy for cleaning up excess caulk or wiping down surfaces.
- Latex or nitrile gloves (optional): Useful to keep your hands clean during the process.
- Caulk finishing tool or finger: Ideal for smoothing the bead and creating a clean, polished look.
Preparation: Removing Old Caulk and Cleaning
Step 1: Inspect the Toilet Base
Begin by carefully inspecting the toilet’s base. Look for loose or cracked caulk, as well as signs of mold, mildew, or water damage. Identifying these issues beforehand is crucial to ensure the new caulk adheres properly and maintains a watertight seal. Before proceeding, address any problems, such as cleaning mold or fixing water-damaged areas.
Step 2: Remove Old Caulk
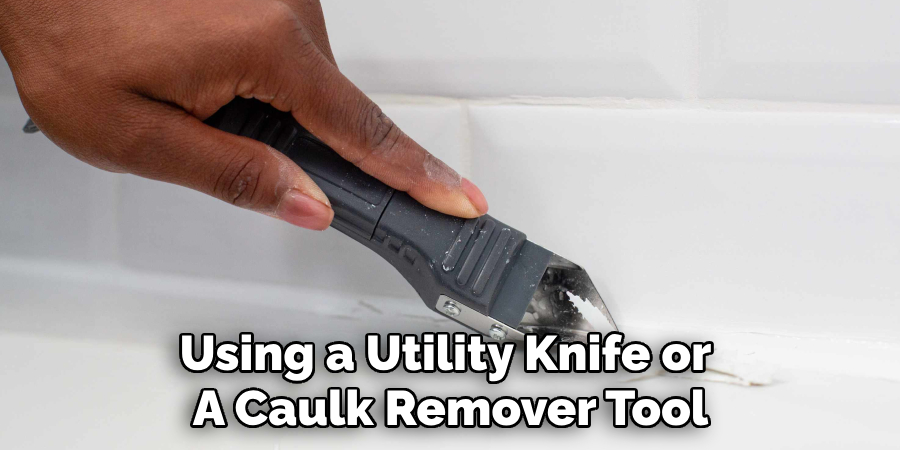
Using a utility knife or a caulk remover tool, gently scrape away the existing bead of caulk. Work slowly and methodically to avoid scratching the flooring or the porcelain surface of the toilet base. If the caulk proves stubborn, a commercial caulk softener can be applied to loosen it for easier removal. Once all old caulk is removed, use a vacuum or brush to clear away any loose debris.
Step 3: Clean the Area
After removing the old caulk, clean the area thoroughly by wiping down the seam with rubbing alcohol, a mild cleaner, or a specialized bathroom cleaner. This step is essential for removing any remaining residue, dirt, or grime that could prevent the new caulk from adhering properly. Ensure the surface is completely dry before proceeding to the next step to ensure the new seal adheres effectively.
Optional: Apply Painter’s Tape
For a professional-looking finish, consider applying painter’s tape around the toilet base, positioning it about 1/8 inch away from the seam. The tape will act as a guide, allowing you to apply a neat and straight bead of caulk with ease. Once the new caulk is applied and smoothed, the tape can be gently removed to reveal clean edges.
How to Caulk Around a Toilet: Applying the New Caulk
Step 1: Prepare the Caulk Tube
Start by preparing the caulk tube for use. Cut the nozzle tip at a 45° angle to ensure a controlled flow of caulk. The size of the tip’s opening should match the desired width of the bead you intend to apply. Once cut, load the tube into a caulking gun. If the tube has an inner seal, puncture it using a thin metal rod or the pointed part of the caulking gun to allow the caulk to flow smoothly.
Step 2: Apply a Smooth Bead
With the caulk tube secured in the gun, position the nozzle at the seam where the toilet base meets the floor. Hold the gun at a 45° angle and slowly squeeze the trigger while steadily moving the gun forward. This will help create a smooth, continuous bead of caulk. Be careful not to overapply, as too much caulk can create a mess and be difficult to clean.
Step 3: Smooth the Caulk Line
Immediately after applying the caulk, smooth the bead to ensure it adheres well and creates a clean finish. Use a caulk finishing tool or lightly wet your finger, then press along the bead, smoothing it into place. Work carefully to avoid disrupting the uniformity of the caulk. Before the caulk dries, gently remove the painter’s tape to reveal crisp, clean edges.
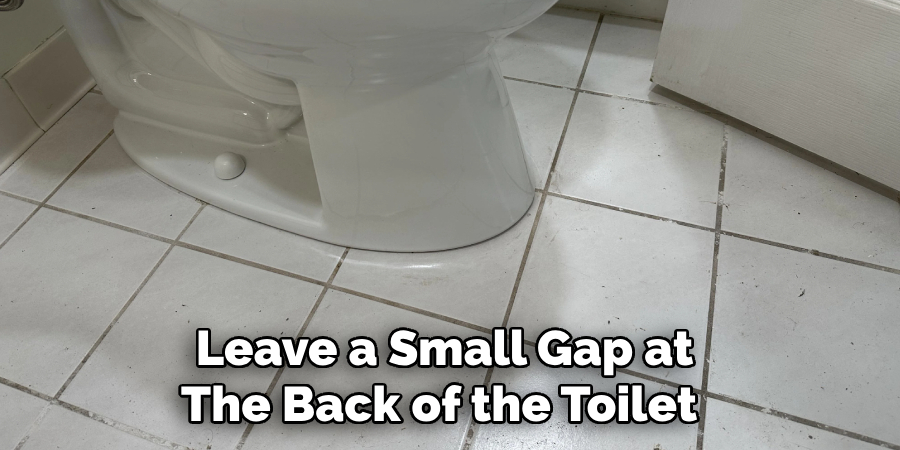
Tip: When sealing around a toilet, apply caulk only to the sides and front of the base. Leave a small gap at the back of the toilet to allow any hidden leaks to become detectable in the future.
Drying and Curing Tips
Dry Time
Most silicone caulks dry to the touch within 30 minutes to 1 hour. This initial drying phase minimizes the risk of smudging or disrupting the seal, but the caulk is not fully set during this period.
Cure Time
Full curing typically takes 24–48 hours, depending on the product and environmental conditions. To ensure the best results, avoid using the toilet or exposing the area to moisture during this time if possible.
Ventilation
Proper ventilation is essential for facilitating curing and dissipating any lingering odors from the caulk. Open windows, use an exhaust fan, or run a small portable fan to keep the air circulating effectively.
Post-Check
After completing the curing period, scrutinize the seal for any gaps, air bubbles, or uneven areas. Perform touch-ups as needed to maintain a uniform, clean finish and ensure a reliable waterproof seal.
Common Mistakes to Avoid
Some common mistakes when caulking can compromise the quality of the job. One frequent error is using the wrong type of caulk. For bathroom projects, avoid latex or paint-grade caulk, as they lack the durability and mold-resistance needed in high-moisture areas. Instead, opt for bathroom-grade silicone caulk, which is specifically designed to withstand humid environments and resist mildew.
Another mistake is not cleaning the surface beforehand. Adhesion is critical for a proper seal, and dirt, soap residue, or moisture can prevent the caulk from bonding effectively. Always ensure the area is thoroughly cleaned and dried before applying caulk.
Applying too much or too little caulk is another common issue. Too much caulk can lead to messy, uneven results, while too little may result in gaps that fail to provide a reliable seal. Use a steady hand and apply just enough caulk for a smooth, continuous bead.
For beginners, skipping painter’s tape can lead to uneven or sloppy lines. Painter’s tape guides the application and helps achieve a professional finish, especially around intricate areas.
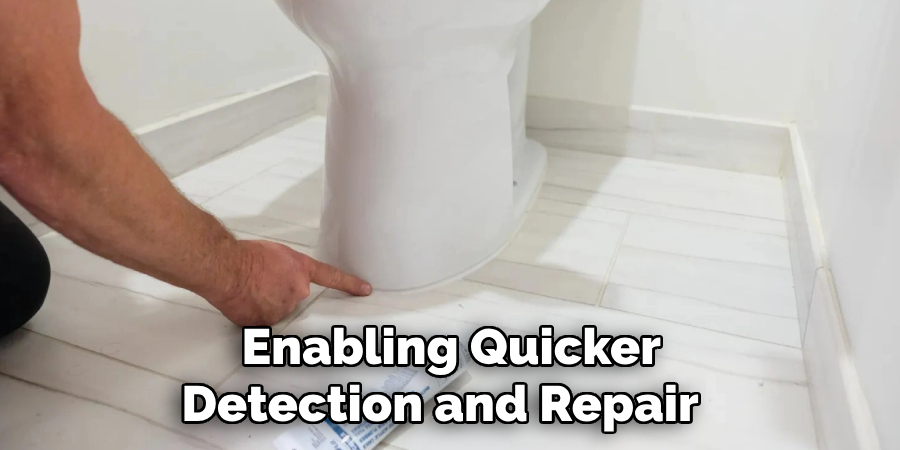
Finally, avoid caulking all the way around objects like toilets. Leaving a small gap at the back allows potential leaks to remain visible, enabling quicker detection and repair.
Conclusion
Caulking around a toilet is a simple but important DIY task that improves hygiene, appearance, and moisture protection. Knowing how to caulk around a toilet ensures the job is done correctly, with a clean, professional finish and a watertight seal. Anyone can achieve great results with the right tools, such as painter’s tape, quality caulk, and careful attention to detail. Be sure to allow the caulk to cure completely and double-check your work for a lasting, effective seal. Proper caulking enhances the bathroom’s look and safeguards against hidden leaks and future damage.

