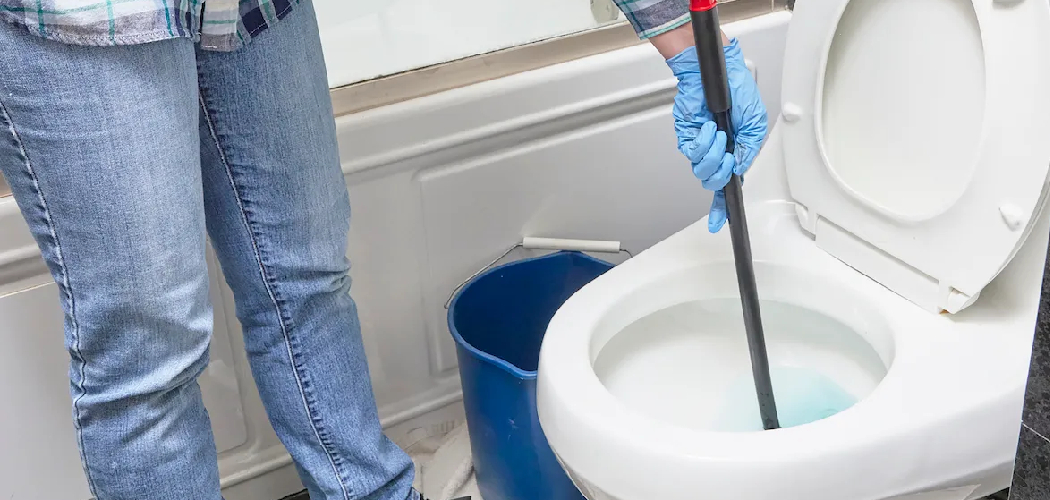
Cleaning a toilet auger is an essential step to maintain its efficiency and prolong its lifespan. Over time, debris and residue can accumulate on the tool, reducing its effectiveness and potentially causing unpleasant odors. Proper cleaning not only ensures better functionality but also promotes hygiene and prevents the spread of germs. This guide will walk you through the steps of how to clean toilet auger effectively and safely.
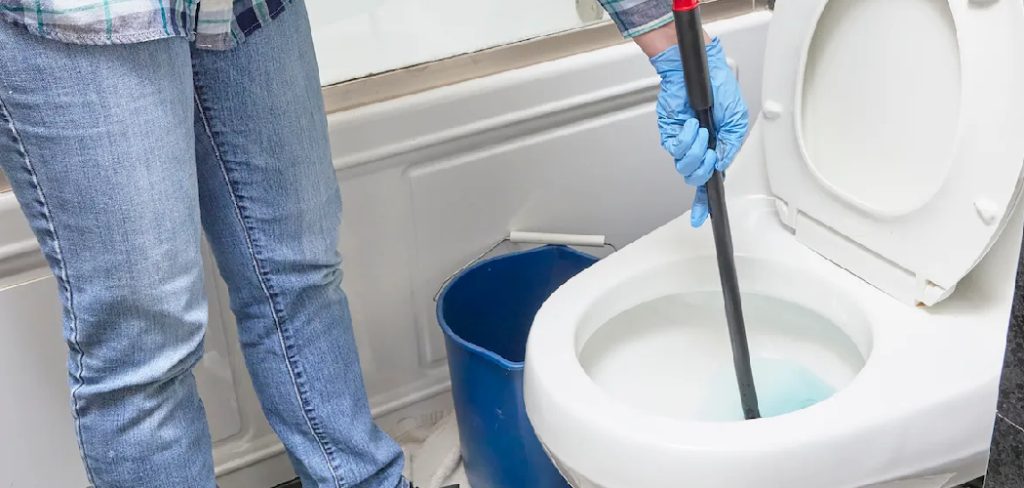
Why Cleaning Your Toilet Auger Is Important
Regularly cleaning your toilet auger is crucial for several reasons. First, it prevents the buildup of grime, bacteria, and other debris that can harbor harmful germs and cause unpleasant odors. A clean auger is also more effective at clearing clogs, ensuring that it can perform its task without obstruction or reduced performance.
Additionally, proper maintenance extends the lifespan of the tool, saving you money in the long run by avoiding the need for frequent replacements. Neglecting to clean your toilet auger can lead to corrosion or wear, which could compromise its durability and efficiency. By keeping your auger clean, you ensure it remains a reliable and hygienic tool for your plumbing needs.
Supplies You’ll Need
To effectively clean and maintain your toilet auger, gather the following supplies:
- A bucket for soaking and rinsing
- Warm water and mild dish soap
- A soft brush or sponge for scrubbing
- Disinfectant or vinegar for sanitizing
- Protective gloves to ensure hygiene
- Old towels or rags for drying and cleanup
Having these items on hand will make the cleaning process smoother and ensure your toilet auger is kept in optimal condition.
10 Methods How to Clean Toilet Auger
1. Initial Rinse to Remove Debris
After using the auger, the first step is to rinse it thoroughly to remove any obvious debris. Take the auger outside or to a utility sink to avoid contamination in common household sinks.
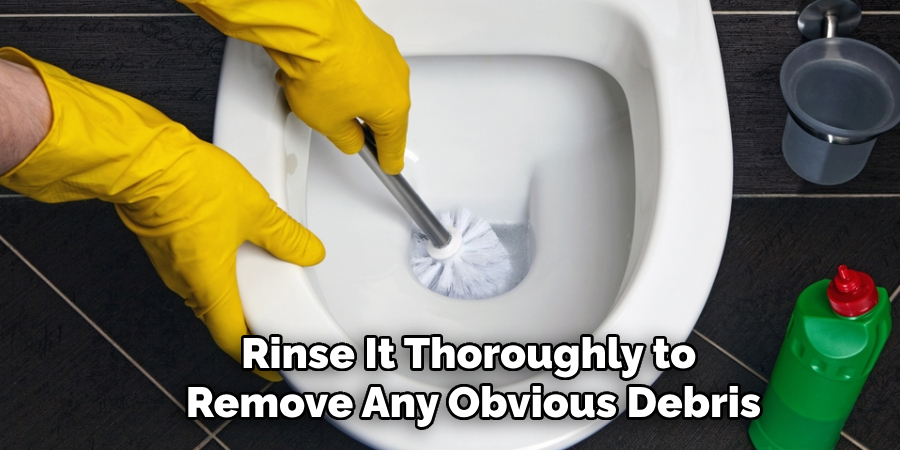
Extend the cable fully and use a strong stream of water to wash away any residues, including toilet paper and organic matter. Position the auger at an angle, allowing water to flow from the top to the bottom, carrying away particles effectively.
This initial rinse is essential because it removes loose contaminants, making the next cleaning steps more effective and less messy.
2. Soak the Auger in a Cleaning Solution
Once the initial rinse is complete, it’s important to soak the auger in a disinfecting solution. Fill a large bucket with hot water and add a disinfectant cleaner or bleach. The recommended ratio is one cup of bleach per gallon of water.
Submerge the auger’s cable, handle, and any components that came into contact with the toilet. Allow the auger to soak for at least 20 minutes. This step helps break down any stubborn residues and kills bacteria, ensuring the tool is sanitized.
Soaking not only disinfects the auger but also loosens grime that may have hardened during use.
3. Scrubbing for a Deeper Clean
After soaking, use a long-handled scrub brush or a stiff-bristled brush to clean the cable thoroughly. Scrub along the entire length of the auger, paying extra attention to the coiled tip and any areas where debris may accumulate.
For stubborn spots, apply a paste of baking soda and water directly to the affected areas before scrubbing. Baking soda acts as a mild abrasive, helping to lift grime without damaging the metal.
Scrubbing is vital for removing any remaining residues, ensuring that your auger is not only disinfected but also free from build-up that could affect its performance.
4. Cleaning the Handle and Bowl Guard
Don’t neglect the handle and bowl guard during the cleaning process. These parts are often touched during use and can become contaminated.
Wipe down the handle and guard with a disinfectant wipe or cloth soaked in the cleaning solution. Use a toothbrush or a small brush to clean around crevices and moving parts.
Properly cleaning these components ensures the entire tool is hygienic and safe to handle the next time you use it.
5. Rinse Thoroughly After Cleaning
After scrubbing, rinse the auger once more under hot, running water. Ensure that all soap and cleaning solution residues are thoroughly washed away.
Leaving cleaning agents on the auger can lead to corrosion or degradation of the metal, especially if bleach was used. Carefully rinse each component, including the cable, handle, and bowl guard.
Proper rinsing is crucial to maintaining the auger’s durability and preventing any chemical damage from residual cleaners.
6. Drying to Prevent Rust
Drying your toilet auger properly is essential to prevent rust and corrosion. Shake off excess water and wipe down all parts with a dry, clean cloth.

To expedite drying, place the auger in a well-ventilated area, preferably outside or in a sunny spot. If using indoors, a fan can help speed up the process. Extending the cable fully while drying prevents moisture from being trapped in the coils.
Ensuring the auger is completely dry before storage is one of the most critical steps to maintain its longevity and performance.
7. Applying a Protective Coating
Once the auger is clean and dry, apply a light coat of lubricating oil to the cable to protect against rust. Use a spray lubricant or a few drops of machine oil, wiping away excess with a cloth.
Lubricating also helps maintain the auger’s flexibility, making it easier to maneuver during future use. Focus on the auger tip and any moving joints to keep them rust-free and operational.
Regularly applying a protective coating is an excellent way to extend the life of your tool and ensure smooth operation.
8. Storing the Auger Properly
After cleaning and drying, store your auger in a dedicated, dry space. Consider hanging it on a hook in your garage or tool shed to keep it off the ground.
Wrap the cable neatly and secure it with a zip tie or twist tie to prevent tangling. Keeping the auger covered or in a storage bag reduces exposure to dust and moisture, preserving its condition.
Proper storage not only keeps your auger ready for use but also protects it from environmental factors that could cause rust or deterioration.
9. Periodic Maintenance and Inspection
Even when not in use, it’s good practice to inspect your auger periodically. Look for signs of rust, corrosion, or bent cables.
If you notice any rust spots, use a wire brush to remove them, then apply a fresh coat of oil. Inspect the crank handle and bowl guard to ensure they are securely attached and functioning properly.
Routine maintenance helps identify potential issues before they become major problems, ensuring that your auger is always ready to tackle clogs.
10. Dealing with Lingering Odors
Sometimes, even after a thorough cleaning, the auger may retain a foul odor. To address this, soak the auger in a mixture of water, vinegar, and baking soda.
The vinegar neutralizes odors while the baking soda absorbs lingering smells. Allow the auger to sit in this solution for about 15 minutes, then rinse thoroughly.
By tackling odors directly, you ensure that the auger remains pleasant to handle and doesn’t bring unpleasant smells into your home during storage.
Maintenance and Upkeep
Regular maintenance is key to ensuring your auger stays in excellent working condition for years to come. After each use, inspect the auger for any signs of wear, such as cracks or dull edges, and address these issues promptly. Keeping the auger blades sharp is essential for optimal performance, so consider sharpening them periodically using a file or seeking professional services if necessary.
Additionally, applying a thin layer of lubricant to any moving parts will prevent rust and ensure smooth operation. Always store the auger in a dry, cool location to protect it from moisture and environmental damage. By incorporating these practices into your routine, you can extend the lifespan of your auger and maintain its efficiency over time.
Troubleshooting Common Issues
Even with proper maintenance, your auger may encounter occasional issues. Here are some common problems and how to address them:
Auger Not Drilling Properly
If the auger is struggling to cut through material, check the blades for dullness or damage. Replace or sharpen the blades as necessary. Additionally, ensure there are no obstructions lodged in the cutting head.
Engine Problems (For Powered Augers)
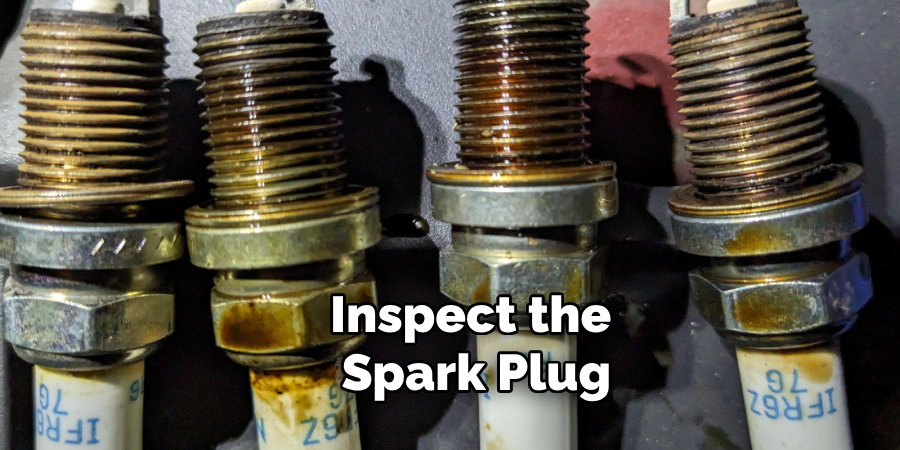
If the engine won’t start or runs inconsistently, inspect the spark plug, fuel, and air filter. Clean or replace these components if needed and ensure the fuel is fresh.
Auger Stalling Mid-Use
This could be due to excessive force or binding in the material being drilled. Slowly withdraw the auger to clear away debris and ensure the material isn’t too dense for the tool’s capacity.
Conclusion
Cleaning your toilet auger properly after each use is essential for maintaining hygiene, tool longevity, and effective performance. By following these ten methods, you’ll ensure your auger stays in optimal condition and is always ready when you need it.
From the initial rinse and soaking to scrubbing, drying, and lubricating, every step is crucial to keeping the tool functional and rust-free. Additionally, addressing odors and storing the auger correctly guarantees a sanitary and efficient experience the next time a clog arises. So, there you have it – a quick and easy guide on how to clean toilet auger.

