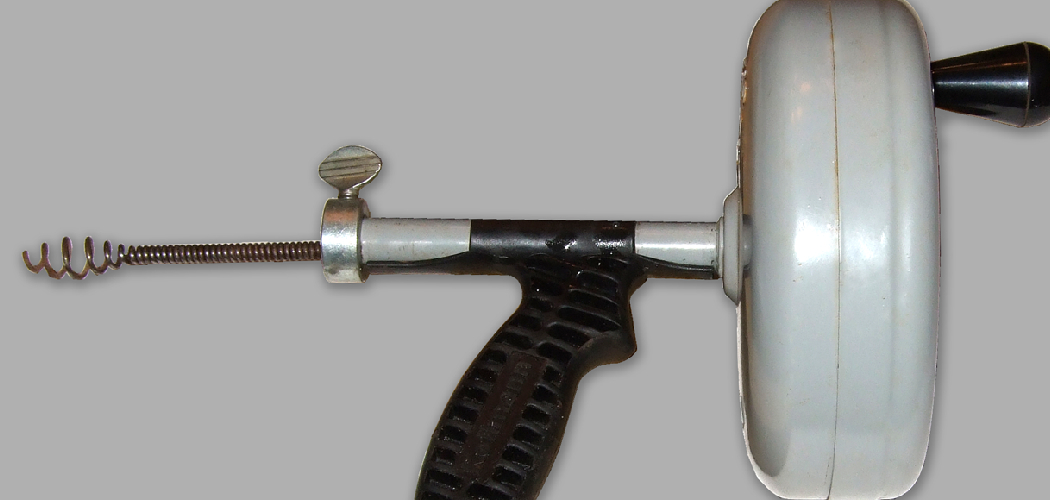
A toilet auger is a specialized tool designed to clear clogs and blockages in toilet drains effectively. Unlike standard plungers, which work by creating pressure, a toilet auger uses a long, flexible cable to break apart or retrieve obstructions deep in the drain. This tool is easy to use and can save both time and money by addressing common clogs without the need for professional plumbing services.
Whether dealing with minor blockages or more stubborn obstructions, learning how to use toilet auger can be an invaluable skill for maintaining a smoothly functioning bathroom.
What is a Toilet Auger?
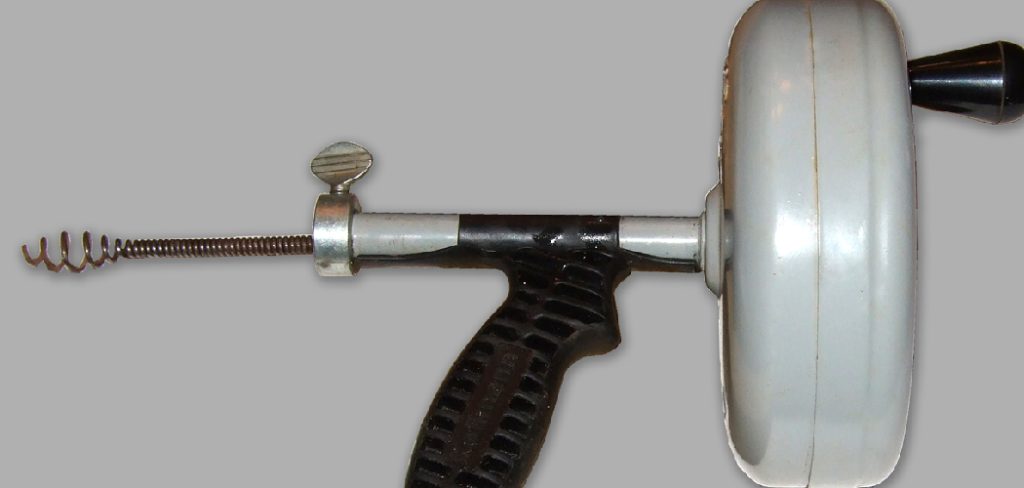
A toilet auger, also known as a plumbing snake, is a specialized tool designed to clear clogs specifically in toilets. It consists of a long, flexible cable with a coiled head at one end and a sturdy handle at the other. The auger is carefully guided through the toilet’s drain, allowing it to reach deep blockages that a standard plunger cannot address.
Its durable design ensures it can maneuver through the bends of the toilet trap without damaging the porcelain. Toilet augers come in various sizes and styles, making them a versatile and essential tool for both homeowners and professional plumbers.
When Should You Use a Toilet Auger?
A toilet auger should be used when a standard plunger fails to clear a clog. This tool is particularly effective for removing stubborn blockages caused by items such as excessive toilet paper, small objects, or buildup that has lodged deeper into the toilet’s plumbing. If the water level in the toilet bowl remains consistently high, or if plunging only provides temporary relief, it may be time to reach for a toilet auger.
Additionally, a toilet auger is a preferable choice over harsh chemical drain cleaners, which can damage plumbing and are potentially harmful to the environment. Using a toilet auger correctly can save time, reduce frustration, and restore your toilet’s functionality without the need for professional assistance in many cases.
10 Methods How to Use Toilet Auger
1. Understanding the Anatomy of a Toilet Auger
Before attempting to use a toilet auger, it’s important to familiarize yourself with its parts. A typical auger consists of a long, flexible metal cable housed within a hollow tube, a protective plastic or rubber bowl guard, a crank handle, and a corkscrew-like auger tip.
The auger tip is designed to break through or latch onto blockages, while the handle allows you to maneuver the cable through the toilet’s trap. The bowl guard protects the porcelain from scratches, which is crucial since an unprotected auger can damage your toilet.
Taking a moment to understand your auger’s design will help you use it more efficiently, reducing the risk of damage to your toilet or frustration from improper use.
2. Preparing the Area and Gathering Supplies
Using a toilet auger can be a messy process, so it’s essential to prepare the area beforehand. Wear rubber gloves to protect your hands from unsanitary conditions. Place old towels or newspapers around the base of the toilet to catch any water or debris that might spill out.

Have a bucket of hot, soapy water ready for cleaning the auger afterward. It’s also wise to keep a disinfectant spray nearby to clean the toilet area once you’re finished.
Proper preparation not only helps contain the mess but also ensures that you can quickly clean up after resolving the clog.
3. Positioning the Auger Correctly
To start, carefully insert the auger’s curved end into the toilet bowl. Make sure the rubber or plastic bowl guard rests against the toilet’s opening to prevent scratching.
Slowly extend the cable into the drain, guiding it down the curved trap of the toilet. Avoid forcing the auger, as pushing too hard may cause the cable to kink or damage the porcelain.
By positioning the auger correctly from the beginning, you reduce the likelihood of mishandling and ensure the tool effectively reaches the clog.
4. Rotating the Crank to Break the Clog
Once the auger is positioned, begin turning the handle clockwise. This rotation causes the auger tip to move forward, breaking through or snagging the obstruction.
Continue turning the handle while gently pushing down. You may feel resistance as the auger encounters the blockage. If the crank becomes difficult to turn, do not force it—stop and slightly retract the cable before trying again.
This methodical approach prevents cable tangling and ensures that you break through the clog rather than compacting it further.
5. Retrieving the Blockage
If you feel the auger hook onto something, slowly retract the cable while continuing to turn the handle. This technique helps to pull the clog back toward the bowl rather than pushing it further into the pipe.
Lift the auger out of the toilet carefully to avoid splashing. Check the auger tip for any debris that has been pulled out. If the clog is still partially present, repeat the process until the toilet drains properly.
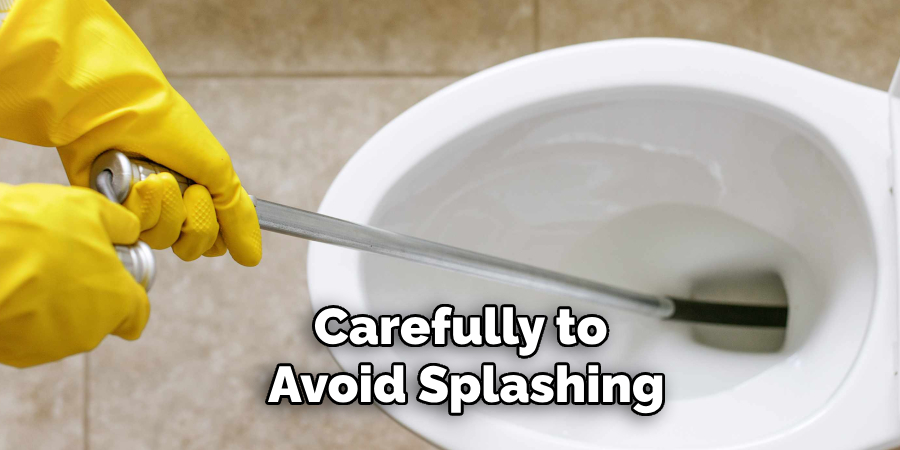
By carefully extracting the blockage, you minimize the chance of residual clogging, ensuring a fully cleared drain.
6. Flushing to Check Your Success
Once you’ve removed the obstruction, it’s time to test the toilet. Slowly turn the water supply back on and flush the toilet to see if the water drains smoothly.
If the water backs up again, it’s possible that the clog wasn’t entirely cleared, or there’s a deeper blockage. Repeat the auger process if necessary. If flushing is successful, follow up with a bucket of hot water to ensure the pipes are fully clear.
By verifying your success with a flush, you can be confident that the issue is resolved and the toilet is functioning properly.
7. Cleaning and Maintaining the Auger
After clearing the clog, it’s crucial to clean the auger thoroughly. Rinse the cable with hot, soapy water and disinfect it to prevent contamination. Wipe down the handle and bowl guard with a disinfectant cloth.
Allow the auger to dry before storing it to prevent rust or mildew. Regular cleaning and maintenance will prolong the life of your tool and keep it hygienic for future use.
Proper care of your auger not only preserves its functionality but also ensures safe and sanitary use when you encounter another blockage.
8. Troubleshooting Persistent Clogs
If your initial attempts with the auger fail, the problem may be more complex, such as a blockage further down the drain line. In such cases, you might need a longer drain snake or professional assistance.
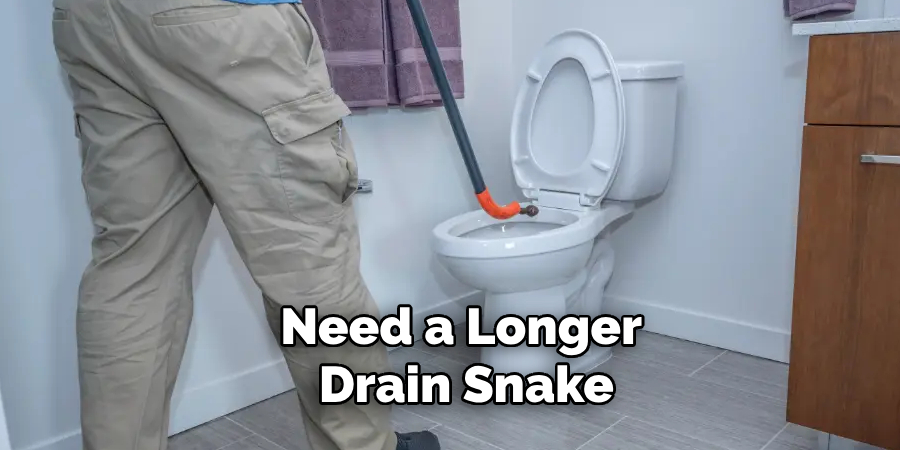
Avoid using chemical drain cleaners before or after using an auger, as they can damage the tool and pose health risks. Instead, consider using a plumbing snake or hydro jet to tackle deep clogs.
Being aware of your auger’s limitations helps you make informed decisions when more extensive plumbing problems arise.
9. Preventing Future Clogs
To reduce the likelihood of future toilet blockages, avoid flushing non-degradable items such as wipes, sanitary products, or excessive toilet paper. Regularly cleaning your toilet and using enzyme-based drain cleaners can help break down organic buildup.
Installing a toilet paper holder that limits excessive use or educating household members on proper flushing habits can also make a difference.
Preventive measures save you time, effort, and the need to repeatedly use the auger, maintaining a clog-free toilet for longer periods.
10. Knowing When to Call a Professional
Although a toilet auger is a powerful tool, it has its limits. If you experience recurring clogs or if the toilet continues to back up despite multiple augering attempts, it might be time to call a professional plumber.
Persistent issues could indicate problems such as tree root infiltration, collapsed pipes, or extensive mineral buildup. A professional can assess the situation with specialized equipment like a sewer camera.
Knowing when to seek expert help prevents further damage to your plumbing and ensures that underlying issues are properly addressed.
Troubleshooting Common Issues
When dealing with plumbing issues, it’s helpful to identify the root cause before taking further action. Here are some common problems and troubleshooting tips:
Slow Draining Sinks
A slow-draining sink is often caused by a buildup of grease, soap scum, or hair in the pipes. Using a plunger or a mixture of baking soda and vinegar can often clear minor blockages. If the issue persists, consider using a drain snake to remove debris more effectively.
Running Toilets
A continuously running toilet can waste a significant amount of water. This issue is usually caused by a faulty flapper, a misaligned float, or sediment buildup in the fill valve. Inspect these components and replace them as needed to restore proper function.
Low Water Pressure
Low water pressure might result from clogged aerators, a leak in the plumbing system, or issues with the water supply line. Cleaning the faucet aerator or showerhead could resolve the problem. If the pressure remains low throughout the home, it may indicate a more significant issue requiring professional assistance.
Conclusion
Using a toilet auger correctly can save you time, money, and the inconvenience of calling a plumber. By following these ten methods, you will not only learn how to clear blockages effectively but also how to maintain the auger and prevent future clogs.
From preparing the area and positioning the auger to rotating the crank and ensuring the clog’s removal, each step requires care and attention. Additionally, proper maintenance of the auger guarantees its longevity and effectiveness. So, there you have it – a quick and easy guide on how to use toilet auger.

