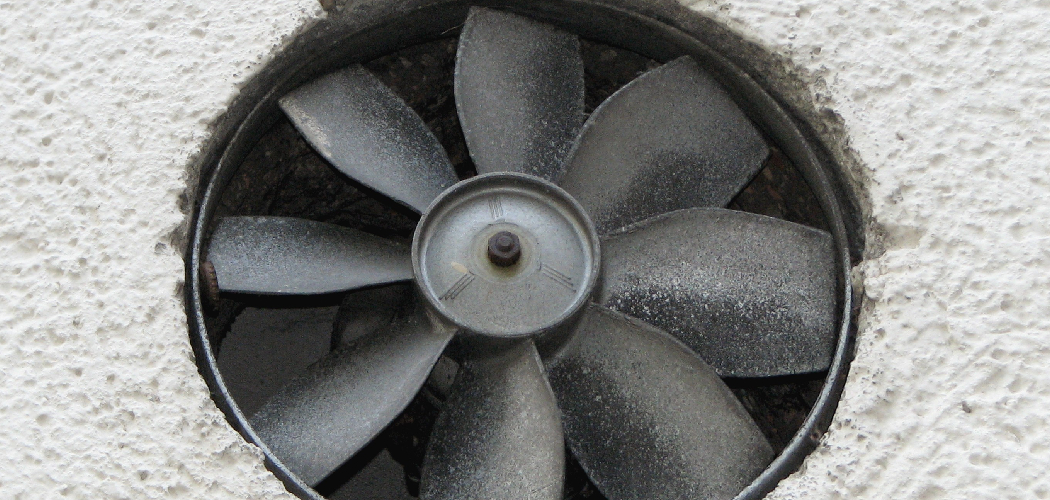
If your bathroom doesn’t have a fan, you may be wondering how to install one without stepping foot into an attic filled with dirt and dust. Well, there is an answer out there! Installing a bathroom fan doesn’t need to require access to the attic or any other area of your home that would otherwise be difficult or dangerous to access.
In this blog post, we will provide step-by-step instructions on how to install a bathroom fan without attic access! So if you want the perfect solution for ventilating and cooling down your overly steamy bathroom, read on.
Which Materials Will You Need to Install a Fan Without Attic Access?
Given below are some of the materials that you will need to install a bathroom fan without attic access:
Fan Unit
A fan unit is necessary for properly ventilating the bathroom. Make sure to get one that is appropriate for the size and shape of the bathroom and the wattage you need.
Mounting Brackets
These brackets are necessary for securely mounting the fan to the wall. Make sure to pick the ones that are appropriate for your fan and your wall surface.
Grille Cover
A grille cover is an important part of installing a bathroom fan without attic access since it helps keep out dust and other particles while still allowing airflow.
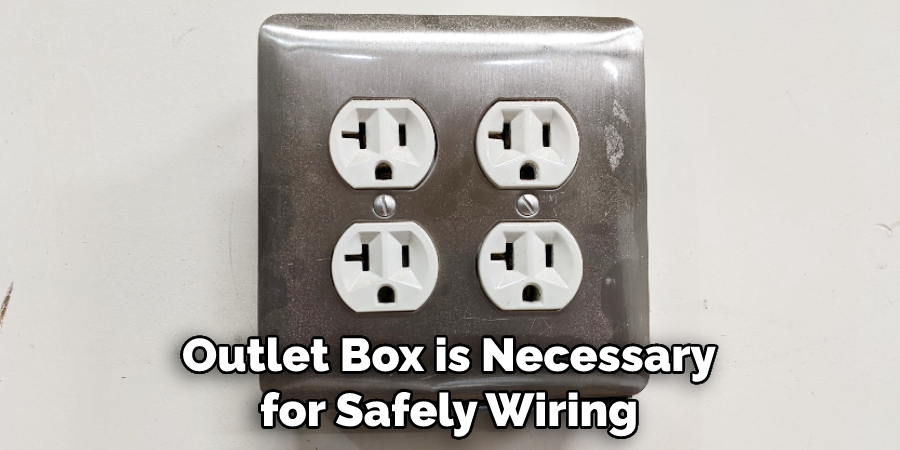
Outlet Box
An outlet box is necessary for safely wiring the fan to the power source. Make sure to get one that is appropriate for your wattage needs and local building codes.
Wires
Wires are also necessary in order to connect the fan properly to the power source. Be sure to use insulated wires that are suitable for both outdoor and indoor applications as well as your wattage requirements.
Step-by-step Guidelines on How to Install a Bathroom Fan Without Attic Access
Step 1: Choose the Right Fan for Your Space.
Consider factors such as size, noise levels, and CFM (cubic feet per minute) rating when selecting the right fan for your bathroom. It’s important to choose a fan that is powerful enough to vent out all of the air moisture, but not so loud as to be disruptive inside your home. Remember, bigger fans with higher CFM ratings have the potential to be both louder and more powerful than their smaller counterparts.
Step 2: Choose a Location for Your Fan.
Choose an interior wall that’s close to the shower or tub, as this will make for a shorter duct run and an easier installation process. If possible, choose a wall with studs in it since they will help to provide extra support when you mount the fan. It’s also important to make sure that the fan won’t interfere with any plumbing or wiring in the wall.
But, if the only available space is near plumbing or wiring, it’s possible to install the fan in that spot as long as you take proper precautions.
Step 3: Prepare the Installation Space.
Prepare the space by ensuring that there’s enough room for your fan to be installed properly. This includes making sure that the area is free from any obstructions or debris, as well as making sure that the wiring doesn’t interfere with any existing plumbing or electrical systems.
It’s also important to make sure that your ceiling is at least 8 feet high in order to accommodate a bathroom fan without attic access.

Step 4: Mark Outlet Placement on Wall.
Using a stud finder and level, mark the placement for your wall outlet on the interior wall you have chosen. The outlet should be at least 12 inches away from any plumbing or other obstructions in order to provide enough space for air circulation. If you’re not sure where to place it, drawing a few simple sketches can help you to determine the best spot.
That way, you won’t have to worry about making any costly mistakes during the installation process.
Step 5: Measure and Cut Hole for Outlet.
Once you’ve marked the location of your outlet, use an appropriately sized hole saw to cut out your opening. If you don’t have a hole saw, you can also use a drill with a spade bit to get the job done. This is an important step, as it will ensure that your fan has enough room to fit properly in the wall.
If you have a larger fan, it’s important to make sure that the hole is large enough for it to fit through without any issues. But, if you’re installing a smaller fan, it’s possible to use a smaller hole size.
Step 6: Secure the Outlet Box in Wall Cavity.
Secure your outlet box in the wall cavity by using screws (wood screws work best). Be sure to tighten the screws securely in order to effectively hold your box in place. This will ensure that your wall outlet is secure and won’t come loose during the installation process.
However, if you are using plastic outlet boxes, be sure to use the appropriate type of screws so as not to damage the box. Don’t forget to attach the wall plate to cover up the outlet box after it’s in place.
Step 7: Wire Outlet and Fan Together.
Your fan must be wired with the outlet before installation is complete. Make sure all of your wiring is up to code and that you’re following all local regulations. If needed, consult a professional electrician for help with this part of the process.

That way, you can ensure that your fan is properly wired and won’t be a hazard to yourself or anyone in your home. If you’re unsure about any of the wiring, you can always consult an expert for help.
Step 8: Install Ductwork and Gaskets.
Connect the ductwork to your fan using metal straps or gaskets, depending on what type of fan you have chosen. It’s important that the ductwork is mounted securely so that air can move freely throughout your bathroom without any leakage or disruption. That way, you can ensure that the fan will function properly and won’t be a fire hazard in your home.
But, if you’re not sure how to do this step, it’s best to consult a professional for help in order to ensure that the job is done correctly. Although this step may seem tedious, it’s important to make sure that the fan is installed properly in order to ensure safety and efficiency.
Step 9: Secure the Fan to Wall.
Secure your fan to the interior wall using appropriate hardware such as screws, anchors, or drywall screws. It’s important to properly secure the fan in order for it to operate safely and efficiently. This is especially true if your fan has a larger motor or higher wattage. That way, you can be sure that your fan won’t come loose or be a fire hazard in your home.!
Remember to check the fan’s installation and operation manual for any additional instructions on how to safely secure it. Don’t forget to turn off the power to the fan before beginning any installation.
Step 10: Install Grille Cover.
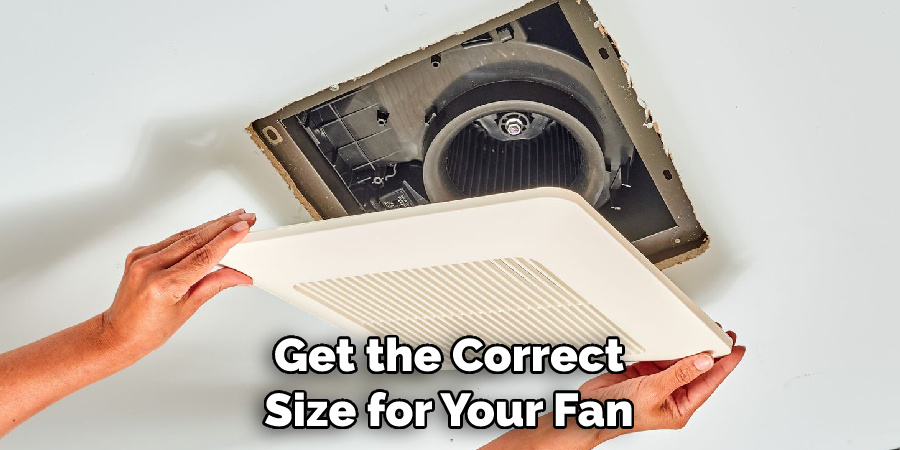
Your grille cover should be installed once the fan is securely mounted on the wall. This will help keep out dust and other particles while still allowing airflow throughout your bathroom space. Some fans may come with a built-in grille cover, so make sure you check before purchasing additional parts!
But, if you have a standard fan without one, make sure that you get the correct size for your fan and follow any installation instructions in the user manual. This way, you can be sure that your fan will work properly and won’t be a fire hazard.
Step 11: Connect the Wiring from Fan to Outlet Box.
Connect all wiring from the fan to your outlet box, taking extra care to ensure that all of your connections are secure. After you’ve finished wiring, double check all of your connections before turning on the power. If you’re unsure of any steps or need help, consult a professional electrician for assistance.
That way, you can be sure that all wiring is up to code and that your fan can be used safely. It’s important to make sure that your fan is correctly wired in order to avoid any potential electrical issues.
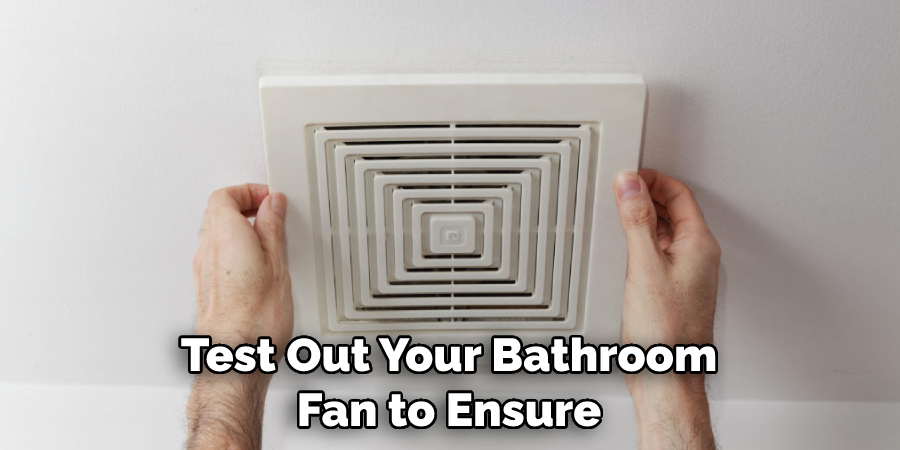
Step 12: Test Your Fan and Enjoy!
Once you’ve successfully installed your bathroom fan without attic access, it’s time to test it out and make sure it’s working properly. If everything looks good, then you can turn on the switch and enjoy a fresher, more comfortable bathroom space!
Always remember to follow the steps outlined in your fan’s installation manual and consult a professional electrician if you have any questions or concerns. That way, you can be sure that your fan will run safely and efficiently.
Following these steps on how to install a bathroom fan without attic access will help you to easily and successfully install a bathroom fan without attic access. With just a few tools, some basic know-how, and the right parts, your installation process should go off without a hitch!
Do You Need to Use Professionals?
Although you can install a bathroom fan without attic access on your own, it’s important to bear in mind that if you don’t feel comfortable or confident with the task, then it’s best to call in a professional. This will ensure that all of your wiring is up to code and properly installed according to local regulations.
It’s also important to bear in mind that some parts of the process, such as wiring and electrical work, should always be handled by a professional due to safety concerns.

Moreover, if you encounter any issues during your installation or have questions about how to properly install your fan without attic access, it’s best to call in a local professional. They can provide you with expert advice and ensure that your fan is safely and effectively installed.
How Much Will It Cost?
The cost of installing a bathroom fan without attic access will vary depending on the type of fan you purchase and any additional parts needed. Generally speaking, the installation process should cost between $150-$400. This price may also depend on how long it takes to install your fan and if any extra work or repairs are needed.
It’s important to bear this in mind before you start your installation project.
Frequently Asked Questions
Q: Do I Need to Install a Vent for My Bathroom Fan?
A: Yes, it is important to install a vent in order for your fan to work properly and safely. The size of the vent you will need depends on the type of fan you are installing. Make sure to consult with a professional if needed.
Q: How Far Should a Bathroom Fan Be From the Shower?
A: It is recommended that your bathroom fan should be at least 10-12 inches away from the shower in order to provide enough space for air circulation. This will help to prevent any water damage and ensure that your fan operates efficiently.
Q: What is the Best Type of Bathroom Fan to Install?
A: The best type of bathroom fan depends on your specific needs and budget. Generally, a fan with an integrated light will provide adequate ventilation for most bathrooms. However, for larger spaces or if you have special requirements, consult a professional to determine which type of fan would be best for your needs.
Q: How Do I Know if My Bathroom Fan is Working Properly?
A: After installation, it is important to test out your bathroom fan to ensure that it’s working properly. Listen for any strange noises or check for any airflow coming from the fan. If everything looks good, then you’re ready to enjoy a fresher, more comfortable bathroom space!
Conclusion
Thanks for reading this article on how to install a bathroom fan without attic access. Installing a bathroom fan without attic access is possible with the right materials, techniques, and precautions. With these steps, you can ensure that your bathroom fan functions optimally for years to come. And best of all, you don’t have to worry about roof repairs or removing shingles or shakes.
You can install your bathroom fan without worries of causing any further and unnecessary damage. While this type of installation is more involved than installing a fan when there’s attic access, it’s still doable — as long as you take some precautions and follow the right steps.
Be sure to double-check your workmanship before and after assembly should you get in over your head. Don’t skimp on quality parts when doing this kind of job either; it pays to invest in good ventilation components for the long term results you deserve.

