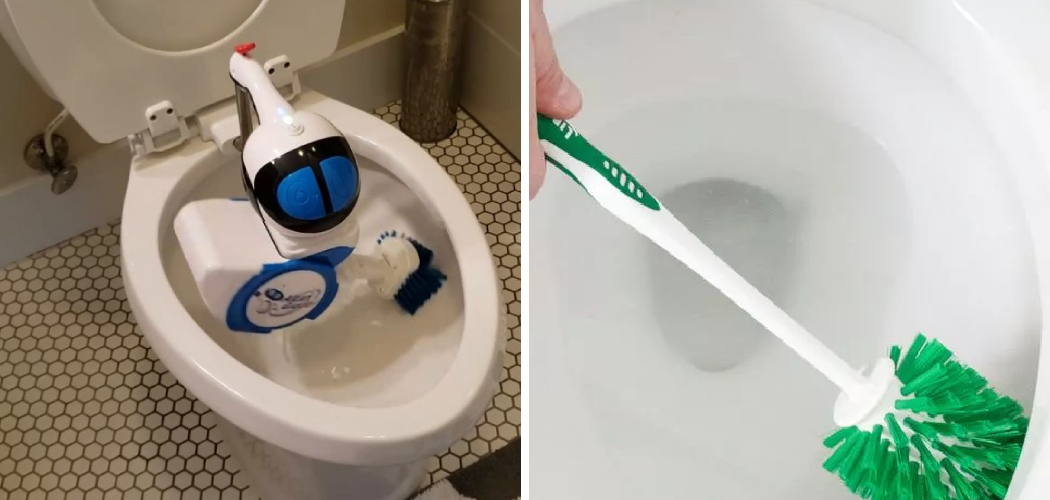
Have you ever noticed your toilet isn’t flushing properly, or water remaining in the bowl after a flush? The cause of this common problem can often be traced to the siphon jet hole located underneath the rim of your toilet. This small hole works with each flush to draw out water and waste from within the bowl.
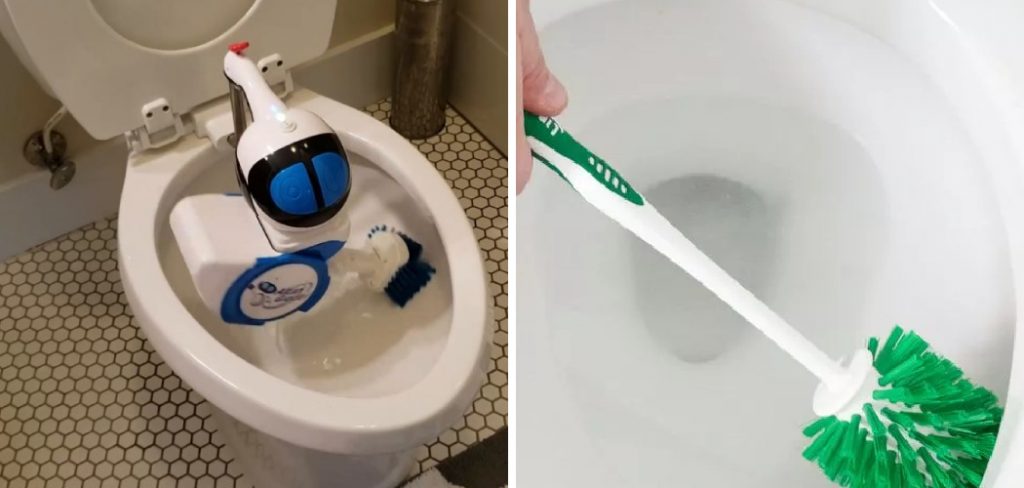
Cleaning it is actually quite simple, though many homeowners don’t realize how important it is to clean their siphon jet regularly. In this blog post, we’ll walk you through how to clean toilet siphon jet hole so your toilet will once again function at its best!
Safety Precautions You Need to Take
Before you begin the cleaning process, it’s important to take a few safety precautions. First, turn off the water supply at the toilet shutoff valve, located behind the toilet. Make sure you also turn off any electrical items in the bathroom that are connected to the same circuit as your toilet.
Necessary Materials
You won’t need many materials to get the job done. Given below are some materials that you should have
- Chlorine Bleach: Chlorine bleach is used to get rid of any bacteria and germs in the siphon jet.
- Plunger or Toilet Auger: This is used to clear blockages in the siphon jet.
- Towel and Rags: Use these items to wipe away any excess water from the area around the toilet.
- Stiff-bristled Brush: This item can be used to scrub the inside of the siphon jet hole and break
- Bucket of Hot Water: Hot water helps to remove any debris that may have built up within the siphon jet.
16 Step-by-step Guidelines on How to Clean Toilet Siphon Jet Hole
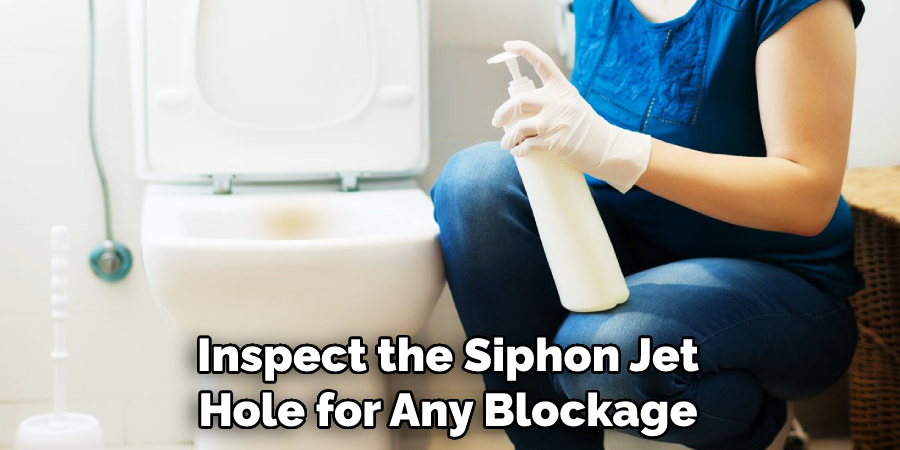
Step 1: Inspect the Siphon Jet Hole
First, inspect the siphon jet hole for any blockage or debris. If you find any blockage or debris, use a toilet auger to clear it. Remember to wear gloves while using the auger. That way, you won’t come into contact with any bacteria or germs. You may also want to use a flashlight to ensure that the hole is completely clear.
Step 2: Flush the Toilet
Flush the toilet to ensure that all of the water is cleared from the siphon jet. If the toilet is not flushing properly, it means that there is a blockage in the siphon jet. Then, use the toilet auger to clear the blockage. Make sure that you wear gloves for this procedure as well. It is important to note that, if the toilet does not flush properly, you should not proceed to the next step as it could lead to a larger clog.
Step 3: Pour Chlorine Bleach
Once the toilet has been flushed and you are sure that the siphon jet is clear, pour 1/2 cup of chlorine bleach into the toilet bowl. This will help to eliminate any bacteria or germs that may be present in the siphon jet. If you find any blockage in the siphon jet, you may need to use a toilet auger again.
Step 4: Let the Bleach Sit
Let the bleach sit for 5-10 minutes, then flush the toilet again. This will help to further eliminate any bacteria or germs from within the siphon jet. However, if you find that the toilet is still not flushing properly after the bleach has been sitting for 5-10 minutes, then it is time to move on to the next step.
Step 5: Clean Around the Siphon Jet Hole
Use a stiff bristled brush and hot water to scrub around the siphon jet hole and remove any debris or buildup that may have formed on it. Make sure that you wear gloves while doing this as it can be quite messy! It is also important to keep the area around the siphon jet hole clean, as this will help to ensure that it functions properly.
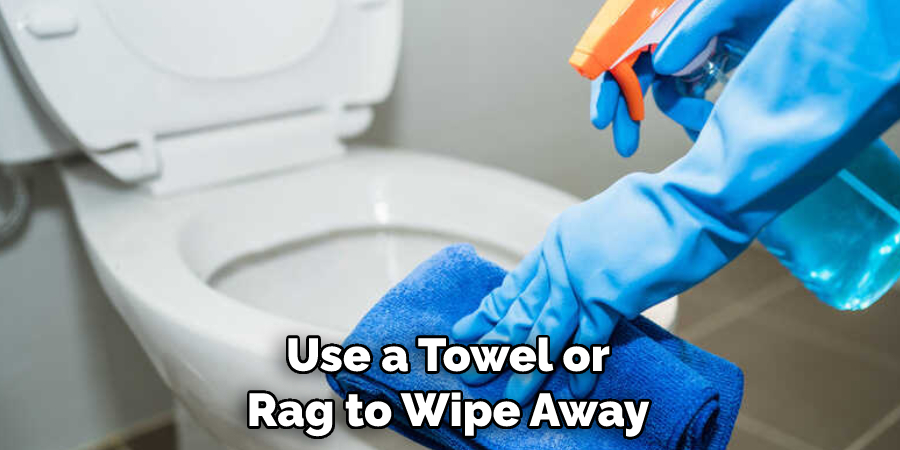
Step 6: Wipe Away Excess Water
Once you’ve finished scrubbing, use a towel or rag to wipe away any excess water from around the siphon jet. If there is any debris left, you can use a damp rag to remove it. But make sure that you’re extra careful not to damage the siphon jet hole. That’s it! Your siphon jet is now clean. This process should be repeated at least every few months to ensure that your toilet remains in good condition.
Step 7: Flush the Toilet Again
Flush the toilet again to ensure that it is functioning properly. If all is well, proceed to the next step. This will help to ensure that the siphon jet remains clean and clear. It is important to note that, if the toilet does not flush properly after all of this work, then it is time to call a plumber. But if it is flushing properly, your work here is done!
Step 8: Take Out Any Debris
If there is any debris or buildup within the siphon jet, take it out with a pair of tweezers. This will help to prevent blockages from forming in the future. If you find any large chunks of debris, use a stiff bristled brush to break them up before taking them out. So that’s it! Now you know how to clean toilet siphon jet hole.
Step 9: Reassemble Parts
Once all of the debris has been removed, reassemble any parts that may have come apart during the cleaning process. That way, the siphon jet will be able to function properly again. It is important to make sure that all of the pieces are securely in place before you proceed. This is the final step in learning how to clean toilet siphon jet hole.
Step 10: Clean the Tank and Bowl
Use a mild cleaner and cloth to clean the inside of your toilet tank and bowl. This will help to keep your toilet looking its best! It is also important to make sure that the entire tank and bowl are clean, as any germs or bacteria present can easily spread. But if your toilet is clean and in good condition, you can now enjoy its newfound efficiency!
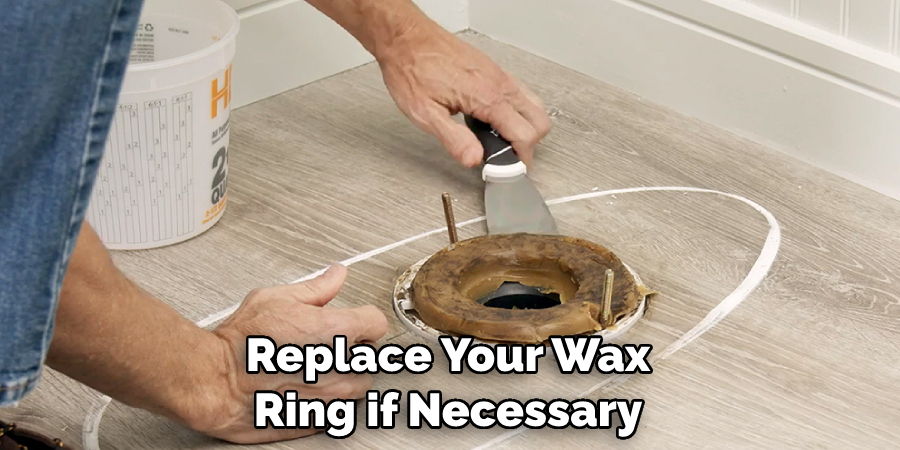
Step 11: Put On New Wax Ring
At this point, you should be ready to replace your wax ring if necessary. If you’re not sure what a wax ring is or how to replace it, refer to the manufacturer’s instructions. That way, you can be sure that your toilet is functioning properly and that any blockages or leaks have been fixed. If you’re unsure, it is best to call a professional for help.
Step 12: Wipe Around the Toilet
Wipe around the outside of your toilet with a damp cloth and mild cleaner in order to remove any residue that may have been left behind during the cleaning process. That way, your toilet will look as good as new when you’re finished. But don’t forget to dry the outside of your toilet as well, so that no water spots are left behind.
Step 13: Flush Again
Flush your toilet one last time to ensure that everything is functioning properly use. If all goes well, your toilet is now clean and ready to use! But if you’re still having trouble, it may be time to call a plumber. That way, you can be sure that your toilet is functioning correctly and safely. Remember, it’s important to keep your toilet clean in order to maintain the hygiene of your home.
Step 14: Clean Up
Clean up any leftover materials from around your toilet and dispose of them properly. If you’ve used any cleaners, make sure to read the label and follow the manufacturer’s instructions. This will help to ensure that your toilet is safe to use. And that’s it! Now you know how to clean a toilet siphon jet hole.
Step 15: Test for Leaks
Test for possible leaks by running some water into the tank and then flushing it down. If all is working properly, you can proceed to the final step. Be sure to check the outside of your toilet for any leaks that may have occurred. If you find any, be sure to call a plumber or repairman as soon as possible.
Step 16: Monitor the Siphon Jet Hole
Monitor the siphon jet hole periodically and clean it as necessary in order to ensure that your toilet continues to function properly. Always be sure to use the proper cleaning products and tools for the job, as this will help to ensure that your toilet stays in tip-top shape. And that’s it! That’s how to clean the toilet siphon jet hole.
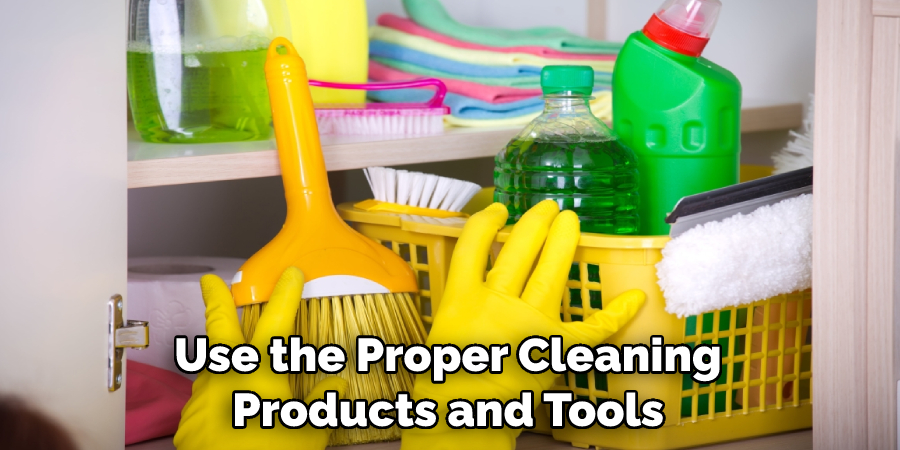
By following these 16 simple steps, you’ll be able to clean your toilet siphon jet hole quickly and easily! Remember to wear gloves during this process and take extra precautions if dealing with a blockage or debris. This will help ensure that your toilet stays in top condition for years to come. With regular maintenance, your toilet should stay clean and clog-free!
Frequently Asked Questions
Q: What Type of Cleaner Should I Use to Clean My Toilet Siphon Jet Hole?
A: It is best to use a mild cleaner that is specially designed for toilet cleaning. Always make sure to read the label and follow the manufacturer’s instructions before using any cleaner on your toilet.
Q: How Often Should I Clean My Toilet Siphon Jet Hole?
A: You should clean your siphon jet hole at least once a month. Regular maintenance will help to ensure that your toilet remains in top condition and stays clog-free!
Q: When Should I Call a Plumber?
A: If you are having difficulty cleaning your toilet or if it appears that there may be a leak, it is best to call a plumber immediately. Doing so will help to ensure that your toilet is functioning properly and safely.
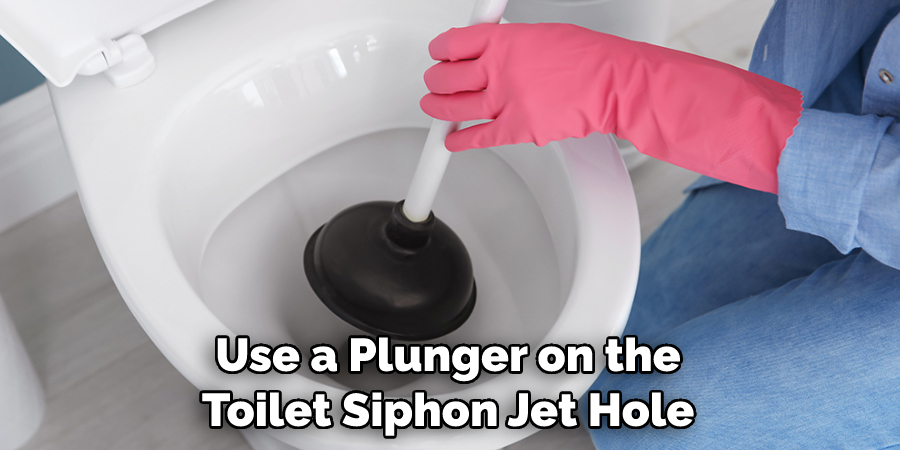
Q: Is It Safe To Use a Plunger on My Toilet Siphon Jet Hole?
A: Generally speaking, it is not safe to use a plunger on the toilet siphon jet hole. If you are having difficulty with the cleaning process, it is best to call a professional for help.
Conclusion
Cleaning and maintaining your toilet’s siphon jet hole is a crucial part of bathroom hygiene. While it may seem intimidating, it is an easy job that won’t take more than 15 minutes to complete. After it has been treated, be sure to flush the toilet several times to make sure the entire pipe system is cleaned out.
With these tips in mind, you’ll be able to maintain a healthy and spotless toilet! If you are unsure about how to clean toilet siphon jet hole, don’t hesitate to seek out a qualified plumber for assistance. No matter what route you choose, keeping you and your family safe during the potty time will always be priority number one! So what are you waiting for? Get cleaning today for a cleaner home tomorrow!

