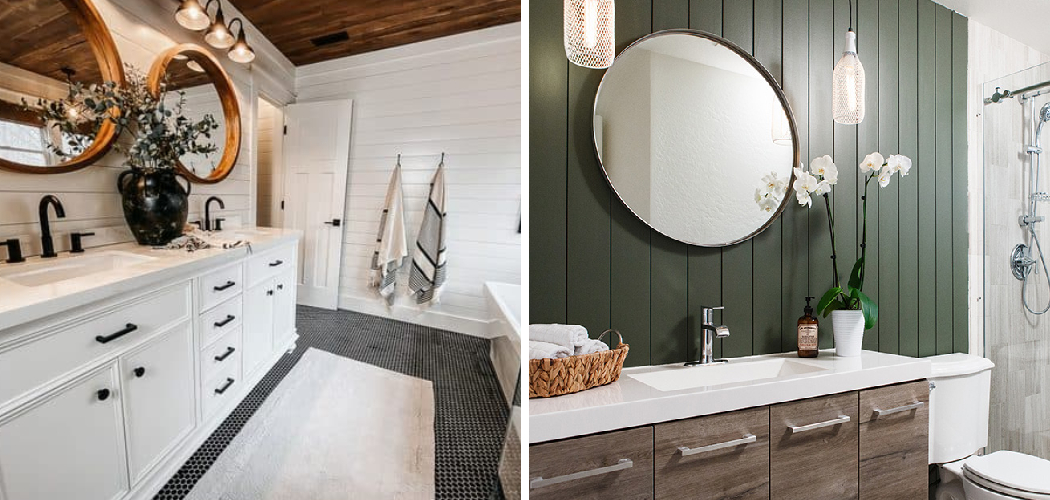
Shiplap is a popular type of siding that can be used to add protection and character to the exterior of your home. It has a unique look that adds an elegant, rustic touch to any house. However, due to its exposure to extreme weather conditions, it’s important to waterproof the shiplap in order to protect it from the elements.
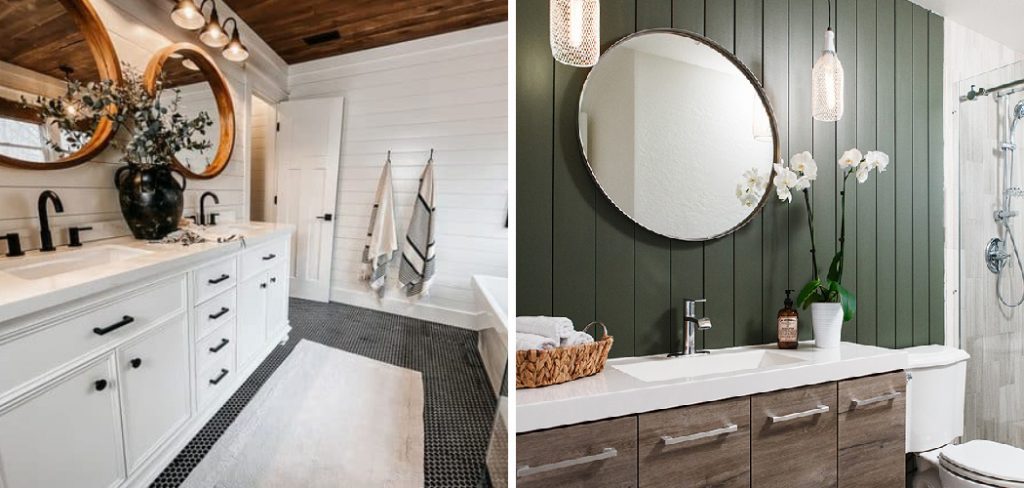
Waterproofing shiplap can provide a range of advantages, including increased durability and longevity for the material. Waterproofing helps protect shiplap from moisture damage caused by rain, snow, or humidity exposure and water-based stains.
Additionally, waterproofing can help prevent mold growth on shiplap. This is especially important in areas where the climate tends to be more humid, as mold growth can lead to a variety of health issues. In this blog post, You will learn in detail how to waterproof shiplap.
Tools You Will Need
- Safety glasses
- Respirator mask
- Spray gun
- Primer
- Paint roller or brush
- Drop cloths or tarps
- Sandpaper or sanding blocks
- Tape measure
- Caulk gun with silicone sealant
- The exterior paint of your choice
To begin waterproofing your shiplap, start by putting on safety glasses and a respirator mask to protect yourself from particles in the air. Next, use a spray gun to apply a primer over the entire surface of the shiplap. Let it dry for 24 hours before continuing on to the next step.
Step by Step Processes for How to Waterproof Shiplap
Step 1: Inspect the Area
Check for any signs of existing water damage before beginning the waterproofing process. Remove all dirt, dust, and debris with a vacuum cleaner or brush. Ensure that the area is completely dry before you start applying waterproofing materials.

Step 2: Apply Primer/Sealant
Use a sealant or primer specifically designed for use with shiplap, such as an acrylic latex waterproofing product. Use an exterior paint that is rated for use on wood surfaces. This will help to protect your shiplap from water damage and UV rays.
Step 3: Apply Clear Sealant
Apply a clear sealant over the entire shiplap surface. This will provide additional protection against water damage and UV rays. Use a waterproof caulk to fill any cracks or seams in the shiplap, which will help prevent water from seeping in.
Step 4: Install Flashings
Install metal flashing or other waterproofing materials around windows, doors, and other openings where water may enter the shiplap walls. Inspect the area regularly to make sure that no water is getting through the shiplap and into your home.
Step 5: Monitor the Area
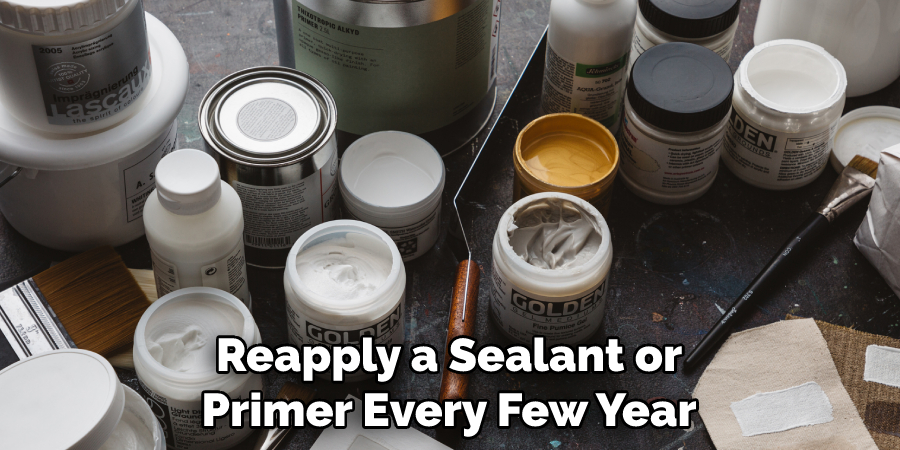
Monitor the shiplap area to make sure that there are no new signs of water damage or leaks. Reapply a sealant or primer every few years to ensure that it still provides adequate protection against water damage and the elements. This step is especially important for areas that are exposed to harsh weather conditions or frequent exposure to water.
Once you have followed these steps, your shiplap should be waterproofed and protected against water damage.
Safety Tips for How to Waterproof Shiplap
- Make sure to wear rubber gloves and safety glasses when working with materials used in waterproofing shiplap, as they may contain hazardous chemicals.
- Do a thorough inspection of the shiplap before beginning work to ensure there are no existing cracks or problems that would prevent the waterproofing from being successful.
- Use a pressure washer to clean the shiplap and remove any dirt, dust, or debris that has been collected on it.
- Apply an oil-based waterproof sealant to the exposed edges of the shiplap using a paintbrush. Allow this to dry completely before continuing with the next step.
- Apply a high-quality silicone sealant to the joints between pieces of shiplap using a caulking gun.
- Use a roller or brush to apply waterproofing paint designed for wood surfaces to the entire surface of the shiplap.
- Allow the waterproofing paint and sealant to dry fully before exposing it to moisture or other elements.
By following these safety tips and watering your shiplap properly, you can ensure that it will remain safe and dry for many years to come.
How Often Should the Waterproofing Coating Be Reapplied to Keep the Shiplap Protected?
When it comes to waterproofing shiplap, the frequency of reapplication depends on several factors, including climate, exposure to moisture, and other elements, as well as the type of coating you are using. Generally speaking, it is recommended that you reapply a waterproof coating every three years or so. However, if your shiplap is exposed to a lot of water, you may need to reapply the coating more often.
If your climate is particularly harsh and wet, then it would be wise to check your shiplap regularly for signs of wear and tear and reapply waterproofing as soon as possible.
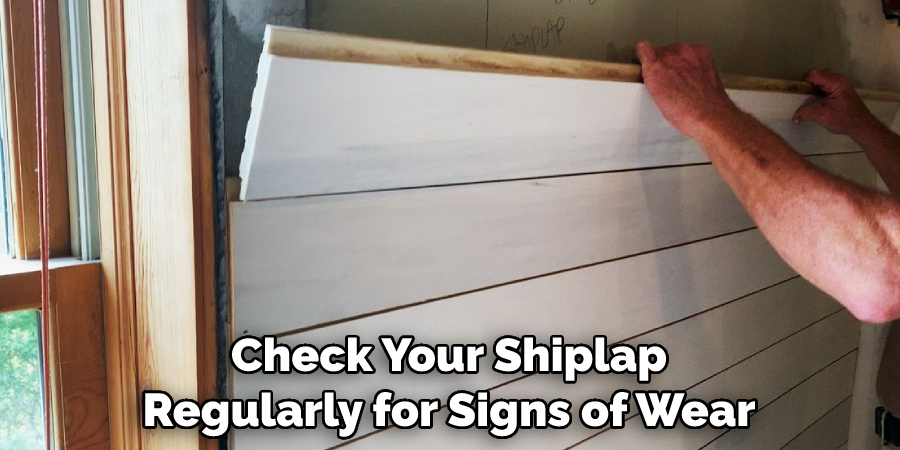
It’s also important to make sure the shiplap is properly prepared before applying the coating, such as by sanding or degreasing it. This will help ensure that the coating adheres correctly and lasts longer.
Ultimately, you should keep an eye on your shiplap and reapply waterproofing depending on its condition. Doing so will extend the life of your shiplap and keep it protected from moisture for years to come.
What is the Best Way to Clean the Shiplap Prior to Applying Waterproofing Material?
Before applying any waterproofing material to the shiplap, it is important to ensure that the surface is clean and free of dust, dirt, and other debris. This can be done by wiping down the boards with a damp cloth or vacuuming them with a soft brush attachment.
Use a mild detergent solution to remove any additional dirt or residue if necessary. Once the shiplap is clean and dry, it is ready to be waterproofed.
The most popular waterproofing method for shiplap is applying a breathable membrane. This type of material is designed to allow water vapor to escape while blocking liquid water from entering the wood fibers below. It typically comes in rolls and can be cut to size for easy installation.
For added protection, some waterproofing membranes also come with an adhesive backing that will help keep them securely attached to the boards.
What Are Some of the Most Common Mistakes Made When Trying to Waterproof Shiplap?
One of the most common mistakes when trying to waterproof shiplap is not properly preparing the surface by cleaning and sanding it beforehand. This step is essential in order to ensure that any sealant or paint will adhere properly. Another common mistake is using a sealant that isn’t specifically made for use on wood, as this can cause the wood to deteriorate over time.
Additionally, failing to use multiple coats of sealant will also hinder your efforts in waterproofing shiplap since each coat should be allowed to dry completely before applying the next.
Lastly, improper application techniques can cause gaps or unevenness in the coverings, which will result in water leakage and damage. Taking these steps before waterproofing the shiplap will help to ensure a successful project. To properly waterproof shiplap, clean and sand the surface to remove any dirt, dust, or other debris that may prevent the sealant from adhering fully.
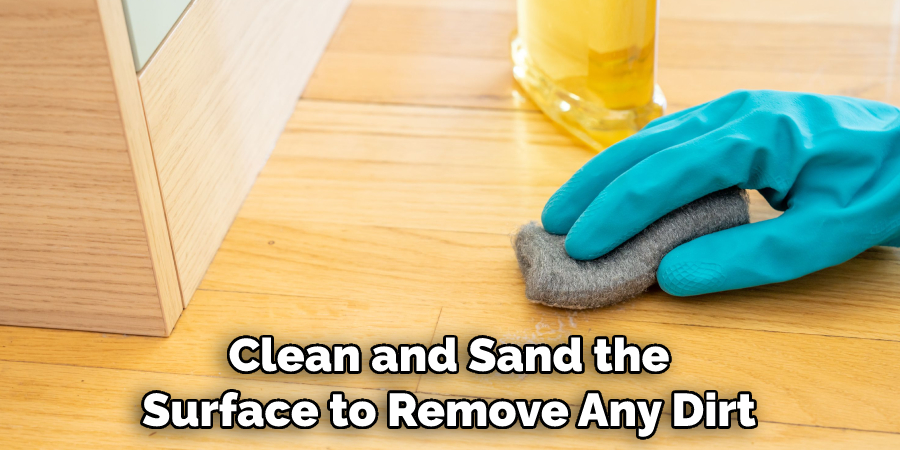
Next, apply a wood sealant designed specifically for using long, even strokes on wood surfaces. Allow each coat to dry completely before applying the next until you reach the desired level of protection.
What Type of Environment is Best for Applying and Maintaining the Waterproof Coating on Shiplap?
When applying a waterproof coating on a shiplap, it is important to make sure that the area is adequately protected from the elements. This means creating an environment with limited wind and humidity and adequate protection from direct sunlight. It’s also important to avoid any areas where debris or other materials might come into contact with the coating.
Additionally, you should make sure that there is a sufficient amount of air circulation to help keep the area dry and dust-free. Once the waterproof coating has been applied, it’s important to monitor the environment regularly in order to maintain its effectiveness and durability.
If any areas become too wet or humid, they can be dried off with a dry cloth and then recoated as needed. Finally, it’s important to properly clean the shiplap in order to remove any dust or debris that could affect the effectiveness of the waterproof coating. Proper care and maintenance make it possible to achieve a truly waterproof finish on your shiplap.
Conclusion
The main disadvantage of waterproofing shiplap is the cost. Waterproofing shiplap requires specialized materials and tools, which can be expensive. Additionally, it takes a lot of time and effort to properly waterproof shiplap boards. If done incorrectly, water may still seep through the seams and cause long-term damage to your home.
Finally, waterproofing shiplap is a messy process and will require considerable clean-up afterward. This can be especially difficult if you need to waterproof an entire wall.
In conclusion, waterproofing shiplap is an important step in protecting your home from water damage, mold growth, and rot. By utilizing a paint or sealant that offers long-term durability, you can rest assured that the material will remain protected against further moisture intrusion for years to come.
I hope this article has been beneficial for learning how to waterproof shiplap. Make Sure the precautionary measures are followed chronologically.

