Are you looking to give your old bathtub a new life? With epoxy, you can transform an outdated tub into something modern and stylish. Not only does epoxy create a hard surface for the bath interior, but it also adds color and texture. In this blog post, we’ll explain exactly how to use epoxy in order to get the vibrant finish that many want when refinishing or decorating their bathroom surfaces.

We’ll also list out all of the necessary supplies needed in order to keep things running safely and quickly! So no matter what kind of shape your current bathroom setup is in, this post on how to epoxy a bathtub will offer up some tips on how to makeover, either completely refinish or just add decorative touches with epoxy. Let’s get started and revive your bathroom with energy, vibrancy, and style!
What is Epoxy?
Epoxy is a strong adhesive that is made up of two parts: resin and hardener. When combined, these two components create a tough and durable material that can be used as an effective covering for many surfaces. It’s most commonly used for pool floors, showers, countertops, and even bathtubs!
Preparing the Bathtub
Before beginning the epoxy application process, you’ll need to prep your bathtub for the job. Start by thoroughly cleaning the surface with a cleaner that is specifically made for bathroom surfaces and tiles.
This will help ensure that no dirt or grime remains on the tub, which can cause issues when attempting to apply epoxy. Once you’ve finished cleaning the tub, let it dry completely before beginning the application process.
Required Items for Application
In order to properly apply epoxy to a bathtub, you’ll need the following supplies:
- Epoxy resin and hardener
- A mixing container
- A stir stick or other mixing tool
- Paint brushes, rollers, or pads (for spreading the epoxy)
- Protective gear (gloves, goggles, etc.)
- Sandpaper or sander (optional)
7 Instructions on How to Epoxy a Bathtub
1. Protective Wear
Put on protective gear, including gloves and goggles. If you’re using a sander, you should also be wearing a dust mask. It will also be helpful to lay down a tarp or newspaper on the area surrounding the tub in case epoxy splatters.
2. Sanding (Optional)
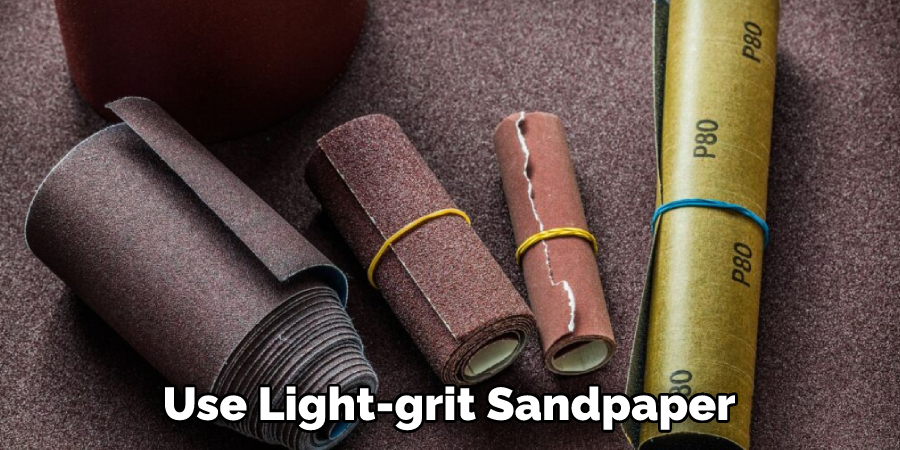
If you are looking for a smooth finish, you may want to sand down your bathtub’s surface before applying the epoxy. Use light-grit sandpaper and sand in circular motions. Make sure to wipe down the area afterward with a damp cloth, as this will help make sure that no dirt or dust remains on the surface.

3. Prepare the Epoxy Mixture
Mix together your epoxy resin and hardener in a container according to package instructions. Use a stir stick or other mixing tool to ensure that the two components are blended together correctly. The mixture may need to sit for a few minutes before it is ready to use.
4. Apply the Epoxy
Using either a paintbrush, roller, or pad, spread the epoxy mixture over the bathtub surface in even strokes. Make sure that all of your strokes are going in one direction so you don’t create any air bubbles.
5. Smooth and Level
Using an applicator, smooth out any air bubbles and ridges in the epoxy. This will ensure a level finish on your bathtub’s surface. Smooth out any areas that have been over-applied as well. Smoothing out the surface will help create a more professional look.
6. Dry and Cure
Let the epoxy dry and cure completely before using your bathtub; this could take up to 24 hours. Depending on the type of epoxy you used, it may be necessary to apply a second coat once the first layer has dried in order to achieve the desired look.
7. Final Steps
Once the epoxy has dried and cured, you can apply a protective coating or sealant over it. This will help ensure that your bathtub’s finish stays looking great for years to come. Also, make sure to clean and dry your bathtub regularly in order to maintain its shine.
And there you have it! With these steps, you’ll be able to give your bathtub a new look with epoxy. Be sure to take the necessary safety precautions when working with epoxy and follow all instructions on the packages of products you use.

8 Maintenance Tips for a Durable Epoxy Bathtub
When you’re looking to bring your bathtub back to life, epoxy coatings are the perfect solution. Not only are they cost-effective and easy to use, but they also protect against future damage caused by water and wear. But in order for your epoxy coating to last as long as possible, you need to know how to properly maintain it.
Here are eight maintenance tips that will help keep your epoxy bathtub looking good for years to come:
1. Clean and dry the surface before applying the epoxy coating. Be sure to remove any loose debris or dirt that may have accumulated on the bathtub surface. Crying the surface thoroughly will help ensure better adhesion of the epoxy.
2. Use a high-quality, thick epoxy coating when applying your bathtub. Make sure that you buy an epoxy specifically designed for bathroom applications and follow all instructions carefully when mixing and applying it.
3. Apply more than one layer of epoxy for maximum protection. Applying multiple layers can help to create a waterproof barrier and provide extra strength and durability. More layers also help to hide any imperfections or inconsistencies on the surface.
4. Always use a soft sponge when cleaning your epoxy-coated bathtub. Never scrub with abrasive materials or harsh chemicals, as this can damage the coating and lessen its effectiveness.
5. Rinse off excess moisture after every use. This will help to prevent any water spots or stains on the epoxy surface. Rinsing also helps to remove soap residue and other contaminants that could cause long-term damage.
6. Wipe up spills immediately. Quickly mopping up liquids will avoid any staining or discoloration caused by the spill. Wiping the surface with a damp cloth is usually sufficient, but you may need to use a cleaning solution if the spill is particularly stubborn.
7. Avoid putting excessive weight or pressure on your epoxy-coated bathtub. This can cause it to crack or chip in certain areas, resulting in an unsightly appearance and reduced durability over time.
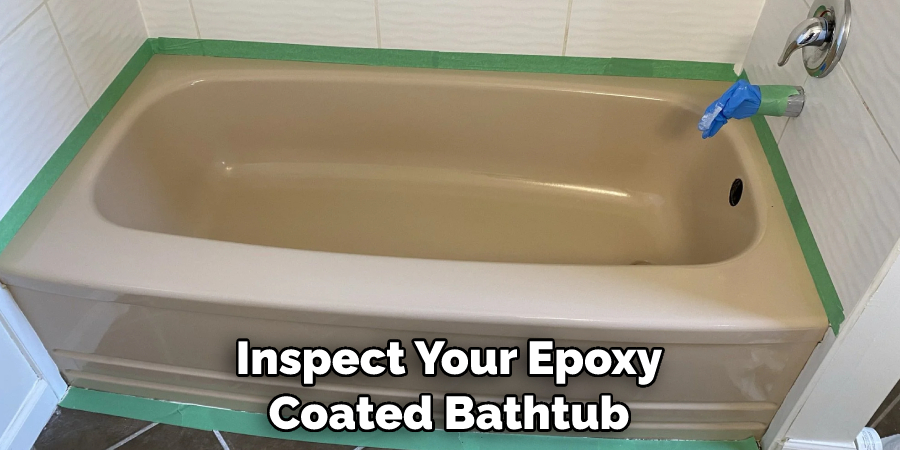
8. Regularly inspect your epoxy-coated bathtub for any signs of wear or damage. If you notice any cracks, chips, peeling, or discoloration, then it’s best to get it repaired as soon as possible in order to maximize its lifespan and maintain its appearance.

By following these eight maintenance tips, you can ensure that your epoxy-coated bathtub lasts for many years to come. Just remember to clean often, avoid using harsh chemicals or abrasive materials, and don’t put too much weight on your bathtub. Doing this will help keep your epoxy coating looking good and functioning properly for a long time.
Frequently Asked Questions
How Long Will It Take to Finish the Project?
Epoxying a bathtub typically takes several days to complete. This includes the time it takes to properly prep and clean the surface, apply the epoxy, and allow adequate curing time. Depending on the size of your bathroom, you may need to set aside more than one day for this project. Bathtub epoxy is also a labor-intensive process, so it’s important to give yourself ample time for the job.
What Tools Do I Need?
At a minimum, you’ll need an orbital sander or sanding block, masking tape, paint scraper or wire brush, drop cloths, painter’s tape, epoxy, and a paint roller. Depending on the condition of your bathtub surface, you may also need additional items such as primer, putty knife, sandpaper, and abrasive pads.
How Should I Prepare the Surface?
Before applying the epoxy, it’s important to thoroughly clean and prepare the bathtub surface. Use a combination of the tools listed above to sand, scrape, and remove any dirt, grease, or rust from the surface. Once it’s clean, you can mask off any areas that should not be epoxied (such as fixtures and tile). Be sure to let the surface dry completely before applying any primer or epoxy.
How Many Coats Should I Apply?
Typically, you should apply at least two coats of epoxy to the bathtub surface. Wait for the first coat to dry before applying the second coat. Depending on your desired finish or level of protection, you may need to apply more than two coats. For best results, wait 24 hours between each coat to ensure proper bonding and a seamless finish.
Can I Do This Project Myself?
Yes, if you have the right tools and supplies as well as the knowledge and patience needed, you can epoxy a bathtub yourself. But be sure to read up on safety precautions before starting any project of this size and complexity. If you have any doubts or worries, it’s best to consult a professional for help.

Conclusion
With the right materials and preparation on how to epoxy a bathtub, epoxy coating a bathtub is not only possible but also quite simple to do. It’s a great project for novice DIYers who want to attempt a larger craft item and experience the satisfaction of doing it right.
A high-quality epoxy will ensure your new finish lasts for years to come. Taking the time to apply each layer correctly is essential for achieving strong abrasion resistance.
Preparing the surface correctly helps ensure good adhesion between layers and forms a strong chemical bond that’s ideal for such a moist environment. Whether you are renovating an existing bathroom or outfitting a new one, epoxying your bathtub yourself can be an overwhelming yet rewarding experience. Plus, nothing compares to proudly displaying your handiwork!

