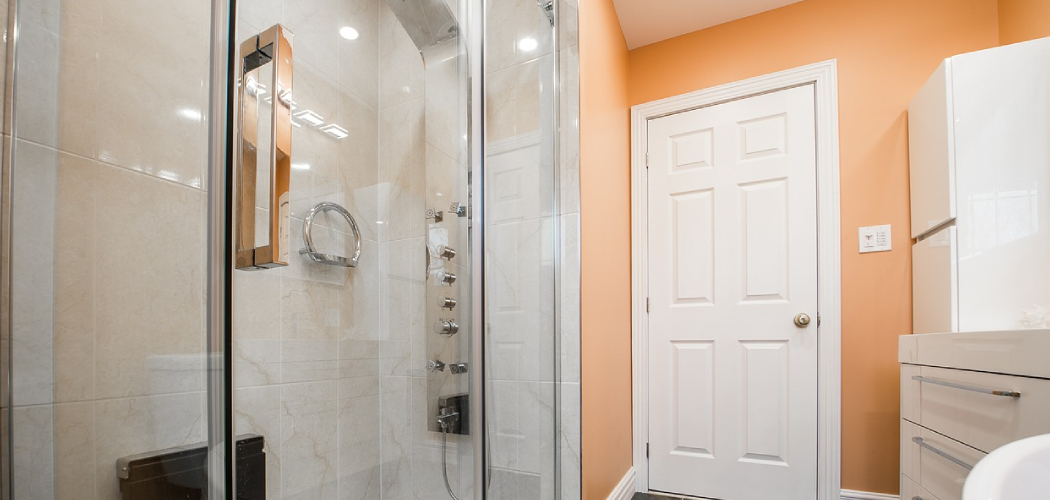
Accurately measuring a shower stall is a crucial step when it comes to planning a bathroom renovation or installing a new shower enclosure. Whether you’re replacing an existing shower or starting from scratch, knowing how to measure a shower stall is essential for ensuring a proper fit and a seamless installation process.
In this article, we will guide you through the steps of how to measure shower stall, from taking precise measurements of the width, height, and depth to considering factors such as plumbing fixtures and clearance requirements.
We will also provide helpful tips on how to account for any irregularities or obstacles in the space. By following these measurement guidelines, you’ll be equipped with the information necessary to select the right-sized shower stall and ensure a successful installation in your bathroom.
Importance of Properly Measuring a Shower Stall
Accurately measuring a shower stall is essential for ensuring that the right size of products, such as shower doors, are purchased and installed. A mistake in measurements can lead to an incorrectly fitted door or other element which can be both expensive and inconvenient to replace.
When taking measurements, it is important to measure each wall individually. Measure the width and the height, from floor to ceiling. It is also important to measure the actual opening of the shower stall so that it can be determined what size door or screen will fit correctly. Check for any obstructions in the area such as cabinets, shelves, windows or other fixtures.
Taking detailed measurements and recording them accurately helps to ensure that the right size products are purchased and installed. This means that homeowners can enjoy a safe, comfortable and aesthetically pleasing showering experience without any of the frustrations related to incorrectly fitting doors or screens.
Overview of the Measuring Process
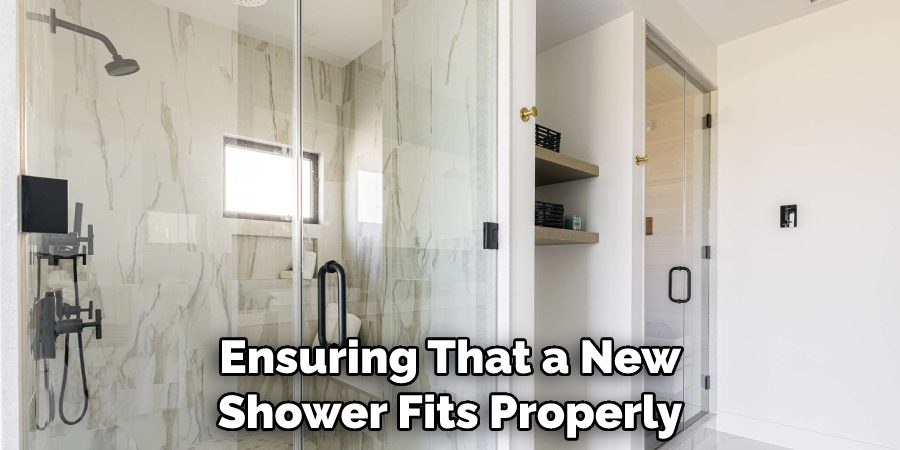
Measuring a shower stall is important for ensuring that a new shower fits properly. Taking accurate measurements and doing the proper installation will ensure your shower looks great and functions correctly.
The first step in the measuring process is to determine the size of the area where you want to install the shower stall. Measure from wall to wall, floor to ceiling, and corner to corner.
Next, measure the opening width and height of the shower stall. This is measured from the edge of the frame to the inside edge of the opposite side. Make sure you use a tape measure that has clearly visible markings in both metric and imperial units for accuracy.
You also need to consider how much space you need for shower walls and accessories. Measure the distance that each wall takes up and add it to your measurements of the shower stall. This will determine how much space is left in the area.
Finally, make sure you take into account how much space you have between pipes, drains, and other fixtures when measuring a shower stall. If there are any obstructions, make sure to factor them into your measurements. After measuring the area and taking all of these factors into account, you will be able to accurately determine the size of shower stall that fits your space.
Tools Needed for Measuring
- Tape Measure
- Level
- Pencil or Marker
- Notepad or Measuring Worksheet
10 Methods on How to Measure Shower Stall
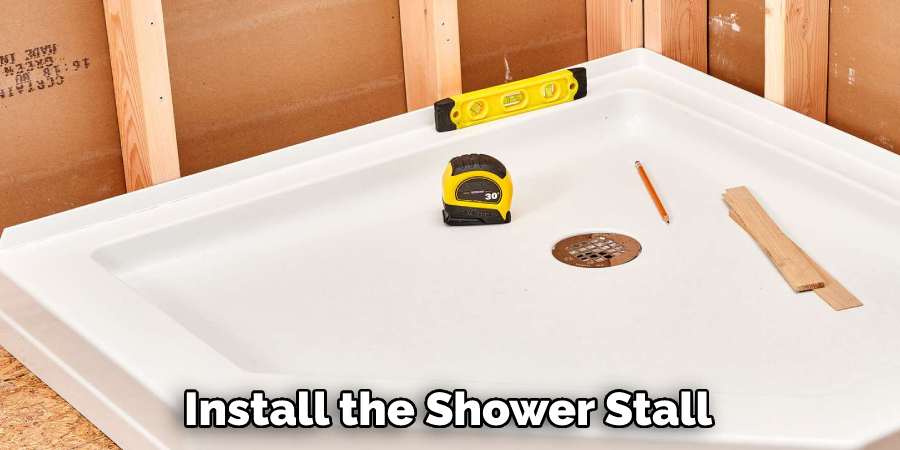
Step 1: Gather the Necessary Tools
Before you begin measuring, gather the tools you’ll need, including a measuring tape, pencil or pen, paper or a notepad, and a level. Having these tools on hand will help ensure accurate measurements. Although you may be able to get away with using a ruler, a measuring tape will provide more accurate and precise measurements. Try to use a steel measuring tape if possible.
Step 2: Determine the Location
Identify the location where you plan to install the shower stall. Consider factors such as the existing plumbing, adjacent walls, and any other fixtures that may affect the placement and dimensions of the stall. Make sure to measure the space you have available to ensure you select a shower stall that will fit in the designated area.
When measuring the space, take into account any necessary room for a door and hinge, as these items may affect your measurements. To determine the width and depth of the space, measure from wall-to-wall or corner-to-corner. Finally, make sure to measure
Step 3: Measure the Width
Measure the width of the area where the shower stall will be installed. Start by measuring the distance between the two walls or the space where the shower enclosure will fit. Take measurements at the top, middle, and bottom of the space to account for any variations in wall alignment.
Place the tape measure in the corner of the space and extend it to the opposite wall. This will give you a good indication of how wide the shower stall needs to be. Make sure to record all measurements and jot them down on paper or in a notebook.
Step 4: Measure the Height
Next, measure the height of the shower stall. Start from the floor and measure up to the desired height of the enclosure. Ensure that you measure to a point where the stall will be installed, such as the top of the base or the bottom of the showerhead. Keep in mind the standard height of a shower stall is 72 inches.
Once you have the height, mark it with a pencil or marker you have the height of the enclosure write it down in inches and centimeters. This measurement will be useful when purchasing accessories such as towel bars or shower curtains, which need to be the same height as the shower stall.
Step 5: Measure the Depth
Measure the depth of the shower stall by determining how far it will protrude into the bathroom. Measure from the back wall to the front edge of the intended stall location. This measurement is particularly important for determining the amount of space available in the bathroom and the positioning of other fixtures.
When measuring the depth, be sure to take into account any additional framing or accessories that may add to the overall size of the shower stall.
Step 6: Consider Obstacles
Take note of any obstacles or irregularities that may affect the shower stall’s measurements. This can include fixtures like windows, doors, or electrical outlets. Measure the distance between these obstacles and the shower stall area to ensure proper clearance.
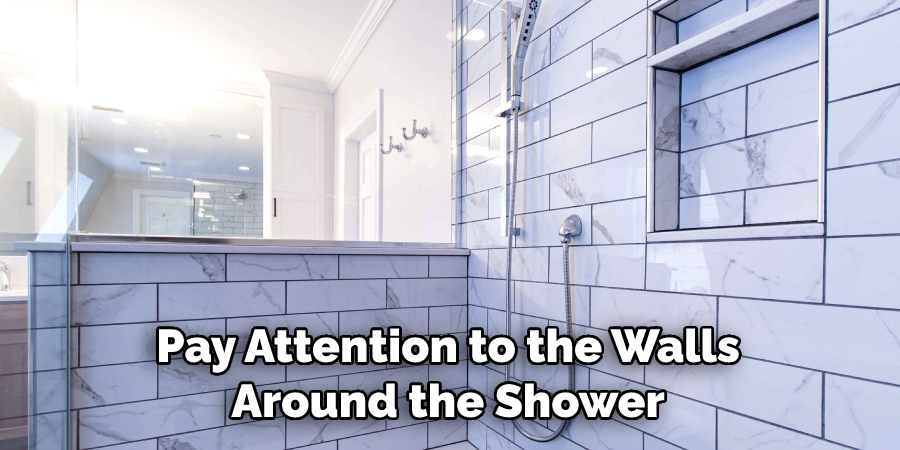
Also, pay attention to the walls around the shower stall and note any bumps or protrusions that need to be taken into account when measuring.
Step 7: Check for Level and Square
Use a level to ensure that the walls where the shower stall will be installed are plumb and level. This step is crucial for accurate measurements and a proper fit.
If the walls are not level, adjustments may need to be made before proceeding with the installation. Additionally, the corners should be square. If they are not, it may be necessary to shim or otherwise adjust the walls before installing the shower stall.
Step 8: Double-Check the Measurements
Review your measurements to ensure accuracy. Check for any discrepancies or inconsistencies and re-measure if necessary. It’s important to have precise measurements before purchasing or ordering a shower stall. Once you have all your measurements, you can move on to the next step in the process: purchasing or ordering a shower stall that will fit in your space.
Step 9: Take Photos or Sketches
Consider taking photos or making sketches of the shower stall area. These visual references can be helpful when communicating with suppliers and contractors or when shopping for a shower stall.
They provide a clearer understanding of the space and its dimensions. This is especially important if the shower stall needs to be custom-made. Taking photos or making sketches of the area can also help ensure that the correct measurements are taken and documented.
Step 10: Consult Professionals if Necessary
If you’re unsure or uncomfortable with any aspect of measuring a shower stall, consider consulting professionals such as contractors or designers. They can provide guidance, ensure accurate measurements, and help you select the appropriate shower stall for your space.
Additionally, they can provide valuable advice on installation and maintenance that will ensure the longevity of your shower stall. With their help, you can confidently move forward with the project, knowing that your measurements are correct and your shower stall will be a perfect fit.
Conclusion
Measuring your shower stall correctly will make sure that it fits properly and looks good when installed. If you are feeling a little overwhelmed by the task, there is no need to worry—measuring your shower stall is a straightforward process if you take the time to do it right.
With proper measurements and preparation, your shower stall installation should go smoothly and you can be sure of an excellent finish! Just be sure to measure twice to get the most accurate results. Now that you know how to measure your shower stall, it’s time to start shopping for the perfect one!
Be sure to keep in mind everything we’ve discussed about getting accurate measurements and knowing what options fit best with your needs in order to discover an ideal shower solution for your bathroom. Thanks for joining us today as we explore How To Measure Shower Stall – please let us know any questions or comments you have below!

