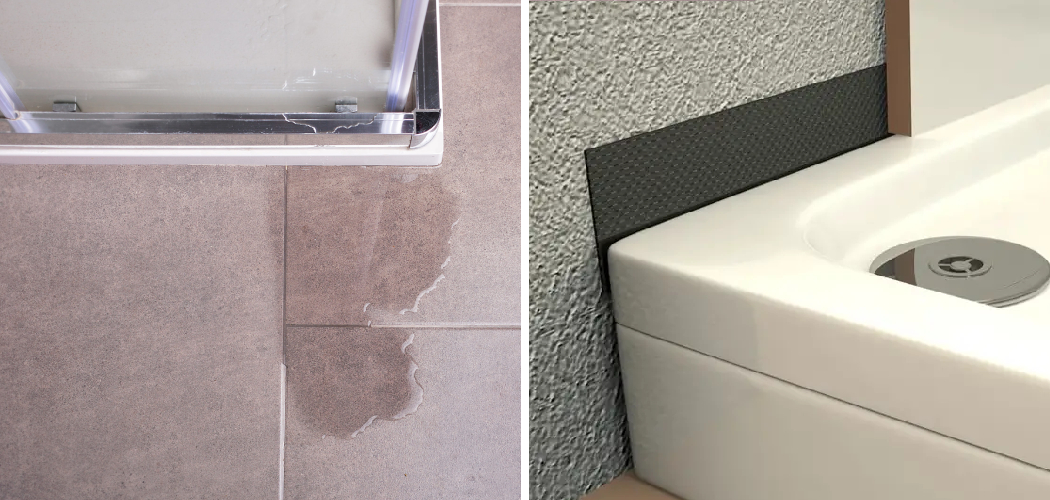
A leaking shower tray can be a frustrating and potentially damaging problem in any bathroom. The constant presence of water can lead to mold growth, damage to the flooring and walls, and even structural issues if left unaddressed.
However, there are effective steps you can take to stop a shower tray from leaking and restore your bathroom to its dry and functional state. This article will guide you through the process of how to stop a shower tray leaking, assess the severity of the problem, and implement appropriate solutions.
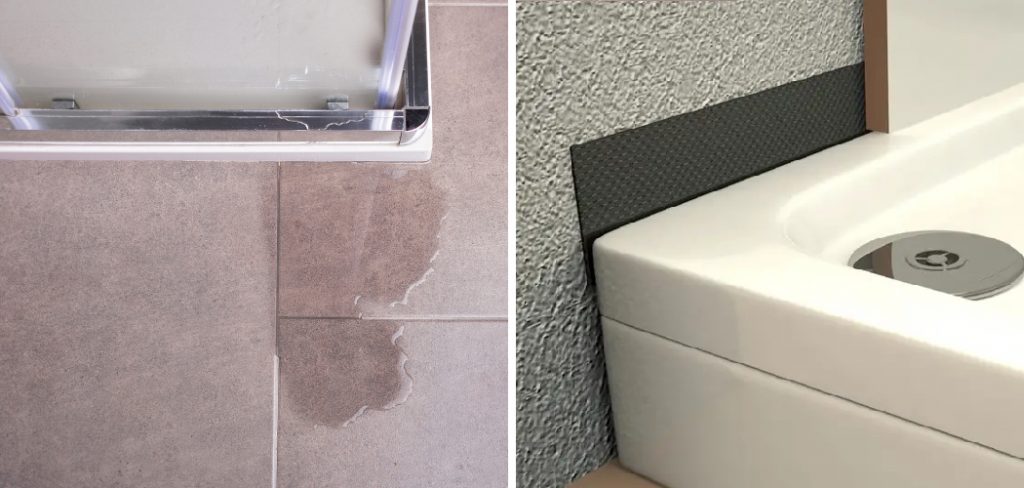
From inspecting the shower tray for cracks and gaps to resealing or replacing the faulty areas, we will explore practical tips and techniques that will help you tackle this issue head-on. With the right knowledge and tools at your disposal, you can successfully prevent shower tray leaks and enjoy a worry-free showering experience once again.
Why Is My Shower Tray Leaking?
Leaking shower trays are a common problem, but luckily it’s typically an easy issue to address. The most likely causes of shower tray leaks are loose or incorrectly fitted seals, damaged grouting between the tiles, and general wear and tear.
To find out why your shower tray is leaking, the first step is to properly inspect the area. Start by looking for any signs of damage in the sealant around the edges of the tray; if there are gaps or breaks present you should immediately reseal them with waterproof silicone sealant.
It could also be that your grout has become worn or broken down over time. Check for any cracks or gaps between your tiles – if these exist, re-grout the area using a waterproof grout sealer.
Finally, if your shower tray is an old model it may have worn down and become loose over time, resulting in water seeping into the walls or flooring around it. If this is suspected to be the case, you should replace your shower tray with a newer version that fits properly.
Tackling these issues sooner rather than later will help prevent further damage from occurring due to leakages. With some simple maintenance and repair work, you can quickly get your shower back to its best!
10 Methods How to Stop a Shower Tray Leaking
1. Check the Silicone Seals
The first thing you should do if your shower tray is leaking is to check the silicone seals. Over time, these seals can become cracked or damaged, which can allow water to leak through.
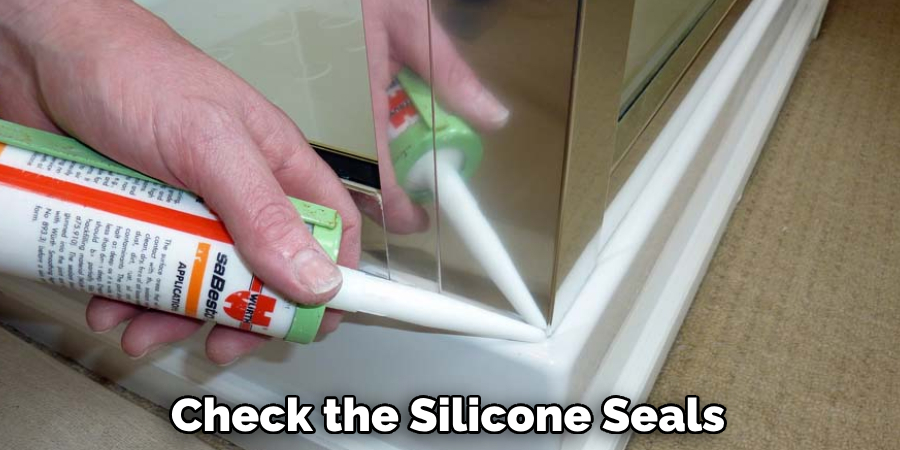
You can usually replace the silicone seals yourself, but it’s best to call a professional if you’re not sure how to do it. Once you’ve replaced the seals, make sure that they’re properly sealed, and there are no gaps left for water to seep through. Try to use a waterproof sealant to ensure that the area is completely sealed.
2. Check the Drain
Another common cause of shower tray leaks is a blocked or damaged drain. If your drain is blocked, water can build up in the tray and eventually start to leak out. You can try to clear the blockage yourself, but it’s best to call a plumber if you’re not sure how to do it.
If the drain isn’t blocked but is damaged or loose, it could also be causing a leak. Check the fittings of the drain and see if there are any pieces that need to be tightened or replaced. If the drain is cracked, you’ll need to replace it altogether.
3. Check the Grout
If you have tile in your shower, then the grout between the tiles can also become cracked or damaged, which can allow water to leak through. You can usually replace the grout yourself, but it’s best to call a professional if you’re not sure how to do it. To check the grout, get a flashlight and examine it closely. Look for cracks or discoloration that might indicate damage.
If any areas have been damaged, they’ll need to be repaired. To repair the grout, use a white tile adhesive and sealant. Apply it in all of the affected areas and make sure it is thoroughly sealed. Once dry, check the area again to make sure there are no more leaks.
4. Check the Caulking
Silicone chalk is a sealant that is used to fill gaps and cracks. Over time, caulking can become cracked or damaged, which can allow water to leak through. You can usually replace the caulking yourself, but it’s best to call a professional if you’re not sure how to do it.
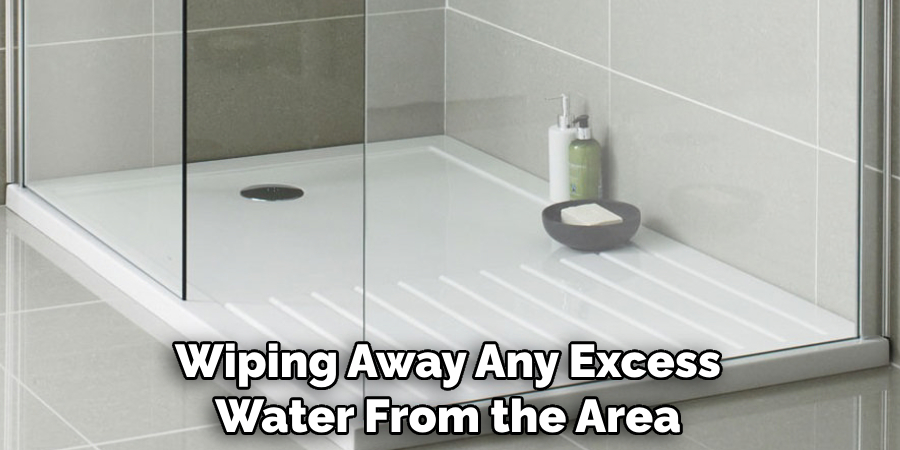
To check the caulking, start by wiping away any excess water from the area with a cloth. Then, inspect the caulking for any cracks or damage. If you find any, you can purchase a new tube of caulking from your local hardware store and apply it to the affected area. Be sure to follow the directions on the packaging for best results. Once you’ve applied the caulking, wait for it to dry before using your shower again.
5. Check for Leaks in the Pipes
If your shower tray is leaking, it could be because of a leak in one of the pipes that supplies water to the shower. You’ll need to call a plumber to fix this type of leak. The plumber will need to check the pipes, and replace any parts that have become damaged or worn out.
They may also need to install new seals or gaskets if the pipes are leaking. Once this is done, you should be able to enjoy a leak-free shower again.
6. Check for Leaks in the Fixtures
Another common cause of shower tray leaks is a leak in one of the fixtures, such as the showerhead or faucet. You’ll need to call a plumber to fix this type of leak. The plumber will be able to identify the source of the leak, replace any worn out parts and make sure that everything is properly sealed.
This should help to stop the leaking and prevent any further damage. Additionally, the plumber may also recommend installing a water flow restrictor to reduce water pressure and help prevent future leaks.
7. Use Waterproof Tape
If you can’t find the source of the leak, or if you don’t feel comfortable trying to fix it yourself, you can use waterproof tape to temporarily seal the leak until you can get it fixed by a professional.
Make sure to use a tape specifically designed for waterproofing, such as butyl rubber tape, which is often used in plumbing and roofing applications. Cut a piece of tape to fit over the area where you suspect the leak is coming from, and press it firmly onto the surface.
8. Use Caulk
Caulk is another sealant that can be used to fill gaps and cracks. It’s best to use caulk when you’re trying to seal a larger area, such as around a pipe or fixture. You can usually apply caulk yourself, but it’s best to call a professional if you’re not sure how to do it.
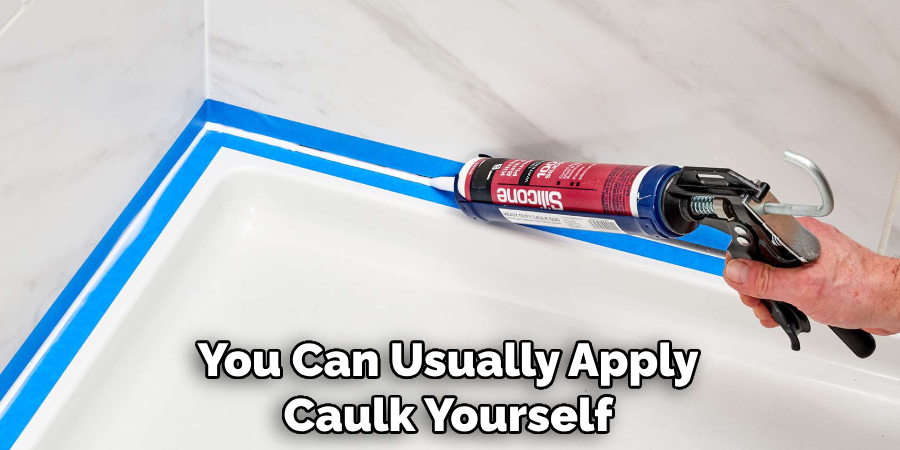
Make sure you read the instructions before applying and use a caulking gun for best results. Once the caulk has dried, you should have a tight seal that will stop your shower tray from leaking. If you have any questions about applying caulk, consult a professional for help.
9. Use Epoxy Resin
Epoxy resin is a strong adhesive that can be used to seal cracks and holes. It’s best to use epoxy resin when you’re trying to seal a larger area, such as around a pipe or fixture. You’ll needto follow the instructions carefully when using epoxy resin, as it can be dangerous if used improperly. First, clean the area around the leak with a brush and detergent.
Then sand down any rough areas to make sure that the epoxy resin will stick. You’ll then need to mix the epoxy resin according to the manufacturer’s instructions and apply it liberally around the area of the leak.
10. Replace the Shower Tray
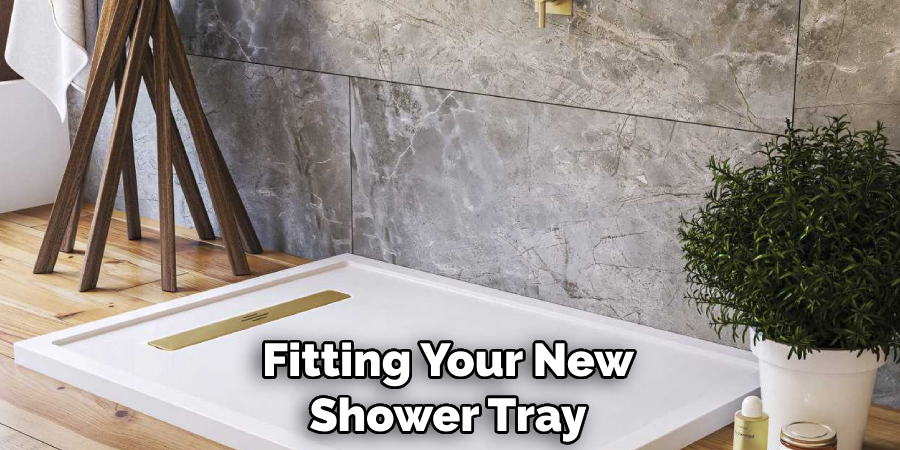
If all else fails, you may need to replace your shower tray. Make sure to get a new one that fits correctly and is the same size as the old one, to ensure a seamless installation. Make sure to use sealant when fitting your new tray to avoid any leaks.
You should also take the time to check any connections and seals when fitting your new shower tray, such as the shower waste or trap. If these connections are not properly sealed, they may be the cause of any future leaks.
Conclusion
The stops on a shower tray can be very difficult to repair, but with a few tools and some basic knowledge you can surely do it. Always consider the age of the shower tray, as well as any possible damage or cracks before starting to work. It is always better to consult a professional if you are unsure.
When repairing a shower tray the first thing one needs to do is identify the source of the leak, for example check if any sealant has come loose or deteriorated over time.By following these simple steps, your shower tray will soon be back in order.
In conclusion, doing simple repairs by yourself such as stopping a leaking shower tray will not only save you money but give you some peace of mind that all leaks are fixed properly and securely – so don’t wait any longer and take action now; learn How to Stop a Shower Tray Leaking!

