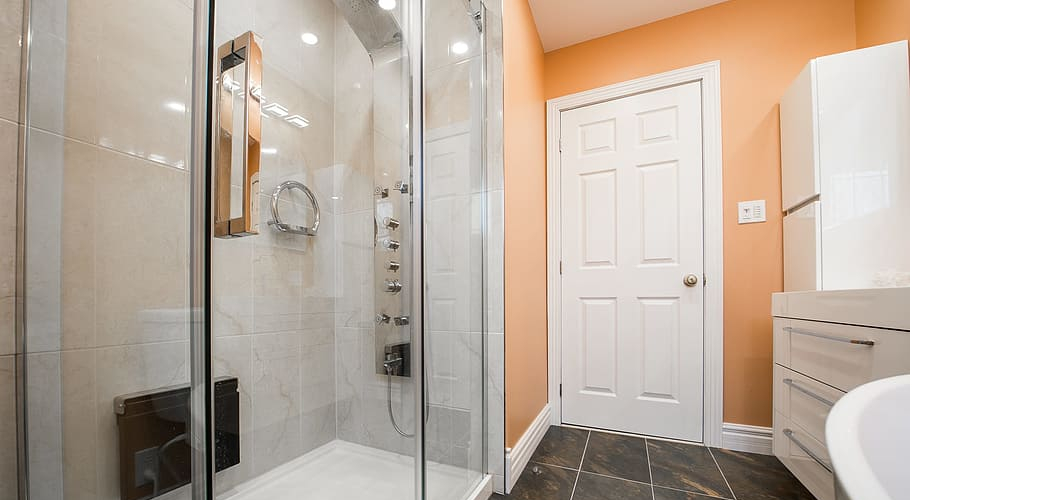
Are you looking to upgrade your shower into a luxurious steam experience? If so, converting your regular shower into a steam shower is perfect! While this requires some renovation work, it can be manageable with the right tools and instructions.
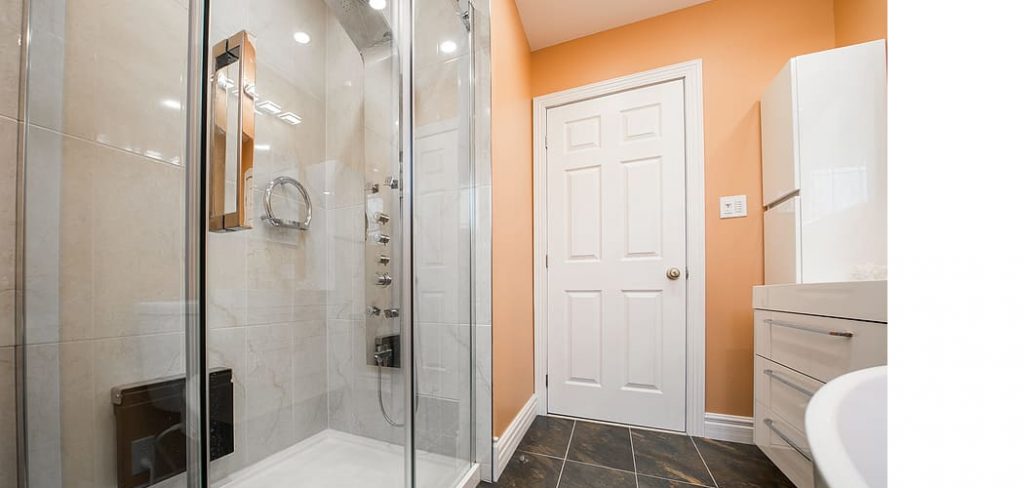
If you’ve ever felt like your shower lacked something special, converting it to a steam shower could be the perfect solution. Turning an ordinary bathroom into a tranquil escape with just a button can transform your daily routine quickly.
In this blog post, we’ll explain how to convert shower to steam shower one by highlighting every step of the process from start to finish. So if you’re looking for that spa-like experience right at home, keep reading as we walk you through everything needed!
What Will You Need?
Before you begin, it’s important to ensure that all the necessary pieces are in place. Here is a list of items you’ll need when converting your regular shower to a steam one:
- Steam generator
- Steam head
- Tiles for walls and flooring (nonporous materials like marble, quartz, and granite work best)
- Shower door
- Temperature and pressure valves
- Insulation materials (vapor barrier, insulation board)
- Drain assembly
- Miscellaneous tools and supplies (drill, grout, sealant, etc.)
Once you have everything in place, it’s time to begin the installation process.
10 Easy Steps on How to Convert Shower to Steam Shower
Step 1: Dismantle the Existing Shower Setup
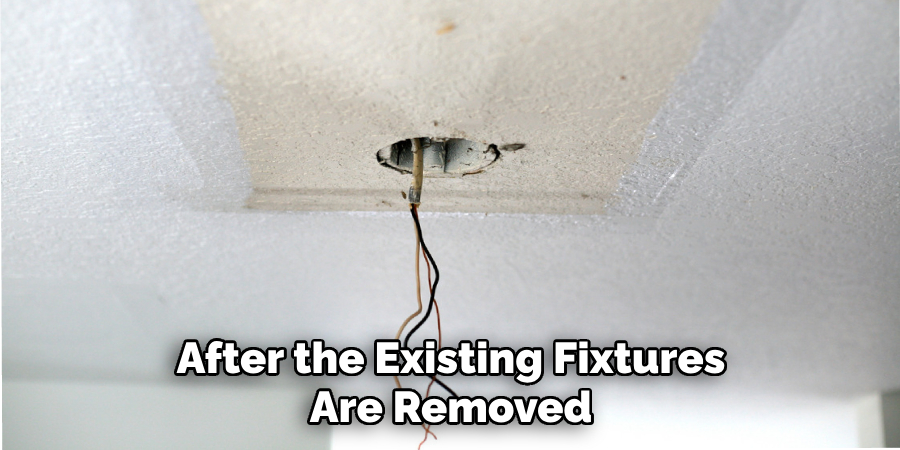
The first step is to remove any existing fixtures from your current shower. This includes removing the walls, floor, and drain assembly so you have a clear area to work with. Keep any components you plan on reusing, as it may be beneficial later.
Step 2: Install the Insulation Materials
After the existing fixtures are removed, it’s time to begin installing insulation materials like vapor barriers and insulation boards around your shower area. These will help contain the heat for your steam shower and prevent water from seeping into other areas of your bathroom. As you install, make sure to use a level to ensure that everything is even.
Step 3: Add Tiles to Walls and Flooring
Once the insulation is in place, it’s time to add tiles to your walls and flooring. Nonporous materials like marble, quartz, or granite work best when creating a steam shower, as these will be able to withstand high temperatures without any damage. Try to pick tiles of the same size and shape for a cohesive look.
Step 4: Install the Steam Generator
Now that your walls and floors are tiled, installing the steam generator is time. This is the main component of your steam shower as it heats the water and creates the steam. Make sure to follow all instructions carefully when installing, as this will be crucial for proper operation later on.
Step 5: Add Drain Assembly
Once the steam generator is in place, you can move on to adding the drain assembly. This will ensure that any excess water from your steam shower is able to drain away safely without causing any damage or flooding. You can also add a shower base to your drain assembly for added support if needed.
Step 6: Install Shower Door and Steam Head
The next step is to install a shower door and a steam head into your steam shower. The door will help keep the steam in, while the steam head is necessary for releasing the steam and providing a soothing experience. Ensure that both are securely attached, and double-check your measurements before drilling in any holes.
Step 7: Add Temperature and Pressure Valves
Temperature and pressure valves are also important for your steam shower. They help regulate the temperature and pressure of the steam, so it’s important to make sure they are installed correctly. Follow the manufacturer’s instructions when installing these components.

Step 8: Seal Up Any Gaps or Holes
Once all the components are in place, you’ll need to seal any gaps or holes with a sealant. This will ensure that there are no leakages from your steam shower and keep everything working as intended. Be sure to use a waterproof sealant for added protection!
Step 9: Test Your Steam Shower
Now that everything is installed, it’s time for one final test before you can use your steam shower. Turn on the steam generator and check that all components are working properly. You should also watch for any signs of water leakage before enjoying your newly renovated steam experience.
Step 10: Enjoy!
Finally, you’re ready to enjoy your newly converted steam shower! With just a few simple steps, you can transform an ordinary bathroom into a luxurious escape with just the push of a button. The possibilities are truly endless–you can now experience spa-level relaxation right in the comfort of your own home anytime you want!
This blog post has helped provide information on how to convert your regular shower to a steam one. By following these ten easy steps, you’ll experience the ultimate spa-like atmosphere right within the comfort of your home. So what are you waiting for? Get started on your steam shower conversion today!
5 Additional Tips and Tricks
1. Make sure the area around your shower is well-ventilated. The steam produced by a steam shower can cause excess moisture in your home, so it’s important to ensure you have good ventilation to reduce this risk.
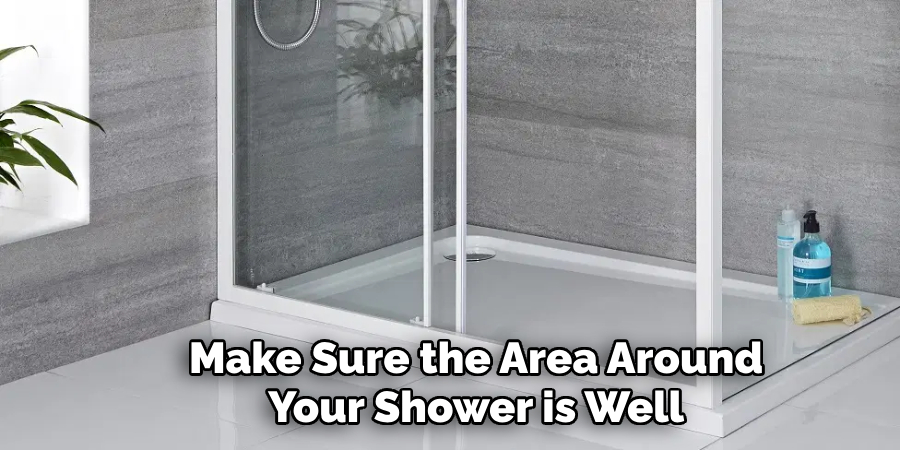
2. Install a waterproof membrane between the pan and the wall of your shower. This will help protect the walls from any water leakage that may occur.
3. Ensure your shower is properly sealed so that steam will not escape and cause condensation in other areas of your home.
4. Install a thermostatic mixing valve as part of the water supply system for your steam shower to regulate the water temperature and maintain a consistent output of hot and cold water.
5. Choose a good quality steam generator for your shower, ensuring it’s powerful enough to generate enough steam to enjoy a truly relaxing experience. You may also want to consider installing an aromatherapy system into your steam shower to add extra relaxation.
These tips should help make converting your regular shower into a steam shower much easier – have fun!
6 Things You Should Avoid
1. Don’t try to save money by getting a cheaper steam generator; this could result in inadequate performance and may even be dangerous.
2. Don’t attempt to install the steam shower unless you have experience with plumbing and electrical work, as it is important to follow all safety regulations.
3. Don’t forget to seal the edges of your steam shower properly. This will help reduce heat loss, making your steaming experience more enjoyable.
4. Avoid sharp objects or tools that could damage the materials used to construct your showers, such as tile and grout.
5. And lastly, don’t forget to clean and maintain your steam shower regularly – this will help keep it in top condition and make sure you can enjoy the experience for years to come.
6. Don’t use any materials that are not waterproof to line the steam shower, as this could cause water damage and ruin the look of your shower.
We hope these tips and tricks help you to convert your regular shower into a luxurious steam shower! Following these tips and tricks should ensure that you successfully convert your shower into a steam shower – happy steaming!
Is a Steam Shower Better Than a Regular Shower?
The answer to this question comes down to your personal preference. A steam shower can provide an incredibly relaxing and invigorating experience that may be more enjoyable than a regular shower for some people.
Additionally, it offers the potential health benefits of steam, such as improved circulation, relief from colds and coughs, and lessened muscle soreness. On the other hand, a regular shower is often simpler to use and requires less maintenance than a steam shower.
Ultimately, it’s up to you to decide whether the extra cost and effort are worth it for a steam shower or if you would rather stick with a regular one. It’s important to research all the pros and cons before ensuring you find the right option.
Conclusion
How to convert shower to steam shower may feel daunting, but it is, in fact, quite easy and rewarding. It requires time and dedication to make the necessary adjustments and achieve the right temperature and pressure. After doing the conversion yourself, you’ll find that having your steam room is an experience like no other.
From relieving stress to boosting circulation – you can reap countless benefits from enjoying a luxurious steam shower. So if you’ve been considering revamping your old shower, there’s no better time than now!
Remember that some local contractors offer professional assistance for those who need the tools or skills to complete this kind of project on their own. Investing in your home’s comfort is a great way to increase its value or simply enjoy more leisure time in your very own personal spa—are you ready for the transformation?

