Have you ever wanted that luxurious spa-like experience right in your own shower but thought it would be too inconvenient or expensive to expand the space? Don’t worry because we have the solution for you! In this blog post, we’ll break down exactly how to expand a shower and create an enjoyable, more spacious environment.

We will cover everything from material choices to budget considerations so that no matter what your budget might be, you can make those much-needed upgrades without breaking the bank. So read on for all of our best tips on expanding a shower – with just a little bit of extra effort, you will soon find yourself feeling relaxed and pampered every time you take a bath or a shower!
Understanding the Benefits of Expanding a Shower
Expanding a shower can be beneficial for many reasons, from increasing the size and functionality of your shower area to providing an improved aesthetic appeal. A larger, more spacious shower provides more space to move around freely as well as a greater ease of use when it comes to cleaning and maintenance.
An expanded shower can also help improve the overall experience of taking a relaxing bath or shower.
There are a range of advantages that come with expanding your shower, and these include improved efficiency when it comes to hot water use, as well as an increased feeling of luxury.
Expanded showers also allow for more personalized designs; rather than simply having the standard square or rectangle shape, you can choose to have different angles and curves incorporated into the design. This can give the shower area a unique look that will be sure to impress any guests who enter your bathroom.
Lastly, expanding your shower can provide additional storage options which can be used for towels or toiletries without taking up too much space in other areas of the bathroom. This is extremely beneficial if you’re short on storage room and need an extra place to keep things out of the way.
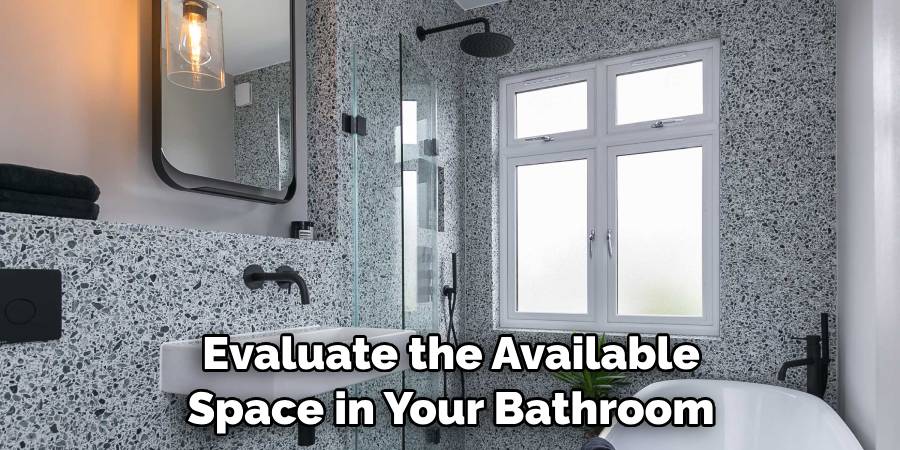
Evaluating the Available Space in Your Bathroom
Before you begin your project, it’s important to evaluate the available space in your bathroom. Measure the dimensions of your bathroom and sketch out a drawing with the measurements included. This will help you determine if expanding the shower is even possible within the existing space. If not, you may need to consider relocating or enlarging walls to create additional space for an expanded shower.

You should also assess the current plumbing setup and drainage system for your bathroom to make sure it can accommodate a larger shower area. If not, you may need to install additional plumbing or invest in an entirely new drainage system. This could add significantly to the cost of expanding your shower.
Once you’ve determined that expanding the shower is possible, you’ll need to decide how large you want the expanded area to be. Measure the current shower space and use this as a benchmark for the desired size of your new expanded shower.
You may also want to consider adding additional features such as multiple showerheads or a steam system, which will affect the overall size of the expanded area.
Determining Budget and Time Constraints
Expanding a shower can be expensive and time-consuming, so it is important to determine budget and time constraints before beginning the project. For smaller projects that require minimal plumbing changes, budgets as low as $500 are possible.
However, larger-scale projects may require thousands of dollars. Additionally, some DIY projects can be completed in just one day, but more extensive ones may require several days or weeks.
It is important to factor in extra time and resources for any unexpected setbacks that may occur. In order to ensure the project is completed on time and within budget, it’s best to have a clear plan from the start. This includes determining what materials are needed, creating a timeline, and hiring (or enlisting help from) experienced professionals if necessary.
With proper planning and budgeting, a successful shower expansion project can be completed.

Once the budget and timeline have been determined, it is time to begin the actual work. This includes removing existing fixtures if applicable, ensuring that the walls are in good condition, and selecting new fixtures that fit within the size parameters of the space. Additionally, any plumbing or electrical work that needs to be done can be handled by a professional.
10 Methods How to Expand a Shower
1. Assess Available Space:
Begin by assessing the available space in your bathroom to determine the extent to which you can expand the shower. Consider the overall layout, surrounding fixtures, and any architectural constraints. Take accurate measurements to ensure that your desired expansion is feasible and within the limits of the existing bathroom structure.
2. Modify Existing Walls:
If you have an adjoining wall that can be modified or removed, it may offer an opportunity to expand the shower. Consult with a professional contractor or structural engineer to assess the feasibility and implications of modifying load-bearing walls.
Depending on the specific situation, the wall may need reinforcement or the addition of support beams to maintain the structural integrity of the bathroom.
3. Reconfigure Plumbing:
Expanding a shower often involves reconfiguring the plumbing to accommodate the new dimensions. Consult with a licensed plumber to assess the existing plumbing system and determine the necessary modifications. This may include relocating water supply lines, drain lines, and plumbing fixtures. Ensure that the reconfigured plumbing meets local building codes and regulations.

4. Utilize Unused Space:
Consider utilizing any unused or underutilized space adjacent to the existing shower area. This can include repurposing a closet, removing non-structural walls, or converting a neighboring area into the expanded shower space. However, ensure that the newly integrated space is properly waterproofed and follows appropriate building codes and regulations.
5. Install a Glass Enclosure:
Adding a glass enclosure can create an illusion of space and make the shower area feel more open. Opt for frameless or semi-frameless glass enclosures, as they provide a sleek and modern look. The transparent nature of the glass allows light to pass through, making the shower area appear more spacious and inviting.
Make sure to measure the space prior to installation and consider how you want the enclosure to open. The most common is a sliding door but bi-fold and pivot options are also available. Be sure to check local building codes for additional installation guidelines.
6. Use Corner Showers:
If you have limited space but still want to expand the shower, consider installing a corner shower. Corner showers are designed to fit into tight spaces and make efficient use of the available area.
They can be customized with various sizes, shapes, and door options to suit your preferences and requirements. Additionally, they can be built with glass panels or tiles to fit your décor. Corner showers are also easier to install than full-sized showers and they can be a cost-effective option for those on a budget.
7. Extend Shower Base:
Expanding a shower can involve extending the shower base or pan. This method requires professional assistance to ensure proper installation and waterproofing. The shower base can be extended by removing the existing base and installing a larger one that fits the new dimensions.
Alternatively, a custom-sized shower base can be fabricated to suit the specific expansion requirements. Once the base is in place, it should be covered with waterproofing material and connected to the existing drain pipe.
8. Incorporate a Bench or Seating Area:
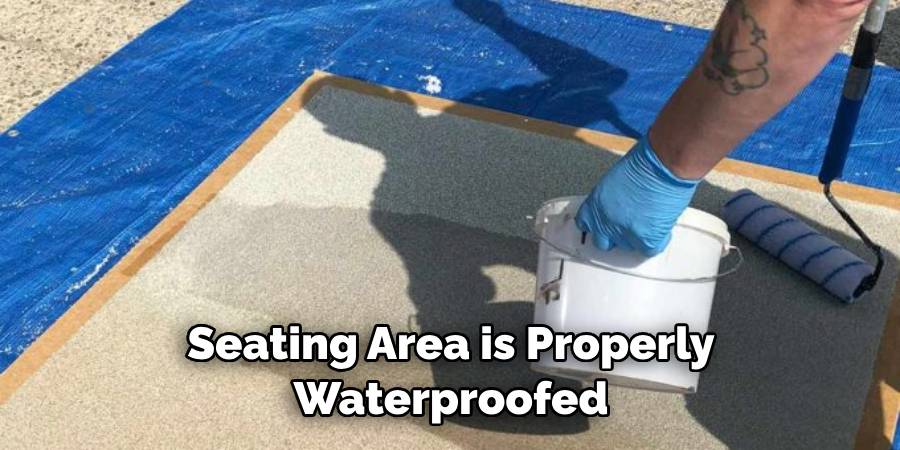
Adding a bench or seating area within the expanded shower can enhance comfort and functionality. It provides a convenient spot to relax, shave, or place bathing essentials. Ensure that the bench or seating area is properly waterproofed and built with materials suitable for wet environments, such as waterproofing membranes and durable tiles or stone.

9. Upgrade Shower Fixtures:
As you expand your shower, consider upgrading your shower fixtures to enhance the overall experience. Install a rain showerhead, body jets, or a handheld showerhead for added convenience and luxury. Incorporate features such as thermostatic controls or digital interfaces to customize water temperature and pressure.
10. Consult with a Professional Designer:
For complex shower expansions or when seeking a customized and tailored approach, consult with a professional bathroom designer.
They have the expertise and knowledge to assess your space, understand your needs and preferences, and create a design plan that optimizes shower expansion. A designer can provide valuable insights, suggest innovative solutions, and ensure that the expansion aligns with your overall bathroom design.
Conclusion
To wrap things up, it may seem daunting to expand a shower, but once complete, you will have the satisfaction of knowing that you did the job yourself. There are multiple ways to successfully increase the size of your shower and add value to your bathroom.
If expanding your shower through enlarging your bathroom space isn’t an option, a more cost-effective approach is to tear down walls within the existing room and reframe them at angles for more space or build a shower pan with it’s own built-in drains.
Many people choose to use prefabricated shower stalls that fit a variety of different designs as another great option. Follow these simple instructions outlined in this blog post about how to expand a shower, and you’ll be able to get the job done with ease.