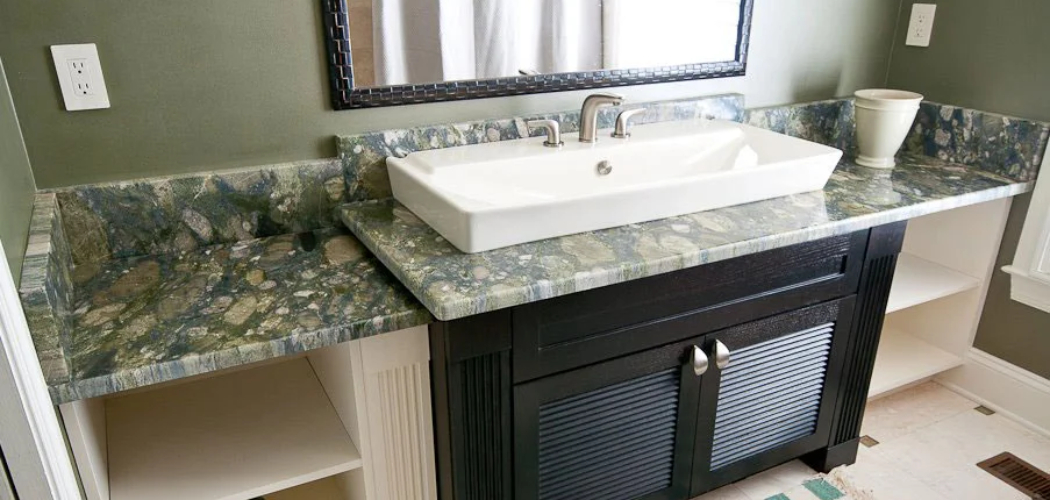
What if you could have a stunning new bathroom countertop without spending your hard earned money on high-end options? Redoing your bathroom countertop doesn’t have to be an expensive endeavor.
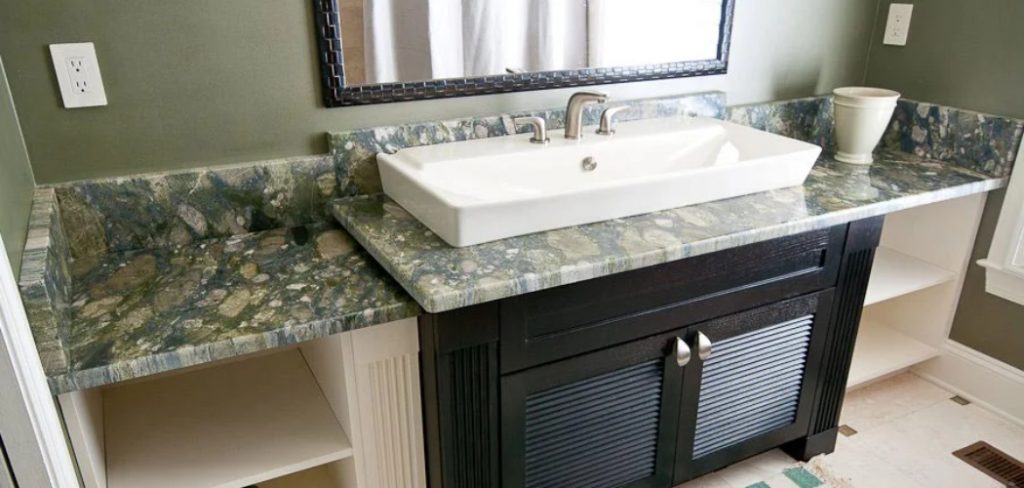
It may seem daunting, but with the right tools, you can easily update the look of your bathroom in just a few simple steps. With the right materials, planning, and installation tips, you can significantly transform the look of your bathroom without breaking the bank.
Whether updating an old countertop or installing a brand new one, follow these steps to achieve a polished and stylish bathroom makeover.
In this article on how to redo bathroom countertop, we will explore everything that goes into redoing your bathroom countertop – from choosing material to installation tips that guarantee lasting quality and appearance. So let’s dive in!
When Should I Replace My Bathroom Countertop?
If you want to upgrade your bathroom’s look and feel, replacing your countertop is a great way to start. Here are some signs that it’s time for a replacement:
- Wear and Tear: If there is major discoloration, cracking, or other damage, it may be time to replace the countertop.
- Outdated Look: If you’re going for an updated look in your bathroom, replacing the countertop is an easy and affordable solution.
- Poor Quality Material: Lower quality materials tend to wear down faster and may need replacing sooner.
- The General Age of the Countertop: Countertops typically last around ten years with proper care, although this will vary depending on the material used.
These are just some of the signs that it’s time to replace your bathroom countertop. If any of these apply to you, it may be time to consider a replacement.
What Will You Need?
Before you begin redoing your bathroom countertop, it’s important to have all the necessary materials and tools on hand:
- A measuring tape
- Level
- Chalk line
- Utility knife
- Circular saw
- Sandpaper
- Grinder (for tiles or natural stones)Silicone caulk
- Caulk gun
- Tile grout and sealer
- Countertop material of your choice (granite, quartz, marble, etc.)
- Adhesive epoxy/glue (if necessary)
Now that you have all the materials and tools ready to go let’s move on to the next step: planning for installation!
10 Easy Steps on How to Redo Bathroom Countertop
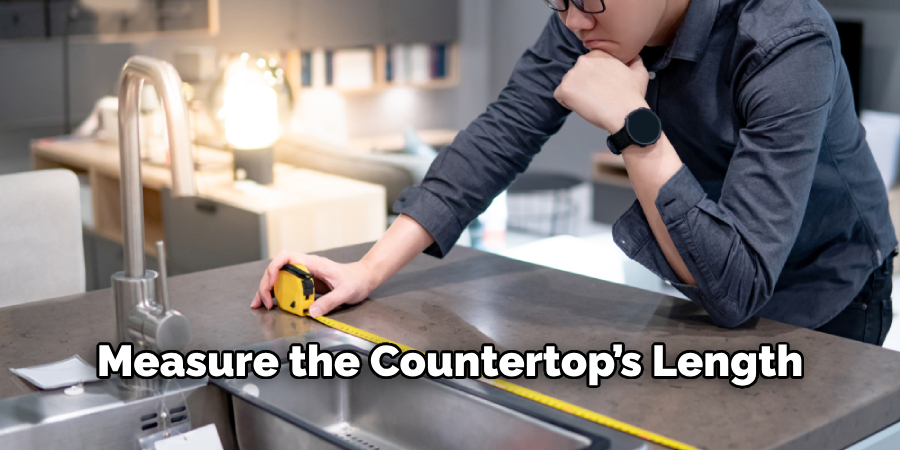
Step 1. Measure the Countertop:
Measure the countertop’s length, width, and height to ensure you have enough material for the project. You can use the measuring tape. It will help you to get accurate measurements.
Step 2. Mark the Outline:
Once you have measured the countertop, use a chalk line to mark the outline for your new countertop. This will help you keep track of where cuts should be made. It will also help ensure the new countertop fits perfectly in your bathroom.
Step 3. Cut the Countertop:
Use a circular saw to cut along the chalk line, keeping it as level as possible. You may also need an angle grinder or jigsaw, depending on what kind of material you are using. Be careful and make sure to wear protective gear during this step.
Step 4. Sand Down the Edges:
Once all the pieces have been cut, use sandpaper and an orbital sander to smooth out all the edges so they fit together properly. It is important to do this step so that the countertop is level and even. You can also use a file if you don’t want to use sandpaper.
Step 5. Apply Epoxy Glue or Adhesive:
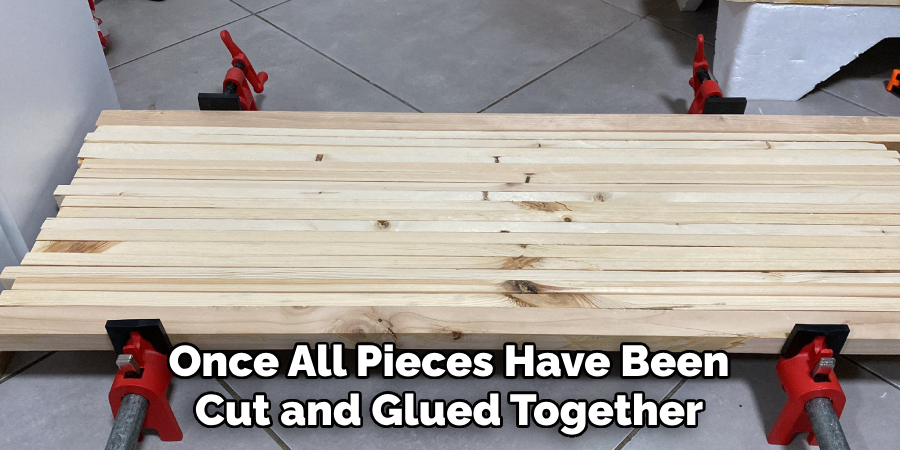
If necessary, apply epoxy glue or adhesive to attach each piece to the other securely. Let the glue or adhesive dry before you move on. Ensure that it is scorched for the best results.
Step 6. Place and Level the Countertop:
Once all pieces have been cut and glued together, place them onto the countertop outline that you marked earlier. Make sure to use a level to ensure that everything is even and secure. Add extra adhesive in any areas that may need additional support.
Step 7. Apply Caulk or Grout:
Using caulk or grout, fill in any gaps between the pieces of countertop material so that they are completely sealed and waterproofed. This will help prevent any water damage from occurring down the line. It will also help keep the countertop looking neat and polished.
Step 8. Seal the Countertop:
Once all of the gaps have been filled with caulk or grout, it’s time to seal the countertop. Use a sealer designed for the type of material you’ve chosen to last longer. Allow the sealer to dry completely before moving on to the next step.
Step 9. Install the Sink and Fixtures:
Install your sink and faucets into the top of the countertop, making sure that they are secure and level. You may need an additional hole saw, depending on what type of fixture you have chosen. Keep in mind that this step may require help from a professional plumber.
Step 10. Enjoy Your New Countertop!:
The final step in redoing your bathroom countertop is to enjoy it! Now sit back, relax, and admire your refreshed bathroom space. Remember to take care of your countertop by following the manufacturer’s recommended cleaning instructions.
By following these ten simple steps, you can easily redo your bathroom countertop and make it look as good as new.
5 Additional Tips and Tricks
1. Measure your countertop area before starting the project. This will ensure you have the correct material and tools needed to complete the job.
2. Make sure your bathroom is free from clutter and debris, as this can make it difficult to work on countertop installation tasks.
3. Use a respirator mask when sanding down old countertops, as dust particles can be hazardous to breathe in.
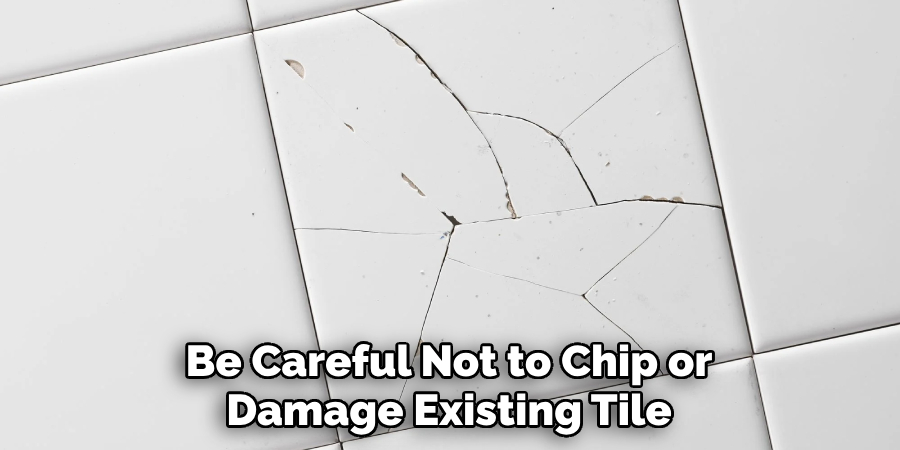
4. Be careful not to chip or damage existing tile or stone surfaces while removing old countertop materials.
5. If you are still familiar with any of the steps to redo the bathroom countertop process, consider hiring a professional contractor for assistance with proper installation and finishing techniques. Properly installing a new bathroom countertop can add value and beauty to your home.
Making sure you follow these additional tips and tricks can help ensure the success of your redo project!
5 Things You Should Avoid
- Only attempt to install the countertop with all your materials and tools ready.
- Avoid harsh chemicals such as bleach or ammonia when cleaning surfaces before installation.
- Only use a power saw with proper safety measures, such as safety glasses and hearing protection.
- Remember to seal the countertop after installation, as this will help protect it against water damage and stains.
- Only use adhesive once you have read and understand its instructions for application – improper use can lead to a poor finish or even an unsafe situation!
By avoiding these common mistakes when redoing your bathroom countertops, you can save time, money, and potential disasters. Taking the time to prepare and complete your project properly will pay off in the long run!
Can I Repaint My Bathroom Countertop?
Yes, you can repaint your bathroom countertop – but this is best done as a last resort. Suppose your existing countertop surface is in good condition and has not been damaged by water or other elements.
In that case, it may be preferable to simply refinish it with a new sealant instead of attempting to paint over it.
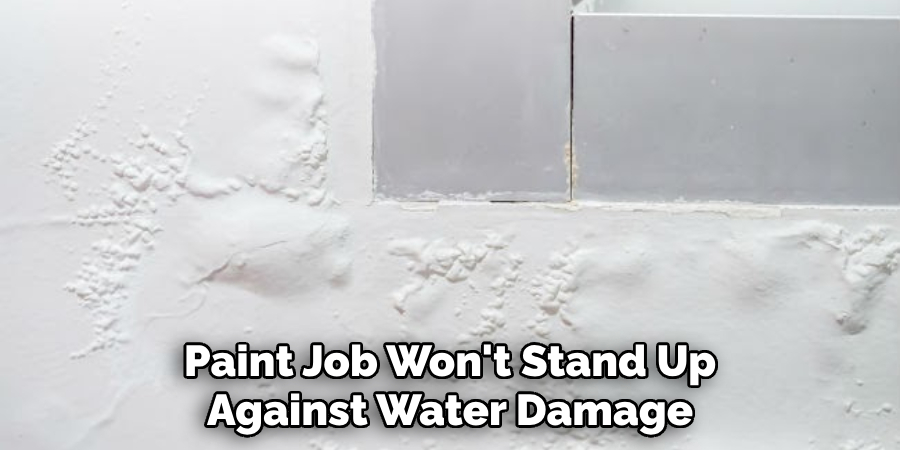
Repainting requires extra preparation steps and special paints that are designed to adhere properly to surfaces like bathroom countertops. It’s important to remember that even if the finish initially looks great, without proper sealing and maintenance, the paint job won’t stand up against water damage or wear over time.
Ultimately, deciding whether or not to repaint your bathroom countertop depends on its current condition – if it is still in good shape, refinishing may be the best option. If your countertop is damaged or discolored, painting may be the only way to make it look new.
Whichever decision you make, remember that proper preparation and maintenance are key to getting the best results!
Can I Cover My Countertops?
You can cover your countertops to give them a fresh and updated look. This is usually done with contact paper or laminate sheets that are applied directly over the existing surface.
These materials come in various colors, textures, and patterns – giving you many options for customizing your bathroom countertop. They also tend to be much cheaper than replacing the entire countertop, making this a great cost-effective solution if you’re looking for an upgrade on a budget!
However, it’s important to note that covers do not protect against water damage or wear and tear like sealants or refinishing, so they may need more frequent replacement. Additionally, since these covers are removable, they could become an eyesore if not properly applied or left in place.
Overall, covering your countertop is a great way to make a big impact with minimal effort – just consider your lifestyle and budget when making the decision!
Conclusion
Redoing a bathroom countertop is a great way to add value to your home and make it more aesthetically pleasing. Refreshing the look of your bathroom doesn’t necessarily mean replacing everything – simply redoing your countertop can make all the difference.
With this guide on how to redo bathroom countertop, you now have the tools you need to successfully measure, plan, and install a new bathroom countertop for yourself. Don’t be afraid to piece together different colors or materials if desired– there are endless possibilities!
Although this project may seem intimidating initially, always be sure to take the necessary steps in planning before starting. With all that said, enjoy creating your brand-new and improved bathroom countertop!

