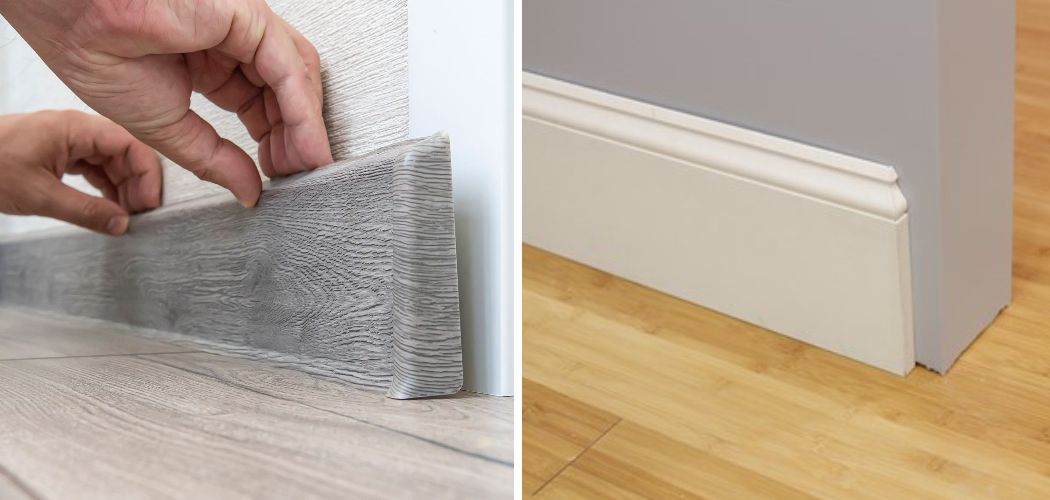
Installing PVC baseboard in the bathroom is a practical and stylish way to enhance the overall appearance of the space while providing protection to the lower portion of the walls.
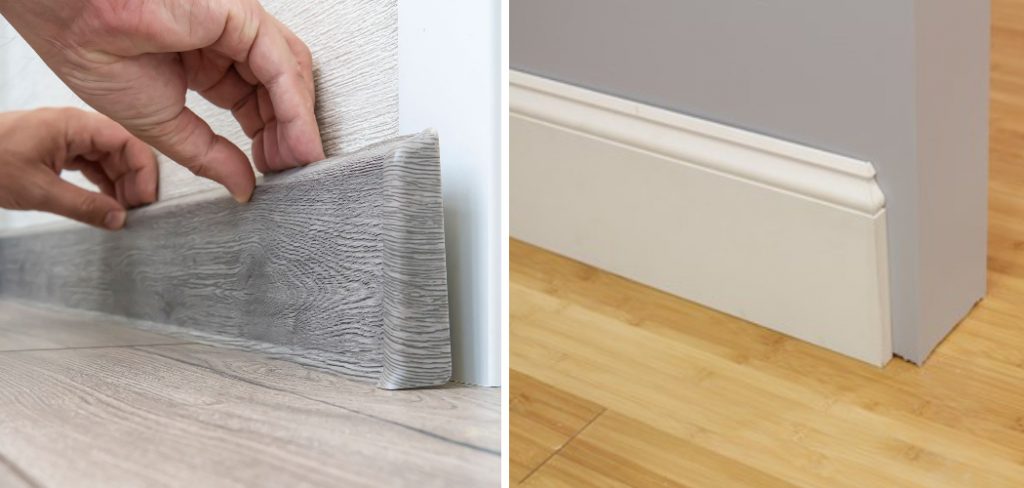
PVC baseboards are moisture-resistant, durable, and easy to clean, making them an ideal choice for bathrooms. If you’re considering installing PVC baseboard in your bathroom, this article is here to help.
In the following steps, we will guide you through the process of how to install pvc baseboard in bathroom, from measuring and cutting to securing and finishing.
With a few tools and some basic DIY skills, you’ll be able to achieve a professional-looking installation that adds the perfect finishing touch to your bathroom decor. So, let’s get started and transform your bathroom with the installation of PVC baseboard that is both functional and visually appealing.
Importance of PVC Baseboard in the Bathroom
Pvc baseboard can be an important part of any bathroom remodel. Baseboard helps to define the space between the walls and floor, giving the room a finished look and providing a place for dirt, dust, and debris to accumulate. Installing pvc baseboard is also an easy way to protect your walls from water damage.
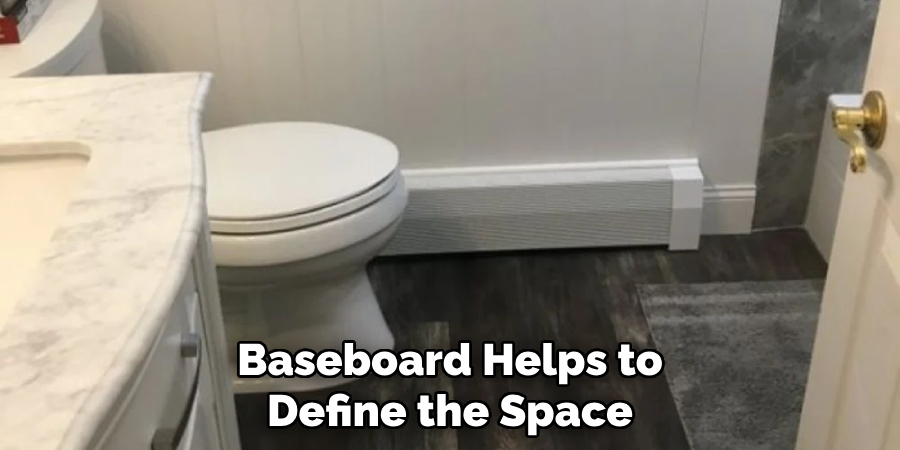
It acts as a barrier between the wall and floor, preventing moisture from seeping in through cracks or crevices. Pvc baseboards are much more durable than traditional wooden trim pieces, making them perfect for high-traffic areas like bathrooms.
They’re also waterproof, mold and mildew resistant, and come in many stylish colors to match any décor. With these benefits in mind, let’s take a look at how to install pvc baseboard in the bathroom.
Before starting any installation, be sure you have all of the necessary tools and materials, including pvc baseboard, miter saw, sandpaper, wood glue or nails, caulk gun with backer rod and caulk tube, drill or hammer and screws.
Take measurements of the space where you plan to install your baseboards so that you can shop for the right size pieces. When purchasing pvc trim pieces for your project measure them twice to ensure accuracy.
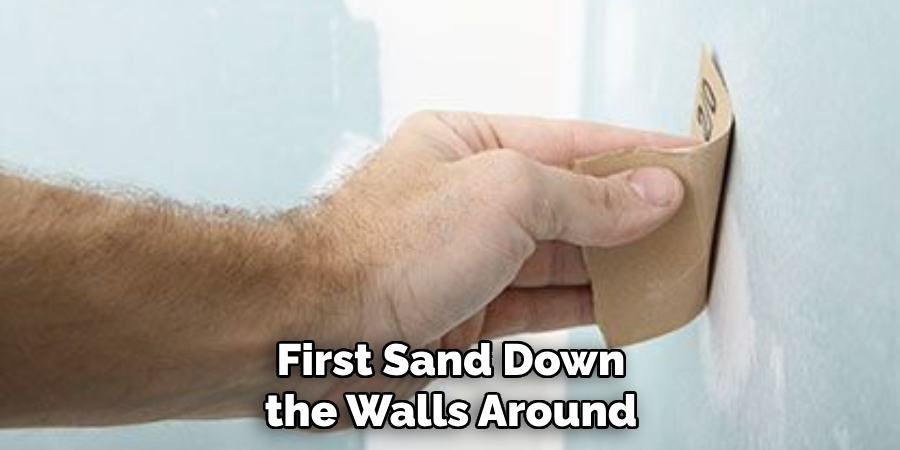
Once you have all of your materials assembled it is time to begin installation. First sand down the walls around where the trim will go and wipe away any dust or debris. Cut trim pieces to the desired length and width. If you’re using wood glue, apply it to the back of the trim piece and press firmly against wall. Use nails or screws to secure the baseboard in place.
Advantages of PVC Baseboard over Traditional Materials
PVC baseboard has several advantages over traditional materials. It is easier to install and maintain than the alternatives, such as wood or metal baseboards. PVC is also more water-resistant and durable than wood or metal, making it ideal for wet areas like a bathroom. Additionally, PVC baseboard offers an attractive look without the high cost of other materials.
The material is also lightweight and can be easily cut to fit. PVC baseboard is a great choice for bathrooms, as it offers a long-lasting and stylish solution. Additionally, the material will not rot or corrode like some other types of baseboards can. This makes PVC an excellent choice for any home improvement project!
PVC baseboard is an ideal option for homeowners looking to add style and value to their bathroom space without breaking the bank. The material is affordable, easy to install, and requires minimal maintenance over its lifetime.
It’s also highly water-resistant, making it suitable for wet areas like bathrooms. With all of these benefits, PVC baseboard is quickly becoming one of the most popular materials used in bathroom renovations today!
Assessing the Bathroom and Measuring the Baseboard
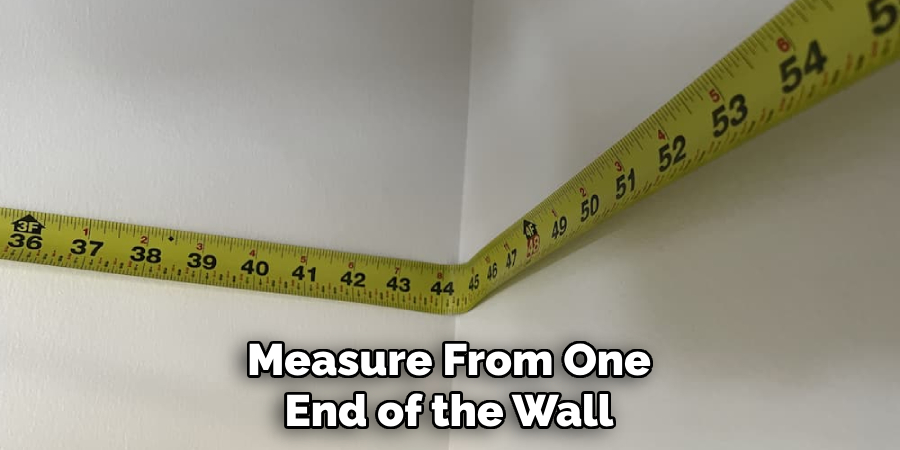
Before you begin to install PVC baseboard in your bathroom, it is important to assess the space and measure for the baseboard. Measure the length and width of walls that will require trimming.
Use a measuring tape or yardstick to measure from one end of the wall to the other. Also, make sure to take into account outlets, windows, door frames, and any other obstacles that may affect where you have to cut the baseboard.
Evaluating the Existing Baseboard and Wall Conditions
Before starting to install PVC baseboard in the bathroom, it is important to evaluate the existing wall and baseboard conditions. Check for loose nails or screws and tighten them if necessary.
Make sure that the wall surface is structurally sound and free of major cracks or areas of damage before you begin. Additionally, check the existing baseboards for rot, warping, or mold growth.
If there are any issues with the current condition of the walls or baseboards, they should be addressed prior to starting installation. This will help ensure a successful installation process and longer-lasting results. After evaluating the existing wall and baseboard conditions, you can move onto prepping the area for installation.
Once prepared, measure your space to determine how much PVC baseboard you will need. This will ensure that you have enough material to complete the job without running short. Before buying your materials, consider the color and style of PVC baseboards that best fit with the design of your bathroom. Once you’ve selected a PVC baseboard and gathered all necessary tools and materials, it’s time to begin the installation process.
10 Steps How to Install PVC Baseboard in Bathroom
Step 1: Gather Materials and Tools
Before beginning the installation, gather all the necessary materials and tools. You will need PVC baseboard, a measuring tape, a miter saw, construction adhesive, a caulk gun, a level, a pencil, a hammer, finishing nails, sandpaper, and a damp cloth. To ensure an accurate installation, it is also recommended to use a stud finder.
Step 2: Measure and Cut Baseboard
Measure the length of each wall where the baseboard will be installed. Use a miter saw to cut the PVC baseboard at a 45-degree angle for each corner. Ensure that the cuts are accurate and fit together seamlessly.
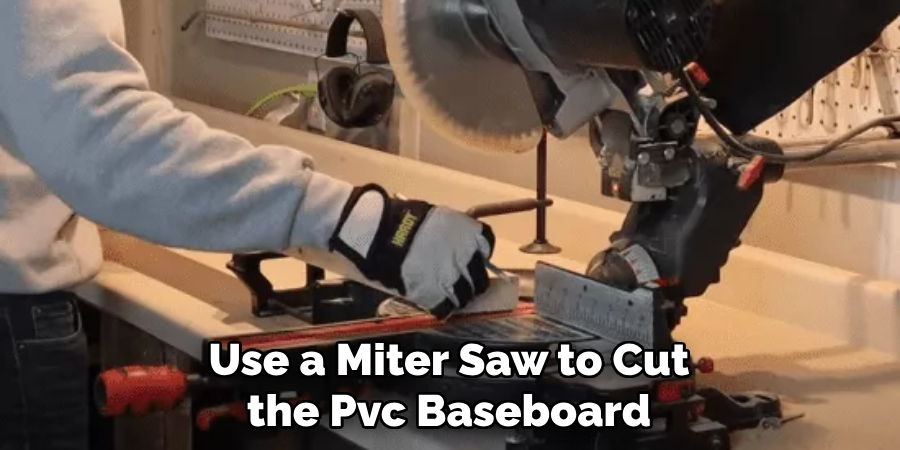
Although PVC baseboard is much easier to cut than other types of trim, it can still be difficult if you are not familiar with using saws. If you are not comfortable with cutting the baseboard, it may be best to hire a professional.
Step 3: Prepare the Walls
Clean the area where the baseboard will be installed, removing any dust, dirt, or existing baseboard. Smooth out any rough surfaces using sandpaper, and wipe the walls with a damp cloth to ensure a clean and dry surface. If necessary, fill any holes or cracks with a sealant to prevent water from seeping through.
Step 4: Apply Construction Adhesive
Apply a generous amount of construction adhesive on the back of the PVC baseboard, ensuring even coverage. Run a bead of adhesive along the length of the baseboard. Be sure not to leave any gaps.
Step 5: Position the Baseboard
Carefully position the PVC baseboard along the bottom of the wall, pressing it firmly against the wall surface. Make sure the baseboard is level by using a level. Adjust as necessary. To temporarily secure the baseboard into place, use a few pieces of painter’s tape. However, painter’s tape will not provide a permanent bond.
Step 6: Secure with Finishing Nails
To provide additional support and stability, use a hammer to lightly tap finishing nails into the baseboard. Space the nails evenly along the length of the baseboard, ensuring a secure attachment to the wall.
Althugh it is not necessary, you can countersink the nails for a finished look. Countersinking is when you hammer in the nail until it is flush with the wall. Be sure to use caution when hammering to avoid any damage to the walls or baseboard.
Step 7: Fill Nail Holes and Gaps
Using a caulk gun, fill any nail holes or gaps between the baseboard and the wall with caulk. Smooth out the caulk with a damp cloth or your finger to create a seamless finish. Make sure to cleanup any caulk that gets on the baseboard. Allow the caulk to dry before moving on to the next step.
Step 8: Repeat for Remaining Walls
Follow the same process for each wall, measuring, cutting, applying adhesive, positioning the baseboard, securing with nails, and filling any holes or gaps with caulk. Take your time to ensure accurate cuts and a uniform installation.
Step 9: Allow Adhesive to Cure
Allow the construction adhesive to cure according to the manufacturer’s instructions. This usually takes around 24 hours. Avoid placing any objects against the baseboard during this time. Once the adhesive has fully cured, the baseboard should be firmly attached to the wall and ready for use.
Step 10: Finishing Touches
Once the adhesive has fully cured, inspect the baseboard for any imperfections or uneven areas. Sand down any rough spots and wipe the baseboard with a damp cloth to remove any dust or debris. Apply a coat of paint or leave the baseboard as is, depending on your desired finish.
Conclusion
All in all, installing a PVC baseboard in your bathroom is relatively easy, as long as you have all the necessary materials and tools. Plastic baseboards can be attached with either screws or adhesive, but the latter will often give a neater finish. For significantly longer strips of PVC, it may be best to hire a professional contractor, so you can be sure the job is done correctly and with minimal mess.
With the right preparation and installation steps, you can enjoy wood-like texture for your bathroom floors without spending too much time and effort. So if you’re looking for an easier way to upgrade your bathroom décor, PVC baseboard installation is definitely something worth considering. Why not take some time today to follow these steps on how to install Pvc Baseboard in Bathroom?

