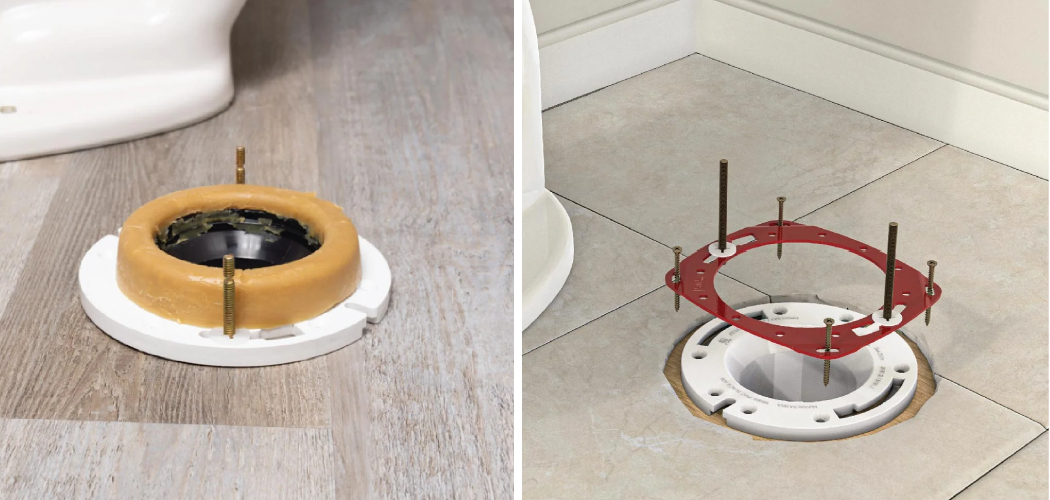
Are you looking to install or replace your toilet flange? The first step is to measure your toilet flange properly. Measuring the toilet flange correctly will ensure you have the right size and type for your installation.
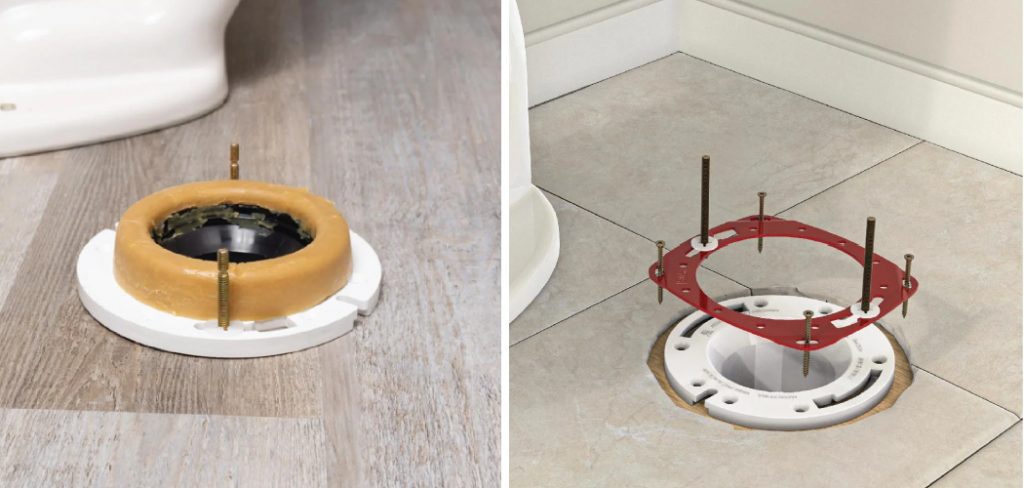
For any homeowner worried about their plumbing system, one of the most important tasks is measuring a toilet flange. The toilet flange is an essential part of your drainage system, and if it’s not properly measured and installed, you could face some serious plumbing problems.
Luckily, measuring a toilet flange isn’t as complicated as it might seem! With just a few simple steps using basic tools, anyone can accurately measure their existing or new toilet flange quickly.
In this blog post, we’ll discuss how to measure toilet flange with ease so you can rest assured knowing it’s correctly installed!
What Will You Need?
Before you can measure your toilet flange, make sure that you have the following materials:
- Tape measure
- Pen or Marker
- Screwdriver (optional)
Once you have these items, you can measure your toilet flange! So, let’s get started!
10 Easy Steps on How to Measure Toilet Flange
Step 1: Position Yourself
To properly measure the toilet flange, you’ll want to place yourself directly in front of the flange. This will ensure that your measurements are as accurate as possible. Additionally, ensure that your tape measure is straight and you have plenty of room to move around.
Step 2: Measure the Distance from Wall/Floor
Using your tape measure, measure the distance between the wall or floor and your toilet flange. Be sure to record this measurement for later use! If your flange is mounted on the floor, you’ll want to measure from the center of the flange to the wall or floor.
Step 3: Check if Toilet Flange is Round or Square
Use a screwdriver (if necessary) to check whether your toilet flange is round or square shaped. This will be important when it comes time to purchase the right flange type for your installation. You can also use your pen or marker to draw a line around the flange to help you determine its shape.

Step 4: Measure Toilet Flange’s Inner Diameter
Once you know what shape your toilet flange is, you’ll want to measure the inner diameter of the flange. This will help determine the size of the flange needed for installation. Moreover, you’ll want to measure from the center of the flange.
Step 5: Measure Toilet Flange’s Outer Diameter
Using your tape measure, now measure the outer diameter of the toilet flange. Again, this measurement should be recorded for later use. Keep in mind that the outer diameter measurement should include any decorative rings or other detailing on the flange.
Step 6: Check the Height of the Toilet Flange
To assess the type of toilet flange you need, you’ll also want to check its height. Using your tape measure, measure from where the bolts come out at the bottom side of your toilet flange to the top edge of it. Once again, record this measurement for future reference!
Step 7: Check Flange’s Depth
Finally, you’ll want to measure the depth of your toilet flange. To do this, place your tape measure into the hole in the center of the flange and measure from the bottom edge to the top edge. Record this measurement as well!
Step 8: Mark Measurements
Once you have all of your measurements recorded on paper, mark them somewhere on your toilet flange so that they are easily visible when it comes time for installation or replacement. This will help ensure that you purchase or install the correct size and type of flange for optimal performance. Remember that it’s best to use a pen or marker that won’t easily rub off.
Step 9: Consult a Professional Plumber
If you feel confused or uncertain about measuring a toilet flange at any point during these steps, it’s always best to consult a professional plumber. They will be able to provide you with the resources and advice needed to correctly measure your flange and ensure that it’s installed properly. Moreover, they can guide you in the right direction if you need help purchasing or installing the right flange for your home!
Step 10: Purchase or Install Toilet Flange
Once your measurements are recorded and marked on the flange, you’re ready to purchase or install the toilet flange! You’ll want to ensure that whatever type of flange you get is exactly what was measured. This will guarantee optimal performance for years to come!
Congratulations – by following these easy steps, you’ve now learned how to measure toilet flange accurately! Installing new flush hardware won’t seem so intimidating with this knowledge. So what are you waiting for? Get measuring, and good luck!
5 Additional Tips and Tricks
- If you have a wax seal on your toilet flange, measure from inside the wax ring.
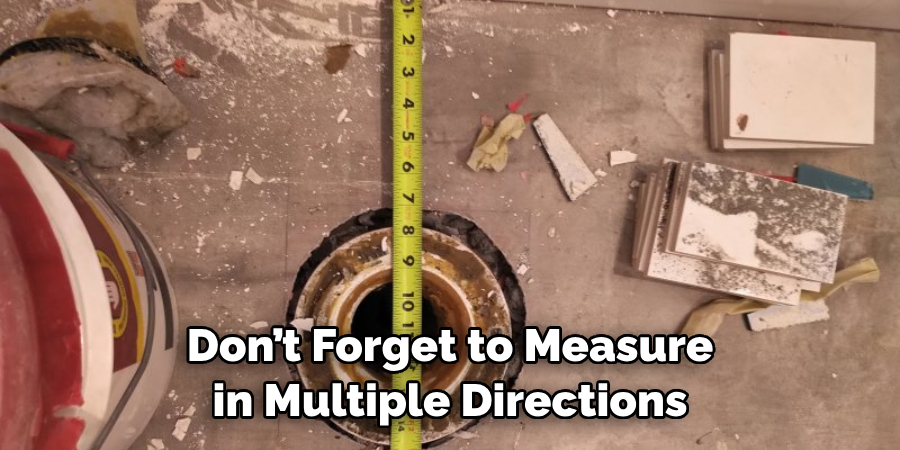
- Measure in multiple directions to get the most accurate reading. This will help you determine if the flange is square and properly aligned.
- Make sure to measure from the center of the flange and not from its outer edges or sides.
- Measure the inside hole of your toilet flange if it’s accessible; this will help you determine how much space needs to be filled in with a wax ring when installing a new toilet.
- For PVC or ABS plastic flanges, use flexible measuring tape as it won’t damage them as rigid metal tapes can do. Make sure to measure both the inner and outer diameter for these types of flanges too.
Follow these tips and tricks while measuring your toilet flange so you have all the information necessary for properly installing a new toilet.
5 Things You Should Avoid
- Don’t use a ruler to measure toilet flanges; this can be inaccurate.
- Don’t stand directly on the toilet flange while measuring, as it can warp or bend.
- Don’t forget to measure in multiple directions, even if the toilet looks level from a single angle.
- Don’t forget to take into account any wax seals when measuring your toilet flange and use them as part of your measurement instead of standing on top of them.
- Don’t try to repair a broken toilet flange without taking proper measurements first; it is much easier to fix if you have accurate measurements in hand beforehand!
By following these tips and tricks and avoiding the common pitfalls, you should be able to properly measure your toilet flange to install a new one efficiently and quickly.
How Do You Identify a Flange?
To identify a flange, look for a round or square metal ring, usually made of brass or another type of metal, that sits on the floor directly beneath the toilet. This is the flange, and it will be attached either to the floor joists or to a piece of plywood. Once you have located your flange, you can measure it.
When measuring your flange, make sure to use a flexible tape measure as this will give you the most accurate results.
Remember to measure both the inside and outside edges for an even more precise measurement. Finally, try to check from multiple angles, as small variations in shape can affect how well certain parts fit together when installing a new toilet.
By following these simple steps, you should be able to successfully measure your flange and decide if a new one is needed in order to install a new toilet properly.
What is FF or RF Flange?
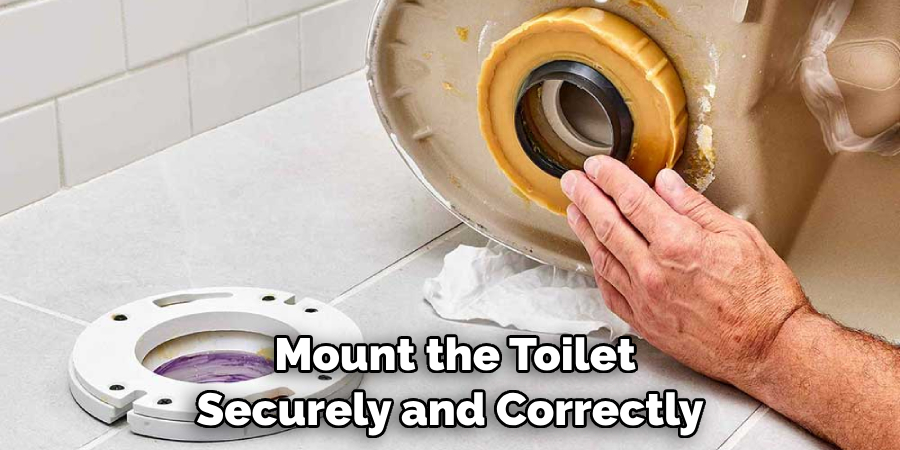
FF or RF flange is a specialized type of toilet flange that is used to mount the toilet securely and correctly into the floor. This type of flange has two seals – an inner seal on the bottom for water tightness, and an outer seal around the sides, creating a secure fit with the base of the toilet. FF or RF flanges are typically made from brass or cast iron and can be installed by cutting out a hole in your subfloor and securing it in place.
What makes this type of flange unique compared to other flanges is its ability to provide more stability due to double seals. Additionally, these flanges are often easier to install since they don’t require as many additional pieces.
Now that you know what an FF or RF flange is and why it might be the right choice for your home, follow all of the steps outlined above to measure your toilet flange accurately so you can purchase and install the correct size! Doing this will guarantee that your new toilet performs at its best for years.
Conclusion
In conclusion, we’ve talked about the importance of knowing how to measure toilet flange. To ensure a perfect fit and proper installation for your new toilet, it is essential to take accurate measurements – both the inner diameter and the distance from the floor.
It can be helpful to enlist a professional plumber or handyman if you are uncomfortable taking your own measurements. Make sure to consult plumbers in your area before installing any plumbing fixtures to stay compliant with local code requirements.
No matter what type of toilet flange you choose when replacing yours, it’s always best to purchase one that meets your existing plumbing standard size of 3″ or 4″. With some know-how and careful measuring, anyone can become an expert in evaluating and properly measuring their toilet flange! Good luck, and thanks for giving your valuable time.

