Is your bathtub starting to sink into the floor? Do you need help with a DIY repair job that is both quick and affordable? Fixing a sinking bathtub doesn’t have to cost an arm and a leg.

If you’ve noticed that your bathtub is slowly sinking below the floor, it can cause a major disruption in your bathroom. Sinking bathtubs are more than just an aesthetic inconvenience; they can cover drain lines which could lead to flooding, and even worse, unleveled floors can become safety hazards. Fortunately, there is a way to fix this problem without replacing your tub entirely!
In this post, we will explain how to fix a sinking bathtub and provide tips on what you need for the repair job. So keep reading if you’re looking for a reliable and cost-effective solution!
What are the Causes of Sinking Bathtubs?
Before we get into the steps to fix a sinking bathtub, let’s first talk about what might be causing it. A common culprit is a broken or worn-out caulk around the base of your tub. Over time, water can seep through and cause damage to the joint between the tub and the floor. This can lead to the tub pulling away from the floor and sinking.
Another common cause is an uneven or weak subfloor, which can give way to the weight of your bathtub over time. This might be due to water damage or just natural wear and tear. Whatever the case, if you’re dealing with a sinking bathtub, we’ve got just what you need to do yourself.
What You Need for Bathtub Repair
The first step in fixing a sinking bathtub is gathering the supplies you need for the job:
- Caulk gun
- Tub caulk (preferably silicone)
- Putty knife
- Pry bar and hammer
- Wood shims
- Carpenter’s level
- Masonry anchors (optional)
Once you have all these items, you can move on to the next step of how to fix a sinking bathtub.
10 Easy Steps on How to Fix a Sinking Bathtub
Step 1. Clean the Existing Caulk:
Before you add any new caulk, it’s important to clean off any existing residue around the edges of your tub. Use a putty knife and warm water to scrape away old caulk and debris from the joint between your tub and floor. This will help create a better surface for applying new caulk, making your repair job more effective.

Step 2. Insert Wood Shims:
Once you’ve removed the old caulk, use a hammer and pry bar to insert wood shims into the space between the tub and the floor. These will act as a support system to prevent your bathtub from sinking further down. Additionally, they will help level out any unevenness on your floor.
Step 3. Measure the Distance of Sinking:
Use a carpenter’s level to measure how far your tub has sunken below the floor. This will let you know how much more you need to raise it up to be even with the floor again. You can do this by placing the level on top of your tub and measuring how far it needs to come.
Step 4. Apply Masonry Anchors (Optional):
You can use masonry anchors to help secure the tub in place if necessary. Drill pilot holes for each anchor and then use a hammer to insert them into the flooring. Another option is to use wood screws instead, but masonry anchors are more secure.
Step 5. Place Tub Back Into Place:
Once all your supports and anchors are in place, it’s time to return the tub to its original position. Make sure you adjust it so that it is as level as possible before moving on to Step 6. Try using a carpenter’s level to check that it is straight.
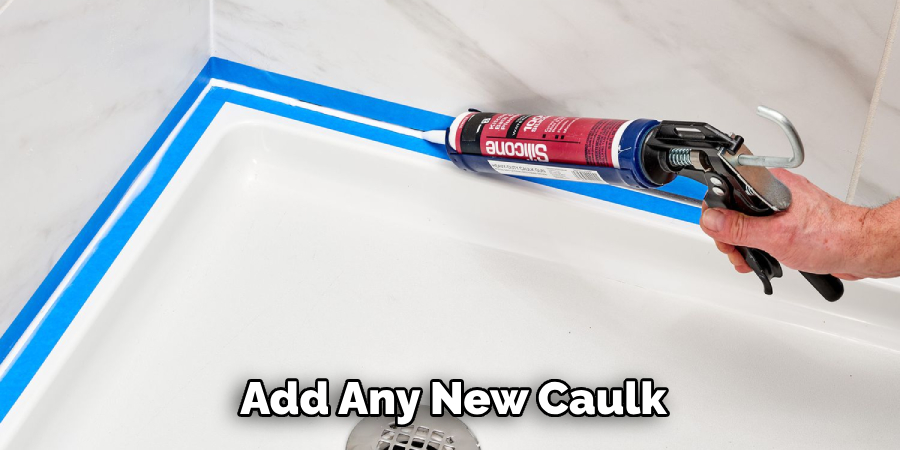
Step 6. Apply Caulk Around the Base of the Tub:
Using a caulk gun, apply silicone caulking along the base of your bathtub where it meets the floor. This will help keep moisture out and prevent further sinking from occurring in the future. Moreover, it will help cover any unsightly gaps where the tub and floor meet.
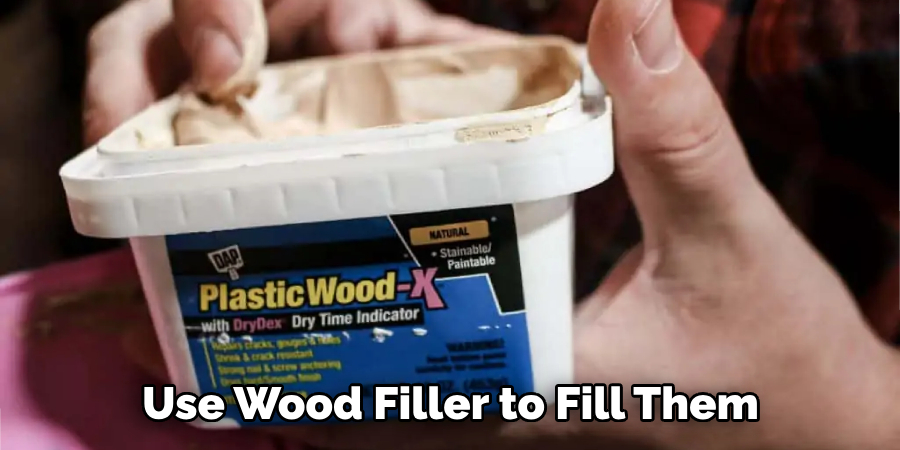
Step 7. Fill Gaps with Wood Filler:
If there are any larger gaps or cracks around the base of your tub, use wood filler to fill them in. This will help seal them off and make the surface more stable. Be careful not to overfill the gaps, as this can cause them to expand.

Step 8. Let Caulk Dry:
Once you’ve finished applying caulk and wood filler, give it time to dry before moving on to Step 9. You can use a fan to help speed up the drying process. Don’t forget to check the caulk periodically and ensure it’s dry before proceeding.
Step 9. Remove Excess Caulk:
Use a putty knife and damp cloth to remove any excess caulking that may have spilled over onto the floor while you were finishing up the repair job. Keep cleaning until you know all the extra caulk has been wiped away. As a final step, you can also use a damp rag to wipe down the area and ensure it looks neat.
Step 10. Re-Caulk Tub Perimeter:
Finally, reapply caulk around the perimeter of your tub to seal off any edges that you may have missed. Remember to use a caulk gun and keep a steady hand as you go around the edges. Once you’re done, clean off any excess caulk and let it dry before using your tub again.
And there you have it – 10 easy steps to fix a sinking bathtub! With this guide’s help, we hope you’ll be able to make quick and affordable repairs without having to replace your bathtub altogether.
5 Additional Tips and Tricks
- If your bathtub is sinking on one side, try using shims to even out the area. Placing a few shims in the affected area can help raise the bathtub and even out the surface.
- If you notice a loose faucet or spout, tighten it up with a wrench. This should help to stabilize the area and reduce any further sinking that may occur.
- Replacing old caulking around your bathtub will restore its water resistance and prevent future damage from occurring in the area of sinking.
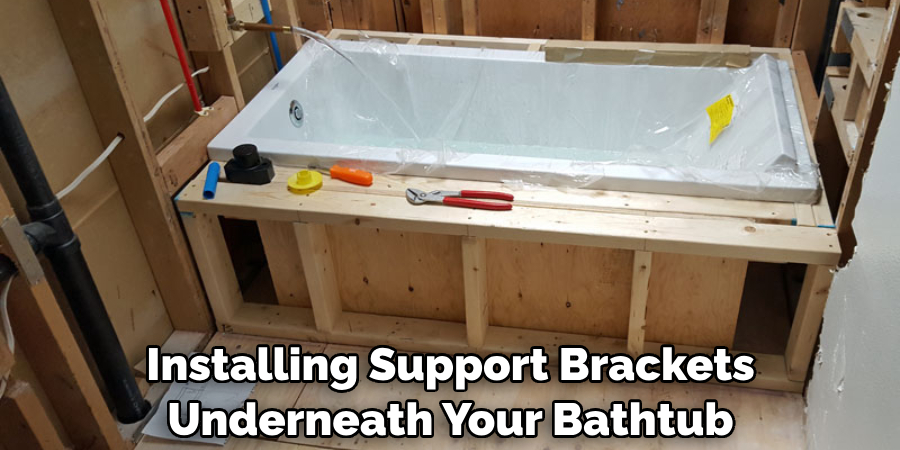
- Installing support brackets underneath your bathtub is an effective way to provide extra stability and prevent further sinking from happening in the future.
- Applying a sealant around your bathtub can also lend strength and protection against further sinking or water damage. It is important to ensure that you use a sealant suitable for your type of bathtub.

Following these simple steps, you can easily repair and restore your sinking bathtub to its former glory! With the right supplies and some know-how, you can successfully fix any issues with your tub, so don’t wait – get started today!
5 Things You Should Avoid
- Never use a caulk not designed for your bathtub. Always opt for a silicone-based caulking material to provide the best sealant and protection against water damage.
- Don’t overfill any gaps or cracks with wood filler – this can cause them to expand and weaken the area even more.
- Avoid using metal screws instead of masonry anchors if possible, as they may rust over time and cause further issues down the line.
- Don’t forget to check that your bathtub is level before re-caulking it – otherwise, any uneven areas may continue to sink in the future.
- Do not walk on a wet or freshly caulked bathtub before it has had time to dry and cure – this can cause it to be uneven and cause further sinking.
By following these simple guidelines, you can ensure that your repair job is successful and your bathtub will stay in place for years to come!
Can You Use Epoxy to Fix Bathtub?
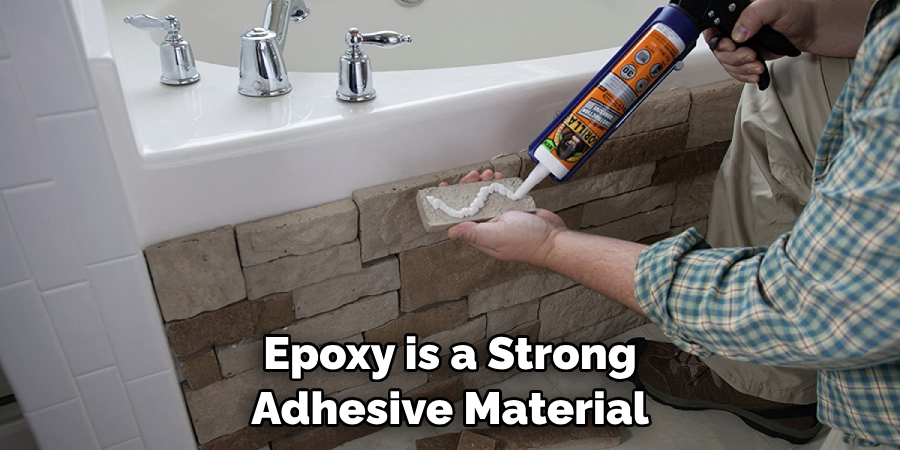
Yes, you can use epoxy to fix a bathtub. Epoxy is a strong adhesive material that can bond together different surfaces. It can fill in any cracks or gaps, making it ideal for repairing a sinking or cracked bathtub.
When using epoxy to fix your bathtub, follow the manufacturer’s instructions carefully and wear protective gloves and clothing when handling the product. Additionally, ensure that you let the epoxy cure completely before using your tub again. Following these simple steps, you can successfully repair your bathtub using epoxy!

Overall, patience and determination make it possible to repair a sinking bathtub yourself at home easily!
Conclusion
In conclusion, properly addressing a sinking bathtub is not as difficult as it might seem. All you need to do is identify the cause of the water loss and take the necessary steps to resolve it.
Although repairing a leaky engagement ring using epoxy or silicone caulk is often possible, other solutions may be required for a more serious problem, such as blocked drains or weak subflooring. If none of these steps work for you, then consider professional assistance.
A professional plumber can assess your situation and advise the most appropriate course of action. Fixing a sinking bathtub can be an effective and relatively easy process with proper understanding and planning.
Hopefully, the article on how to fix a sinking bathtub has helped you gain a better understanding of the task at hand and get started on your problem-solving journey. Good luck!

