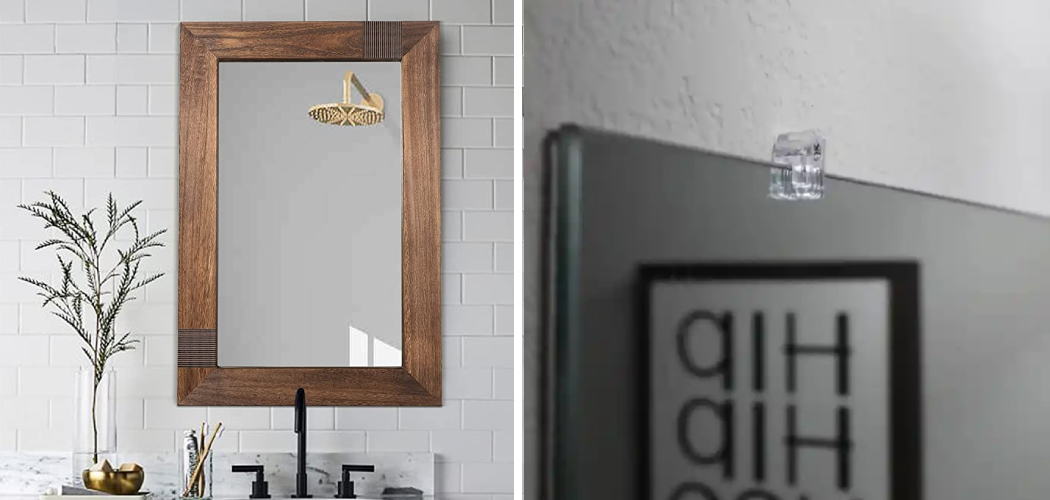
Have you ever wished that your bathroom mirror had a more stylish and sleek look? Or maybe you’re looking to upgrade your current vanity mirror setup but don’t want to spend too much money.
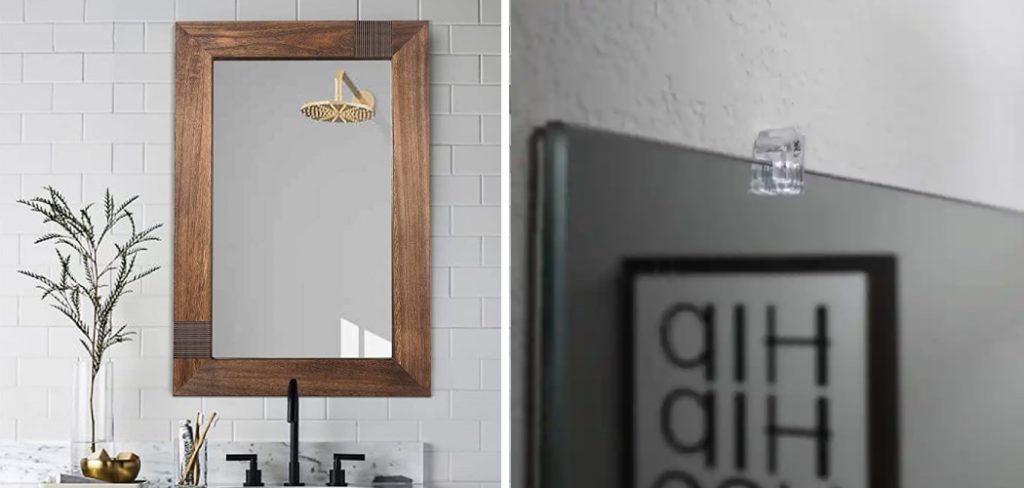
If either of these scenarios sounds familiar, then we have the perfect solution for you: using clips to frame your bathroom mirror. Framing a bathroom mirror with clips is an inexpensive and easy way to instantly add elegance and style to any bathroom, giving it a fresh new look in no time at all!
In this blog post, we’ll take a step-by-step look at how to frame bathroom mirror with clips, talk about what supplies are needed, and explain why it’s such an affordable solution. So if you’re ready for your DIY upgrade today – let’s get started!
Tools and Materials You Will Need to Frame Bathroom Mirror With Clips
- Mirror clips
- Screwdriver
- Measuring tape
- Leveler
- Pencil
- Hammer
- Nails or screws (optional)
- Moulding (optional)
Step by Step Guidelines on How to Frame Bathroom Mirror With Clips
Step 1: Measure the Mirror and Clip Placement
Using a measuring tape, measure the length and width of the mirror you plan to frame. Once you have these measurements, use a leveler to mark where your clips should go on the wall. Make sure that each side is even and centered to ensure a proper fit. Measuring and marking twice is always a good rule of thumb to follow.
Step 2: Secure the Clips
Now it’s time to secure the clips. Place the first clip on the wall where you marked it with your leveler, then attach it with either nails or screws as per the manufacturer’s instructions. Make sure that the clip is secured firmly in place. Once the first clip is done, you can move on to the other clips and repeat the same process.
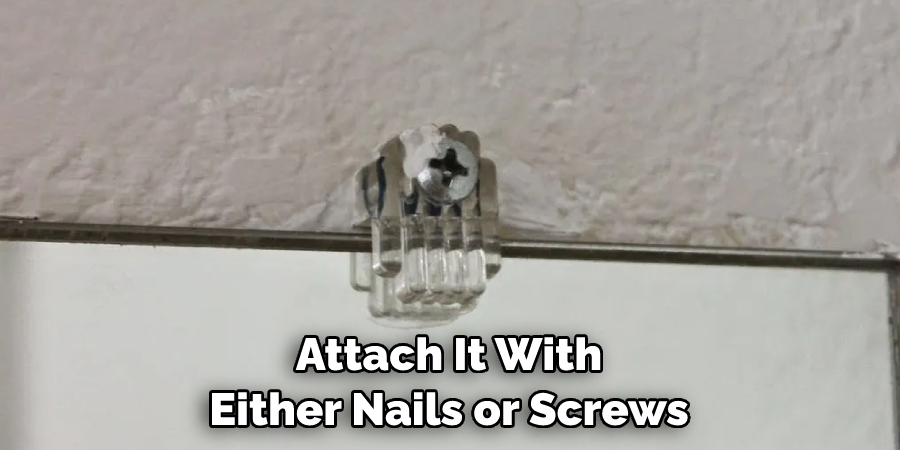
While securing the clips, remember that there should be adequate distance between each clip to support the weight of your mirror.
Step 3: Hang the Mirror
Once all of your clips have been secured in place, it’s time to hang your mirror! Carefully lift up the mirror and place it into the clips until it fits snugly. Once secure, use a hammer to make sure the clips are attached tightly. Hanging the mirror may require two people, so it’s best to ask for help if needed.
Step 4: Add Moulding (Optional)
If you want to take your mirror framing to the next level, then consider adding molding around the edges. This will give the frame a more polished and professional look. Simply measure the molding pieces you need as per the size of your mirror and secure them in place with nails or screws. Adding molding will definitely take your mirror to the next level.
And there you have it – that’s how to frame a bathroom mirror with clips! It’s an easy and affordable way to give your bathroom a fresh, new look without spending too much time or money. Plus, it’s always satisfying to tackle a DIY project yourself and be proud of the results. So what are you waiting for?
Additional Tips and Tricks to Frame Bathroom Mirror With Clips
- If you plan to hang a large mirror, use extra clips for support. Use two or three for each corner and along the top of the frame to ensure it won’t become loose over time.
- If your existing wall does not have studs or anchors in place then add them first before attaching the clips. This will provide additional security and make sure the mirror frame stays in place.
- Make sure to use the appropriate type of fastener for each clip and type of wall. For example, drywall requires a different type of anchor than brick or concrete walls.
- When measuring the size of your mirror frame, leave a one-inch gap around all sides so that the frame won’t be too small or too big.
- To make sure your mirror is level before you secure it to the wall, use a leveler tool. This will help ensure that the frame looks even and consistent when hung up.
- For extra protection from moisture build-up in bathrooms, apply a thin layer of sealant over the wood. This will also help keep it from drying out or cracking over time.
- Finally, don’t forget to enjoy the finished product! Hang a few art pieces and accent items around your new framed mirror for an extra touch of style in your bathroom!
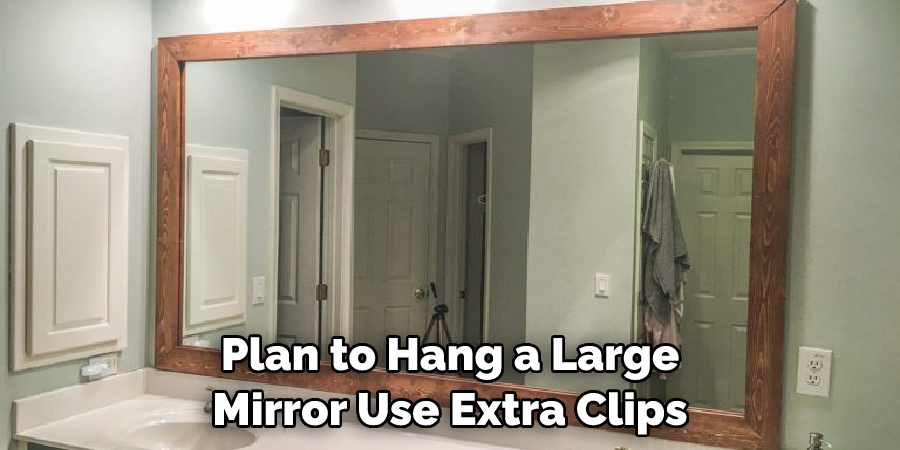
By following these tips and tricks, you can easily create a beautiful framed mirror in your bathroom. Framing mirrors with clips is an easy and cost-effective project that can give any space an elegant and stylish look.
Things You Should Consider to Frame Bathroom Mirror With Clips
1. Measure the Size of the Mirror:
It is important to measure the size of your bathroom mirror before you purchase clips for framing it. This will help ensure that you get clips that are just the right size, so they fit snugly around your mirror and provide a secure hold. Measuring the size of your mirror will also help you determine how many clips you need to secure it.
2. Choose Quality Clips:
Choosing quality clips is essential for a successful bathroom mirror framing job. It is important to select a brand of clip that is durable and built to last. Cheap or flimsy clips may not properly hold the frame and can result in a sloppy appearance. If you are unsure about which clips to buy, it is best to get the advice of a professional.
3. Consider Aesthetic:
When choosing clips for framing your bathroom mirror, be sure to take into consideration how they will look with the overall style and décor of your bathroom. If you have a modern-style bathroom, opt for sleek, chrome clips with clean lines for a sophisticated finish. On the other hand, if your bathroom features a more traditional or rustic look, consider clips that feature ornate details such as beaded trim.
4. Mark the Wall:
If you plan to hang your framed mirror on the wall, it is important to mark where the clips will be installed before attaching them to the mirror. This will help ensure that they are placed correctly and evenly spaced apart for a neat appearance. While marking your wall, be sure to use a level so that your frame hangs straight and securely.
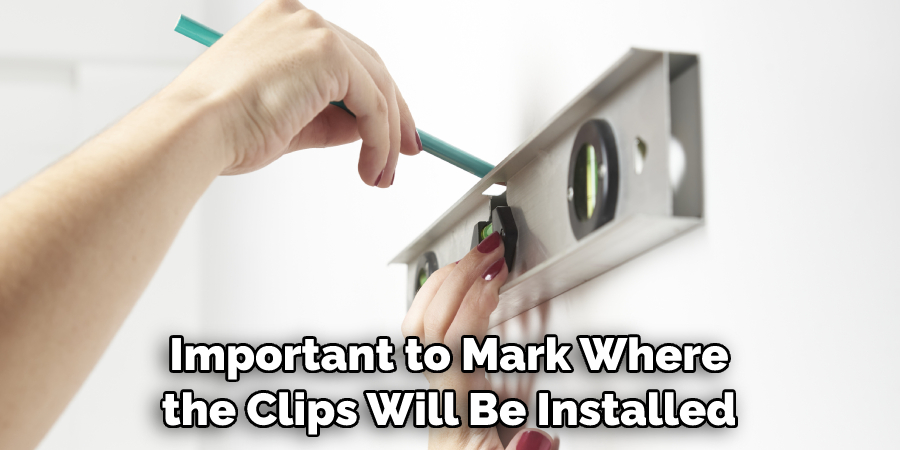
By following these considerations, you can easily frame your bathroom mirror with clips for a neat and polished look. With the right tools and supplies, it is a fairly simple process that only takes a few minutes to complete.
Precautions Need to Follow for Framing Bathroom Mirror With Clips
- Make sure to use only clips that are specifically designed for mirror installation in the bathroom. This will ensure that they are strong enough to hold up the weight of the mirror and will not be damaged by moisture from the bathroom environment.
- Be sure to measure your mirror accurately before purchasing clips, as some brands come in different sizes to fit different-sized mirrors.
- It may help to use a level when installing the clips so that the mirror will stay in place and not be crooked after installation.
- Be sure to clean the area where you will attach clips, as dust or dirt can cause the clips to slip off or not adhere properly.
- Take your time when attaching the clips, as rushing can cause them to be placed incorrectly or not securely enough.
- Use a drill bit that is the same size as the screws you will use in order to ensure they fit properly into the wall without stripping or damaging it.
- Check that all of your clips are secure before hanging up the mirror and make sure that all of your screws are tightened properly.
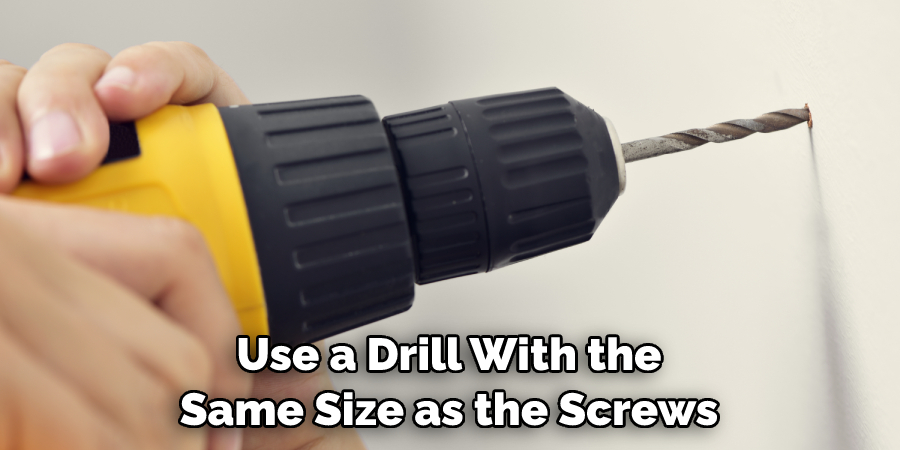
Following these precautions will help ensure a safe and successful installation of your bathroom mirror with clips. Remember to take your time and be patient when installing the clips, as rushing can cause them to become loose or not securely attached, potentially causing damage to both your mirror and the wall on which it hangs. With a bit of patience, you can have your mirror up in no time!
Frequently Asked Questions
How Many Clips Do I Need to Frame a Mirror?
The number of clips you’ll need depends on the size of your mirror. Generally, mirrors that are 2 square feet or less require four clips, while larger mirrors may require more. For best results, consult the instructions provided with your clip set for the manufacturer’s recommended clip size and quantity.
What Types of Clips Are Used to Frame a Mirror?
Most mirror framing clips are made from metal, such as stainless steel or brass, but plastic clips may also be used for lighter-weight mirrors. Make sure the clips you select are rated for the weight of your mirror so that it remains securely in place.
Do I Need Special Tools to Install Mirror Clips?
Most mirror clips come with the necessary tools included, but you may need additional tools depending on your installation. Depending on the type of wall surface you’re mounting the clips onto and clip size, a drill or specific screwdriver bits may be needed. It’s important to follow manufacturer instructions for the proper installation of your clips.
How Do I Clean Framed Mirrors?
When cleaning framed mirrors, it’s important to use a non-abrasive cloth and cleaner. Gently wipe the frame and mirror in a circular motion using a soft, damp cloth. If needed, you can also use a glass cleaner or vinegar solution on the surface of the mirror itself, but be sure not to get any of the cleaning solutions on the frame.

Conclusion
Congratulations, you have now completed the process of how to frame bathroom mirror with clips. Not only did you save money doing it yourself, but you also took up a new craft and learned something valuable! Now that the mirror is framed, consider sprucing up the vanity with a colorful hand towel or making other aesthetic changes within the bathroom.
Additionally, if you’re feeling inspired by your newfound DIY skills, think about taking further steps in organizing other areas of your home. Perhaps tackle your closet next. Organizing your closet can be immensely beneficial; go ahead and learn how to make better use of space and maximize efficiency with our helpful guides on how to organize bathroom closets.
With our tips and tricks at hand, creating an organized nature in any space will be easier than ever.

