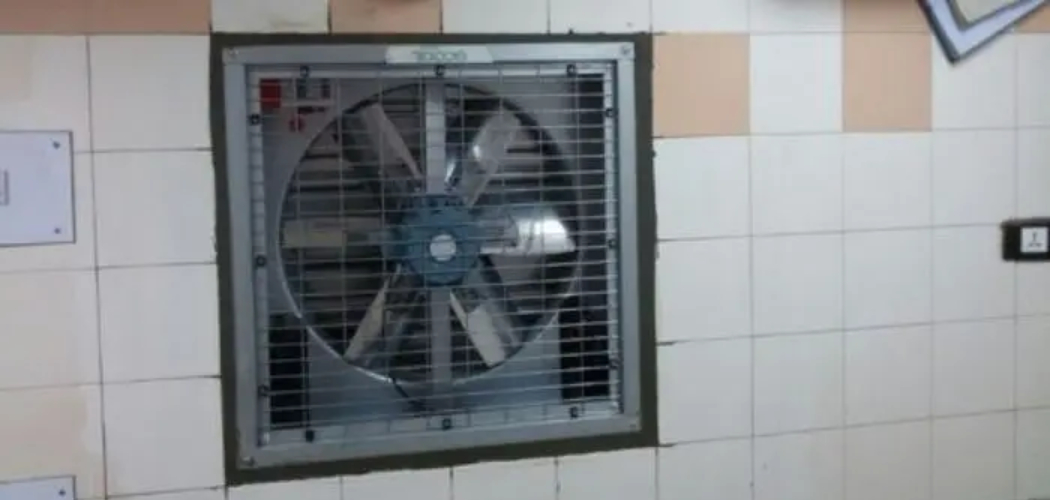
Are you constantly hearing a loud humming, buzzing, or shrieking noise coming from your bathroom’s fan? This can be an incredibly irritating sound that disrupts any activity in the home. It’s even worse when it keeps you up at night and prevents you from getting restful sleep.
If this is something that has been plaguing your house recently then don’t worry: there are numerous things you can do to address the issue of a noisy bathroom fan.
In this blog post, we will discuss several important steps for how to fix a noisy bathroom fan and reduce the volume of these pesky fans so that your home is no longer disrupted by their racket!
Tools and Materials You Will Need to Fix a Noisy Bathroom Fan
- Screwdriver
- Wrench
- Replacement fan motor (optional)
- Insulation material (optional)
- Cleaning supplies such as a vacuum cleaner and a rag
- Lubricant
- Masking tape
- Safety glasses/goggles
- Work gloves
Step by Step Guidelines on How to Fix a Noisy Bathroom Fan
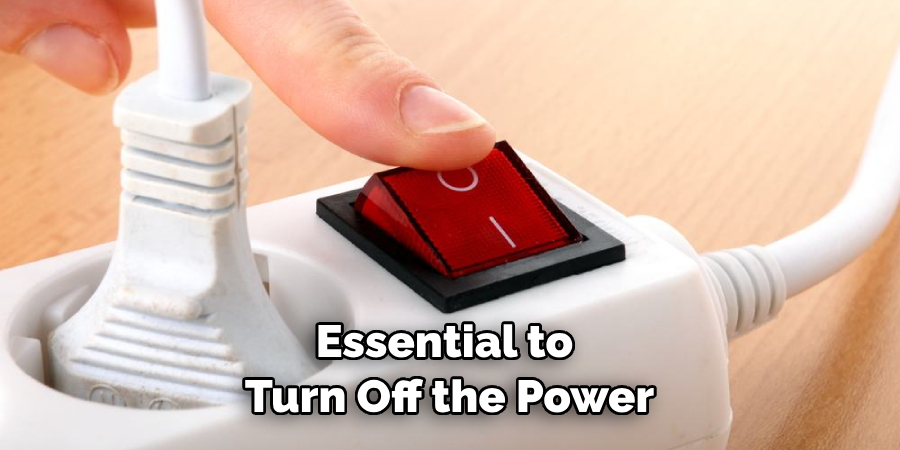
Step 1: Turn Off the Power to the Fan
Before you attempt any repairs on your fan, it’s essential to turn off the power to it first. This will protect you from electric shock or injury while working with the electrical components of your fan. You can find the circuit breaker that controls your bathroom fan and switch it off before beginning work. If you cannot locate the circuit breaker for your fan, it’s best to shut off power to your entire home.
Step 2: Remove the Cover and Clean the Fan Blade
Using a screwdriver or wrench, carefully remove the fan cover that is attached to the housing of your fan. Then use a vacuum cleaner or rag to clean any dirt, dust, and debris from the inside of your fan. This is essential for reducing noise levels as dirt and dust can accumulate on the blades of a fan over time, causing it to become noisy when in use.
Step 3: Lubricate All Moving Parts
After cleaning the fan blade, you’ll want to lubricate all moving parts with light machine oil or a special lubricant designed for fan motors. This will reduce friction and help the parts move more smoothly, resulting in less noise. While oiling the fan, make sure to also lubricate the bearings of the motor.
Step 4: Replace Any Worn Parts
If any of the components inside your bathroom fan are worn or damaged, it’s best to replace them with new ones. A replacement fan motor can be purchased from your local hardware store or from an online retailer. You should also consider replacing the fan blade if it is worn down. Make sure that all parts are compatible with your bathroom fan before purchasing.

Step 5: Add Insulation Material
If you find that your fan is still making too much noise after cleaning and lubricating its parts, then adding insulation material can help reduce the sound significantly. You can purchase special foam or fiberglass acoustic insulation that was designed to be used in fans. This should be placed around the fan motor and any other components to dampen the sound.
Step 6: Put the Cover Back on
Finally, reattach the cover of your bathroom fan using screws or bolts. Make sure it is secure before turning on the power to the fan again. Now your noisy bathroom fan should be running much quieter than before! You can also tape any seams with masking tape to further dampen the sound.
With these steps, you can make sure your bathroom fan runs smoothly and quietly. If done properly, this simple maintenance procedure will keep noise levels down and prevent any further disruption from the fan. So don’t hesitate to get started on fixing that noisy bathroom fan today!
Additional Tips and Tricks to Fix a Noisy Bathroom Fan
- Check the fan blades for dirt and dust build-up. Clean off the blades with a damp cloth or a vacuum cleaner, as this can cause the fan to become noisy.
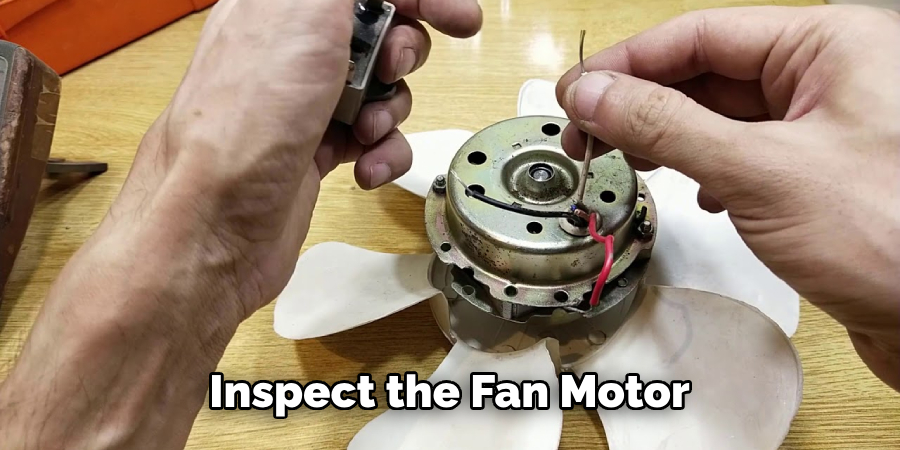
- Inspect all of the wiring connected to the bathroom fan. Make sure that there are no loose connections, broken wires, or frayed insulation that could be causing the noise.
- Make sure that the fan is properly mounted and connected so that it is not vibrating against any other objects while running.
- Check to make sure that the fan housing is securely attached to the ceiling or wall, as any movement here can cause rattling noises from inside the vent pipe.
- Inspect the fan motor for any damages such as frayed wiring or broken parts. If there are any faulty components, replace them immediately to stop the noise from occurring.
- Replace all worn-out and deteriorated gaskets around the fan housing as this can cause rattling noises due to air passing through openings.
- Make sure that the bathroom exhaust pipe is securely connected to the fan and free of any obstructions that could cause noise.
- Check for loose screws or bolts inside the fan housing as these can also cause rattling noises when running.
- If all else fails, consider replacing the existing bathroom fan with a new one, as this may be more cost-effective in the long run. Installing a new fan can also help to improve the air circulation in your bathroom and reduce humidity levels.
Following these tips should help you quickly identify and fix any noisy issues with your bathroom fan. If you are still having trouble, consult a professional electrician for more advice on how to solve the problem.
Precautions Need to Follow for Fixing a Noisy Bathroom Fan
- Make sure to turn off the power supply for the bathroom fan before you begin working on it. Unplug or shut off the switch located near the fan.
- Wear protective clothing, such as safety glasses and gloves, while working on a noisy bathroom fan. This will help protect you from any debris that may be released during disassembly and repair.
- Use a ladder or stepstool to reach the fan if it is located too high on the wall for you to comfortably work on. It’s important to make sure the ladder or stool is stable and securely placed before beginning any work.
- Carefully inspect the fan and note any areas that seem to be causing noise. In most cases, it will be the fan blades that are making the noise.
- If necessary, loosen any nuts or bolts securing the fan blades to the fan motor and carefully take them off the motor.
- Clean dust and dirt off of all components with compressed air or a soft-bristled brush to ensure proper airflow when reassembling the fan.
- Replace any worn or damaged parts with new ones, such as motor bearings, blades, and gaskets.
Following these precautions can help you safely and effectively fix a noisy bathroom fan. Be sure to follow all safety instructions when working on any electrical appliance, and seek professional help if necessary. With the right tools and know-how, you should be able to keep your bathroom fan running smoothly and quietly.
Frequently Asked Questions
What Are the Most Common Causes of a Noisy Bathroom Fan?
The most common causes of a noisy bathroom fan are dust accumulation, motor failure, and worn bearings. Dust buildup can restrict air flow and create noise from the fan blades as they spin on their mountings. Motor failure can cause humming or buzzing noises due to faulty wiring or poor connections. Worn bearings can create a grinding sound as the fan blades spin.
What Type of Maintenance Do Bathroom Fans Need?
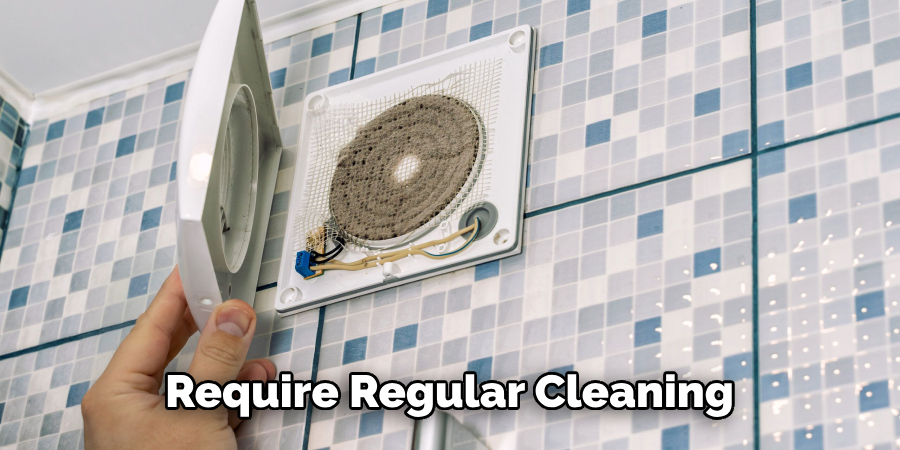
Bathroom fans require regular cleaning and maintenance to ensure they are working properly. The outside cover should be wiped down with a damp cloth at least twice a year to remove dust and dirt. The interior of the fan should be inspected and cleaned at least once a year to remove dust buildup. Finally, if necessary, worn parts such as bearings or motor components should be replaced by a qualified electrician.
Do Bathroom Fans Require Any Special Tools?
No special tools are required for basic maintenance and cleaning of bathroom fans. However, if you need to replace any components, such as bearings or motor parts, a qualified electrician should be consulted. They will have the necessary tools and knowledge to safely complete the repairs.
Do Bathroom Fans Require Any Special Care?
Yes, bathroom fans require special care in order to operate correctly and efficiently. Make sure to clean both the outside cover and the interior of the fan regularly to prevent dust buildup. Also, inspect any wiring or motor components for signs of wear or damage and replace them if necessary. Finally, always consult a qualified electrician before attempting any repairs on the fan.
Conclusion
With the help of a few tools, some free time, and an eagerness for DIY projects, fixing a noisy bathroom fan is something that any homeowner can accomplish. The issue may be a build-up of dust or grime, a loose part, or something more complex. Regardless of what the cause may be, following the steps outlined in this guide should help you get your quiet bathroom fan back up and running again.
Remember to stay motivated by taking breaks throughout and breaking down the process into manageable chunks if it becomes overwhelming. Fixing a noisy bathroom fan is an affordable way to make your home more livable and keep your family safe from the potential hazards caused by a fan malfunction. Now that you know how to fix a noisy bathroom fan, it’s time to put on your DIY hat and give it a try!

